



Why build Shopify forms in ConvertFlow
Shopify's own Forms app is free and captures email and SMS signups into Shopify's marketing tools. If that's your requirement, use it.
Stores come here when the form needs to do more — look like the brand rather than the app, ask qualifying questions, run across steps, branch on answers, or sync to Klaviyo or a CRM rather than staying inside Shopify.
Step 1: Add a form to your campaign
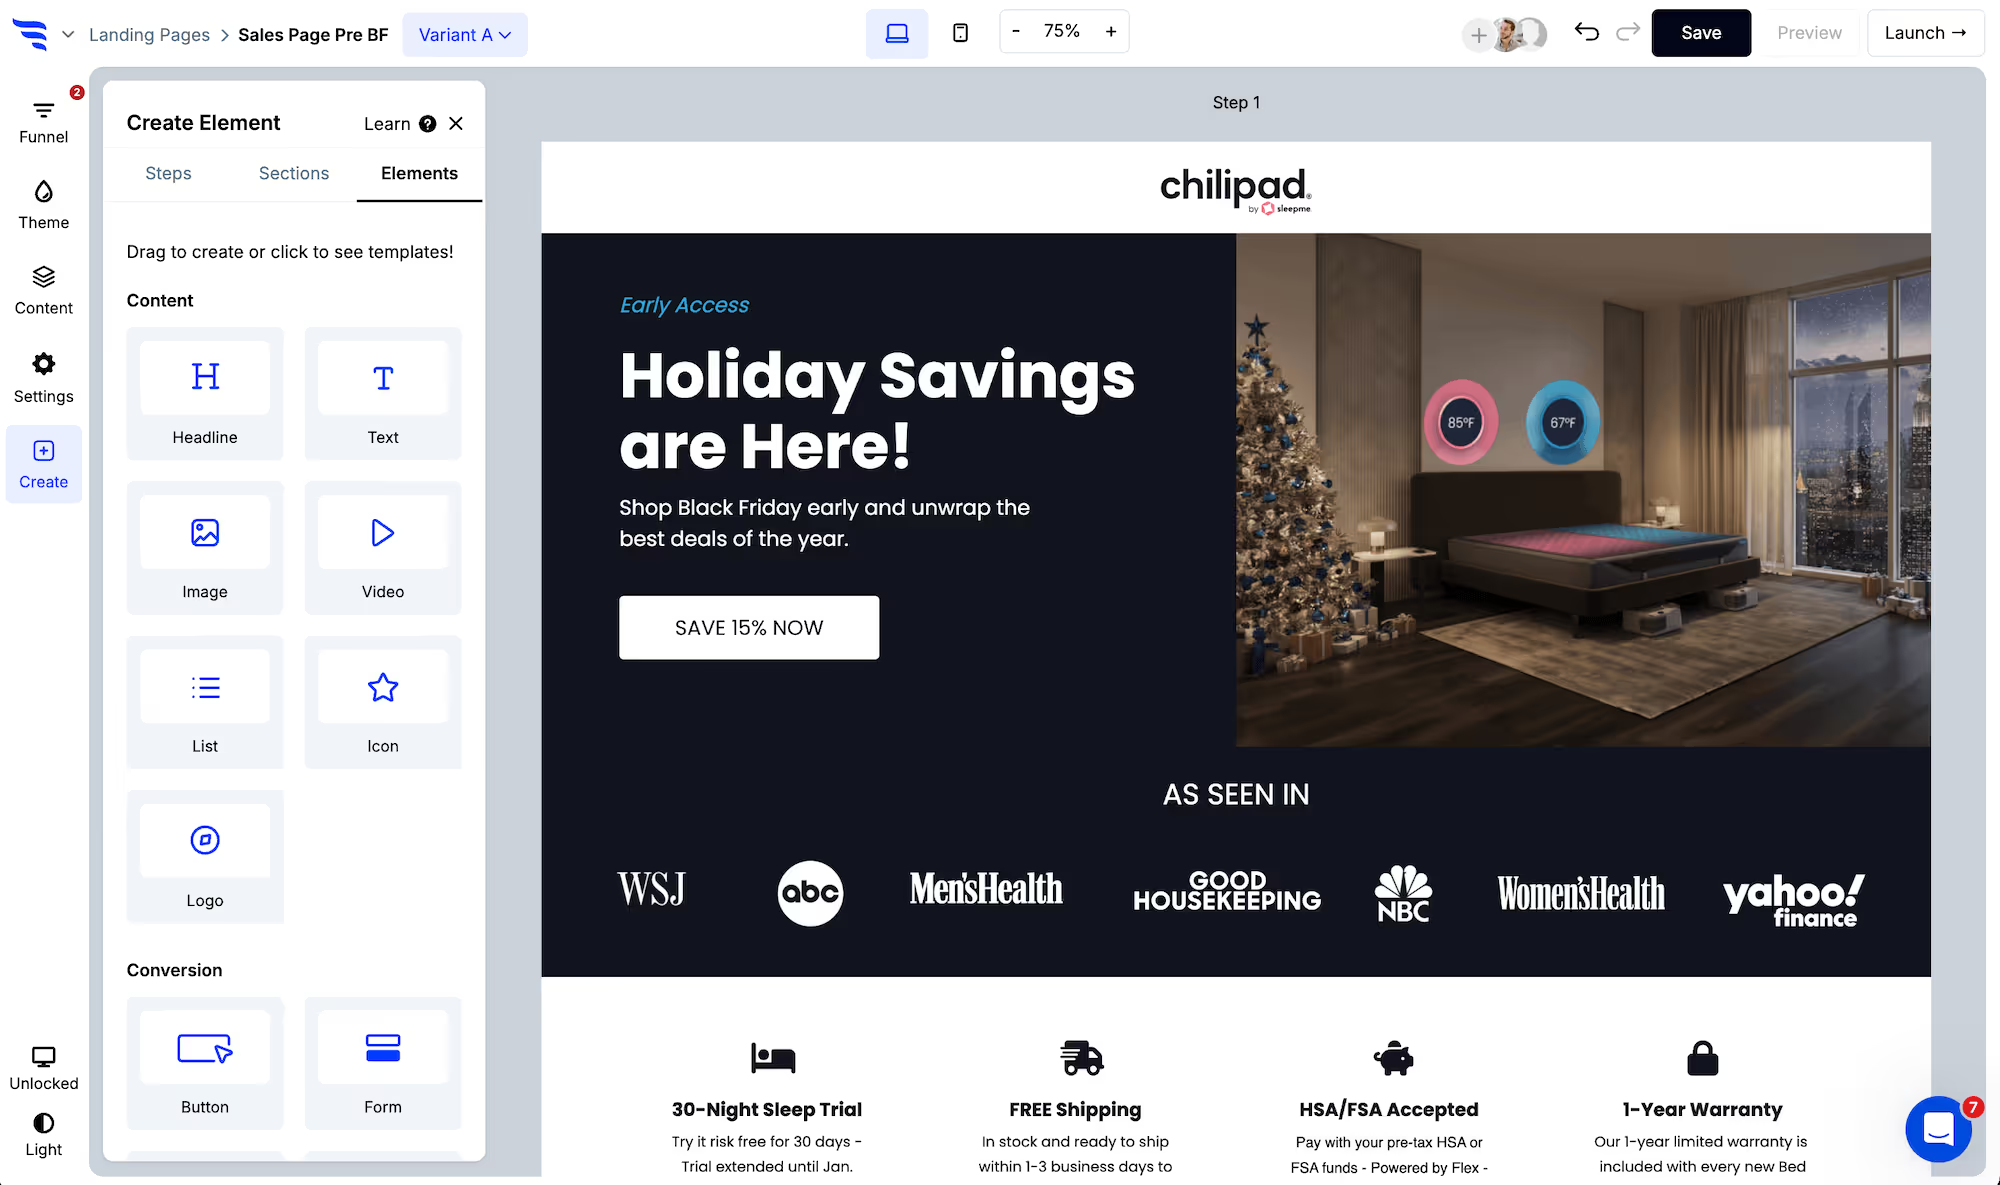
Add the form to a ConvertFlow landing page, popup or embed. Click to add an element and choose the form element type — start from a template or build from scratch.
.avif)
Step 2: Choose your fields
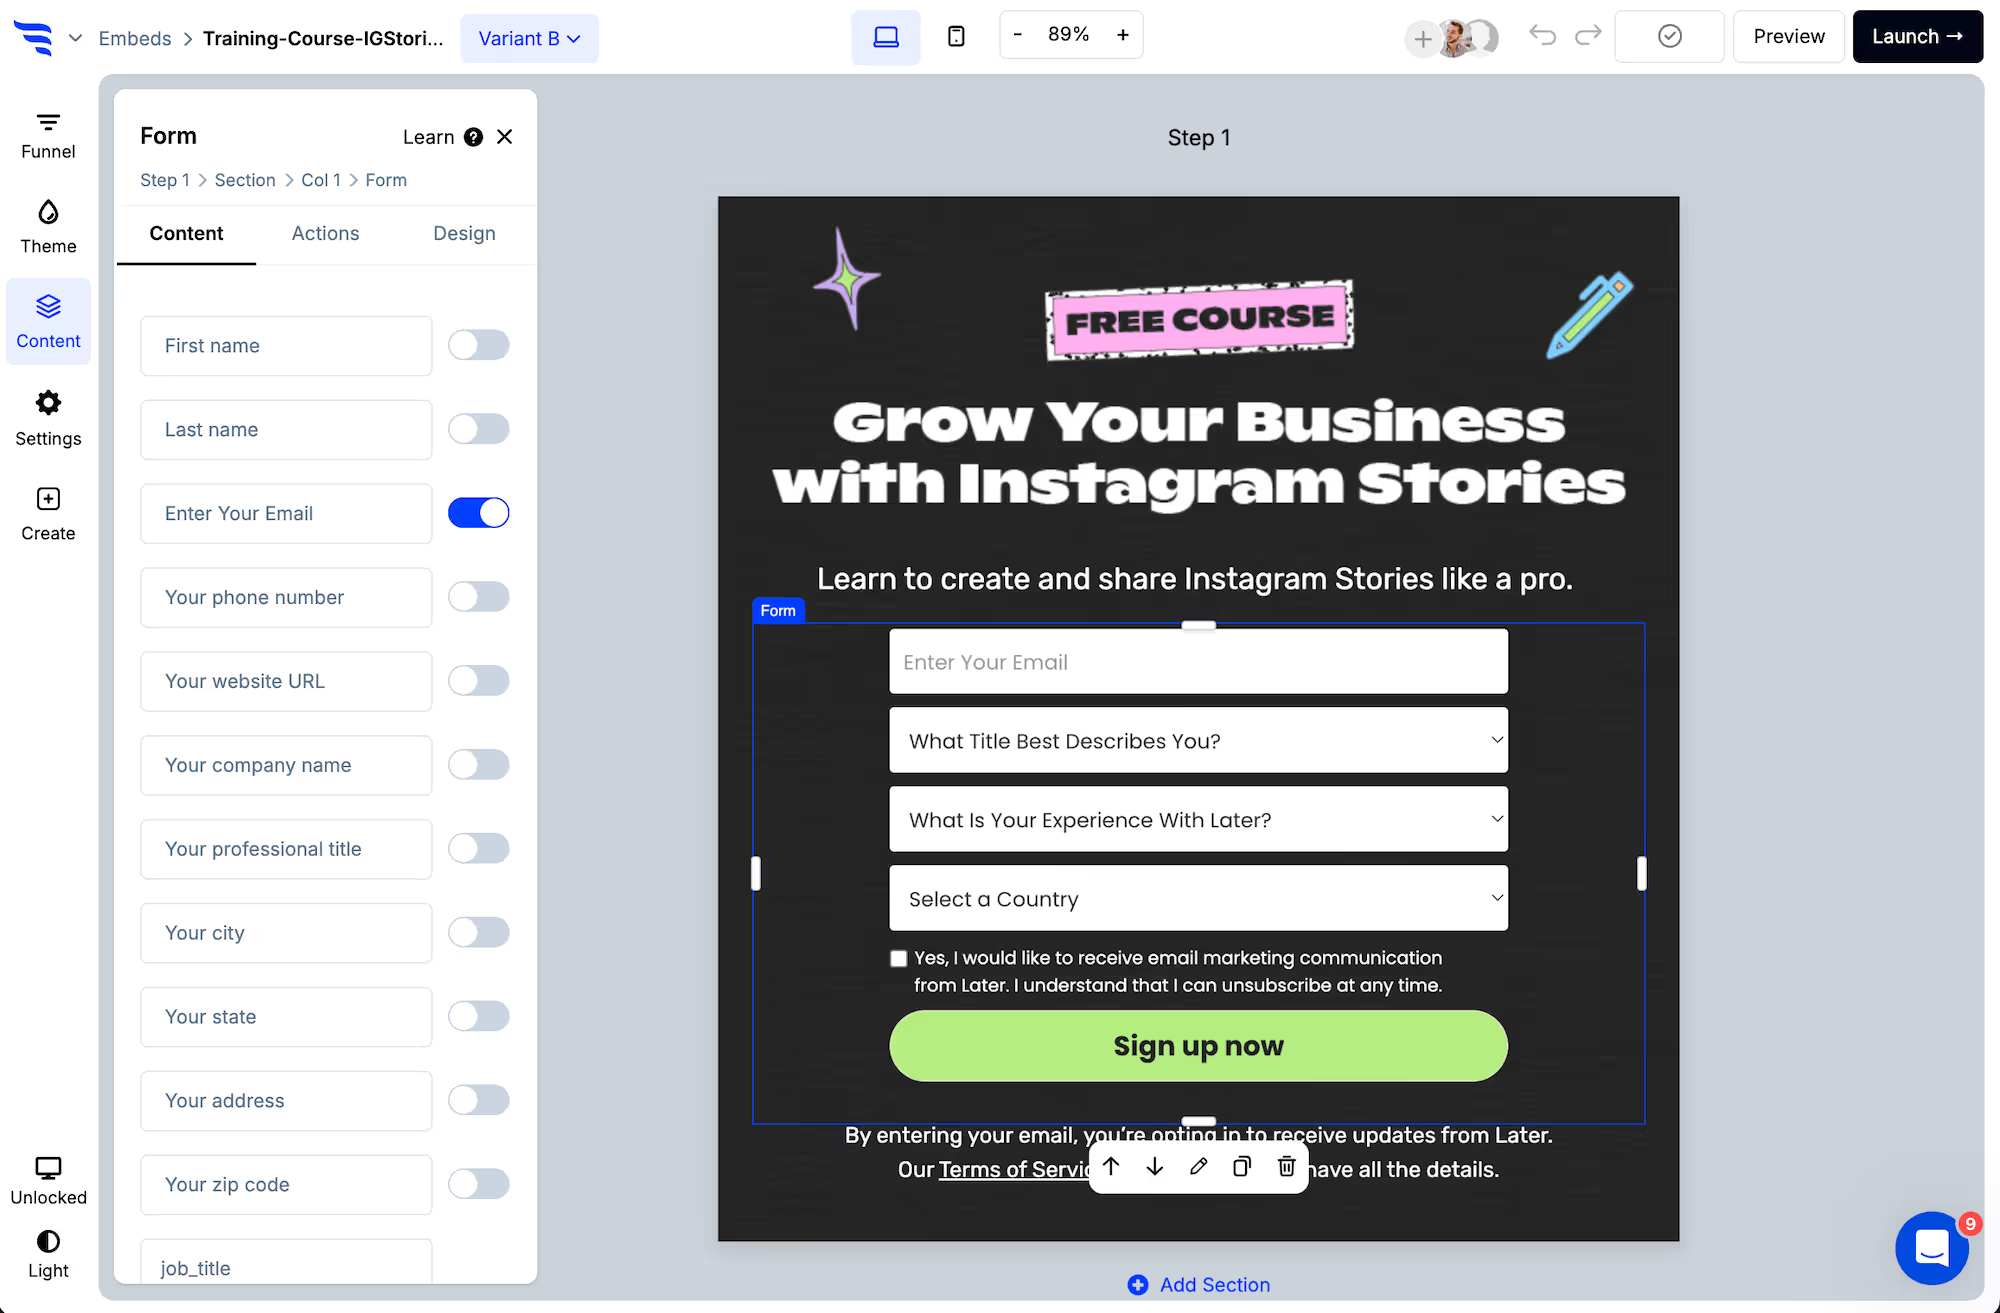
Toggle on the contact fields you want to collect.
.png)
Each can be edited from the builder panel — placeholder, label, required state and validation.
.avif)
Then add custom fields at the end of the list — a size, a room, a wholesale volume, a product preference.
.avif)
Step 3: Split anything long across steps
Beyond three or four fields, use multiple steps rather than one stacked list.
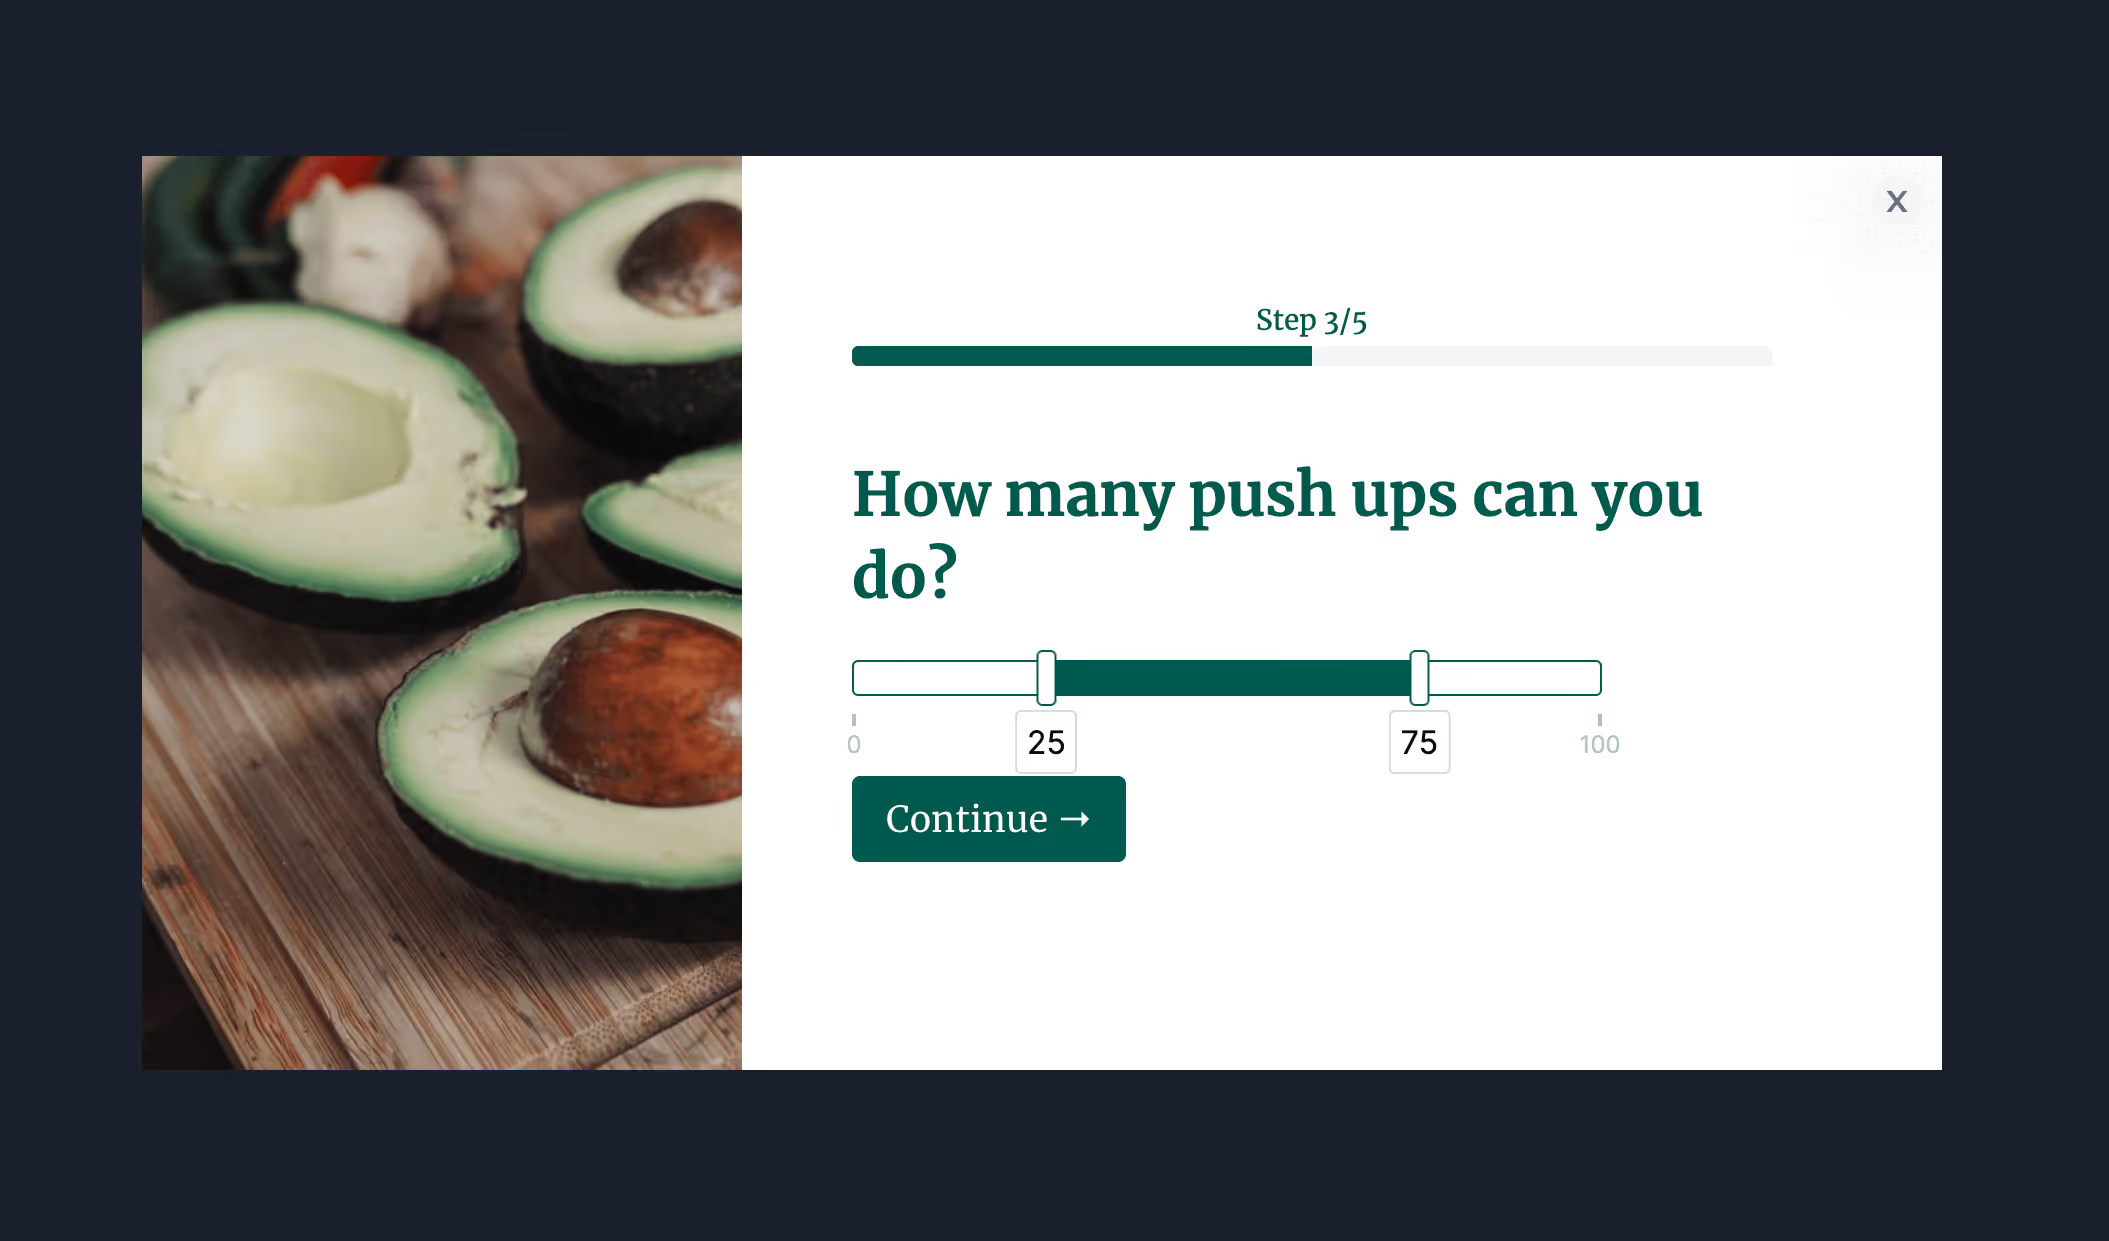
Two questions twice completes better than six at once — and a half-finished single-step form gives you nothing, while a half-finished multi-step form has already captured the email.
Step 4: Verify email and phone
Real-time verification checks addresses exist before the contact syncs, and formats phone numbers to the international E.164 standard.
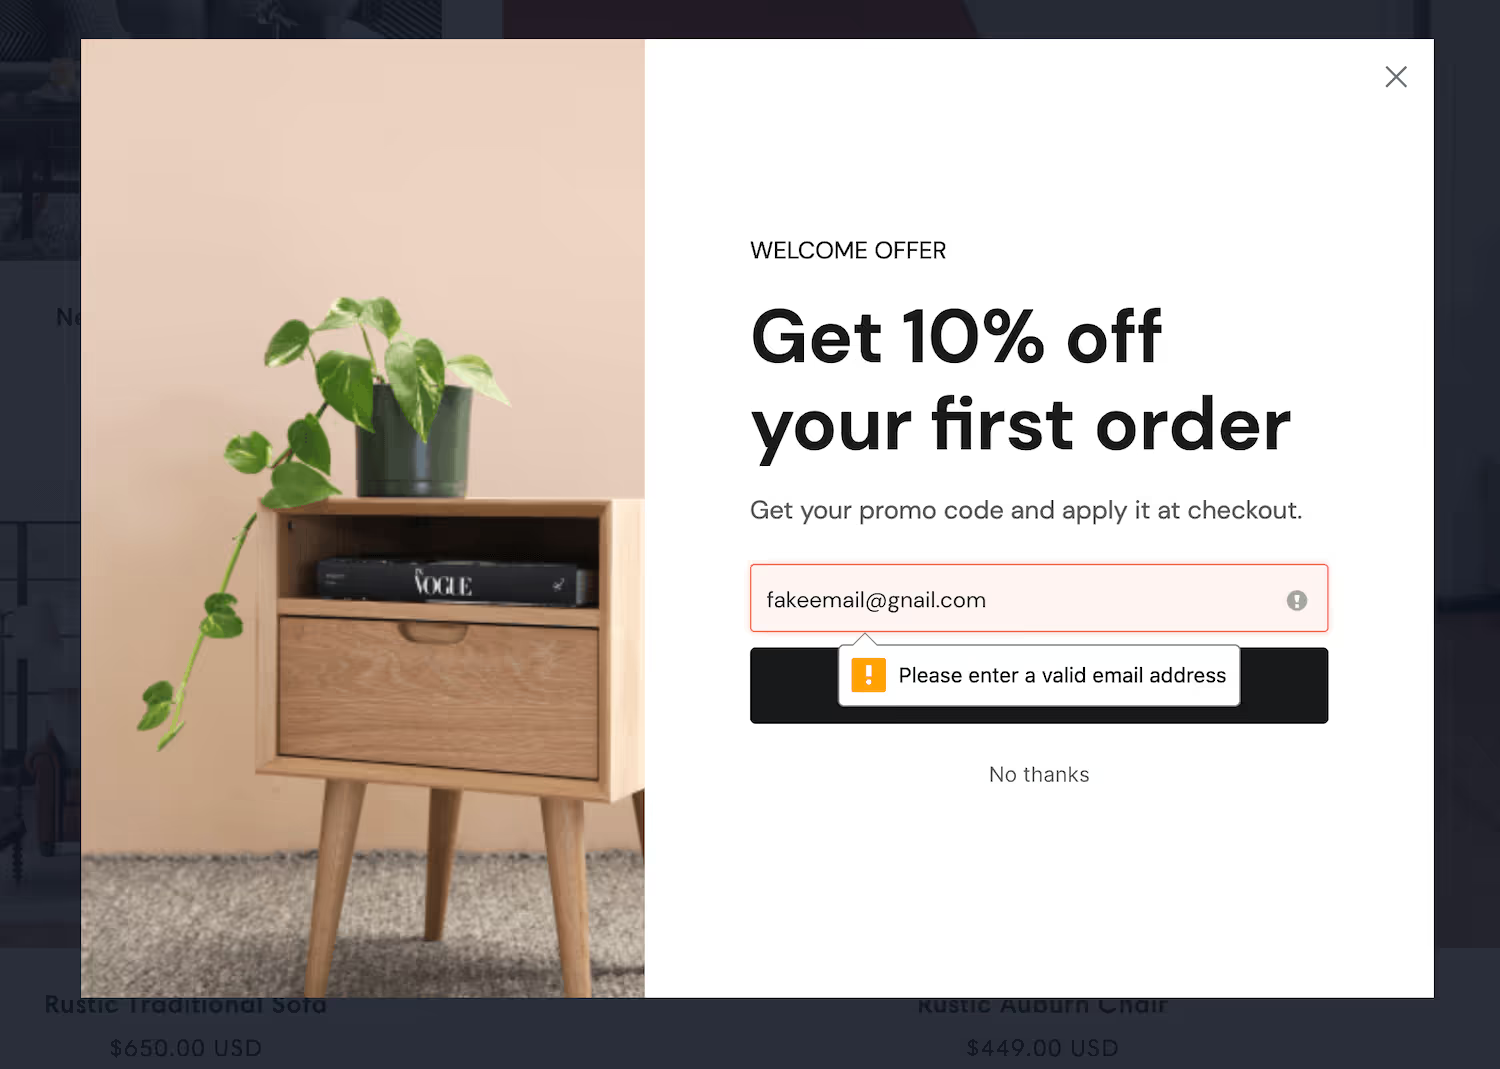
If you're collecting numbers for SMS, use the dedicated SMS consent checkbox — agreeing to emails isn't agreeing to texts.
Step 5: Style it to match the store
In the Design tab, set spacing, field layout, width, fonts, button colour and roundness, field colour and shadows.
.avif)
Set the theme first and every element inherits it, including ones you add later.
Step 6: Connect Shopify
Go to Settings → Integrations and connect Shopify. The ConvertFlow script installs on your store automatically — no theme editing.
Connecting also makes product and customer data available, so forms can sit alongside live product elements and targeting can read cart value and cart contents.
Step 7: Sync submissions where you'll use them
Select the form and open the Actions tab. Set what happens on submit, then add the automation that sends the contact to your email platform, SMS platform or CRM.
.avif)
Custom field answers map to each platform's own properties, so a dropdown selection becomes a segment condition rather than a line of text in a notification email.
Step 8: Branch on the answers
Conditional actions let a different answer produce a different outcome.
.avif)
A wholesale enquiry above a volume threshold can go to a booking link and a priority list while smaller enquiries get a standard reply — same form, different outcomes.
Step 9: Publish
Publish to a Shopify page in one click, or embed the form inside an existing page on your store. The same campaign can also run as a popup without rebuilding it.
Step 10: Read per-field drop-off
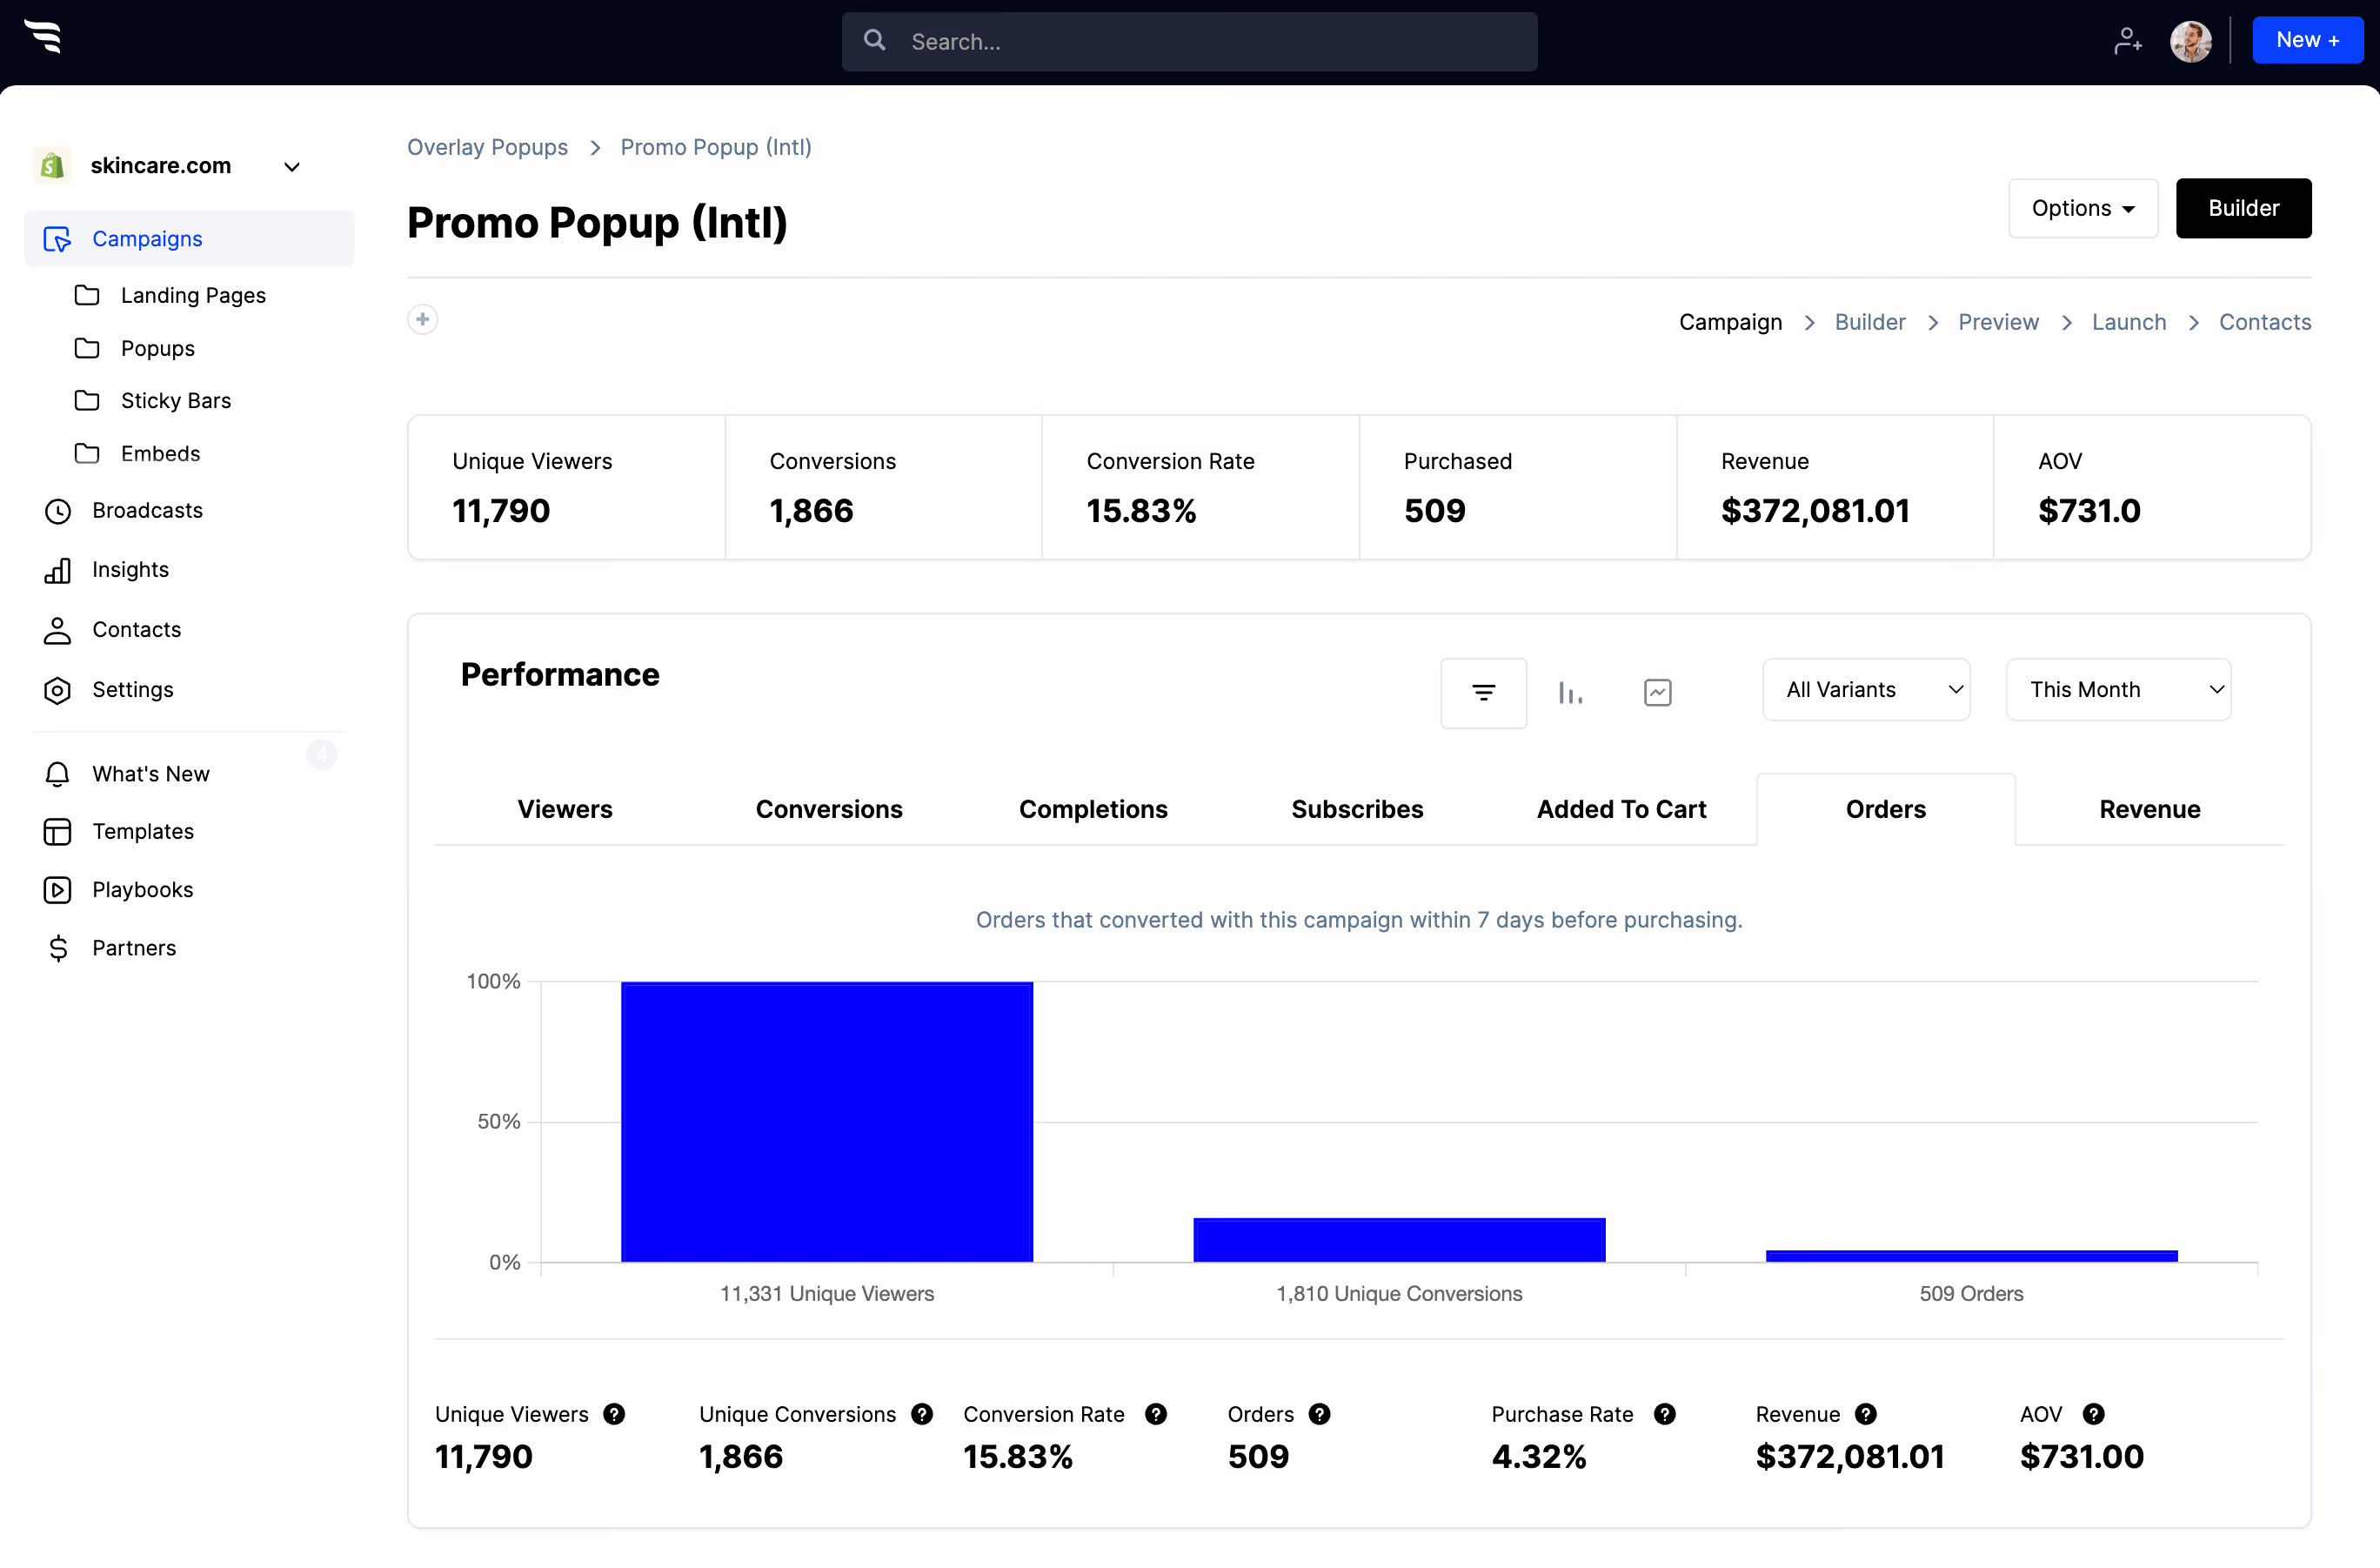
The funnel breakdown report shows how many shoppers saw, started and completed the form, and which answers they selected — with orders and revenue attributed.
.avif)
Every field costs completions. The phone field is usually the most expensive one on any store form, and frequently the least used afterwards — worth checking before you keep it.



%20(1).avif)





.svg)
