



What "no-code" actually has to cover
Most form tools are no-code for the easy part — dragging fields onto a canvas. The work moves to a developer at the point where it gets useful: styling it to match the site, adding logic, or wiring it into another system.
Worth checking any tool against four things, because these are where the code usually creeps back in:
- Styling without a stylesheet
- Logic without scripting
- Integrations without an API call
- Installation without editing templates
Step 1: Start from a template
.avif)
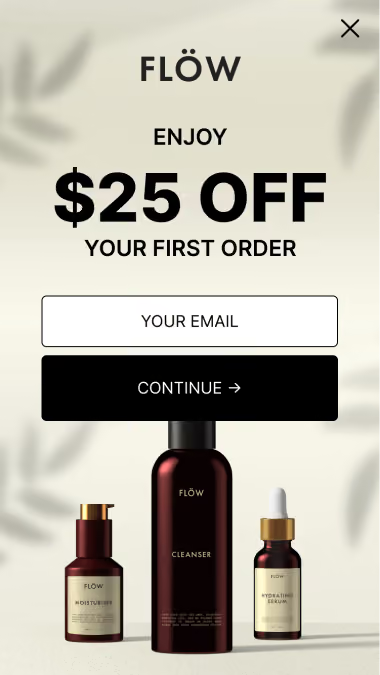
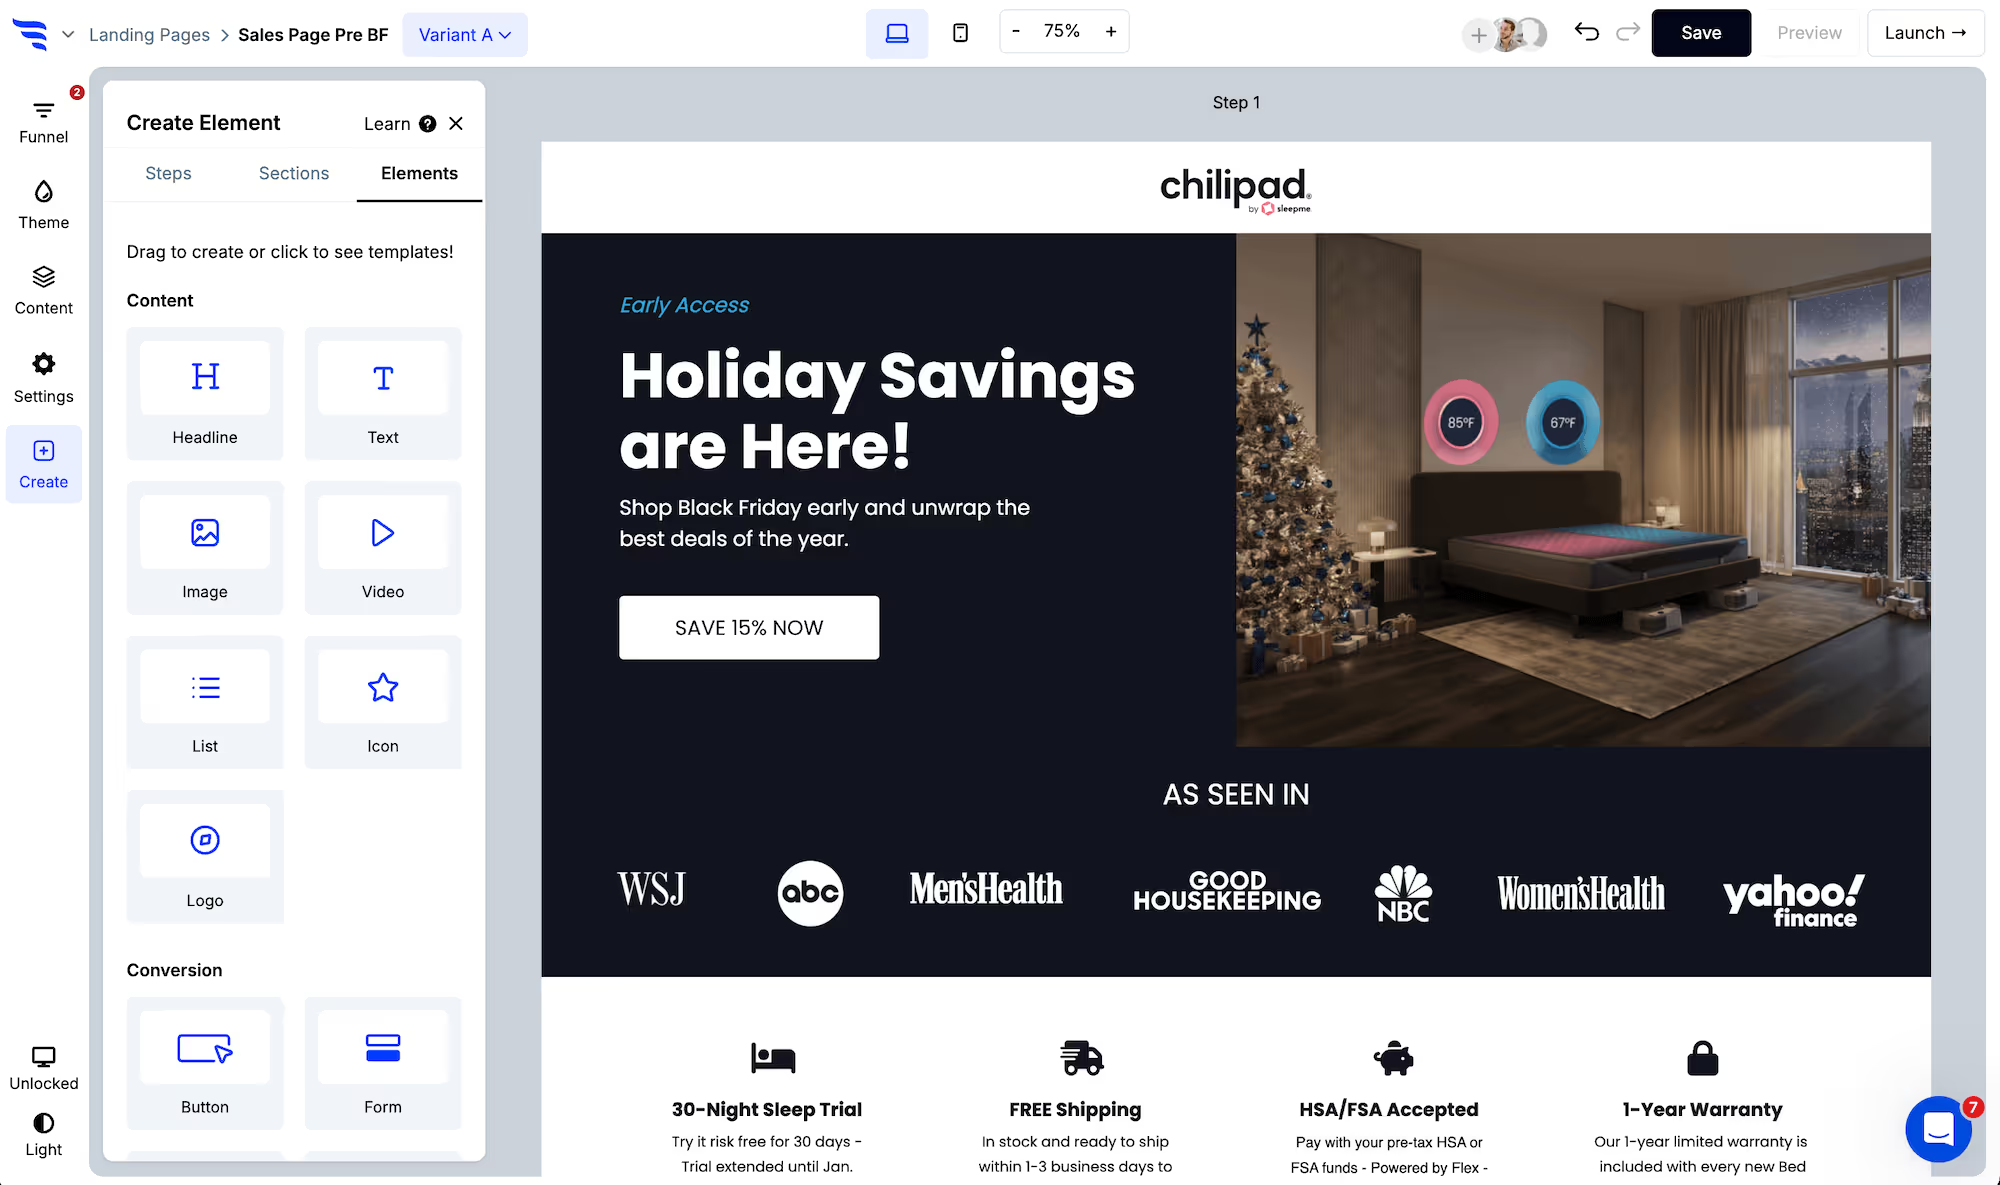
Add a form element to a landing page, popup or embed, and start from a template or a blank form.
Step 2: Add fields by toggling them
.png)
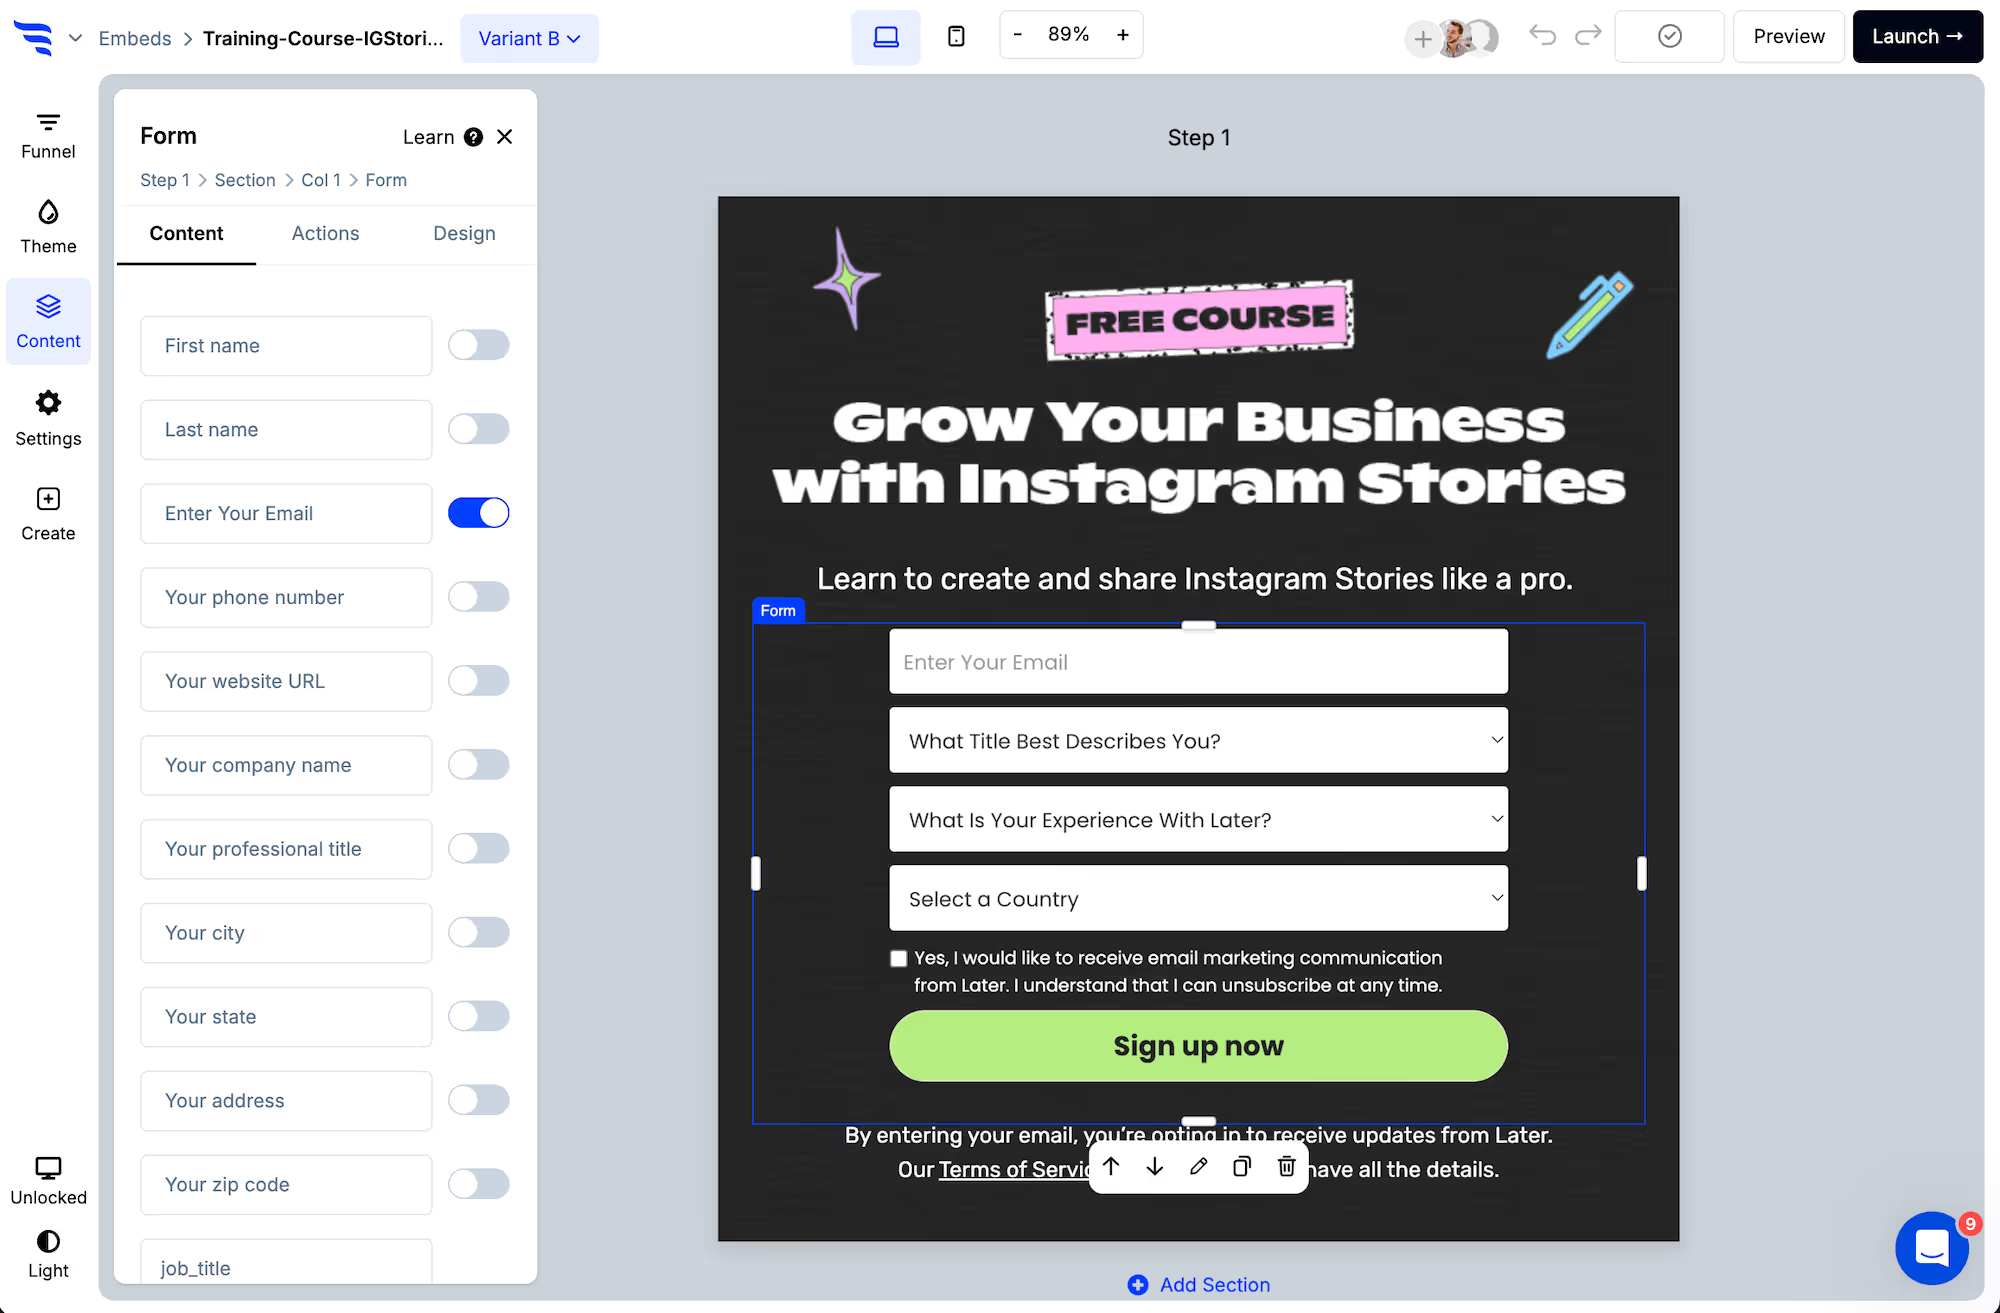
Preset contact fields switch on and off. Custom fields are added at the end of the list — text, dropdown, radio, checkbox, paragraph, numerical, range slider or hidden.
.avif)
Each field's label, placeholder, required state, character limits and prefill value are set in a panel.
.avif)
Step 3: Style it without CSS
This is where most no-code form tools stop being no-code.
.avif)
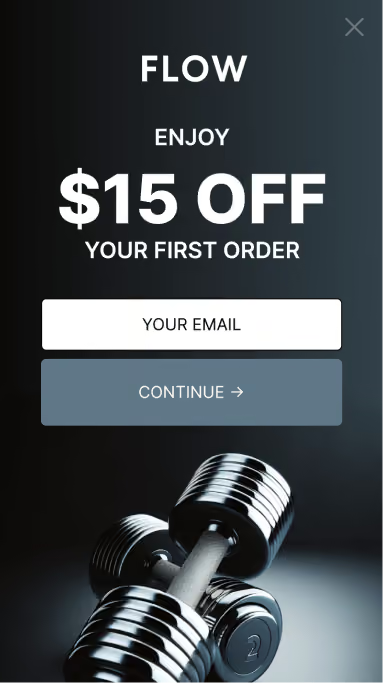
The Design tab covers spacing, field layout, width, fonts, button colour and roundness, field colour and shadows. Set the theme first and every element inherits it — including elements you add later, so a form you extend next month still matches.
Step 4: Add logic without scripting
.avif)
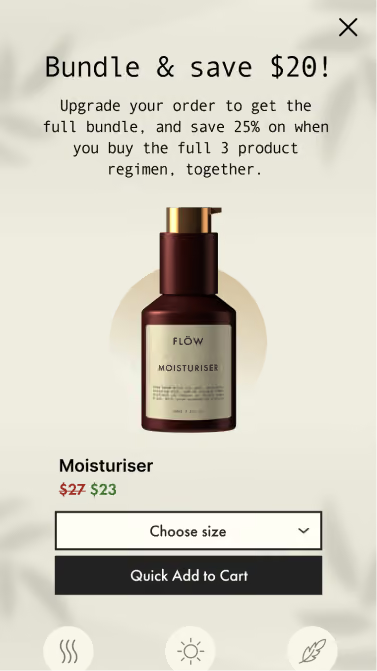
Conditional actions are set by choosing a condition and an outcome. Conditions can match answers, scores, page URL, UTM parameters, visit history and contact data.
.avif)
Answers can also carry scores, so outcomes can depend on a total rather than on mapping every combination — which is how you keep a branching form maintainable without writing anything.
Step 5: Connect integrations by selecting
.avif)
Add an automation, choose the platform, choose the list. Custom fields map by picking the destination field from a dropdown of fields that already exist — so you can't create an orphan by mistyping a name, which is the usual failure when wiring forms by hand.
Step 6: Install with one snippet
Add ConvertFlow's snippet once to WordPress, Webflow, Squarespace or any site that accepts HTML — or connect Shopify and it installs automatically with no theme editing.
That single script then covers every form, popup and landing page you build afterwards. You don't repeat the install per form.
Step 7: Verify and test

Turn on email verification, preview the form, and walk each branch. Automations don't fire in preview, so you can test freely.
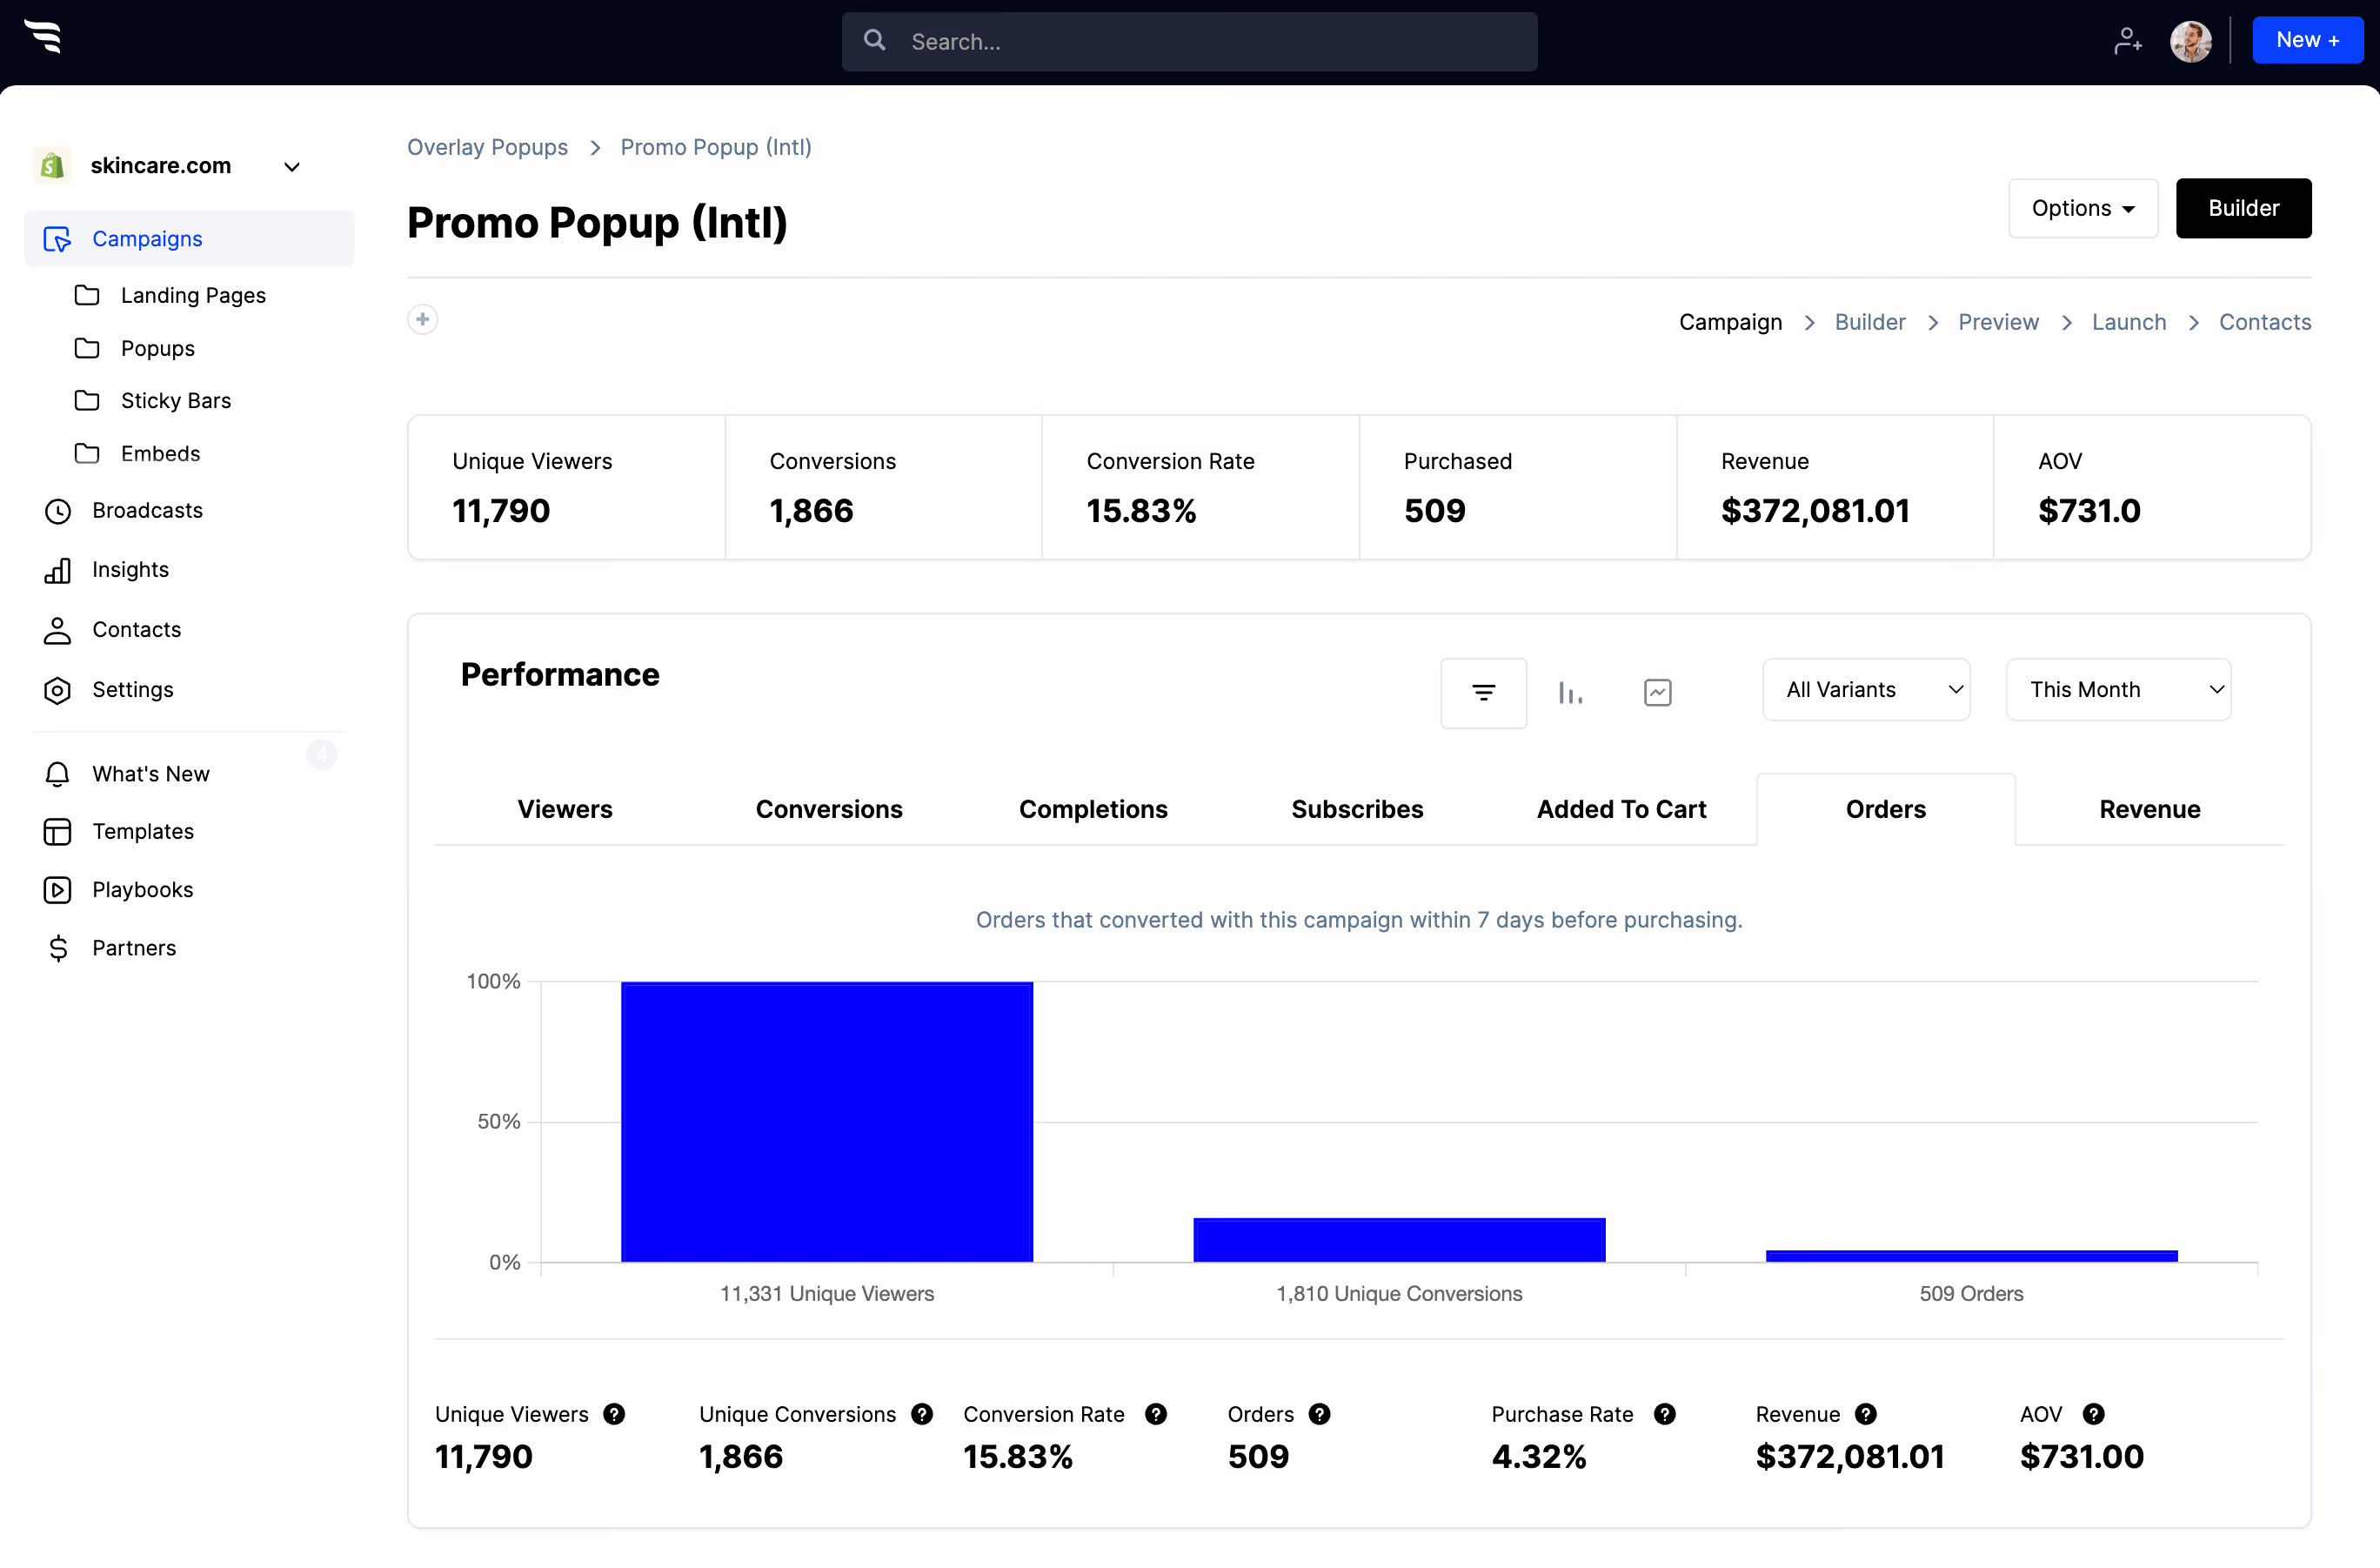
Step 8: Read the report
.avif)
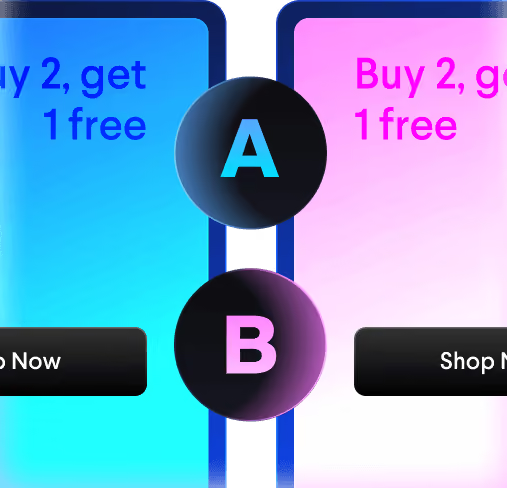
Per-field drop-off tells you which fields are costing completions — and A/B testing variants is a toggle rather than a deployment.
The one place code still helps
If you have an existing analytics event taxonomy you need to match exactly, a developer can shape conversion events using ConvertFlow's javascript API rather than the built-in event names. Everything above is optional to that — but worth knowing the option exists before you commit to a naming scheme.



%20(1).avif)







.svg)
