



Why build Attio forms in ConvertFlow
Attio is a CRM, so the contact record is the point. What ends up on it decides whether your pipeline is workable or a list of email addresses somebody has to research one by one.
Most website forms give you a name and an email and leave the rest to a rep. ConvertFlow forms create the same Attio record, but with the qualifying answers already attached — company size, use case, timeline, budget range — collected across multiple steps, with conditional paths so you only ask what's relevant.
The difference shows up in what your team opens on Monday morning.
1. Connect Attio to ConvertFlow
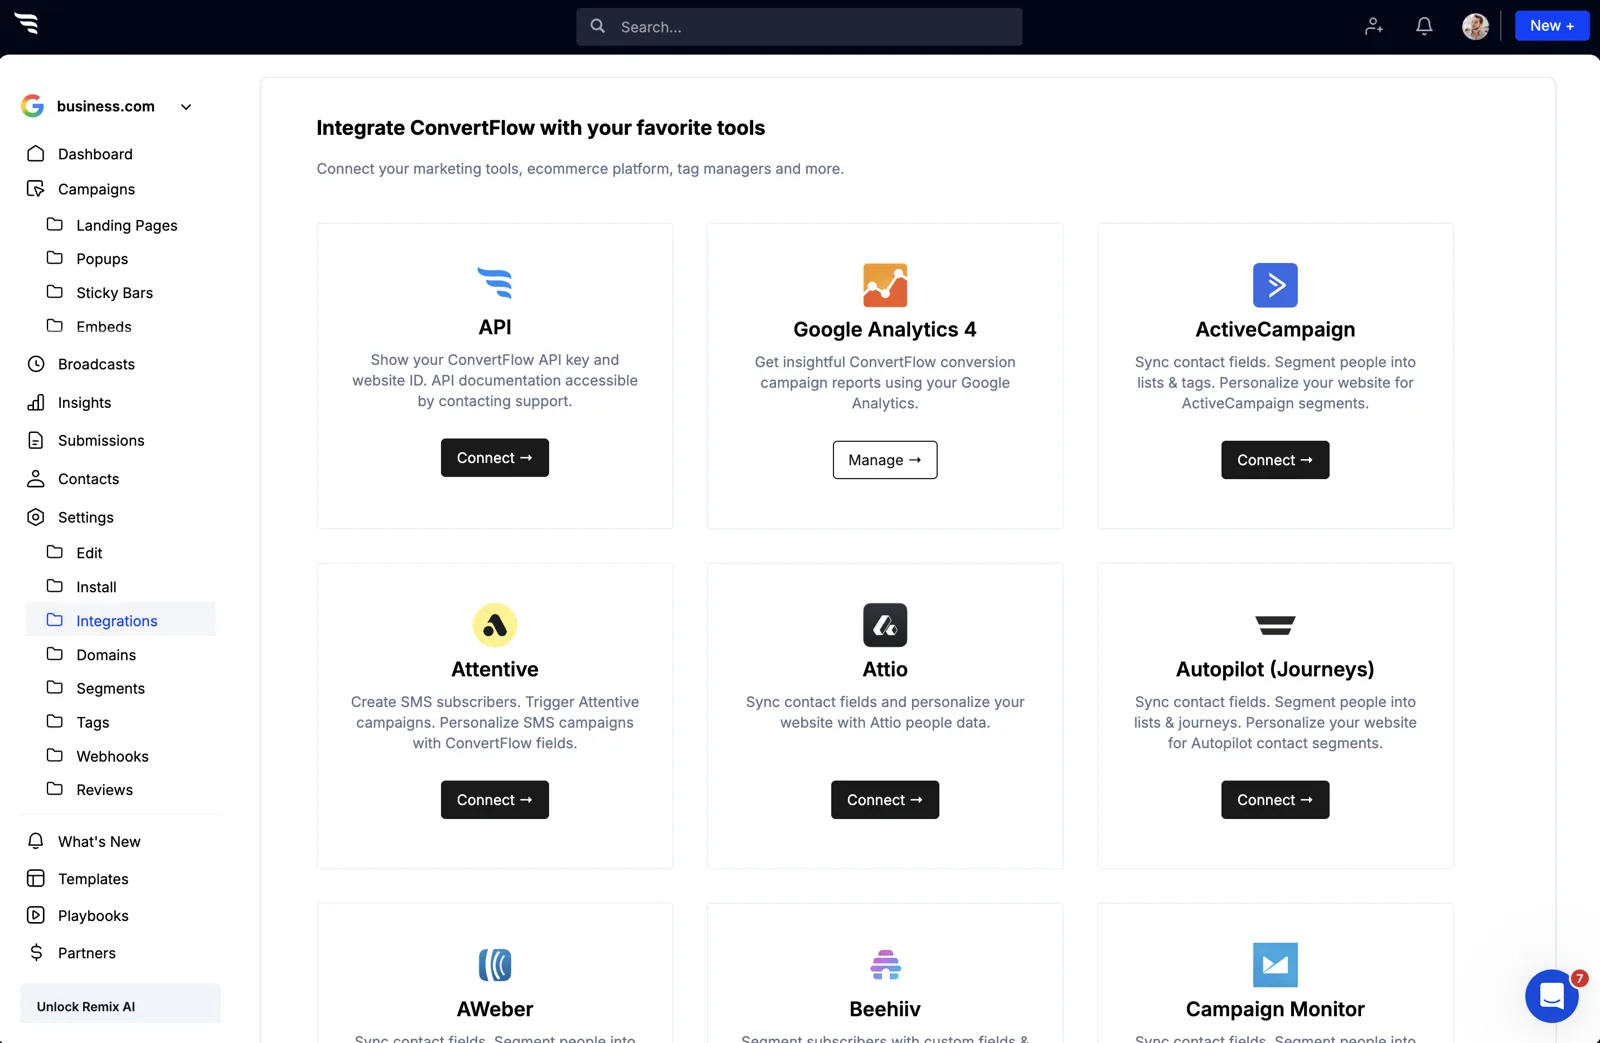
Head to your ConvertFlow website's Integrations area and click to connect with Attio.
In Attio you'll be asked to give ConvertFlow permission to access the data and API endpoints it needs. Review the list and click "Allow".
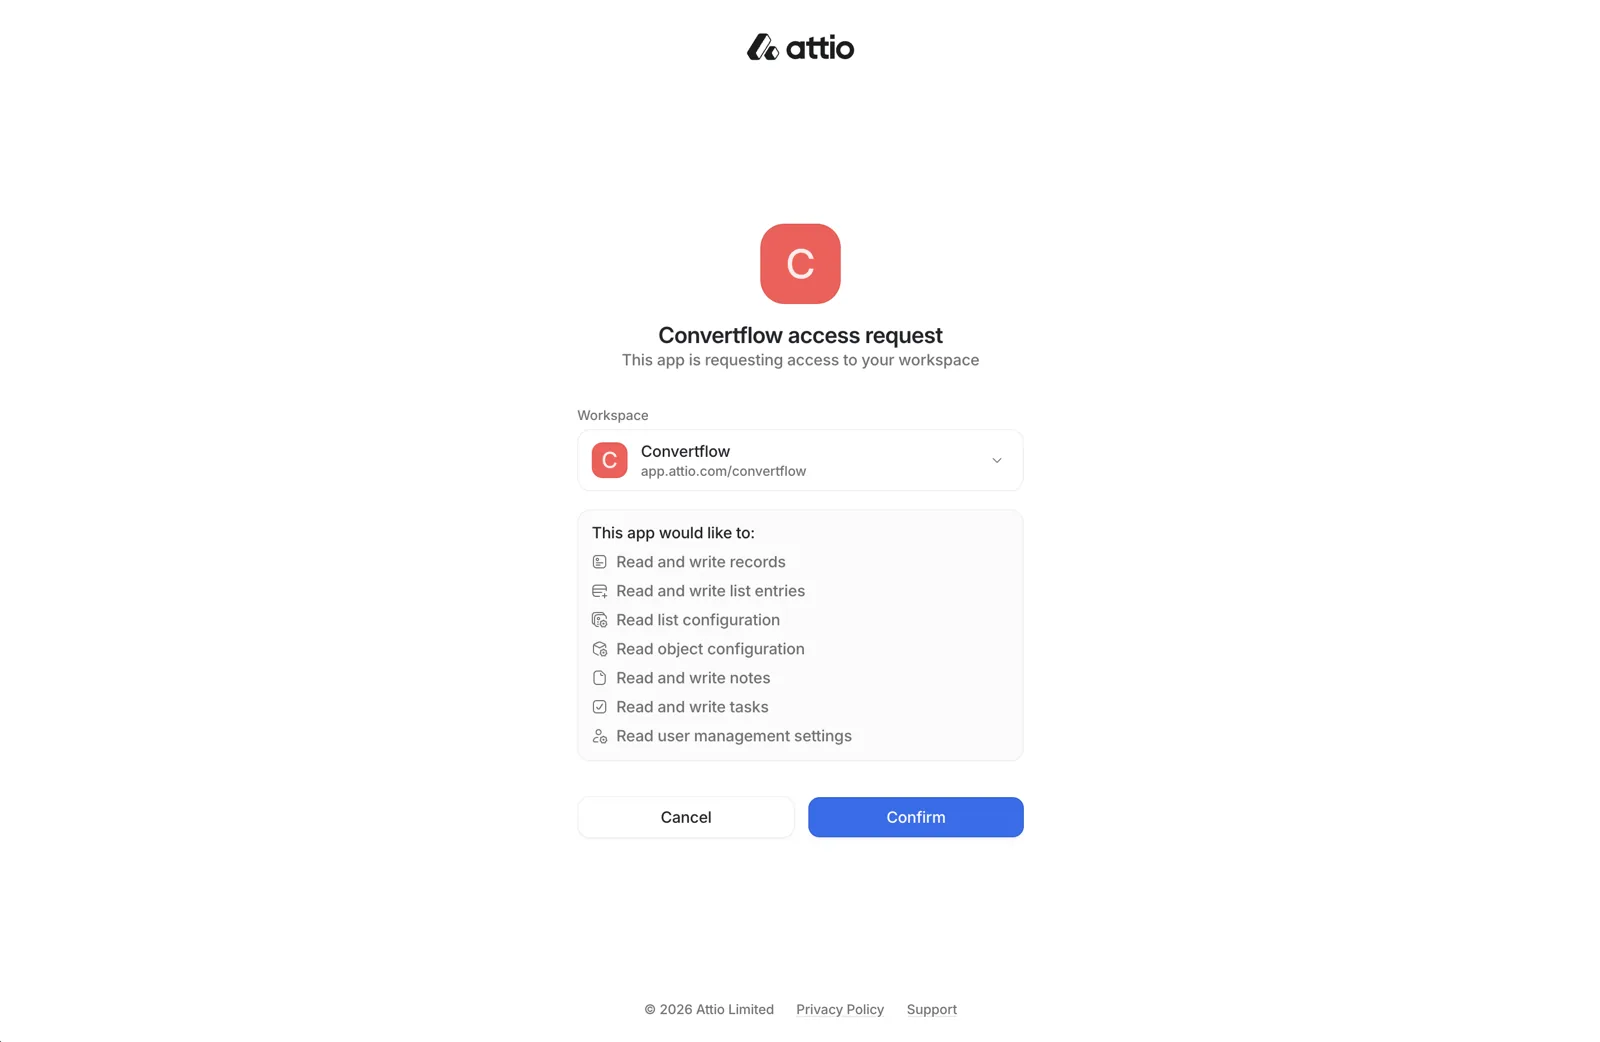
There's no API key to generate or paste. Once you allow it, ConvertFlow starts pulling in your lists and fields, so you can trigger automations and segment contacts as visitors submit your funnels.
2. If a new list or field doesn't appear, resync
ConvertFlow refreshes the Attio integration at least once per day. If you create a list or field in Attio and it isn't in ConvertFlow's dropdowns yet, nothing is broken — it just hasn't been fetched.
Click Resync and ConvertFlow pulls the latest workspace data immediately.
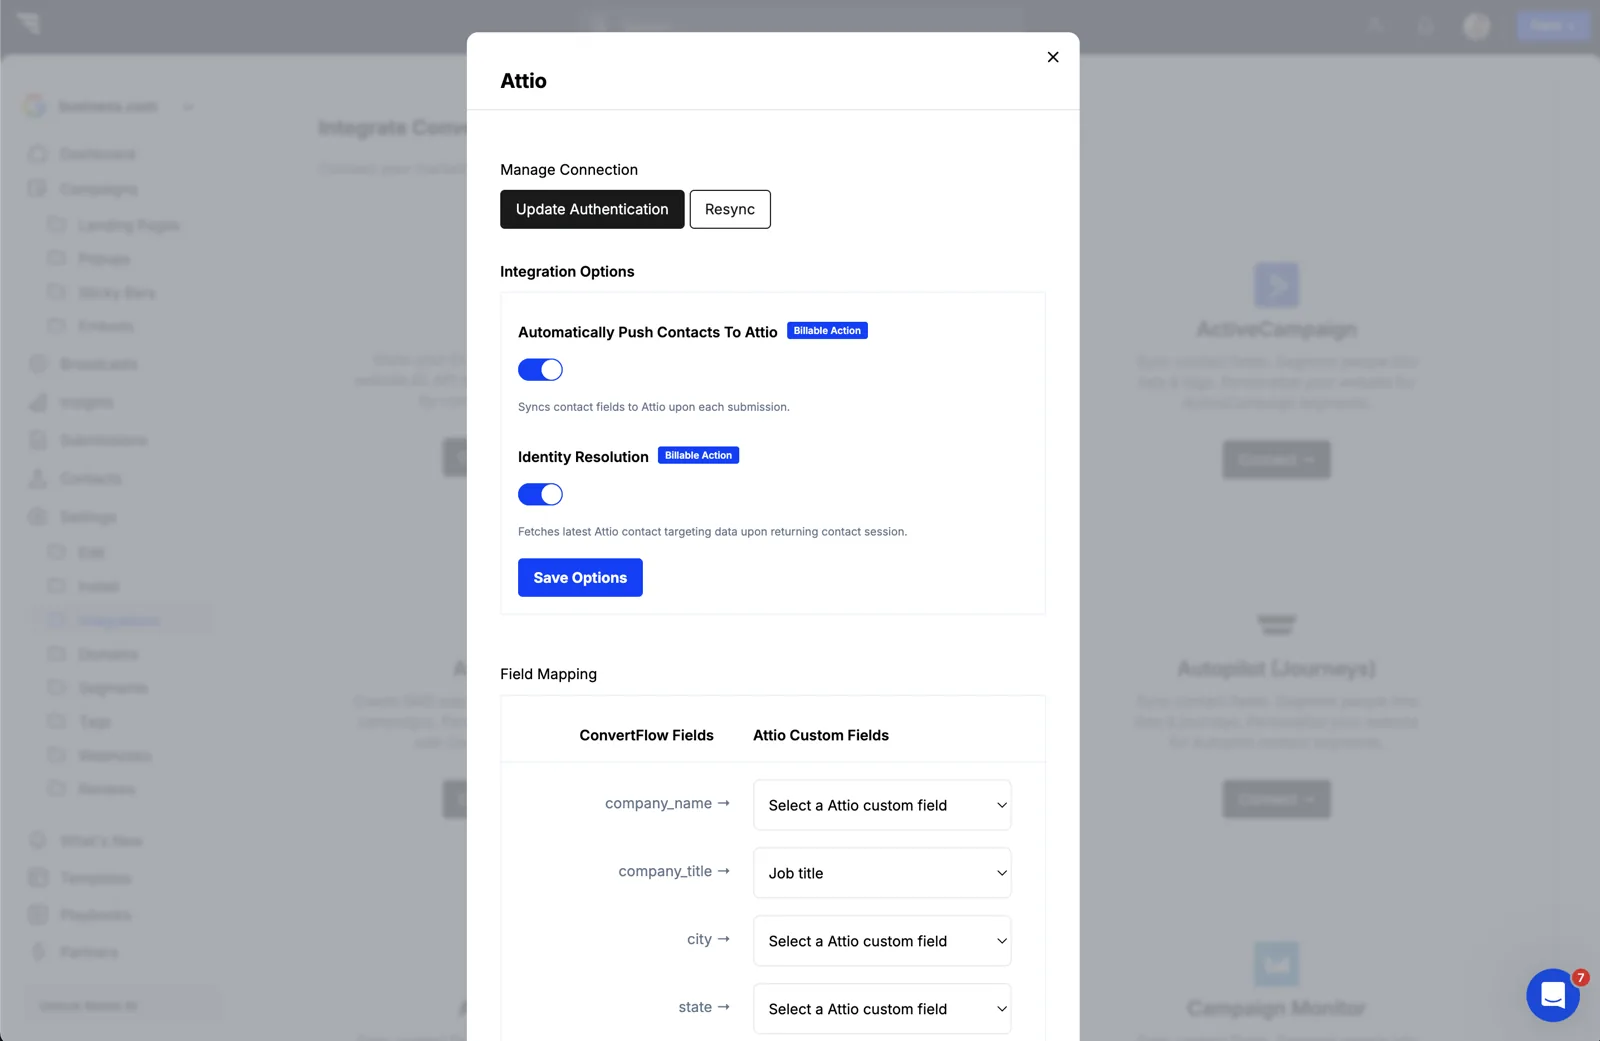
Worth building the habit: create your Attio fields first, resync, then build the form. Attio workspaces get customized heavily, so the fields you want usually need creating before the form does.
3. Add a form to your campaign
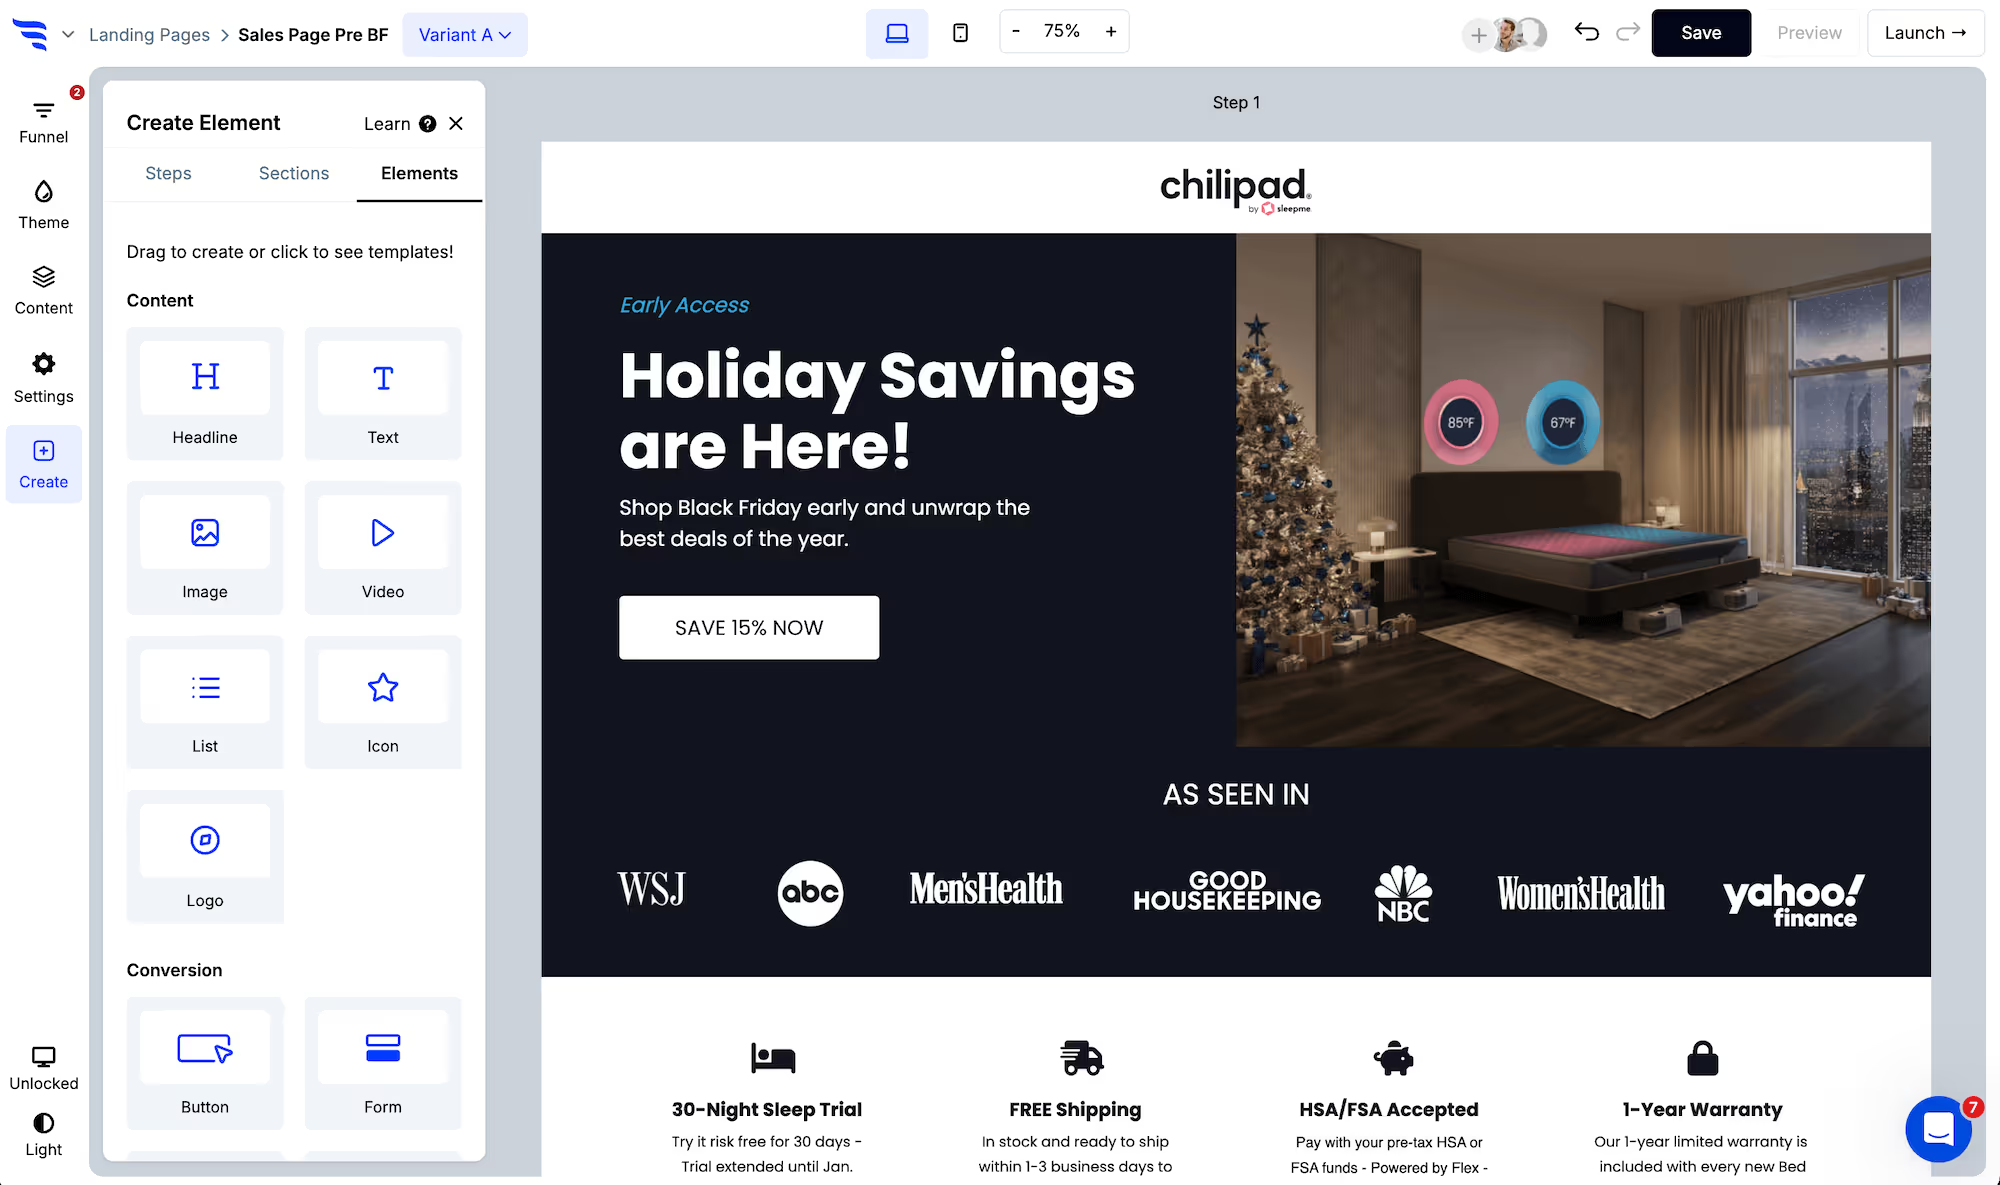
Add your Attio form to a ConvertFlow landing page, popup or embed. Click to add an element and choose the "form" element type — start from a form template or build from scratch.
.avif)
4. Toggle the contact fields you want
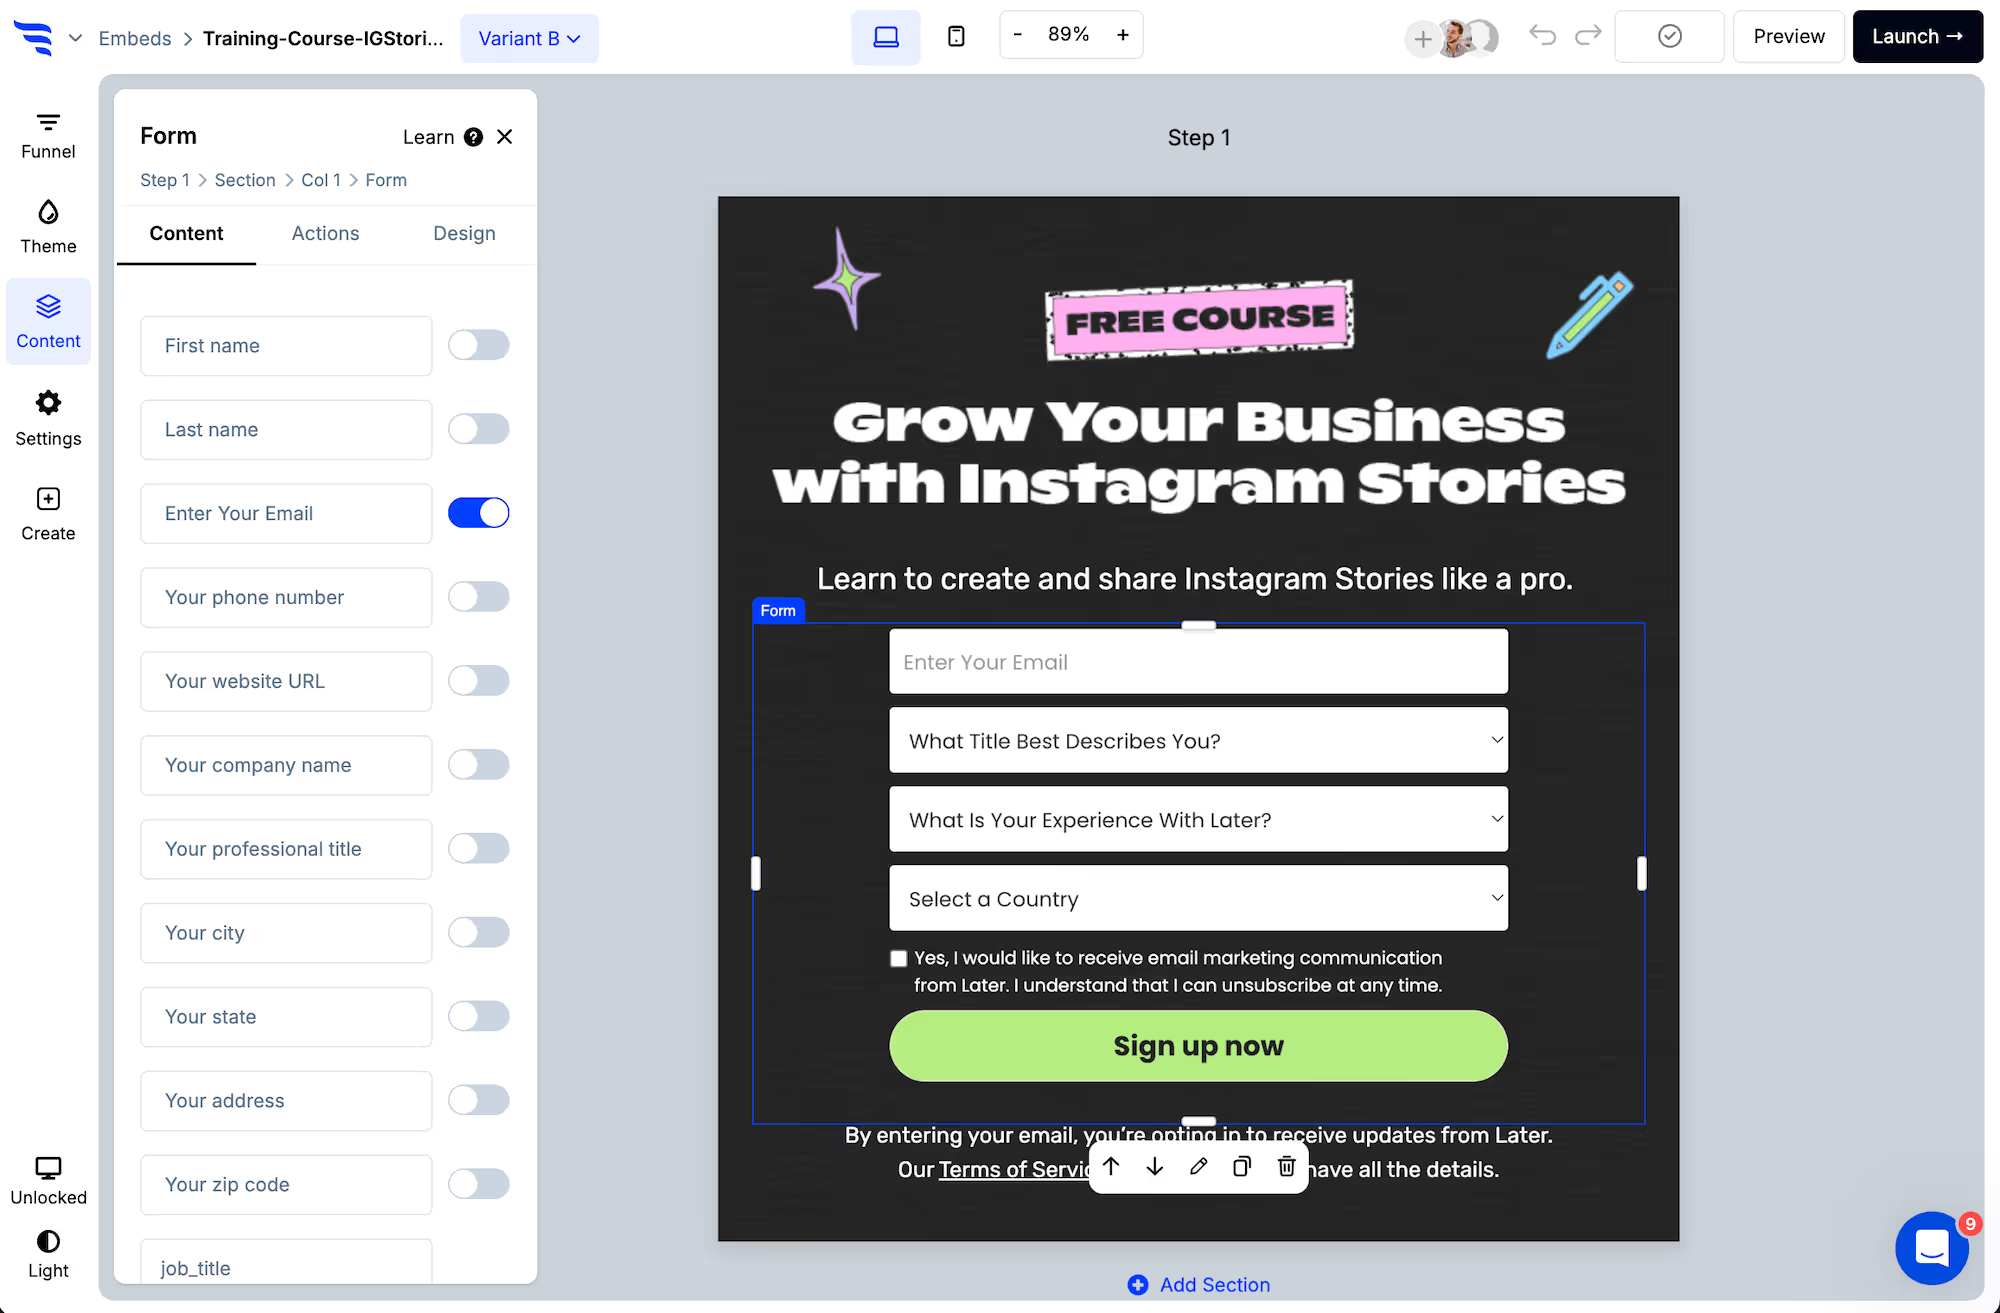
Select the form element and switch on the contact fields to request. Email address and first name map to Attio automatically.
.png)
Each field can be edited from the builder panel — placeholder text, label, required state and more.
.avif)
5. Verify the email before it becomes a record
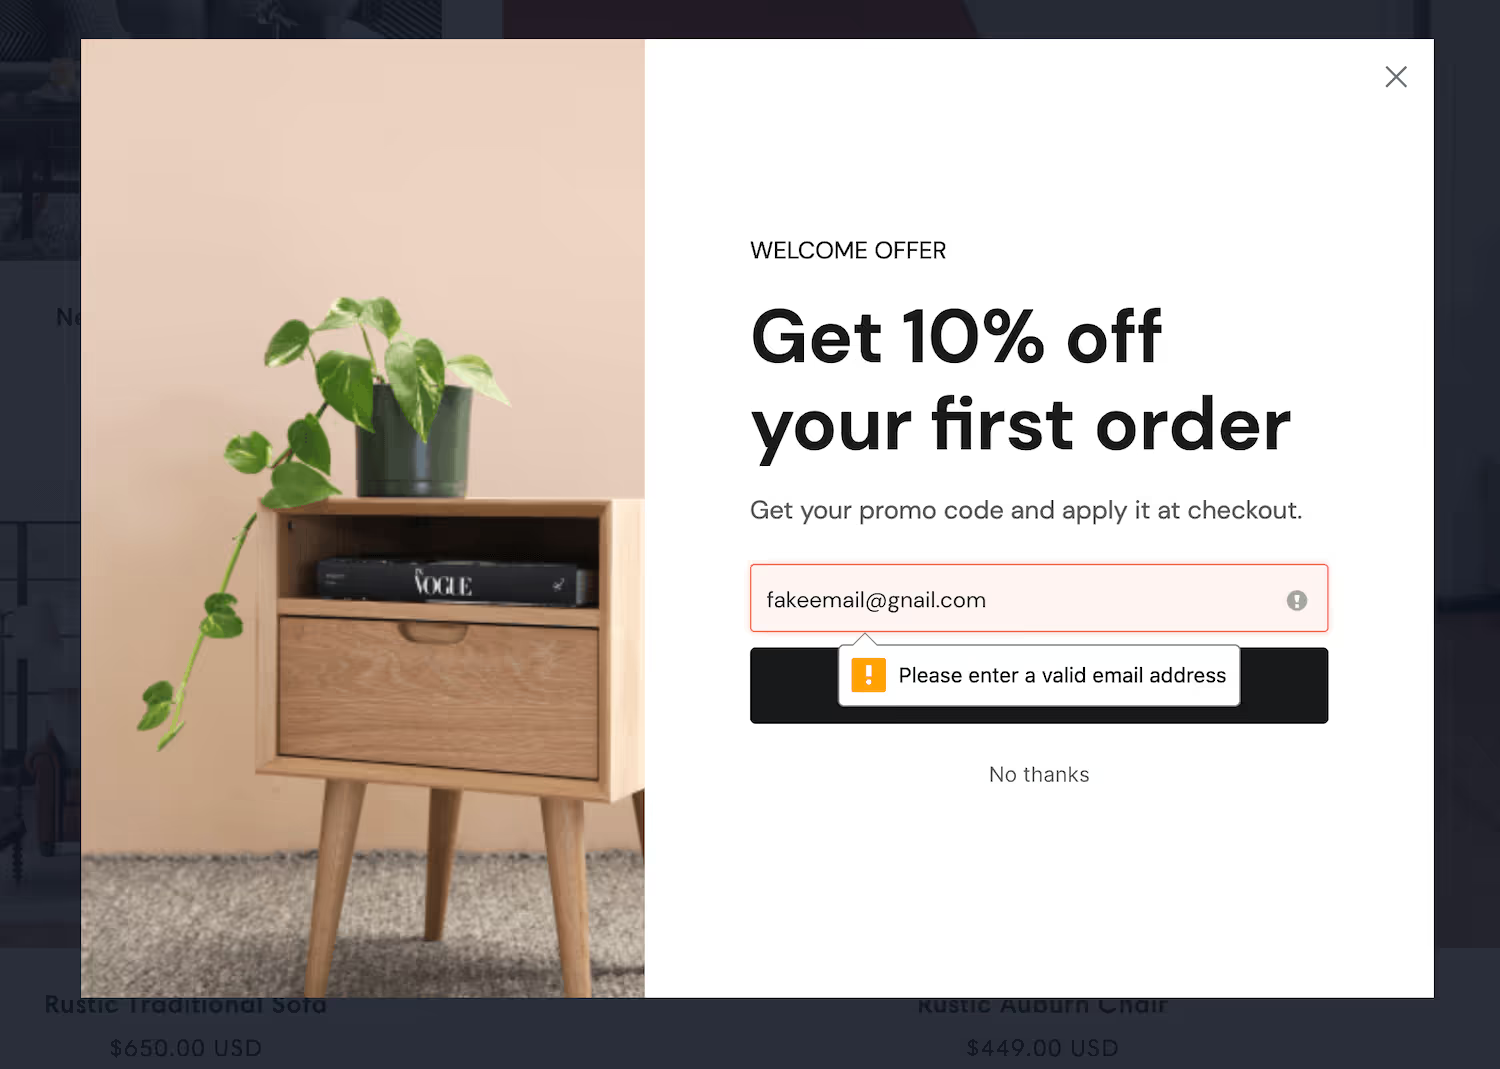
ConvertFlow can check that an entered address exists with its provider before the record reaches Attio.
In a CRM this matters differently than in an email tool. A junk address in an ESP costs you deliverability; a junk record in Attio costs you a rep's time, gets worked, gets chased, and sits in your pipeline reporting as a real lead until someone gives up on it.
6. Add consent checkboxes
Scroll below the preset contact fields to find compliance checkboxes:
- Privacy consent: link to your privacy policy and terms of service alongside a required checkbox.
- Marketing consent: if your form captures a lead but also opts them into ongoing marketing, collect consent for it separately.
The distinction is worth keeping straight in B2B — someone requesting a demo has asked to be contacted about that, which isn't the same as subscribing to your newsletter.
7. Ask the qualifying questions
This is where a ConvertFlow form earns its place over a plain contact form.
By clicking to add a field at the end of the fields list, you can add as many custom fields as you'd like.
.avif)
When naming the field, select from "Attio fields" — a dropdown of the fields that already exist in your workspace. The value collected goes straight into that field on the Attio record.
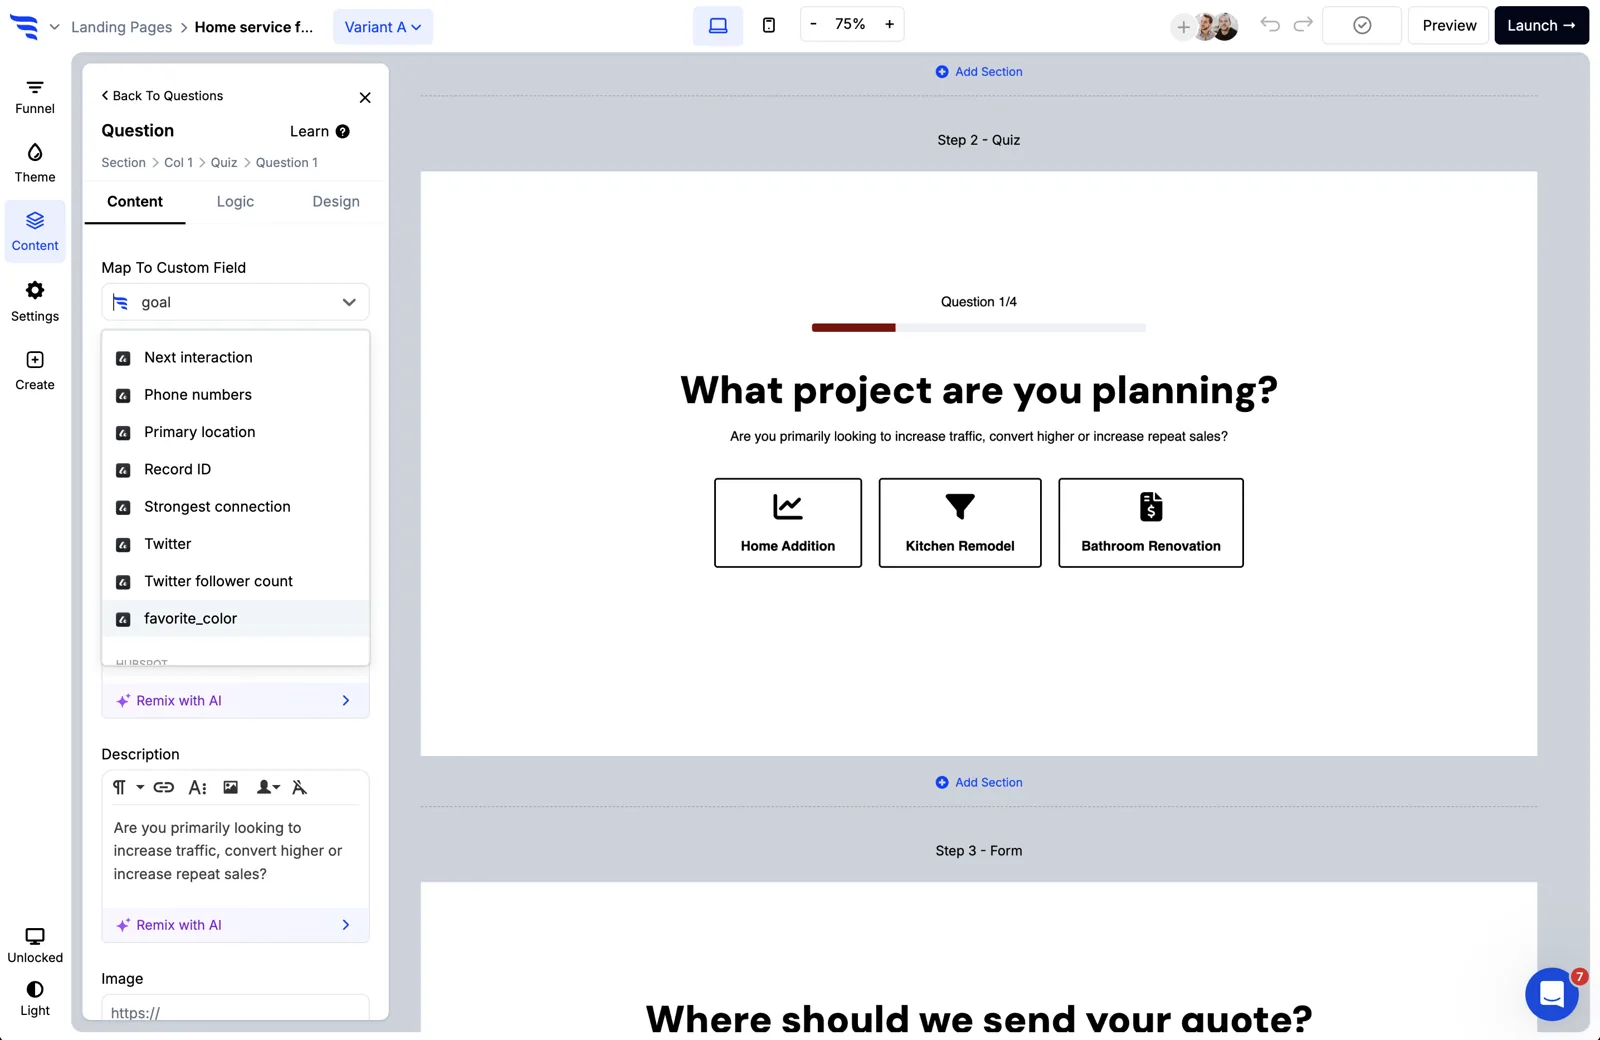
Choose the field type — text, dropdown, radio selection, paragraph or hidden. Dropdown and radio options can carry score values, which is how you build a qualification score rather than just collecting answers.
Use hidden fields. On a B2B form these are underrated: capture the page they converted on, the UTM campaign, the referrer — all into Attio fields, without asking the person anything. Your team then knows what the lead was reading when they decided to fill it in.
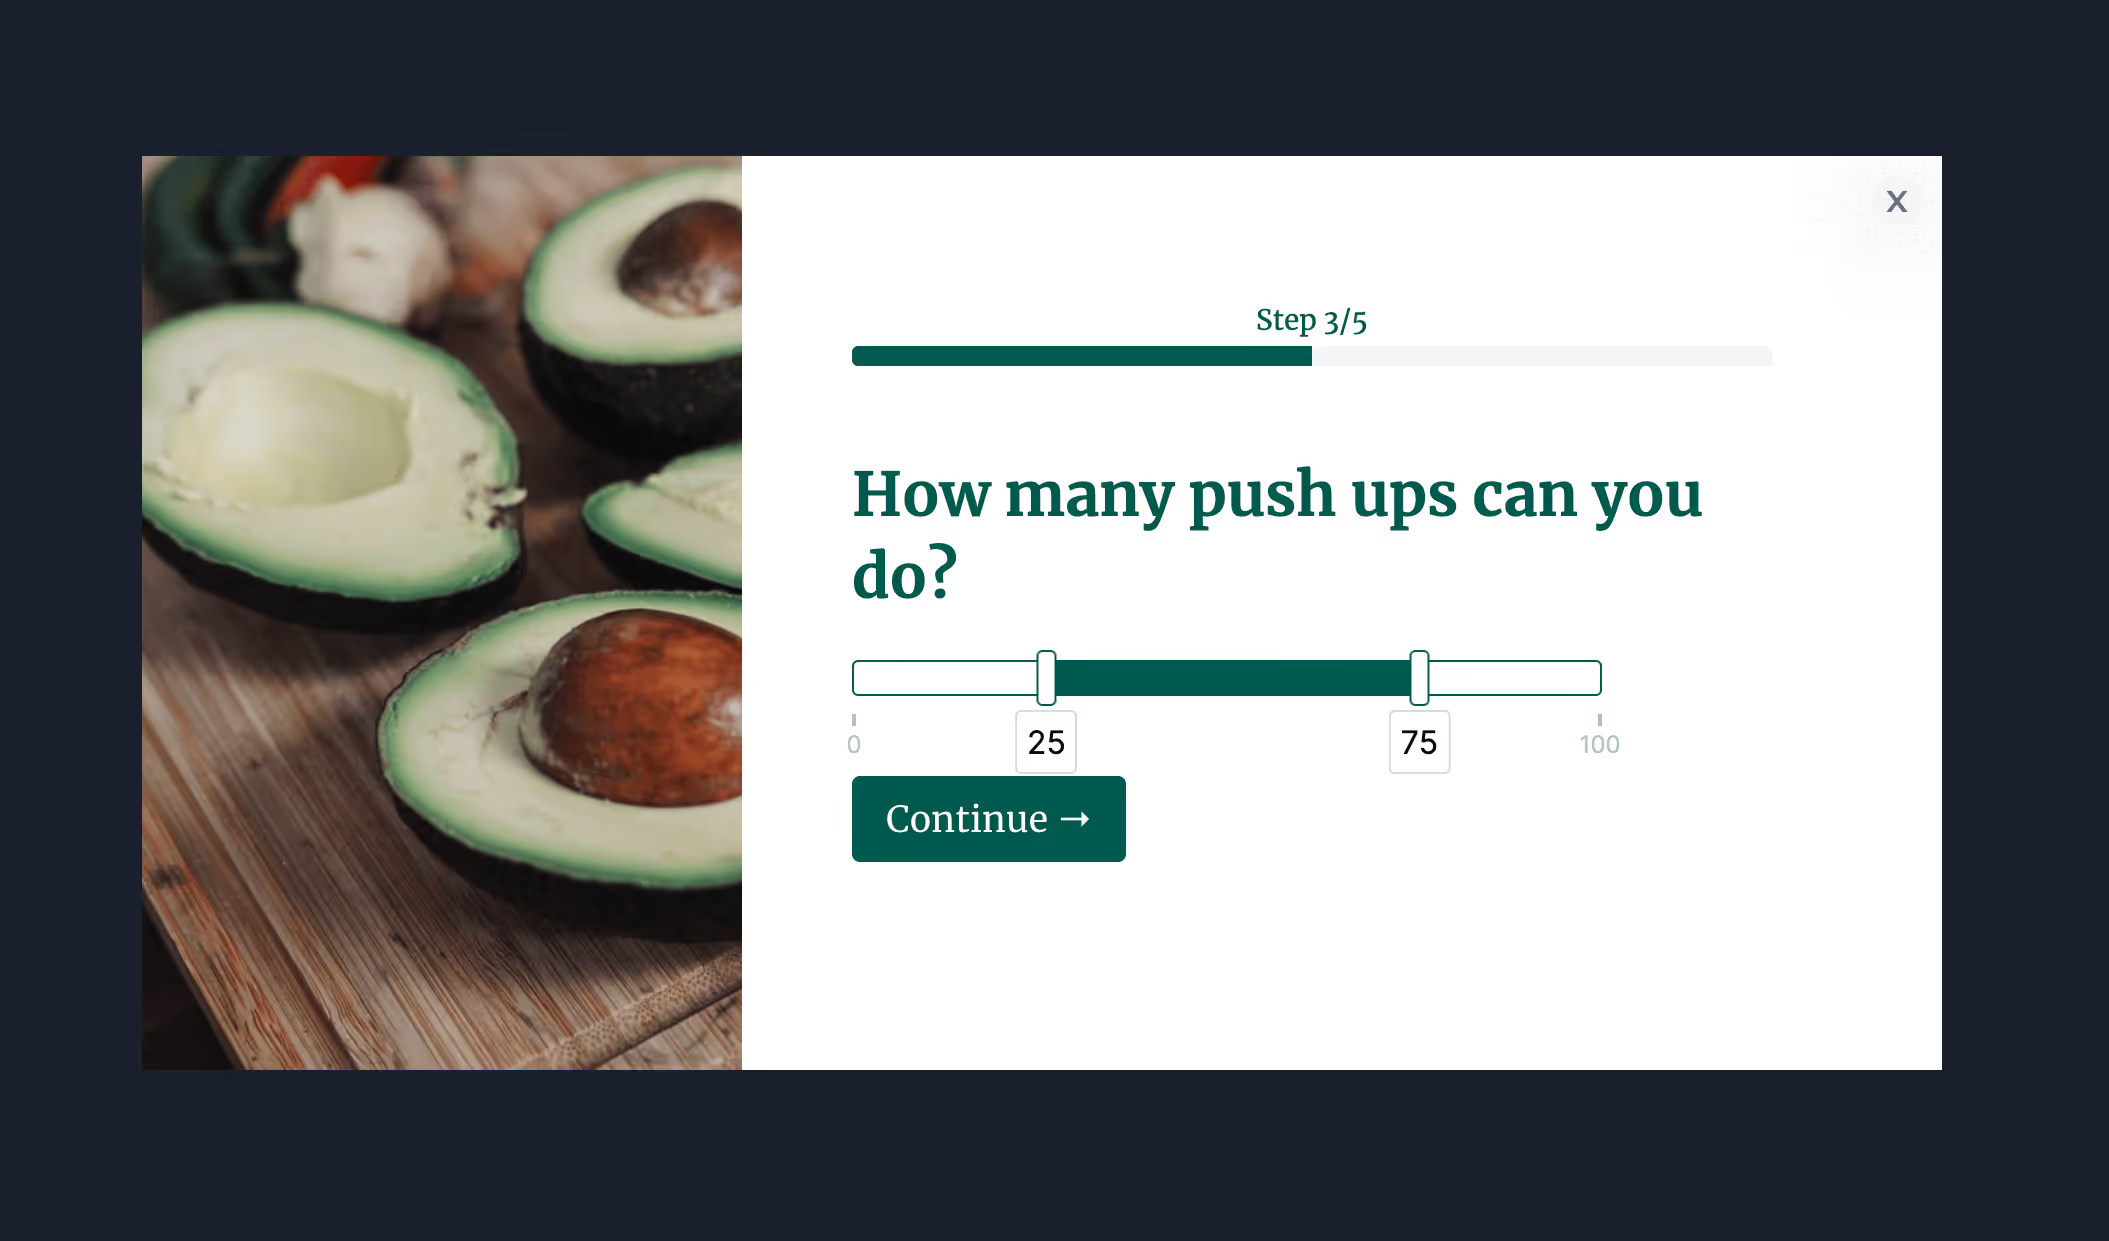
Quiz questions map to Attio fields the same way, so a multi-step qualifier writes each answer to its own field.
8. Map ConvertFlow's preset fields to Attio
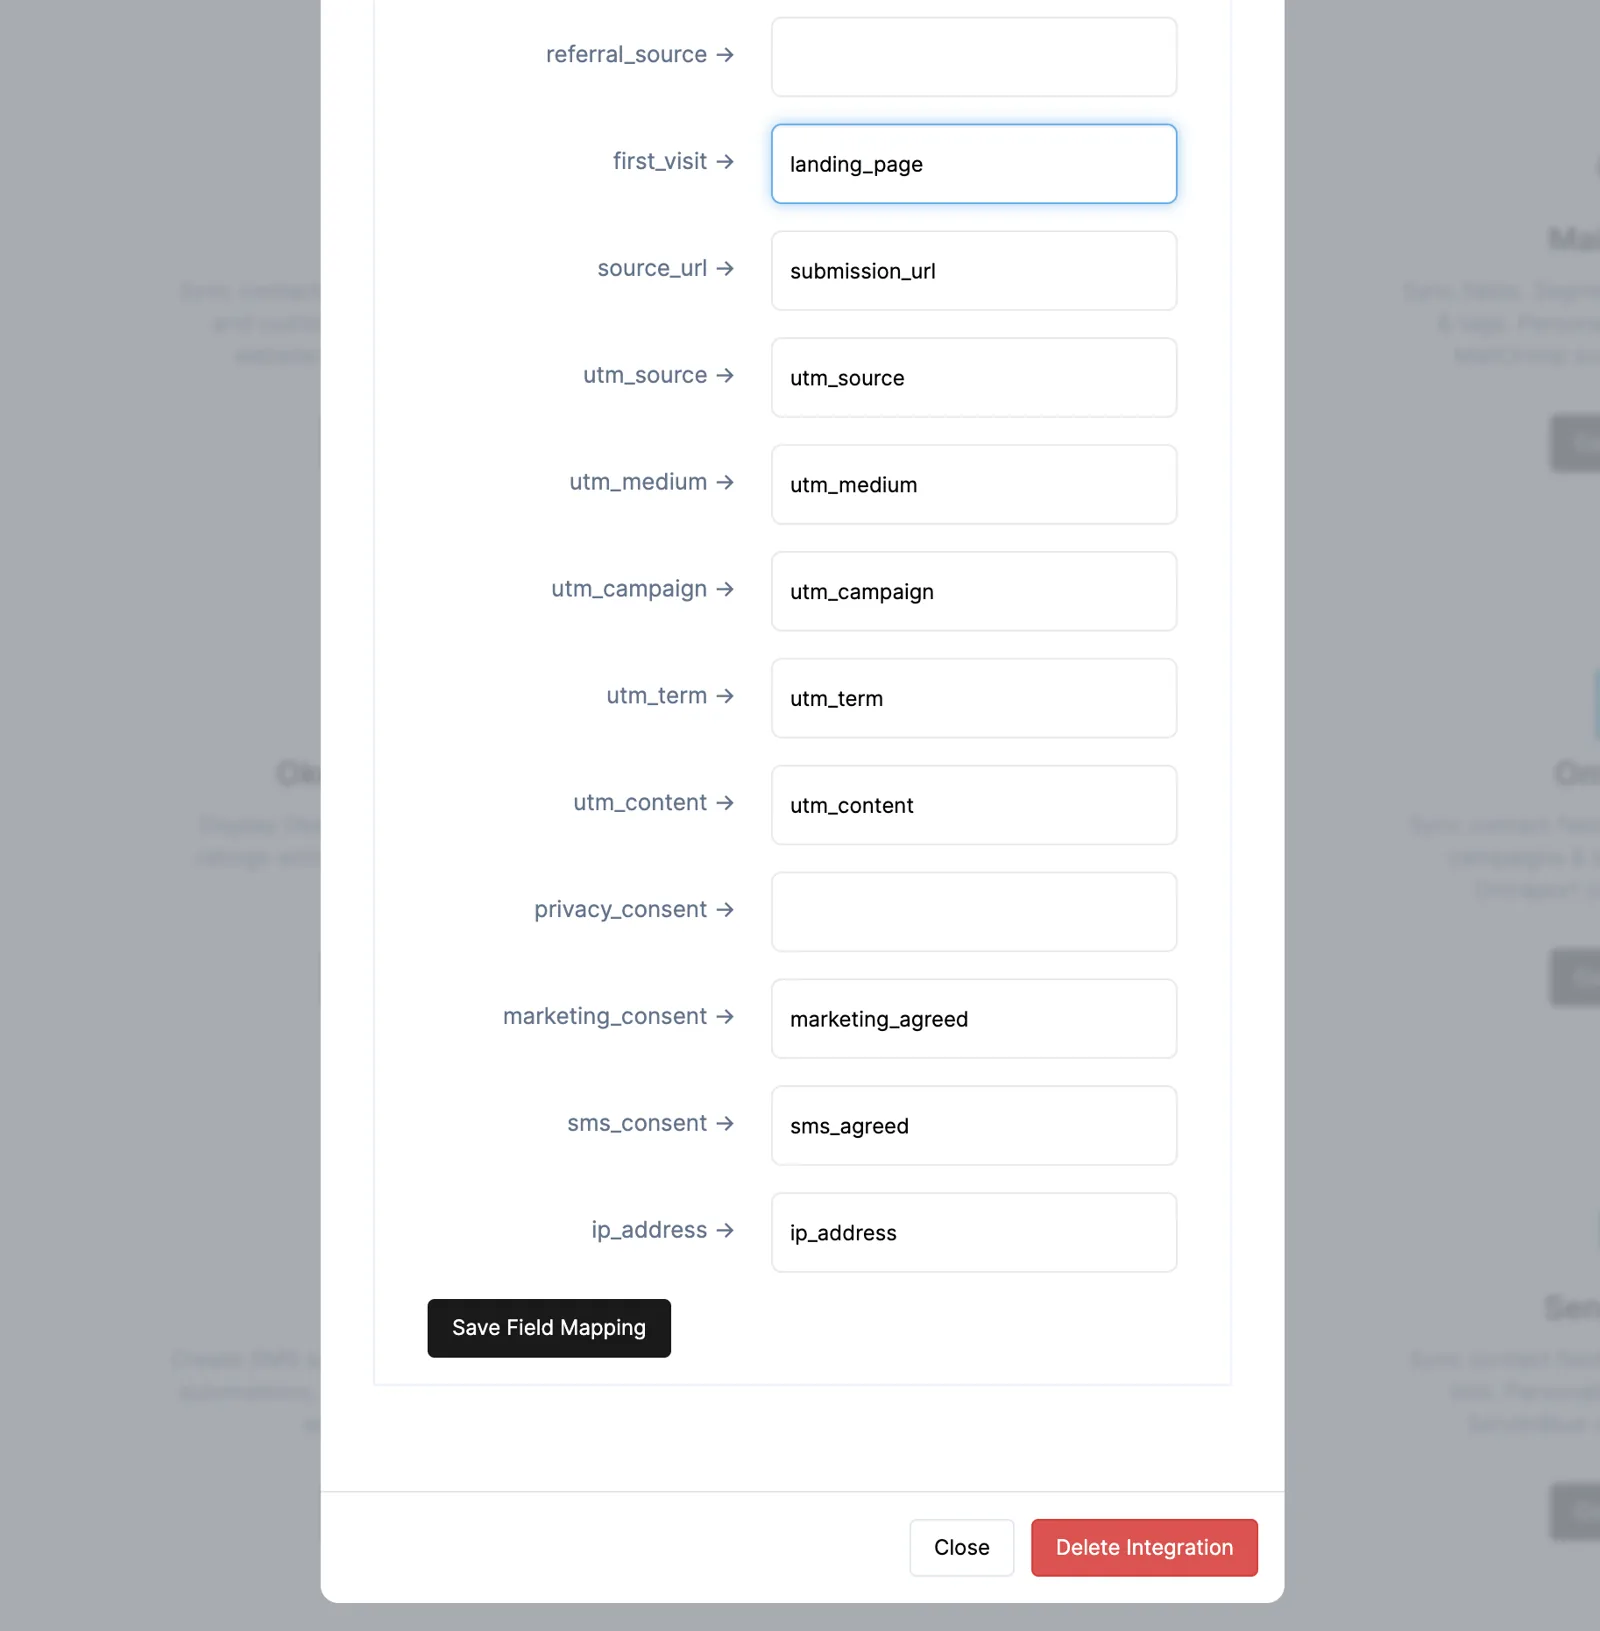
With Attio connected, your Integrations page shows a Fields button. Use it to map ConvertFlow's preset contact fields to Attio fields by entering each field's data name. Email address and first name are already mapped.
9. Style the form
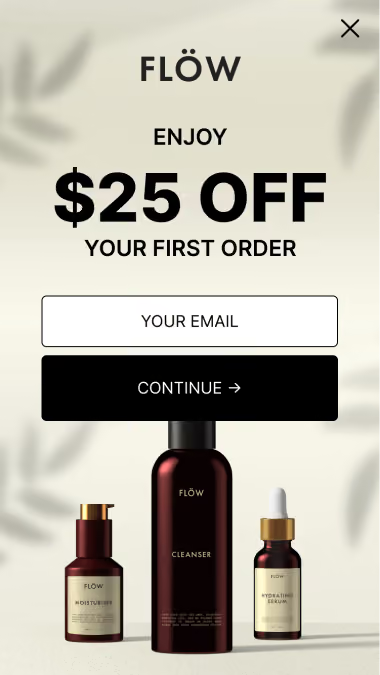
In the Design tab, set spacing, field layout, width, fonts, button colour and roundness, field colour and shadows — so the form matches your site rather than looking like a generic CRM embed.
.avif)
10. Route by what they told you
In the Actions tab, choose what follows submission — redirect to a URL, jump to another funnel step, display a thank-you message, or open a popup.
.avif)
Alongside it, add automations that fire on submit — including which Attio list the contact joins.
Conditional actions are where the qualifying questions pay off. A lead above your threshold can be sent to a booking page and added to a priority list; everyone else gets a thank-you and a nurture list. Same form, two outcomes, decided by the answers rather than by a rep reading the record later.
.avif)
11. Report on submissions
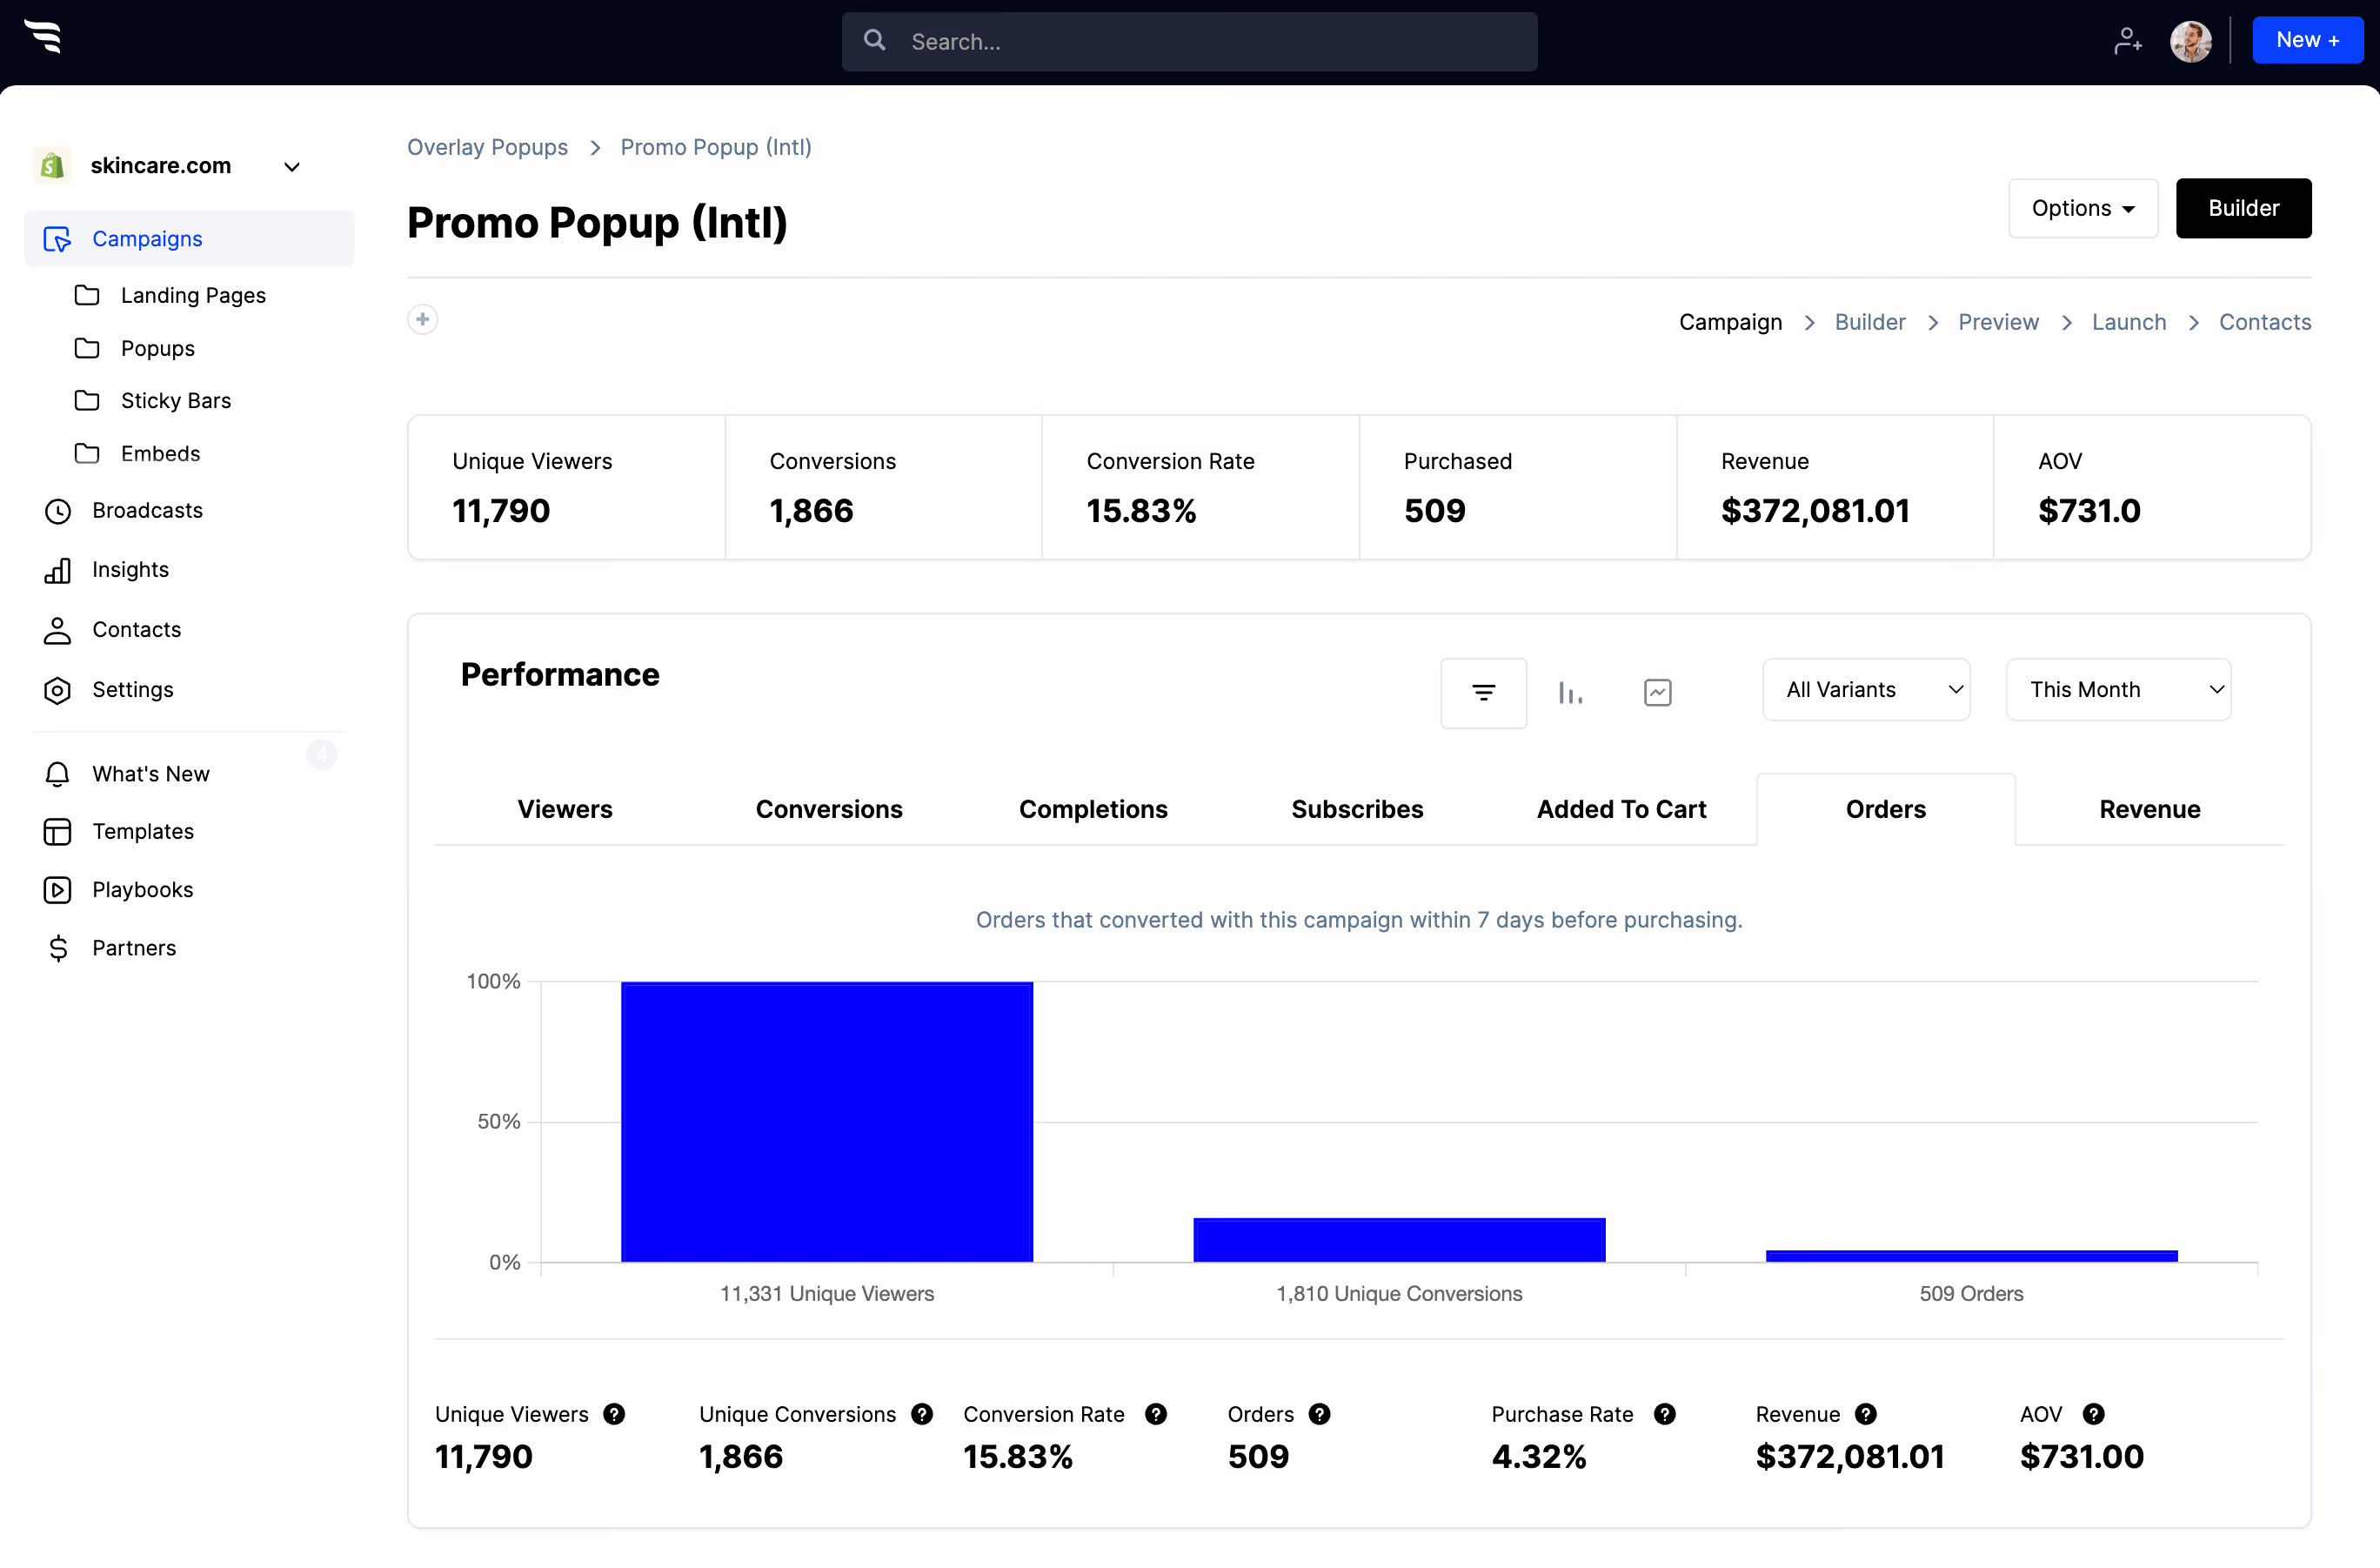
The funnel breakdown report shows how many people saw, converted and completed the form, where they dropped off, and which answers they selected.
.avif)
Watch the drop-off per question. Every qualifying question costs you some completions, and the report tells you which ones are worth that cost. A question your team never actually uses when working the lead is pure loss.
12. Personalize for existing Attio contacts
ConvertFlow can read your Attio segments and personalize your website for them — so an existing customer or an open opportunity sees something other than a lead capture form.
13. Publish
- On WordPress: add ConvertFlow's snippet once, then target the form to specific posts, pages or categories.
- Anywhere else: Webflow, Squarespace, Wix or any CMS take the same single embed snippet.



%20(1).avif)







.svg)
