



Why build Postscript forms in ConvertFlow
Postscript includes popup forms, and they're fine for a straightforward phone-number capture. The limits show up when you want the form to do more than one thing — qualify before asking, run multiple steps, route different answers to different keyword campaigns, or sit inside a full landing page rather than a popup.
ConvertFlow forms create the same Postscript subscribers, but add multi-step funnels, conditional paths, custom values written to message tags, and A/B testing with revenue attribution.
1. Connect Postscript to ConvertFlow
Head to your ConvertFlow website's Integrations area and click to connect with Postscript.
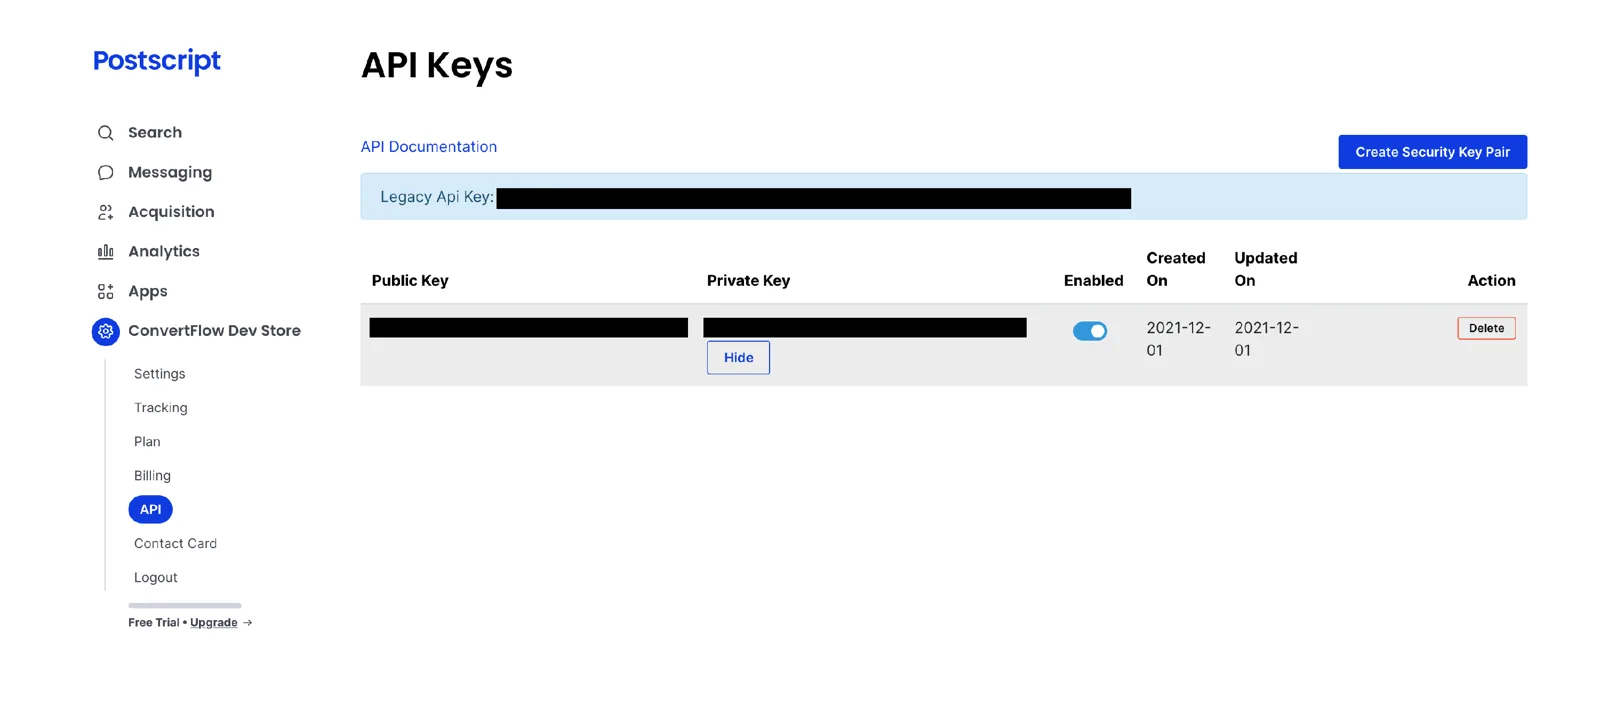
In Postscript, go to the API keys page, create an API key for ConvertFlow, and copy it.
Paste the private API key into ConvertFlow.
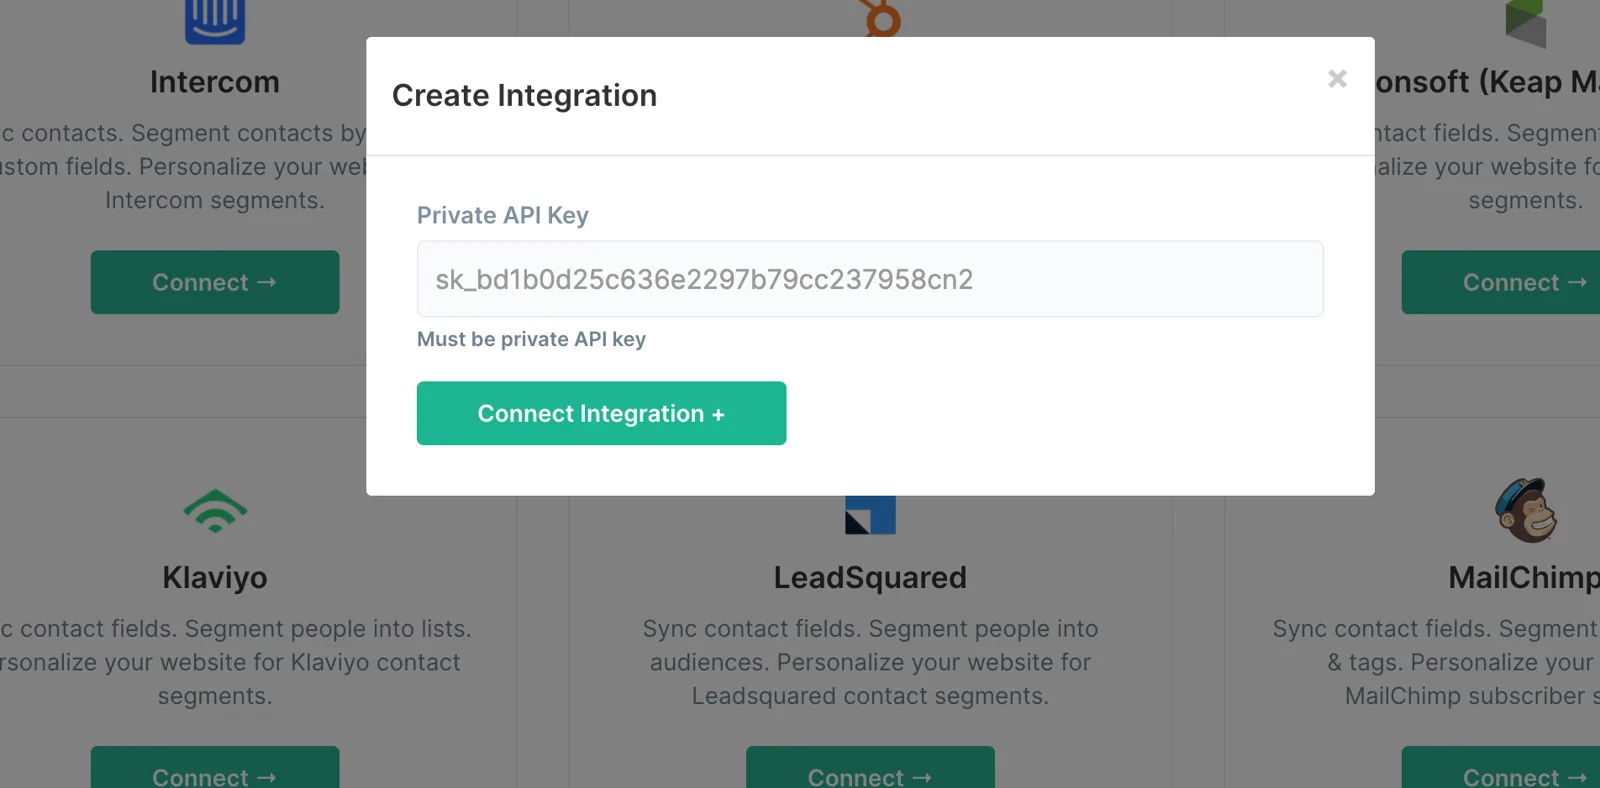
ConvertFlow now starts pulling in your Postscript keywords, so you can subscribe contacts to keyword campaigns, apply Postscript tags and trigger automations as people submit your forms.
2. Get the SMS consent right first
This is the step to handle before you think about design, because SMS is regulated more tightly than email and the consent has to be explicit and provable.
Scroll below the preset contact fields in your form element and you'll find a dedicated SMS consent checkbox, alongside privacy and marketing consent options. Use the SMS one, with the disclosures your programme requires.
A generic "I agree to the privacy policy" box is not the same thing, and neither is a line of small print under the button. If you're collecting a phone number for marketing texts, the person needs to have actively agreed to receive marketing texts.
Requirements differ by region and change over time, so confirm your specific wording with Postscript or your own counsel rather than copying a competitor's popup.
3. Add a form to your campaign
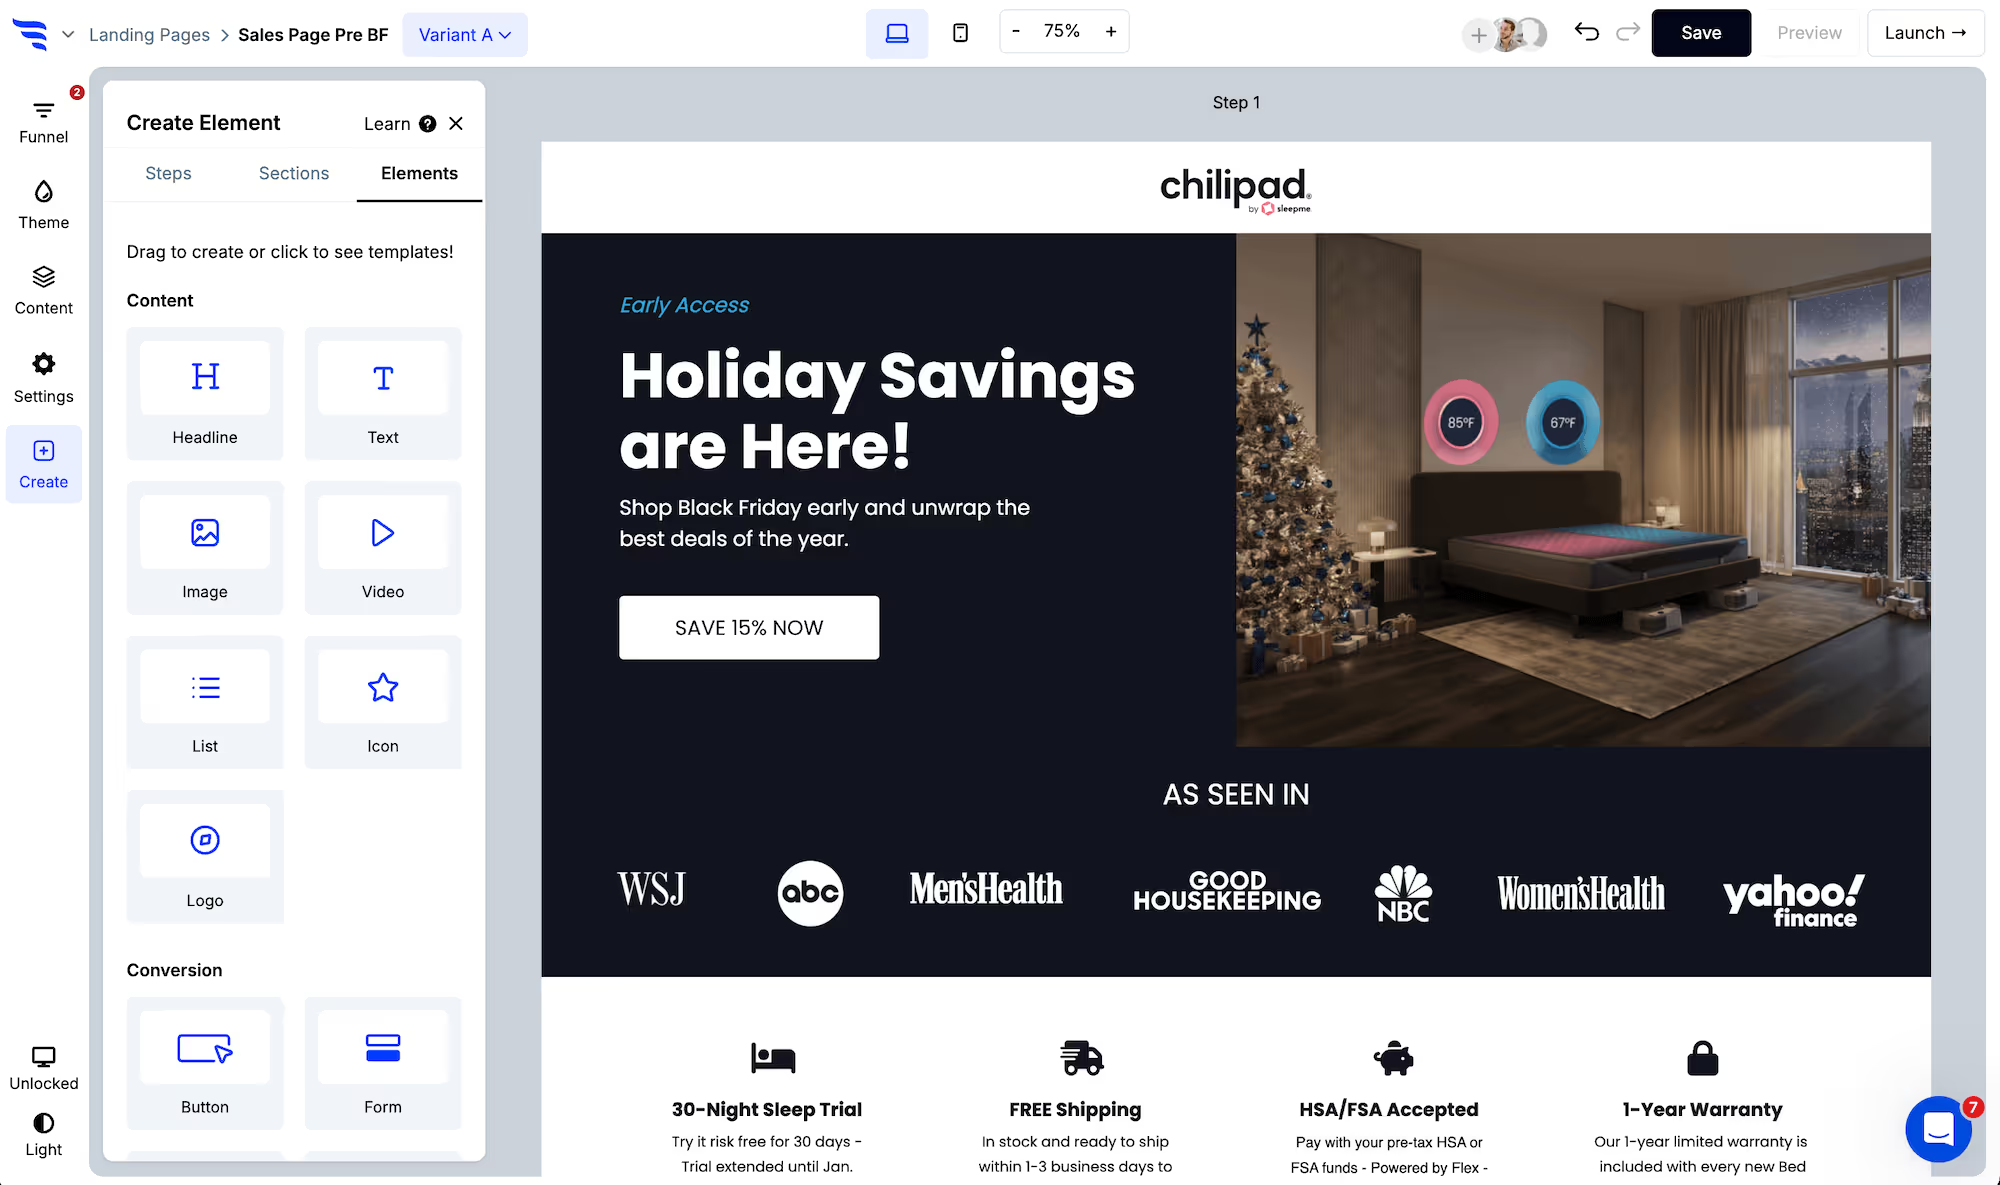
Add your Postscript form to a ConvertFlow landing page, popup or embed. Click to add an element and choose the "form" element type — start from a form template or build from scratch.
.avif)
4. Toggle the contact fields you want
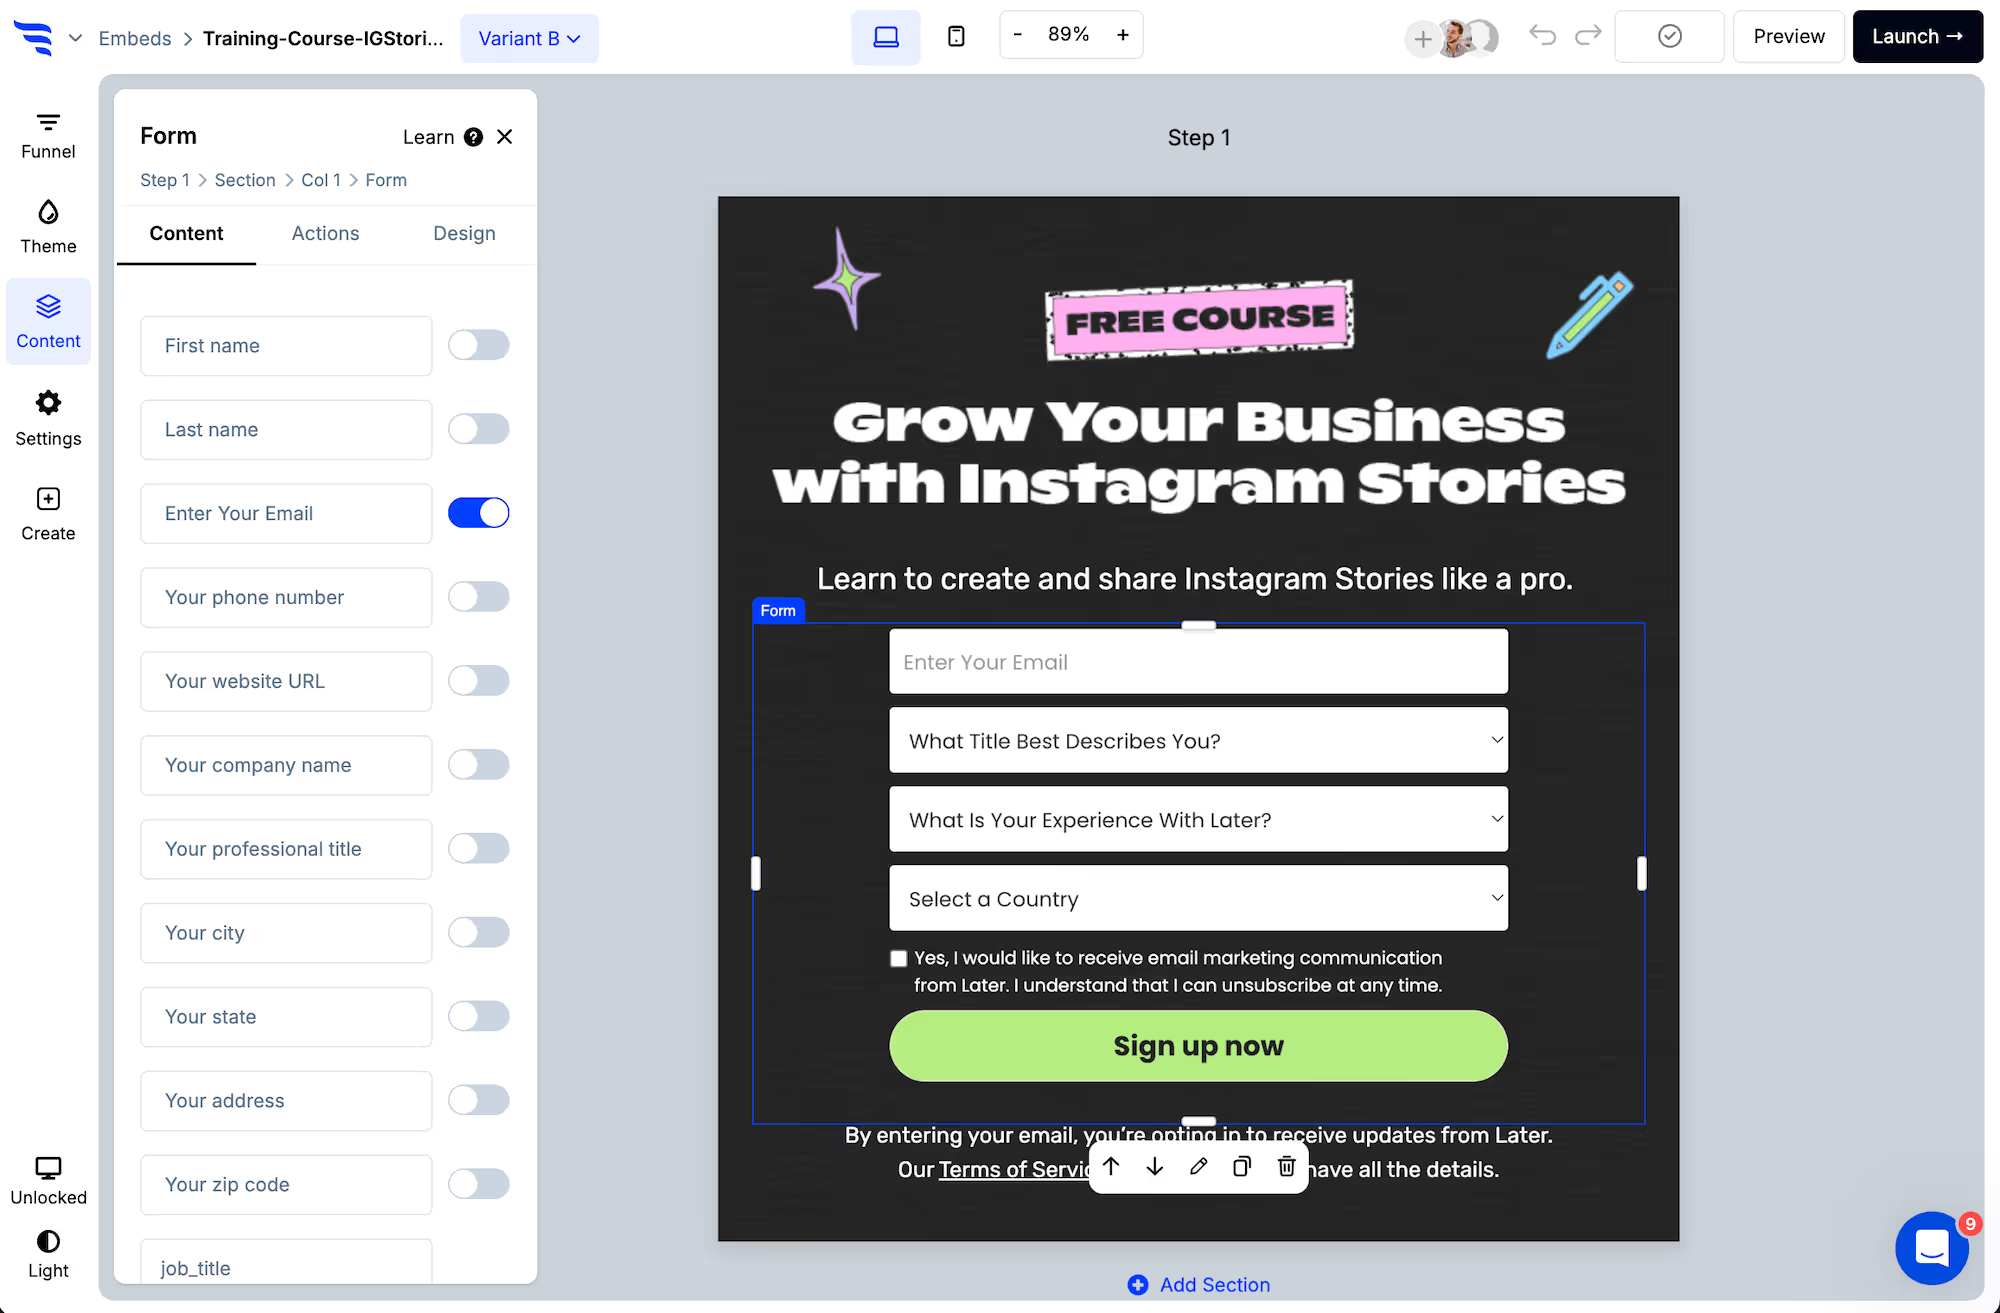
Select the form element and switch on the fields to request. Phone and email address both map to Postscript automatically — phone is the one that matters here.
.png)
Each field can be edited from the builder panel — placeholder text, label, required state and more.
.avif)
5. Verify the phone number
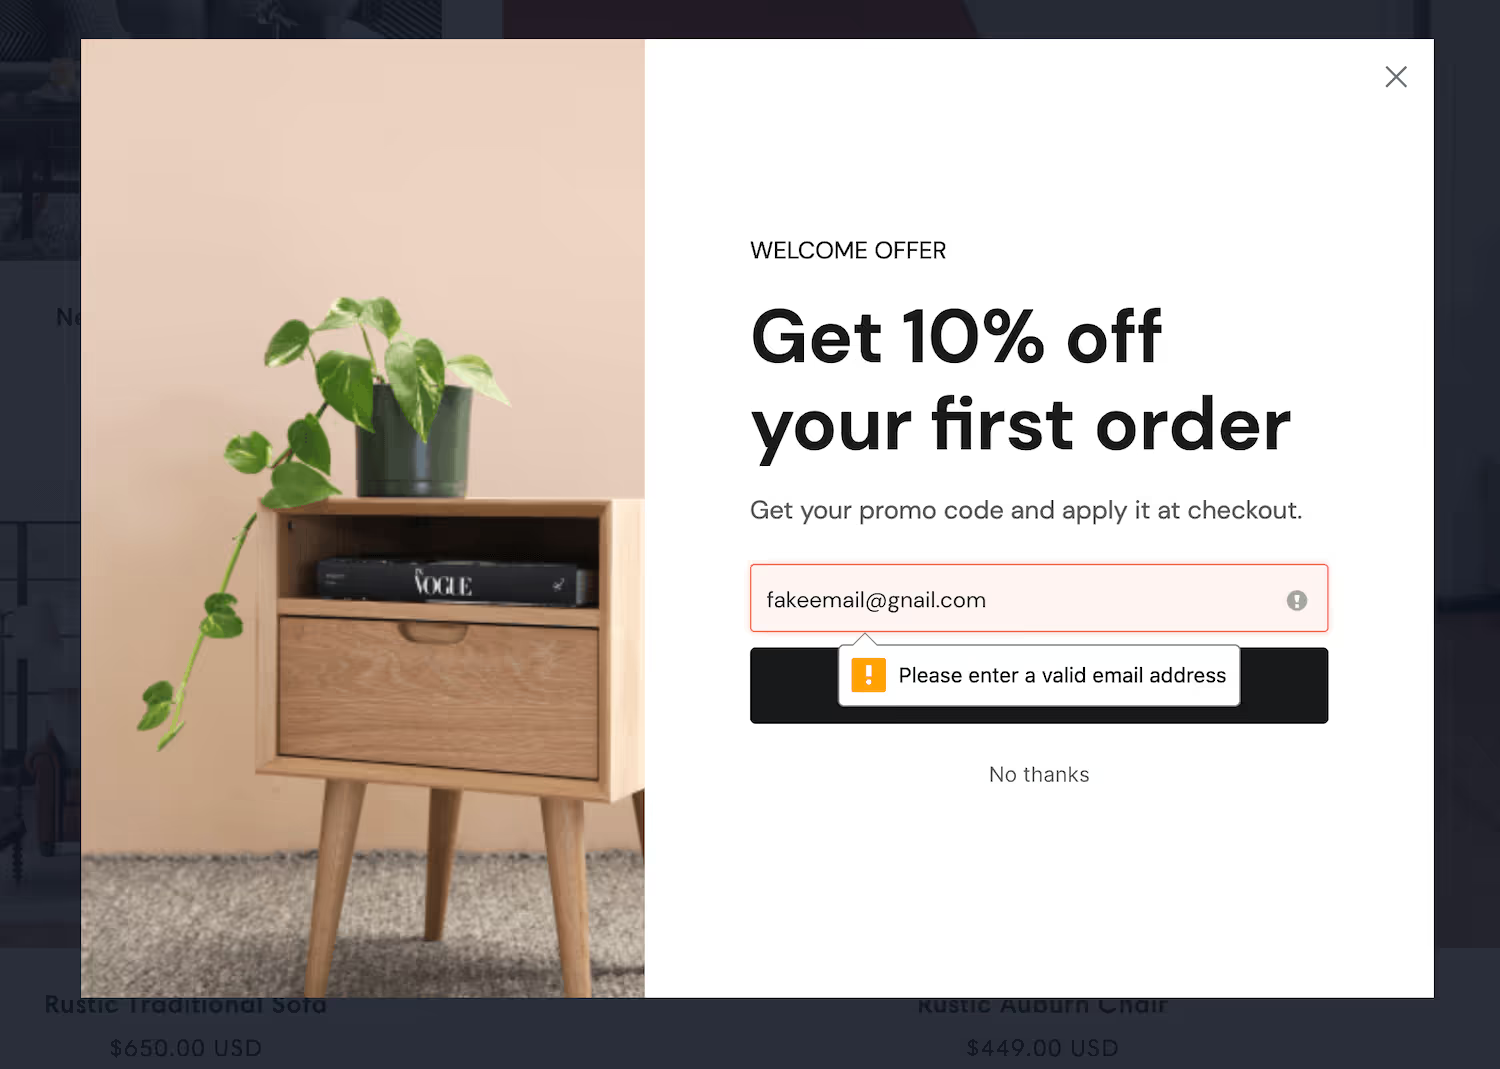
Phone verification matters more for SMS than email verification does for email, because every send costs money and an invalid number costs it for nothing.
ConvertFlow formats numbers to the international E.164 standard, which is the format Postscript expects — so a shopper typing their number with brackets, spaces or a leading zero doesn't produce a subscriber that silently never receives anything.
6. Add custom fields and map them to message tags
By clicking to add a field at the end of the fields list, you can add as many custom fields as you'd like.
.avif)
For Postscript you write the data name rather than picking from a dropdown, and the value lands in a Postscript message tag.
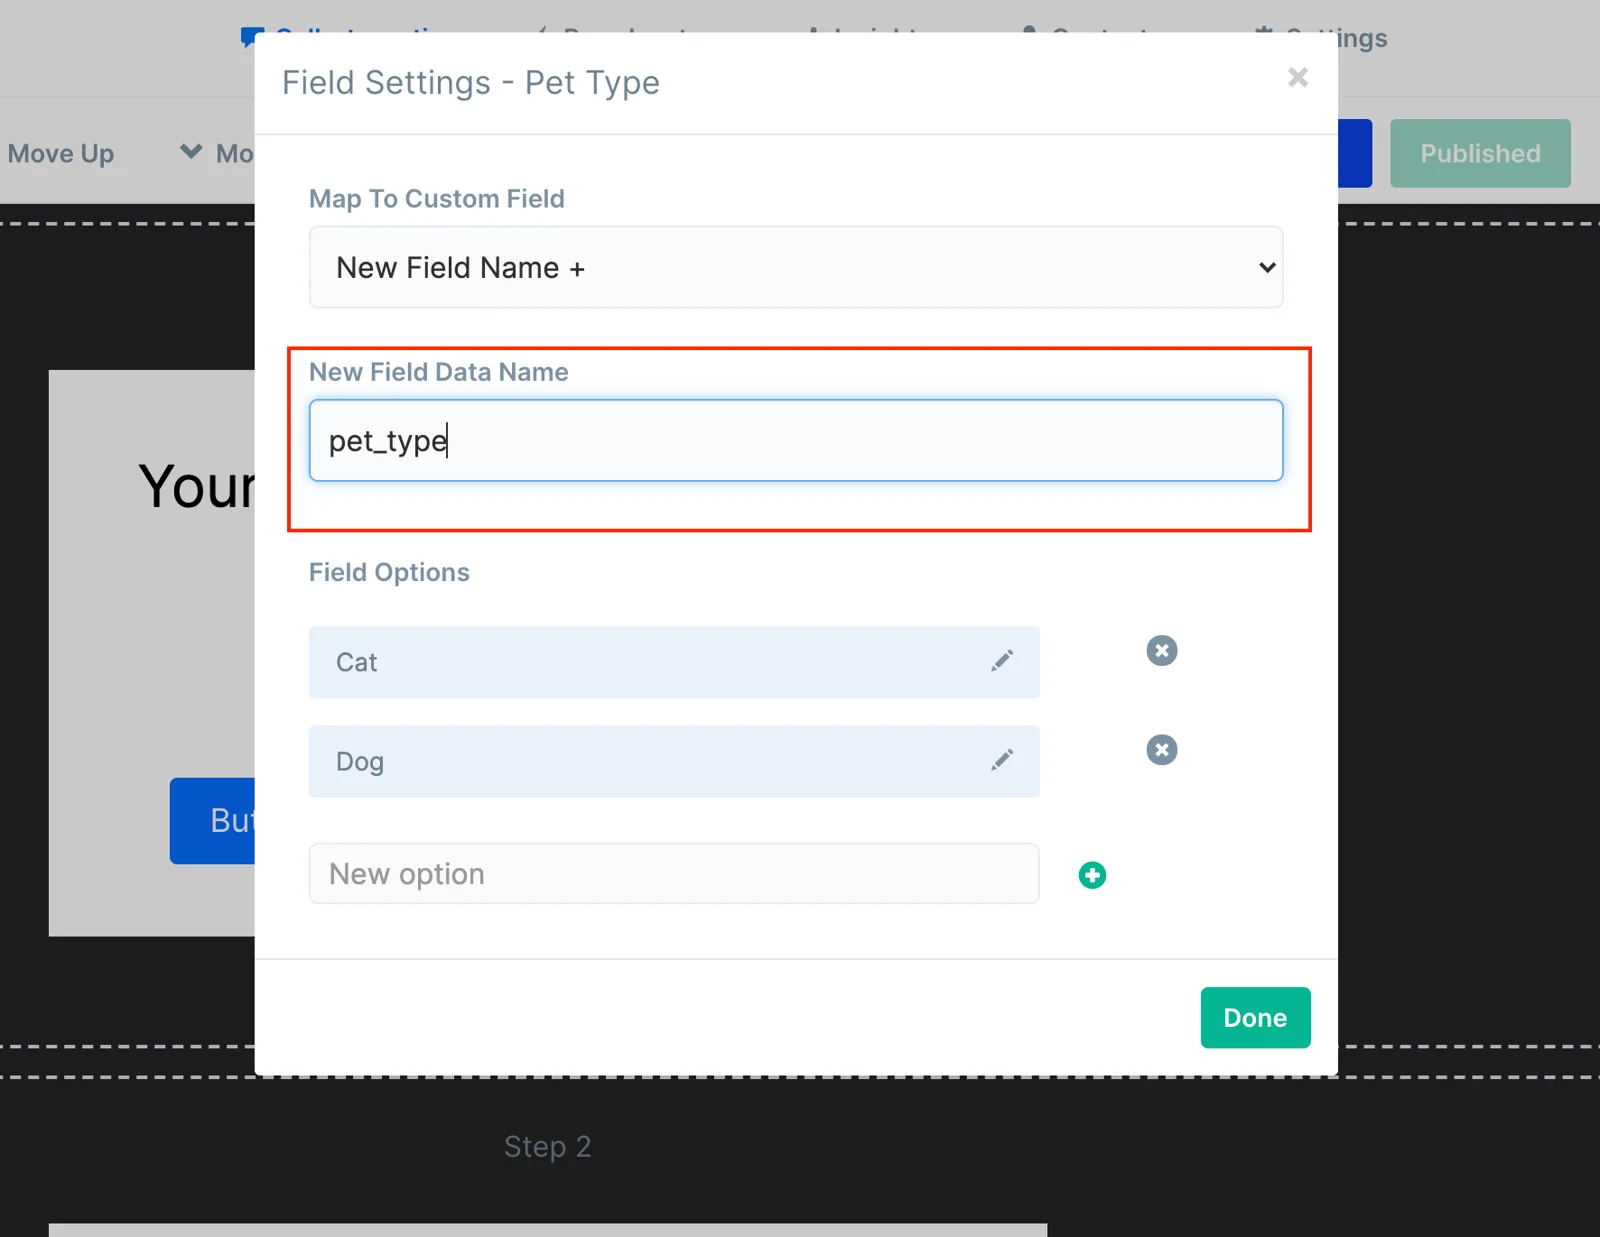
Message tags are what make personalized texts possible — the merge fields you drop into the message itself. Since SMS gives you very little room, a text that opens with the shopper's actual answer rather than a generic greeting earns its characters.
Because you're typing the name rather than selecting it, keep the naming consistent across forms. A typo creates a second tag rather than an error, and you'll find out when a message renders an empty merge field.
7. Map ConvertFlow's preset fields
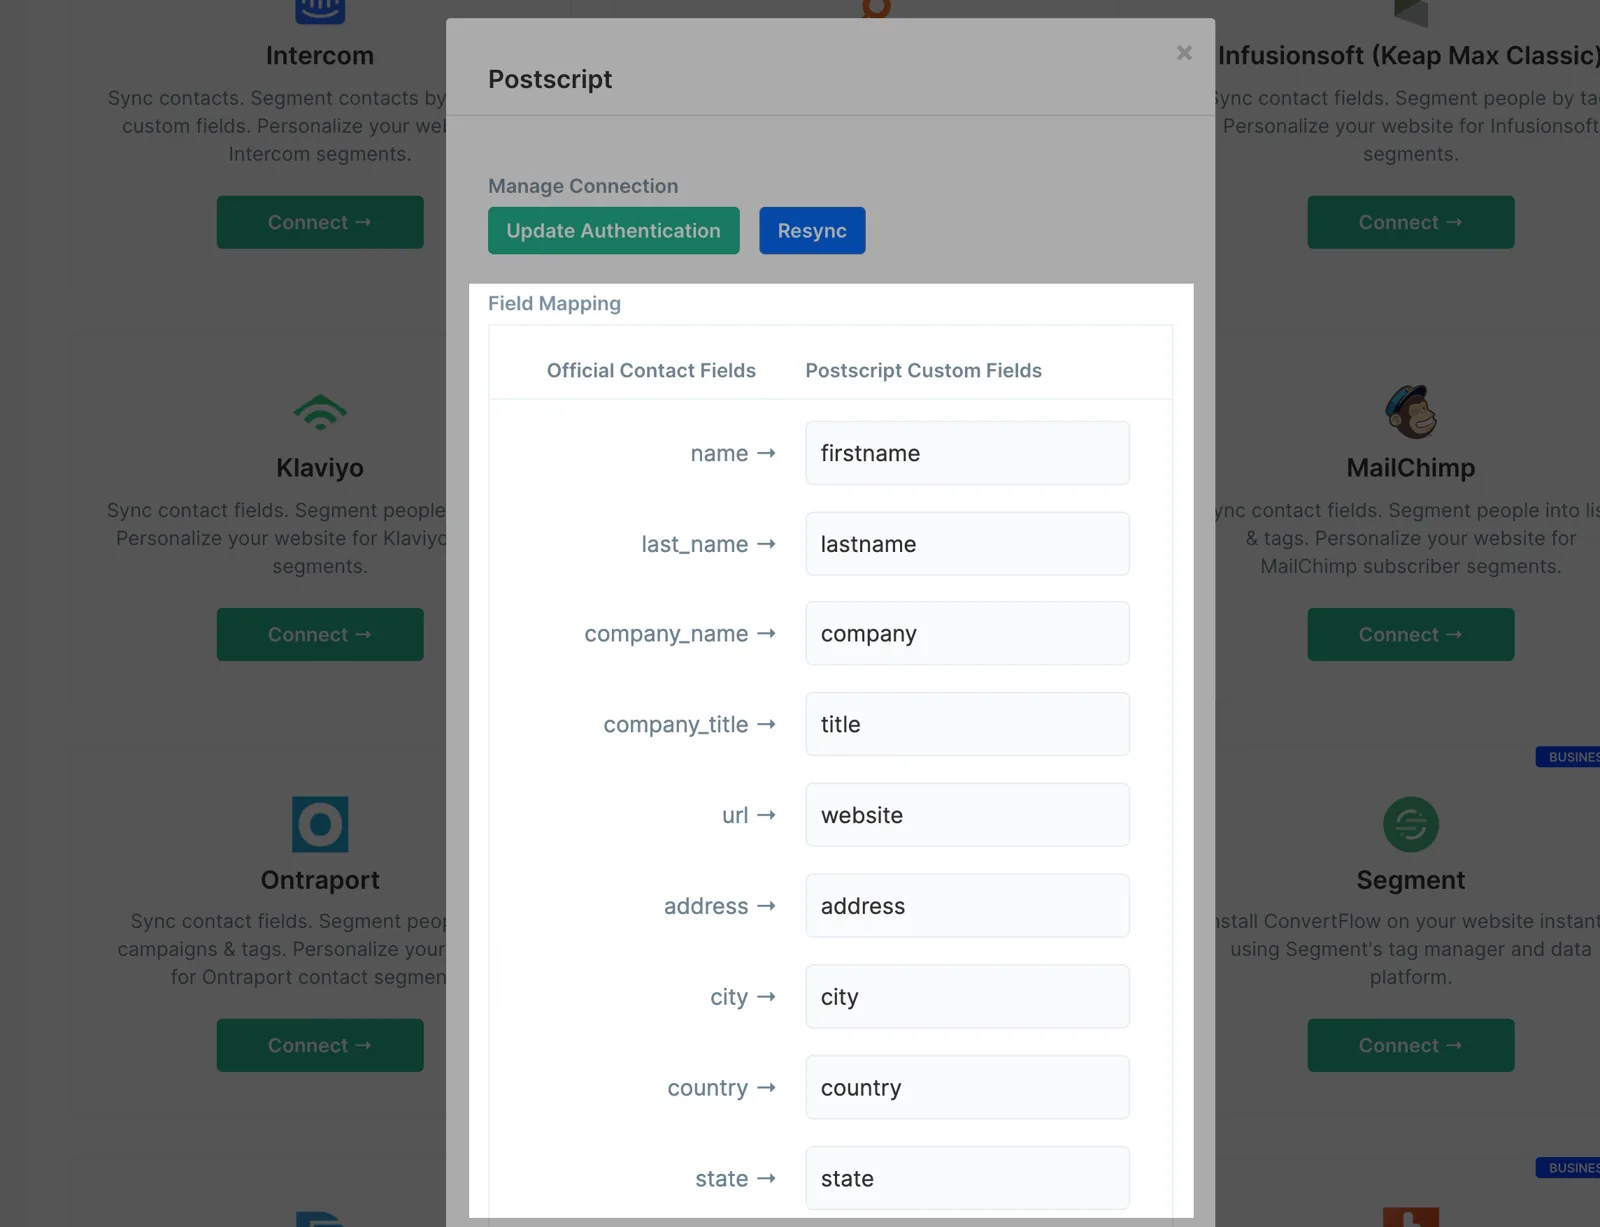
With Postscript connected, your Integrations page shows a Fields button. Use it to map ConvertFlow's preset contact fields to Postscript message tags by entering each tag's data name. Phone and email address are already mapped.
8. Style the form
In the Design tab, set spacing, field layout, width, fonts, button colour and roundness, field colour and shadows.
.avif)
9. Add Postscript automations on submit
In the Actions tab, choose what follows submission — redirect to a URL, jump to another funnel step, display a thank-you message, or open a popup.
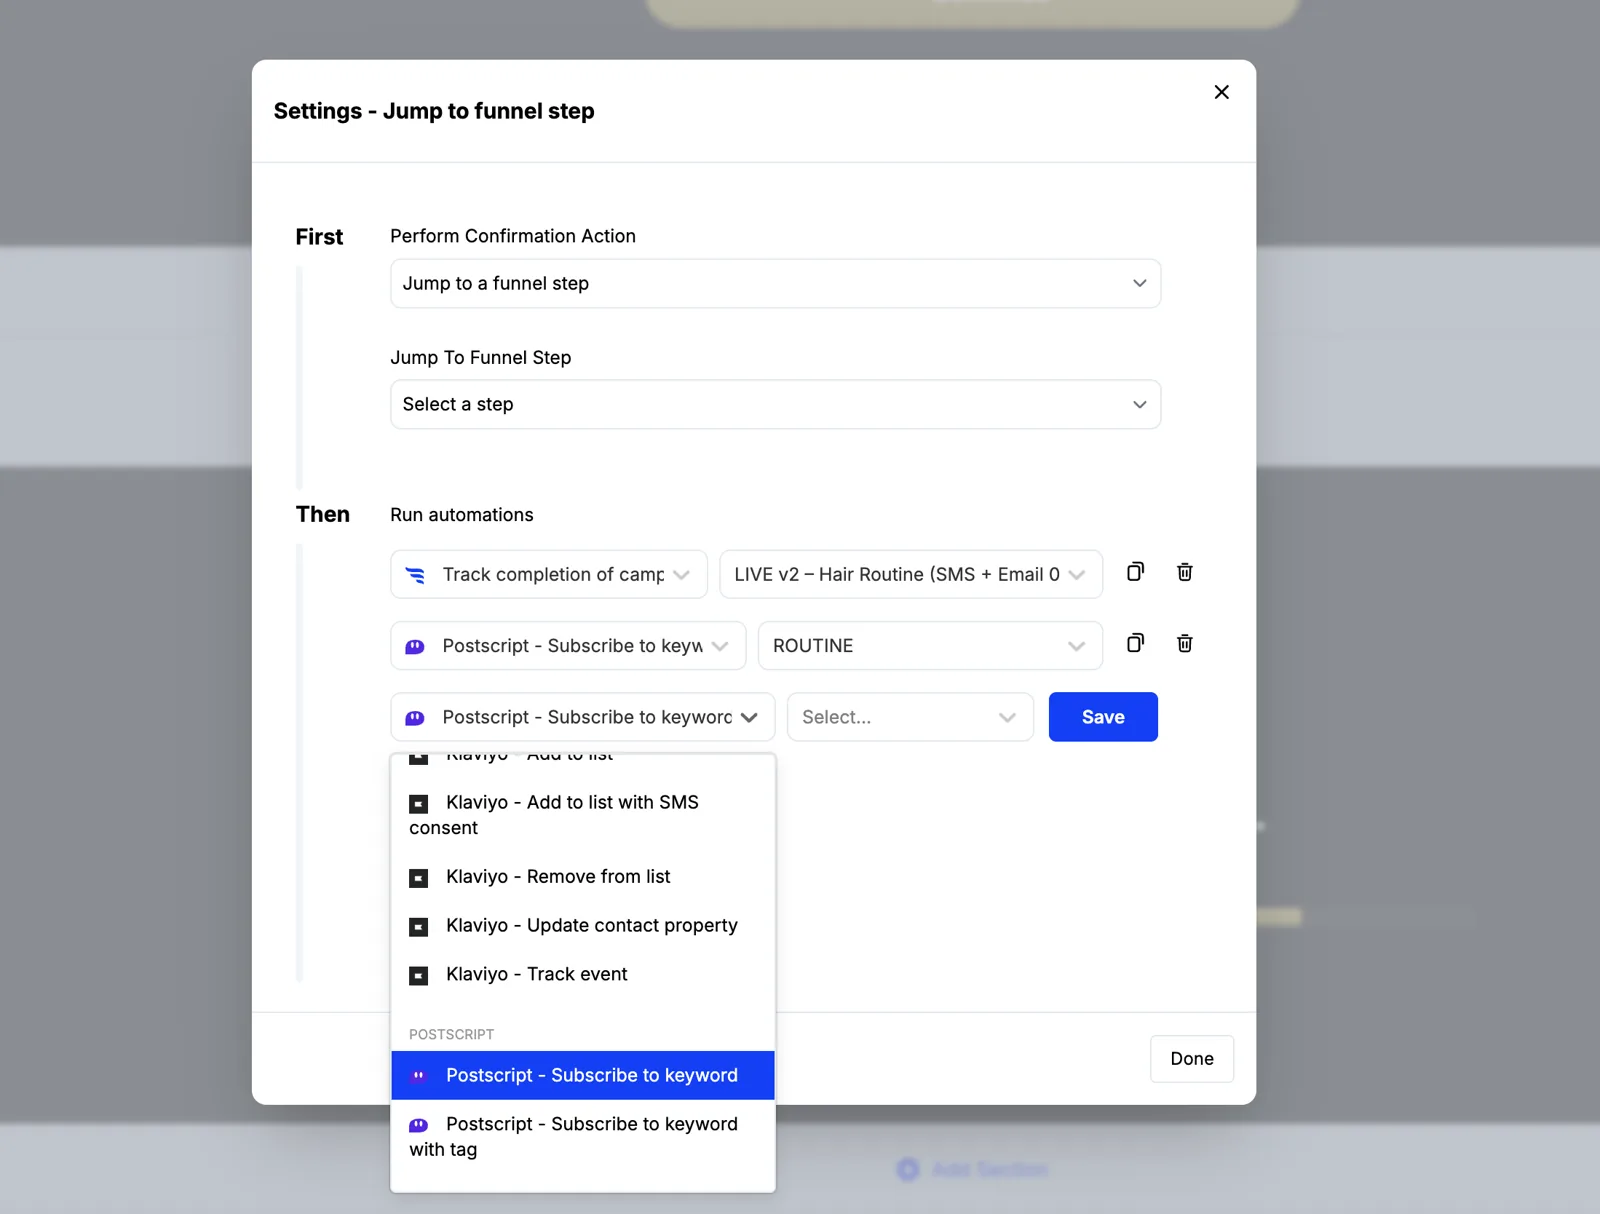
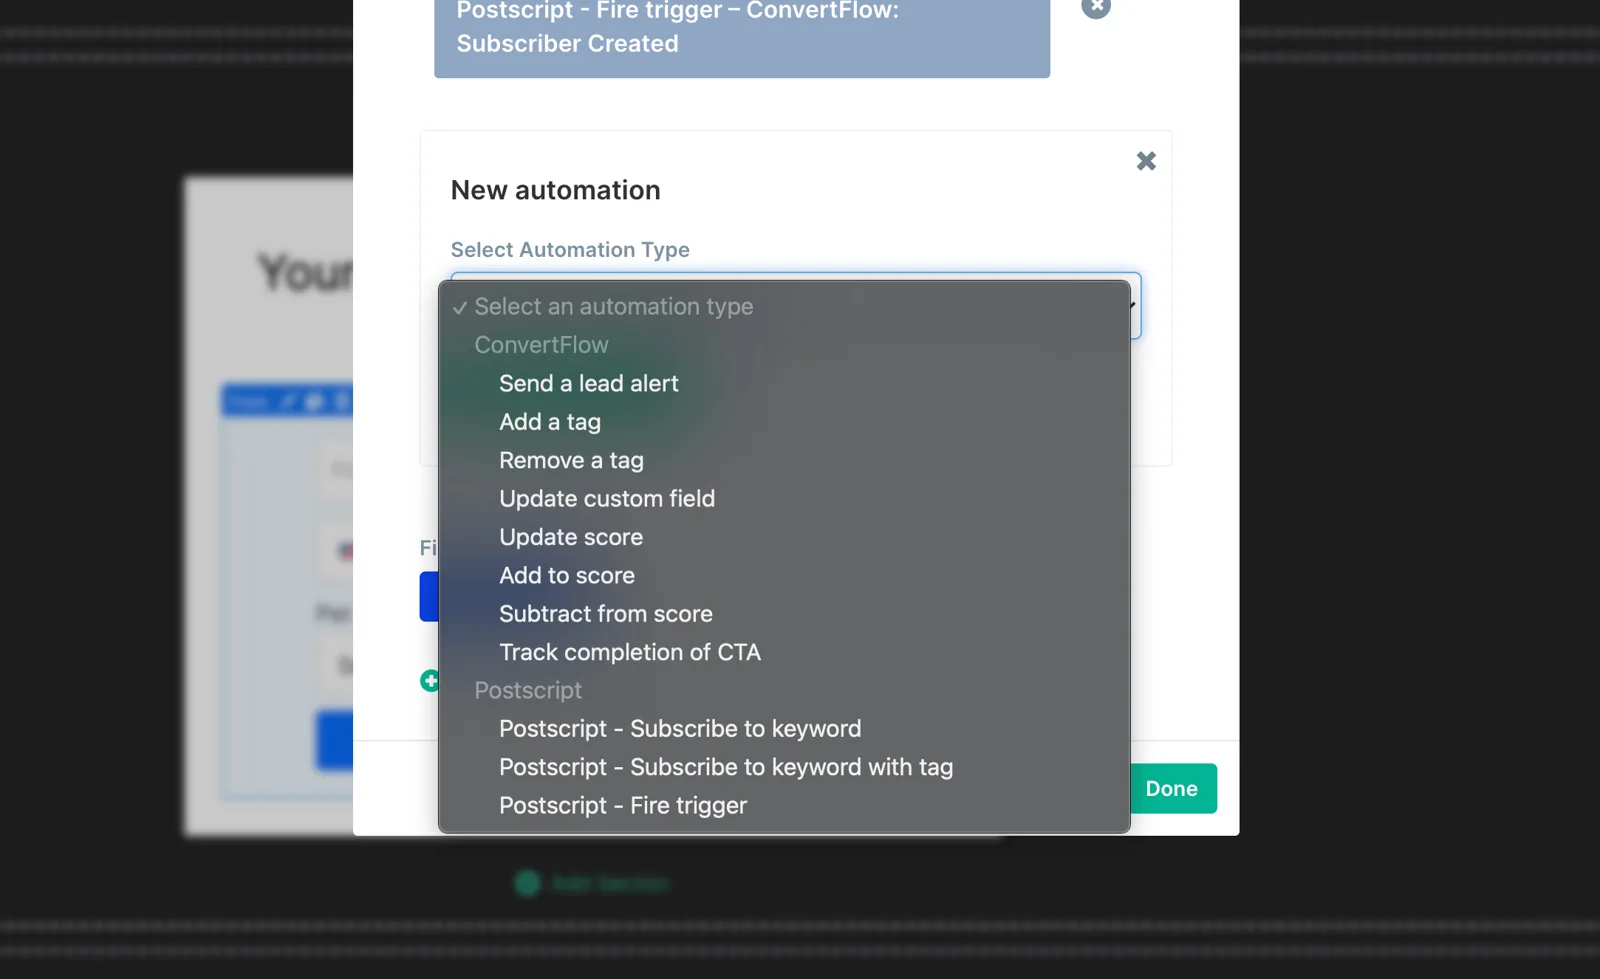
Alongside it, add Postscript automations. Three types are available:
- Subscribe to keyword — creates the SMS subscriber against a keyword campaign
- Subscribe to keyword with tag — the same, plus a Postscript tag
- Track event — fires your Postscript automation sequences
Keywords are the organizing idea in Postscript, so which keyword someone joins on is effectively which programme they're in. Subscribing with a tag at the same time gives you a second axis to segment on later.
Track event is the one worth understanding: it works for existing subscribers as well as new ones, so a form can start a sequence for someone already on your list rather than only creating new ones.
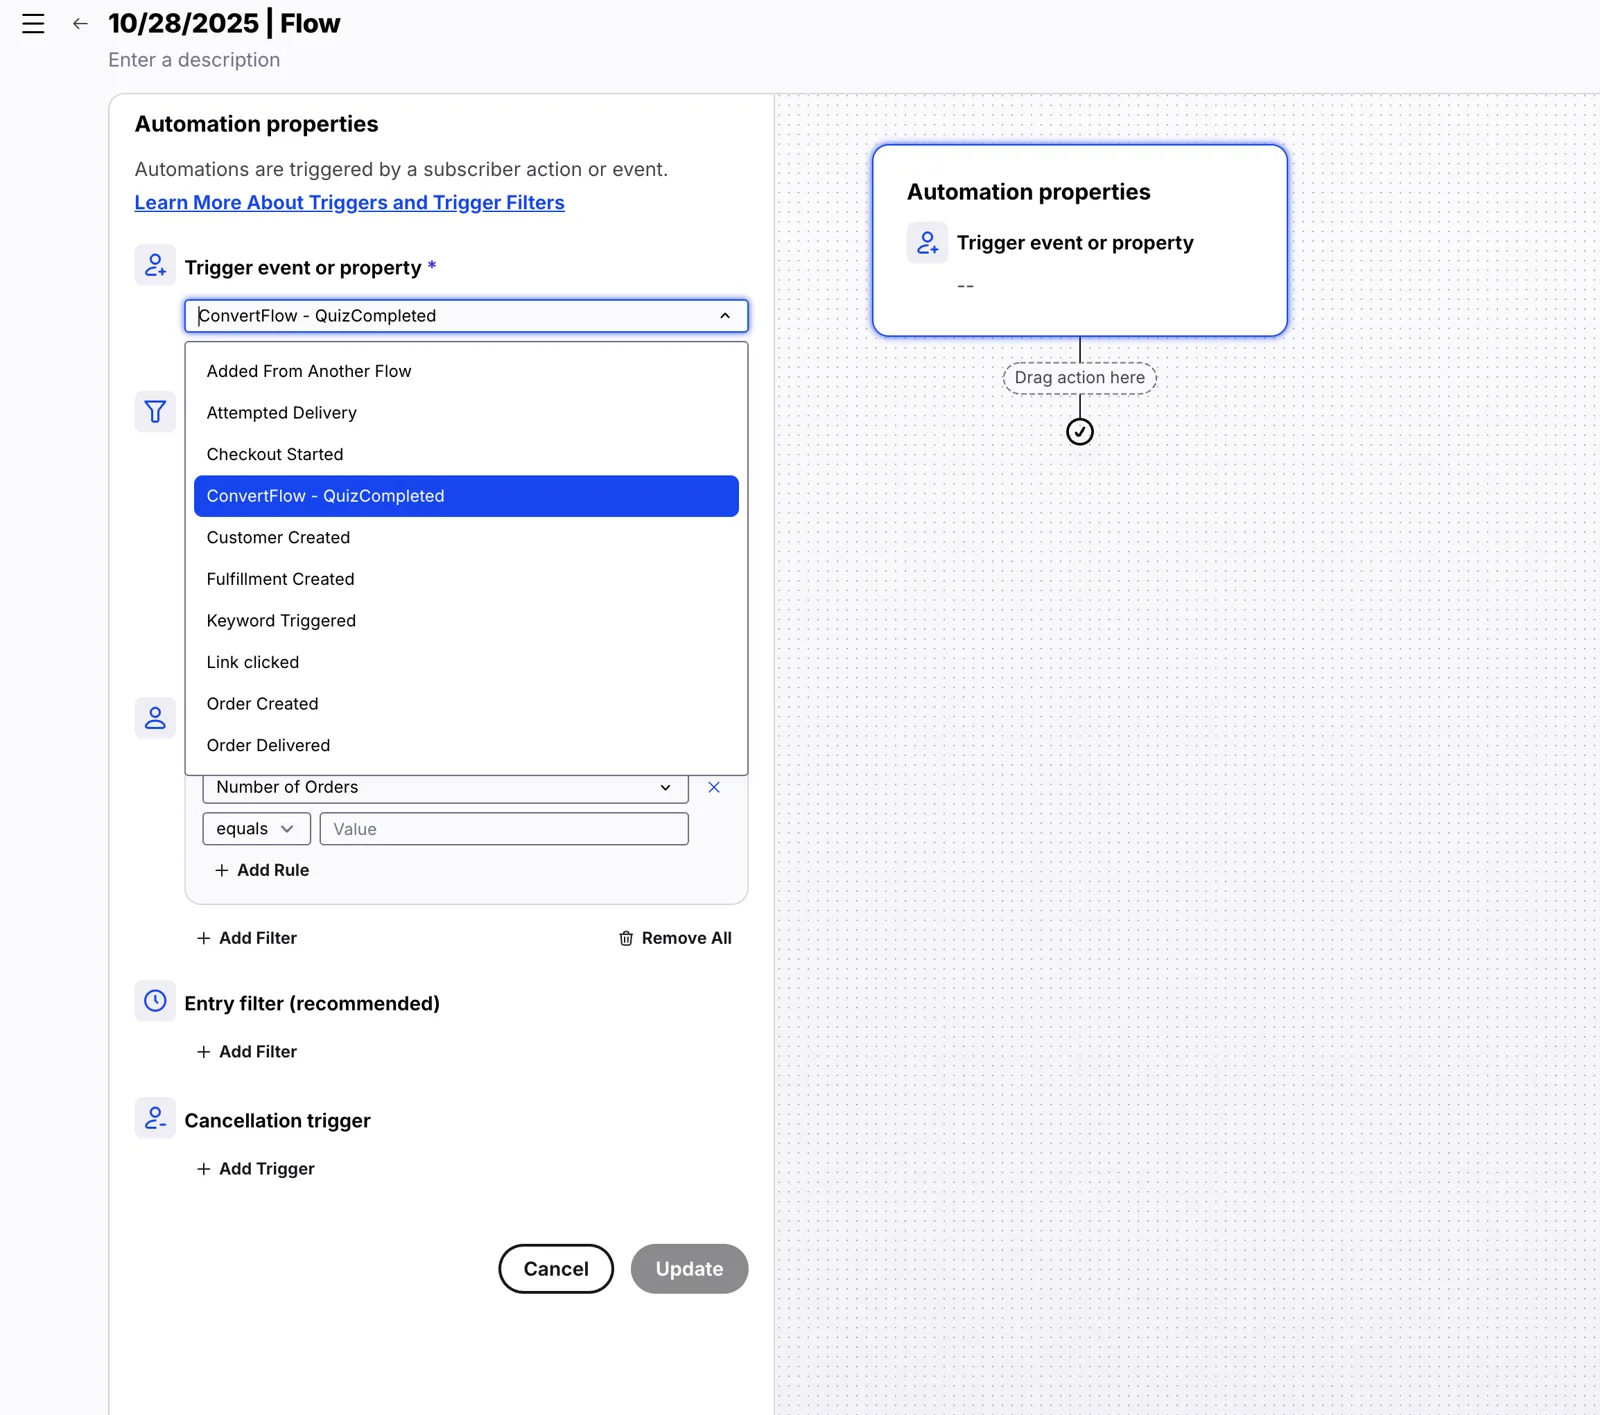
Pro tip: to use ConvertFlow's field data as merge tags in your Postscript texts, fire the "ConvertFlow: Subscriber Created" trigger.
Conditional actions let you route by answer, so someone who says they're shopping for themselves joins a different keyword than someone buying a gift.
.avif)
10. Report on submissions
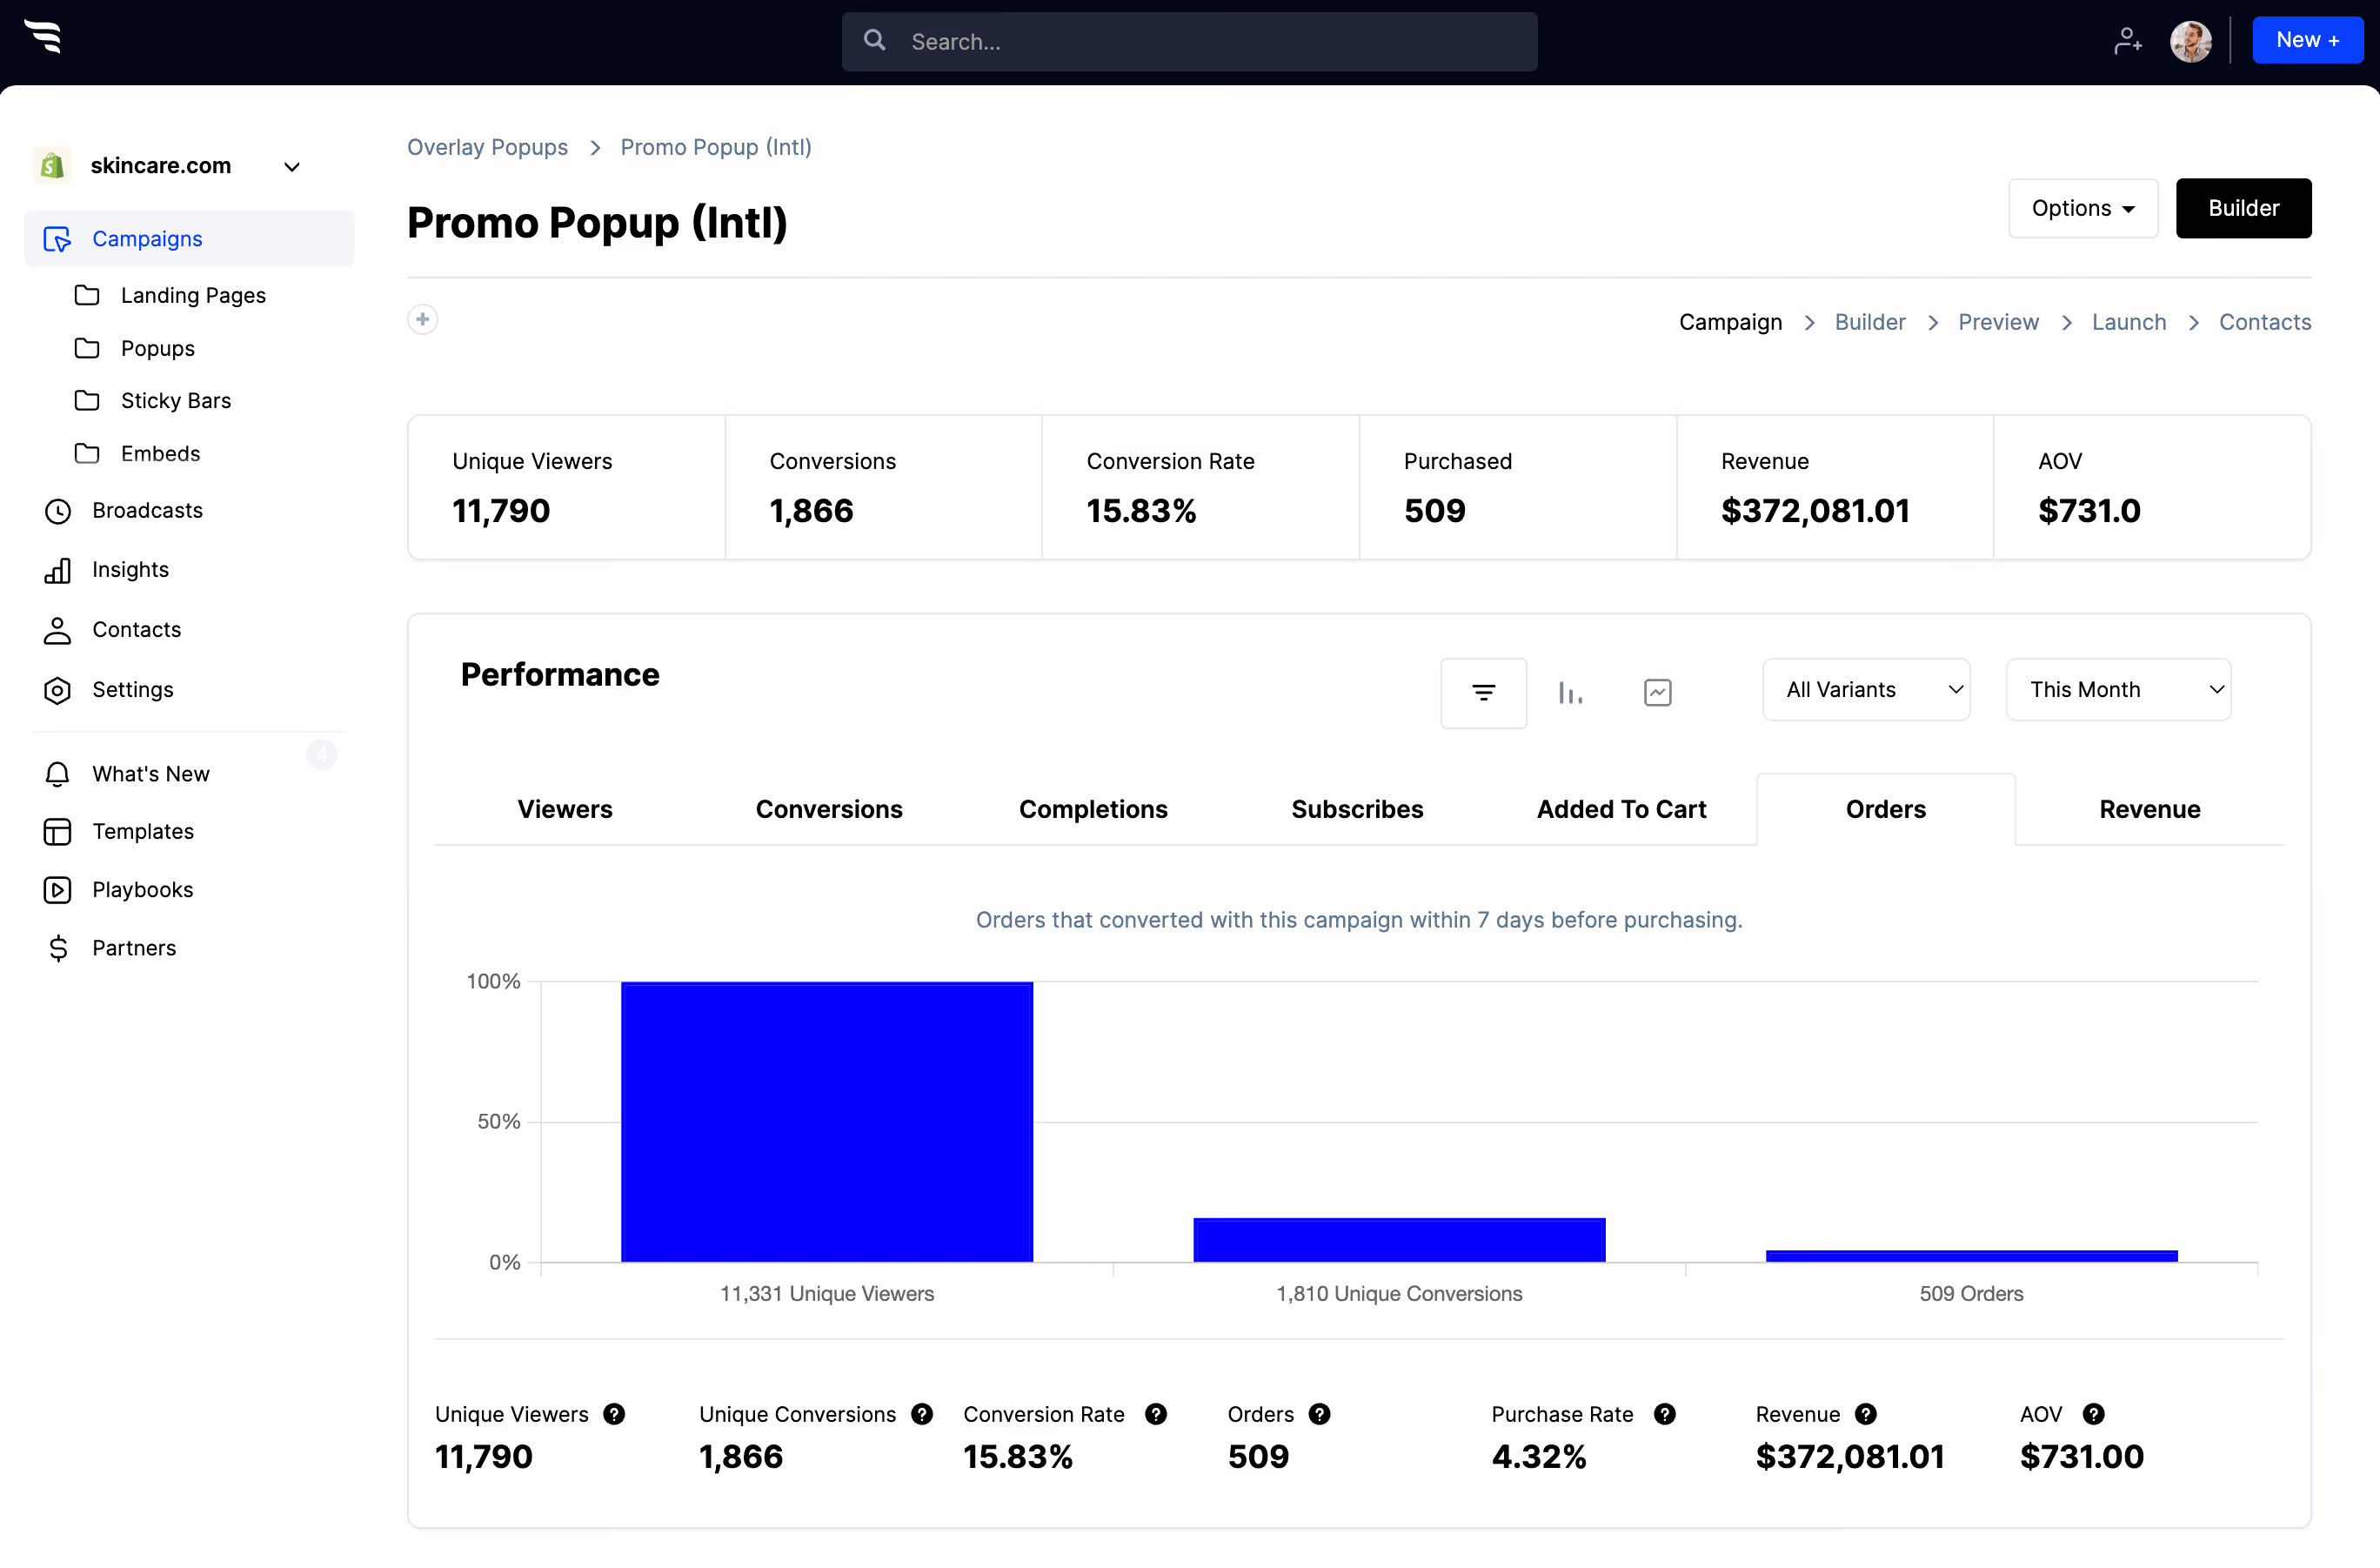
The funnel breakdown report shows how many people saw, converted and completed the form, where they dropped off, and which answers they selected — with orders, revenue and AOV attributed to each answer.
.avif)
Phone capture converts lower than email capture almost everywhere, so the drop-off data is worth reading closely. Asking for the number on a second step, after the offer has landed, often does better than asking up front.
11. Publish
- On Shopify: publish to a Shopify page in one click — Postscript is built for Shopify, so this is the common case.
- On WordPress: add ConvertFlow's snippet once, then target the form to specific posts, pages or categories.
- Anywhere else: Webflow, Squarespace, Wix or any CMS take the same single embed snippet.



%20(1).avif)





.svg)
