



Plugin or hosted builder?
WordPress has no shortage of form plugins, and for one contact form a lightweight plugin is the shorter path.
The trade-offs are the familiar WordPress ones: another plugin to keep updated, another possible conflict, and another set of CSS and JavaScript loading on every page. If you're already running twenty plugins and fighting page speed, the marginal one has a real cost.
A hosted builder loads through a single script that covers every form, popup and landing page you build afterwards. Nothing to update, no conflicts — but your forms live outside the WordPress admin.
Below is the hosted approach.
Step 1: Add a form
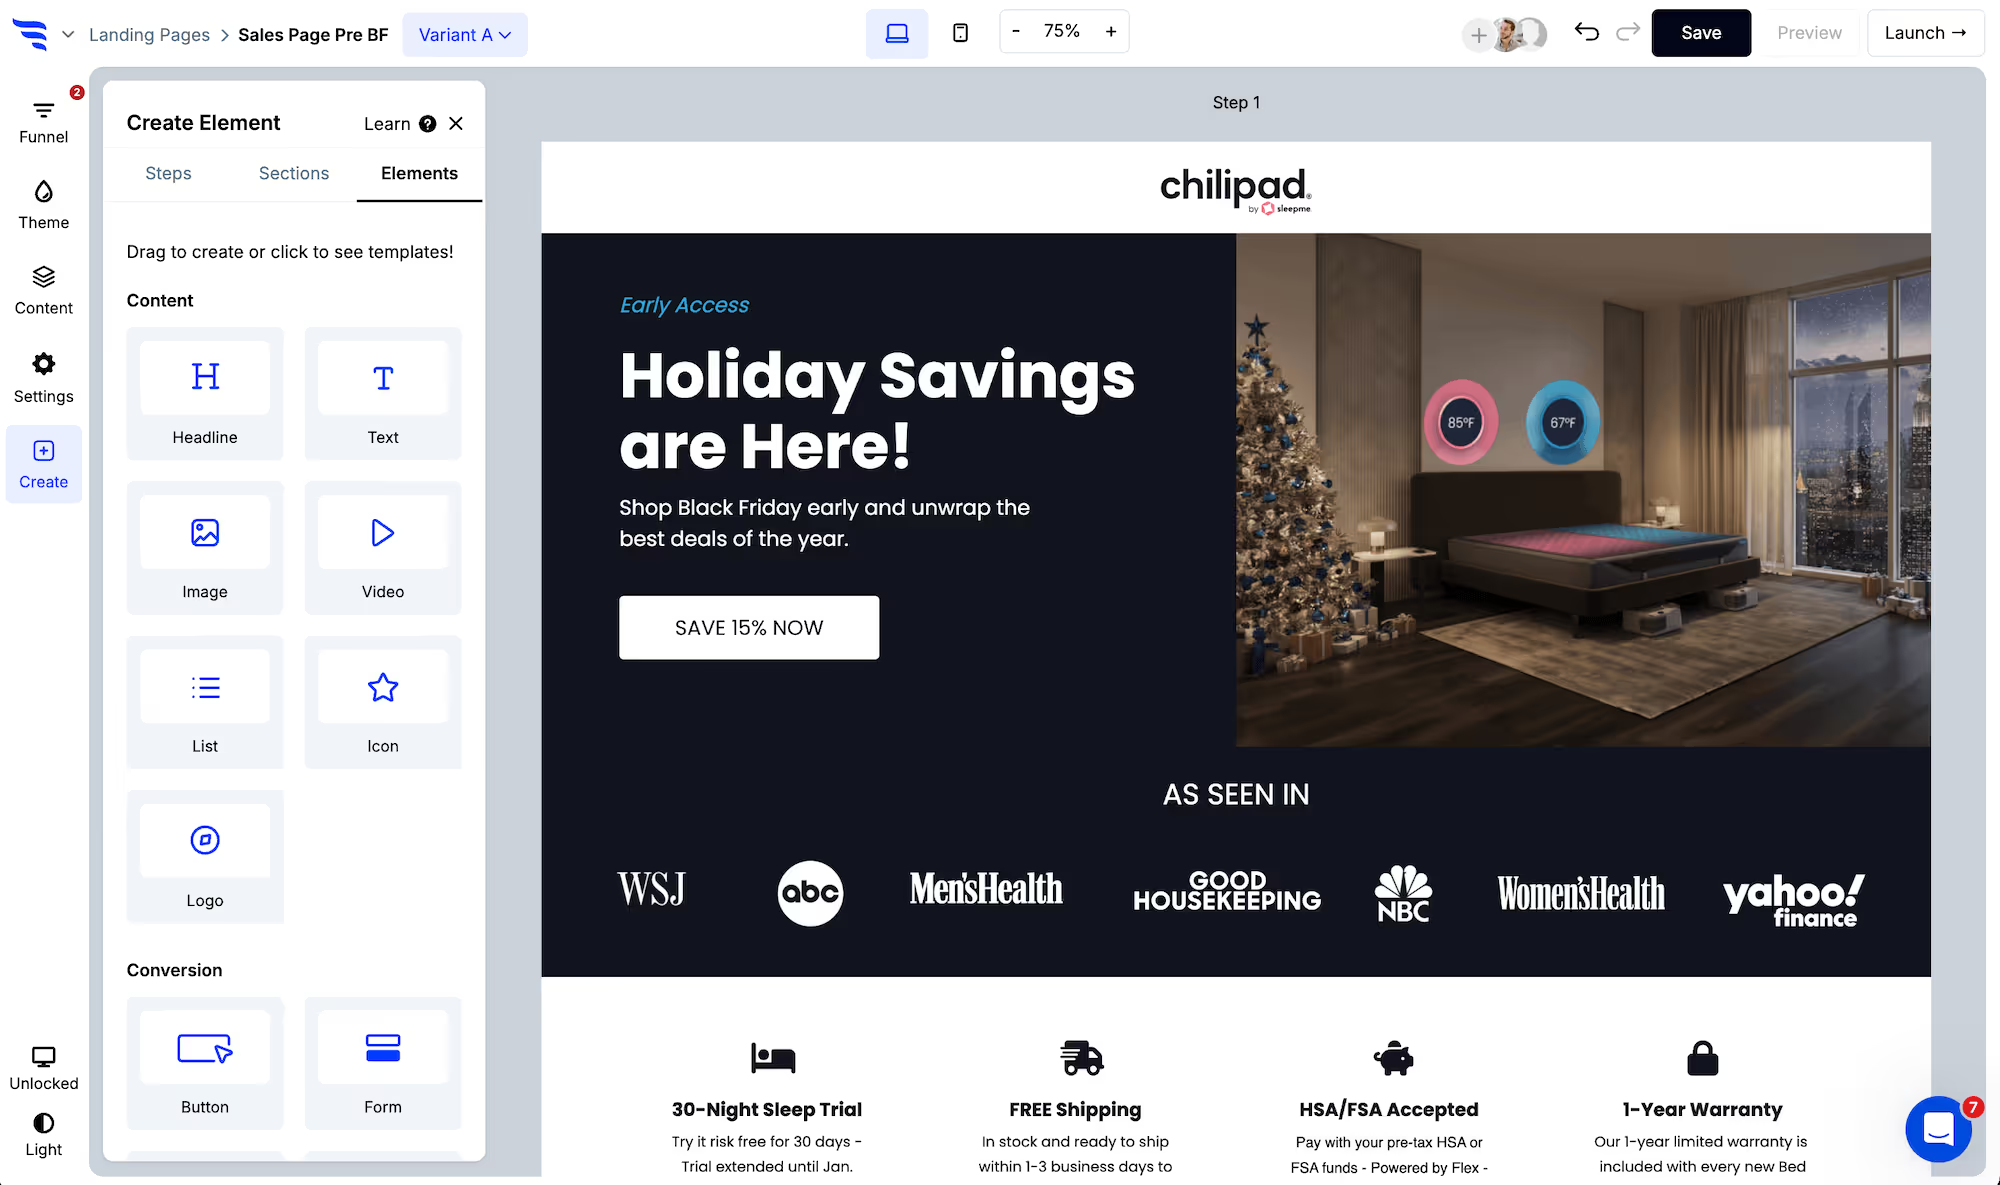
Add the form to a ConvertFlow landing page, popup or embed. Click to add an element and choose the form element type.
.avif)
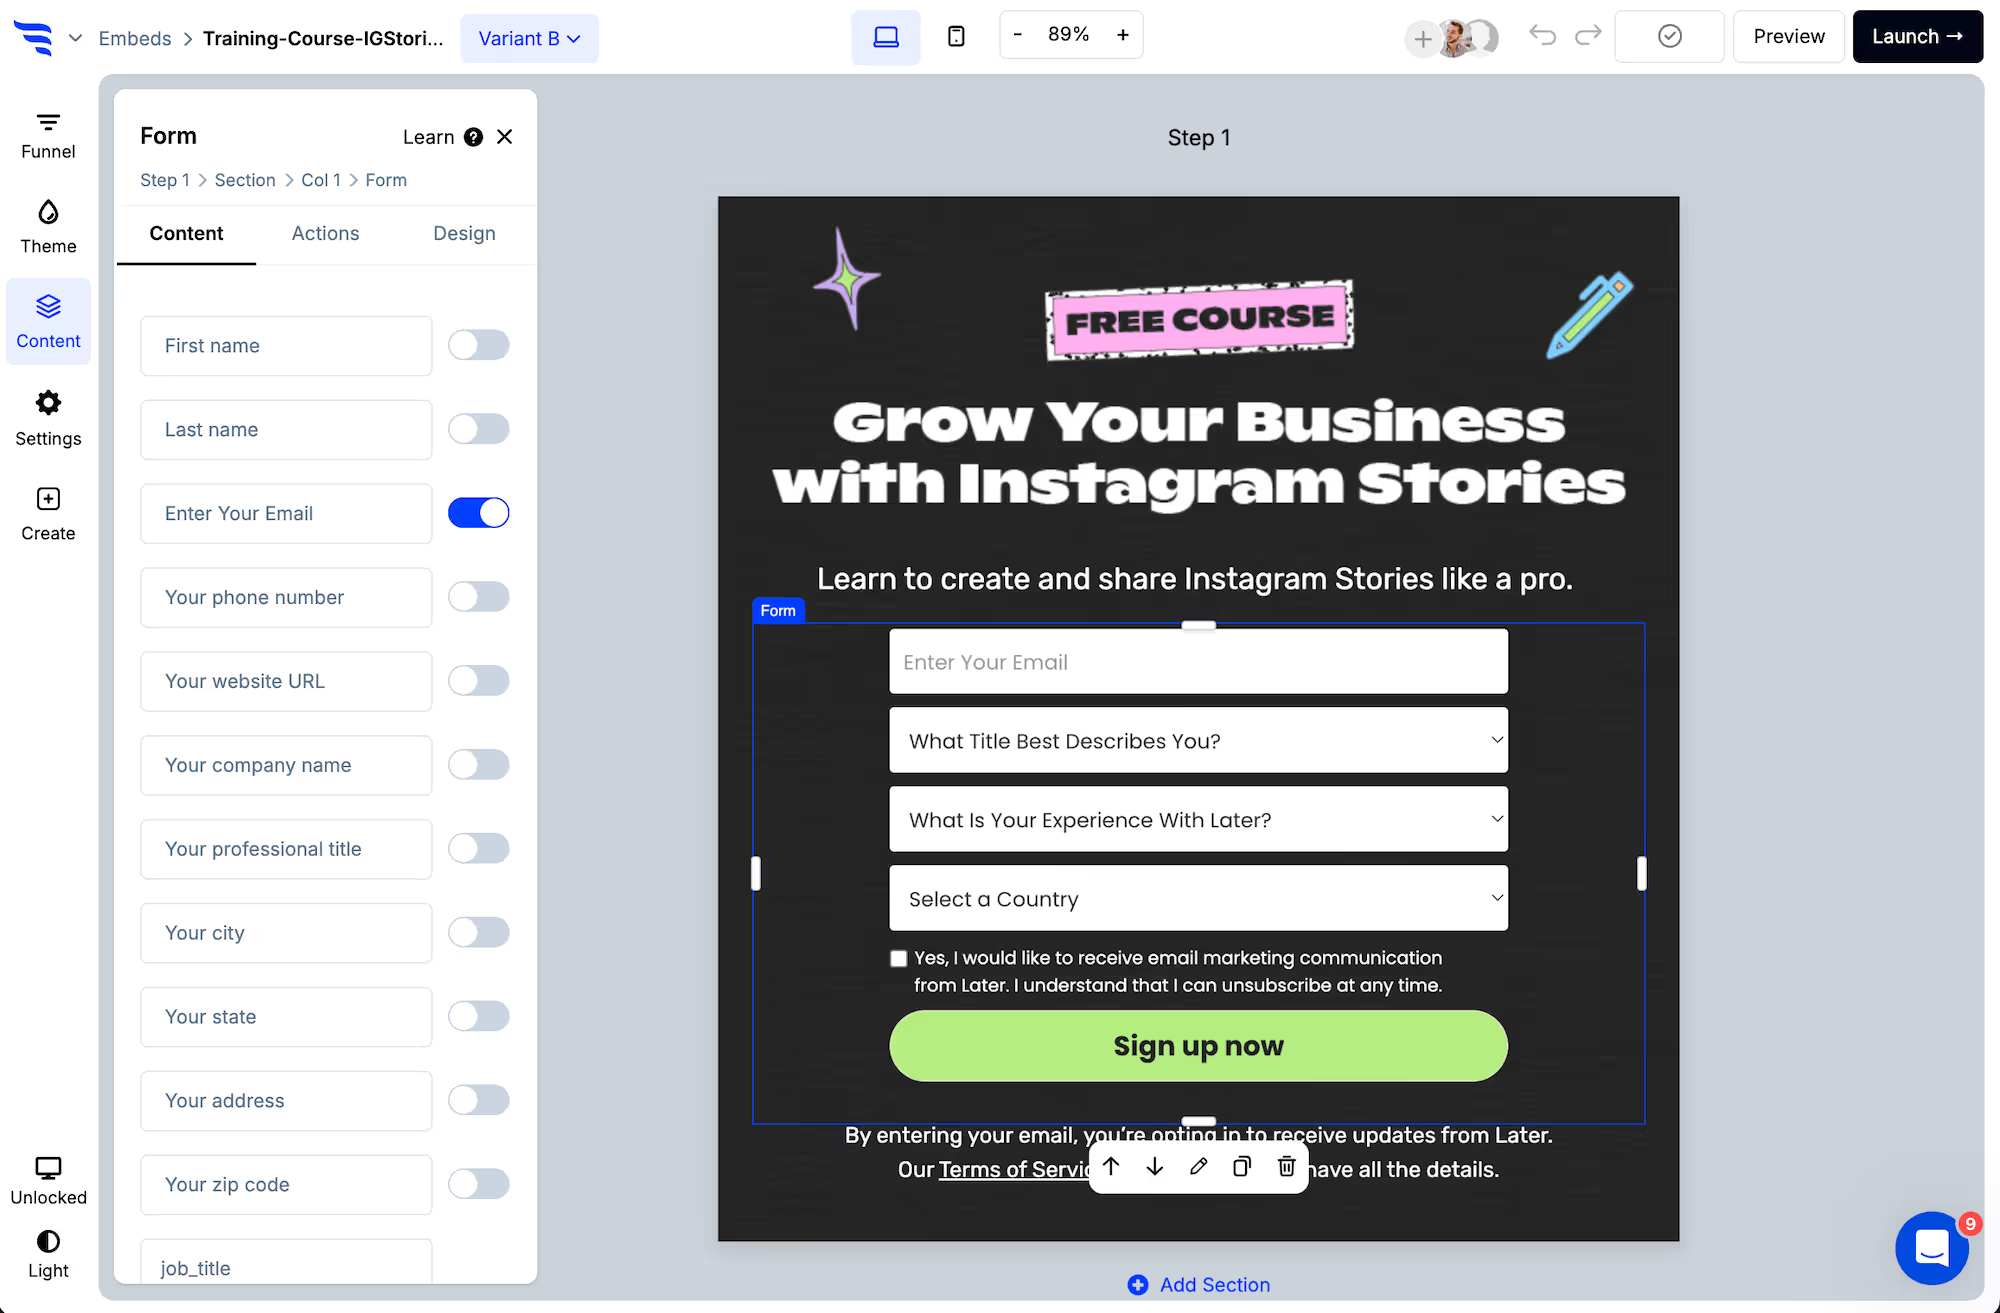
Step 2: Choose your fields
.png)
Toggle the preset contact fields, then add custom fields at the end of the list — text, dropdown, radio, checkbox, paragraph, numerical or hidden.
.avif)
Hidden fields are worth using on a content site — capture the post someone converted on and the UTM campaign, so you know which article earns subscribers.
Step 3: Verify the email
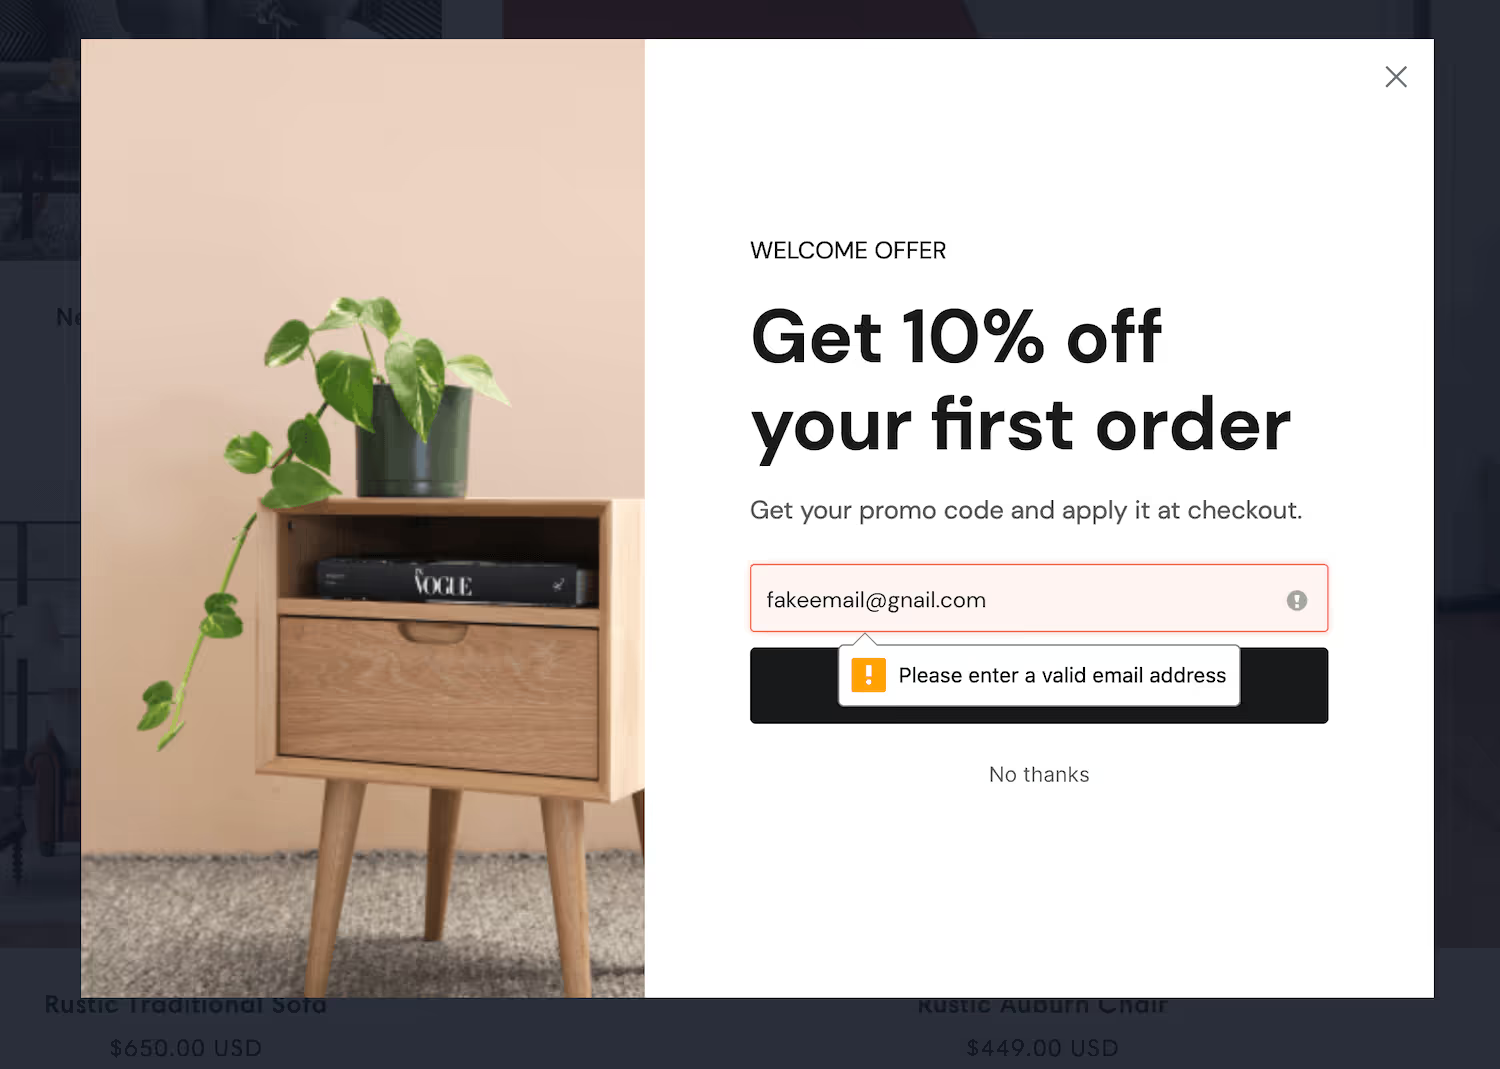
Real-time verification checks an address exists before the contact syncs, protecting your open rate and sending reputation.
Step 4: Style it to your theme
.avif)
Set the theme first — fonts, colours, button styling — and every element inherits it. Match your WordPress theme here so the form reads as part of the site rather than an embed.
Step 5: Install the snippet once
Add ConvertFlow's snippet to your site through your theme's header settings, a code-snippets plugin, or your existing tag manager.
That single script covers every form, popup, embed and landing page you build afterwards. It's the structural argument against a dedicated form plugin: one script rather than one plugin per job.
Step 6: Sync submissions
Open the Actions tab, set what happens on submit, then add the automation that sends the contact to your email platform or CRM.
.avif)
Custom field answers map to properties in your platform, so they become segment conditions rather than text in a notification email.
.avif)
Step 7: Target by post, page or category
This is where the hosted approach earns its keep on a content site.
Target forms to specific posts, pages or categories, so a reader on your recipes category sees a different lead magnet from one reading your gear reviews. A category-matched offer routinely beats a generic "subscribe to the newsletter" by a wide margin.
Two more targeting settings worth using: exclude existing subscribers, since your regulars visit most and can't convert; and exclude pages where a form doesn't belong, like checkout or contact.
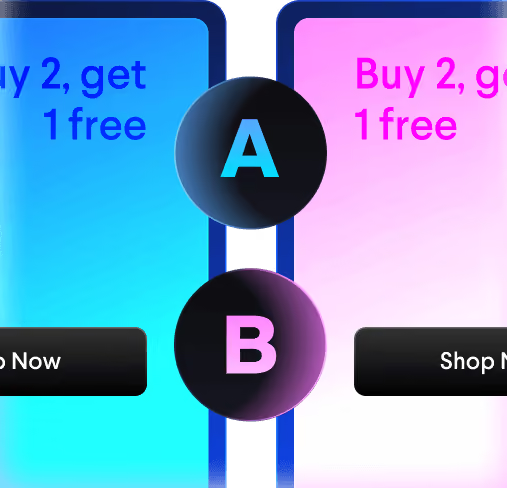
Step 8: Split-test
.avif)
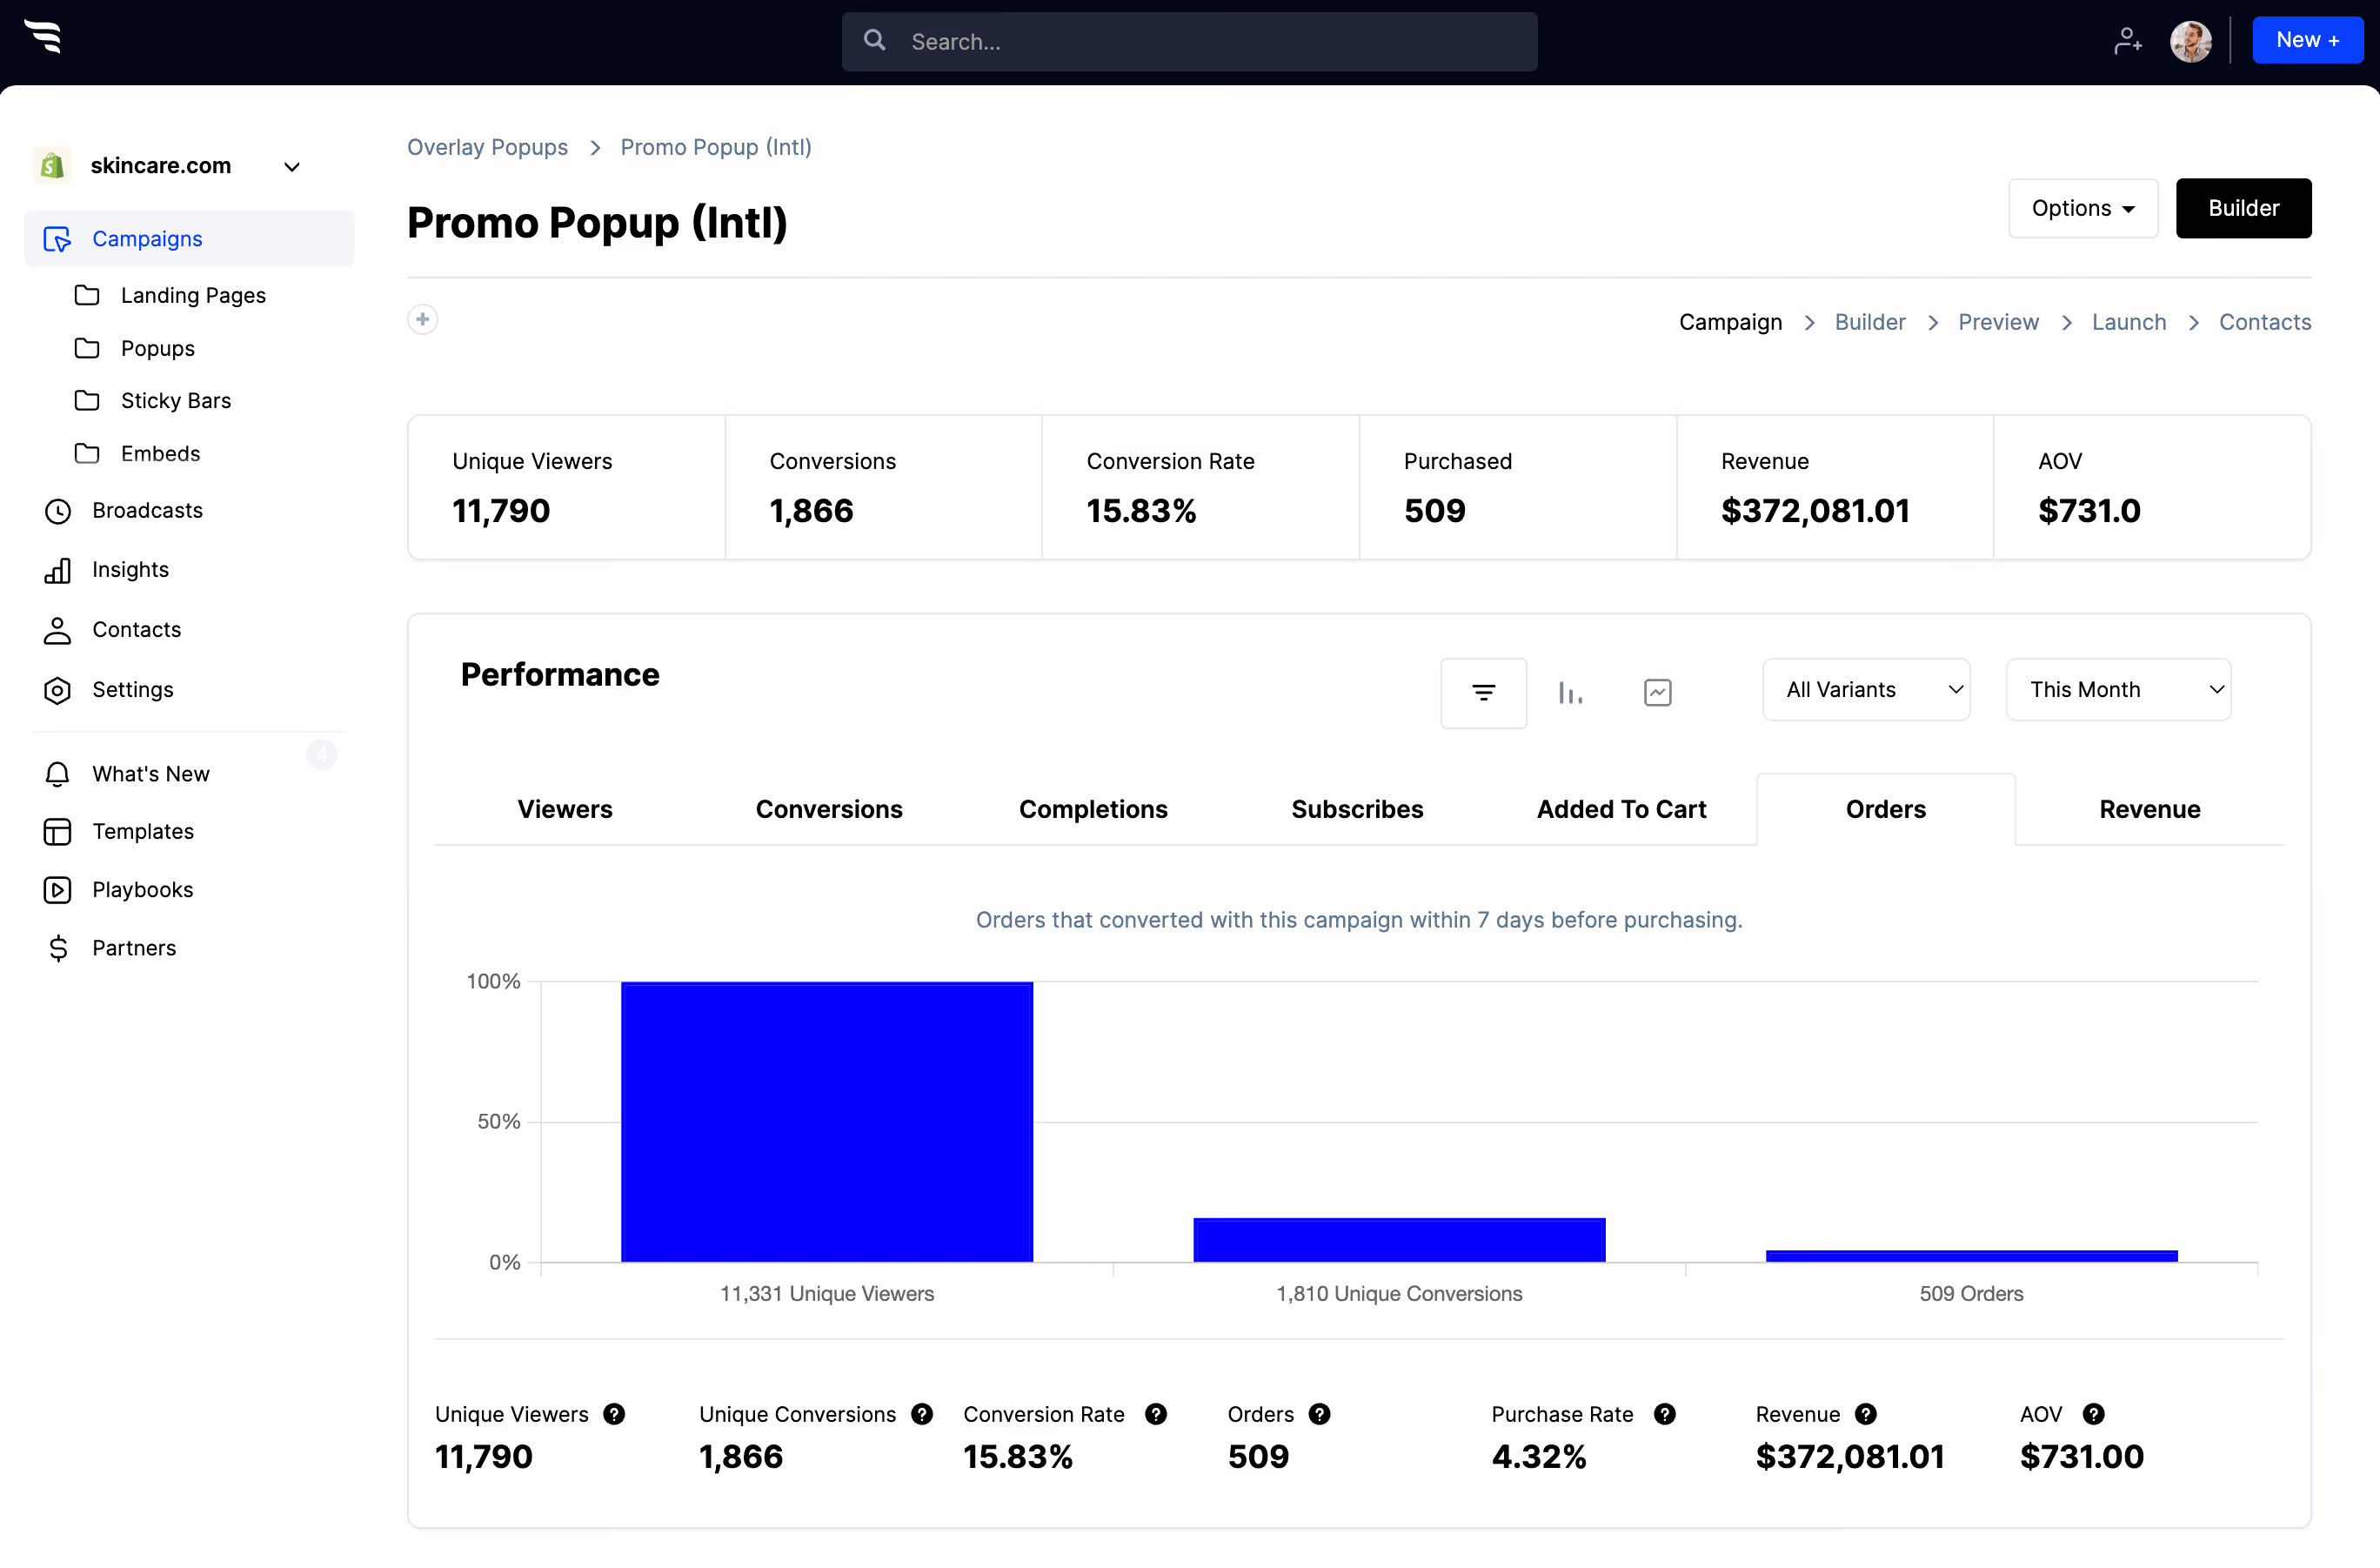
Run variants against each other and read views, submissions and per-field drop-off. On WordPress content sites the offer moves the number more than the design — test the lead magnet before the button colour.



%20(1).avif)






.svg)
