



Why build Intercom forms in ConvertFlow
Intercom captures leads through the Messenger. That works well for someone already in a conversation, but it's a chat surface — it can't be a landing page, a multi-step qualification funnel, or a form embedded in the middle of your pricing page.
ConvertFlow builds those. And because ConvertFlow can trigger the Messenger on submission, the two aren't a trade-off: a form can qualify someone across several steps and then open a live conversation the moment they finish.
1. Connect Intercom to ConvertFlow
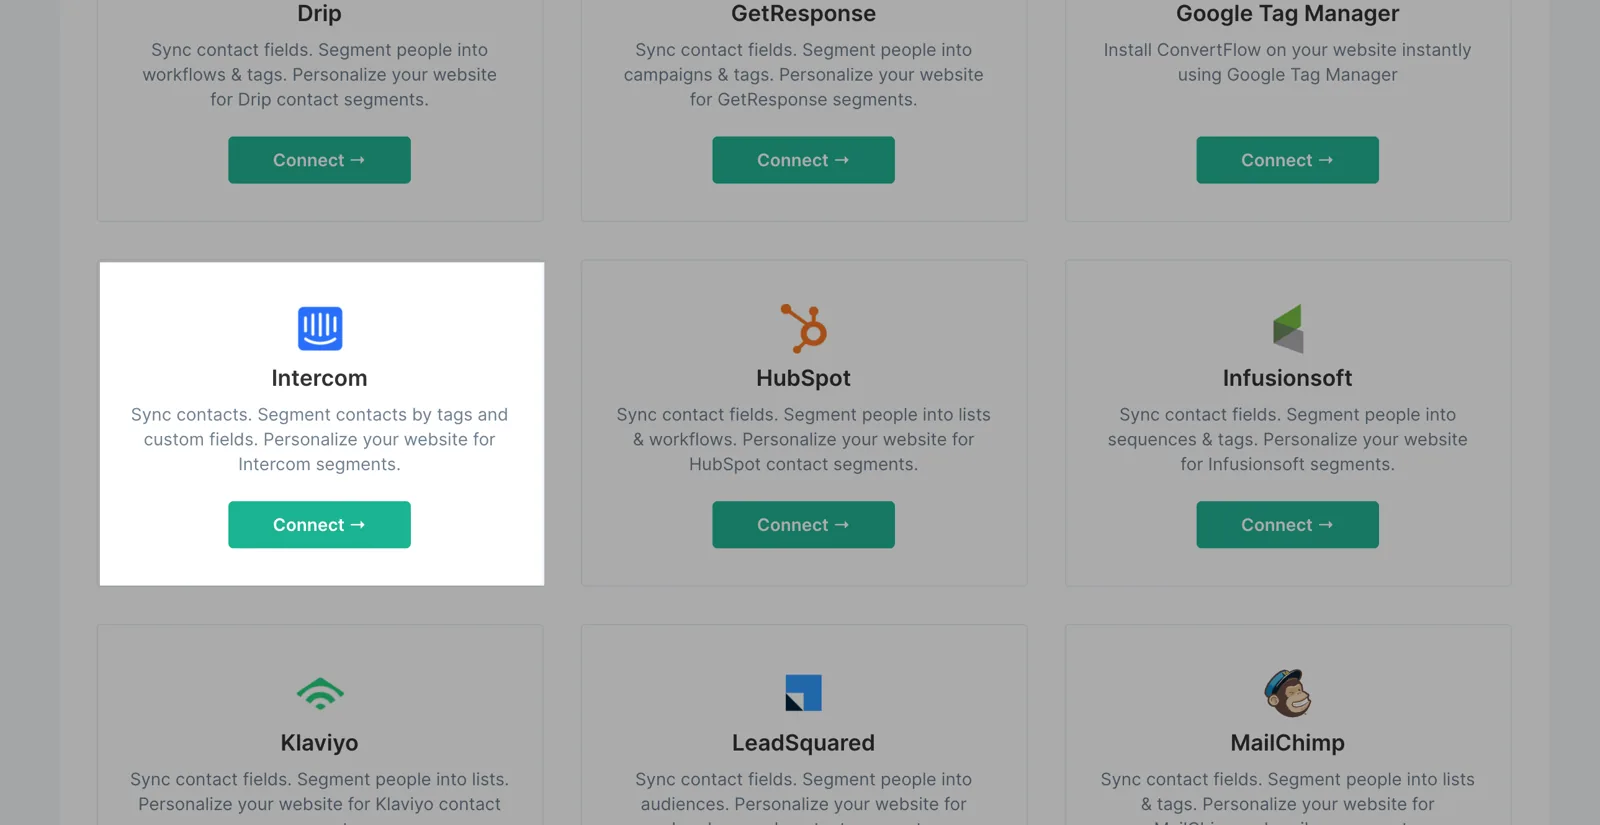
Head to your ConvertFlow website's Integrations area and click to connect with Intercom.
Give the ConvertFlow Intercom app access to your account. There's no API key or access token to generate.
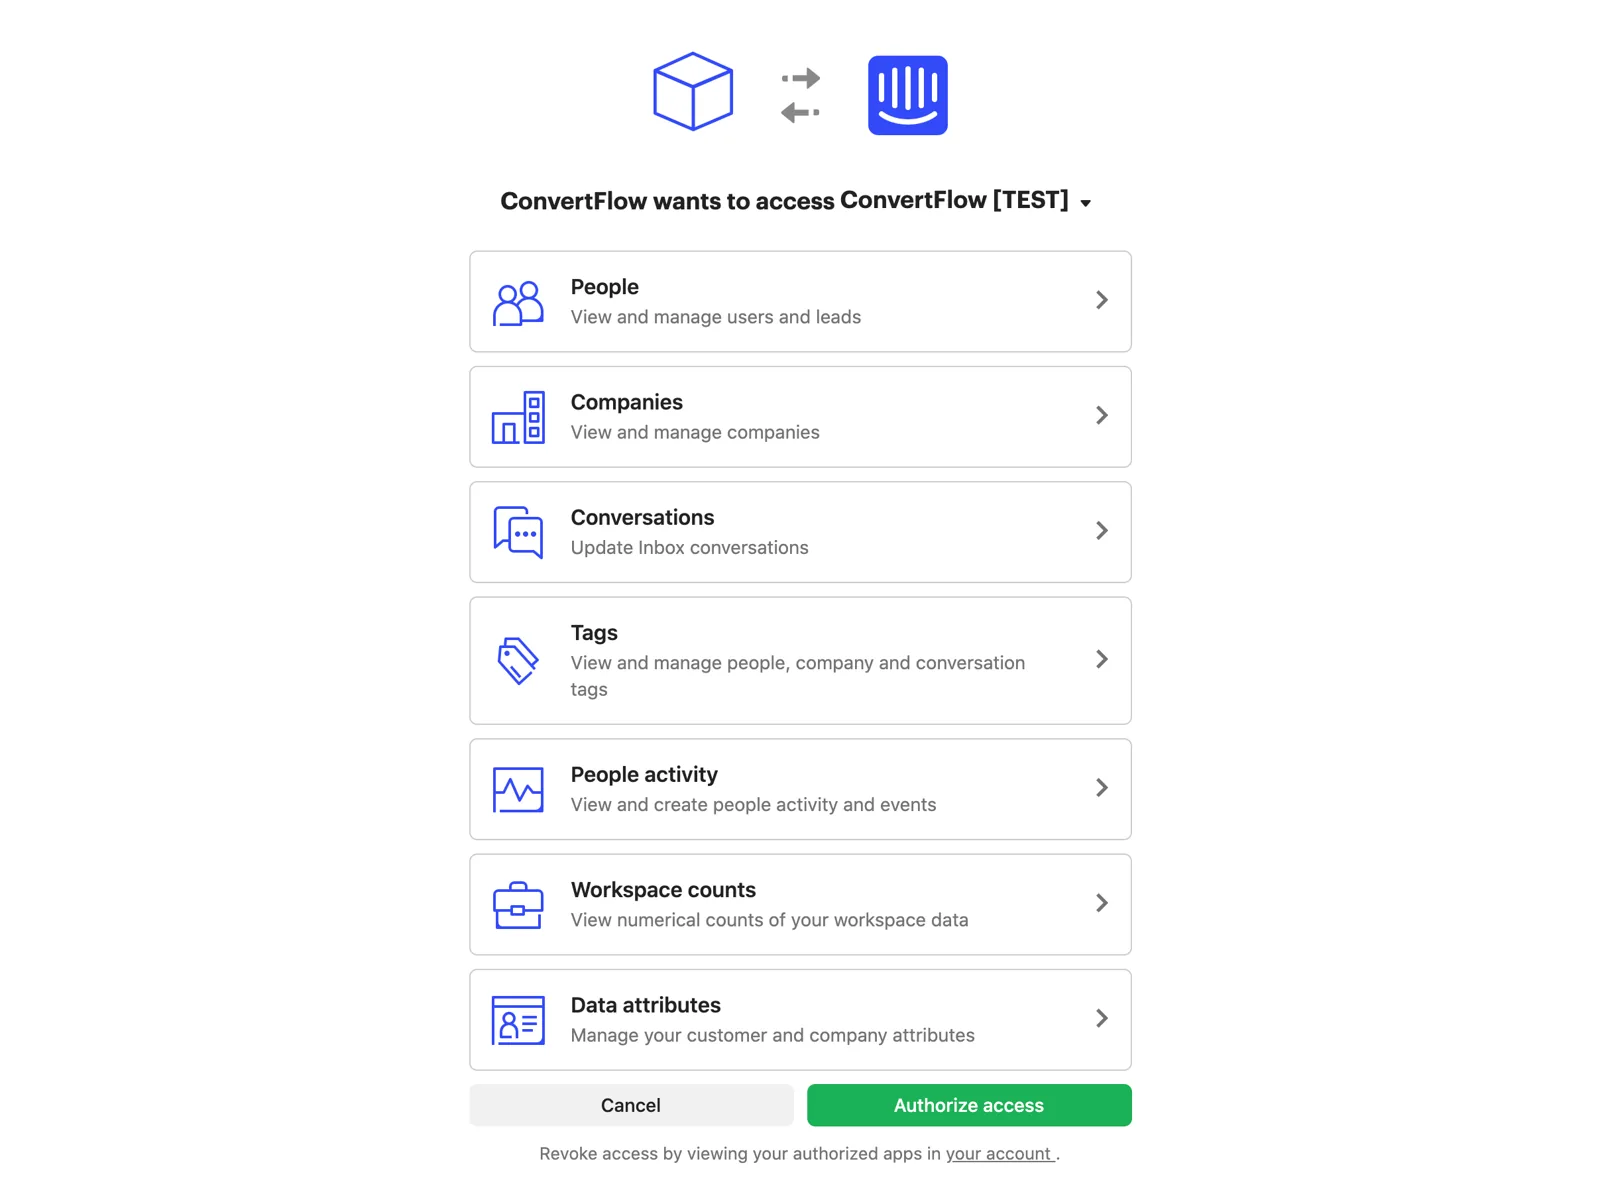
Intercom and ConvertFlow are now connected. ConvertFlow starts pulling in your segments, tags and attributes — all three, which is what makes both the automations and the targeting below possible.
2. Add a form to your campaign
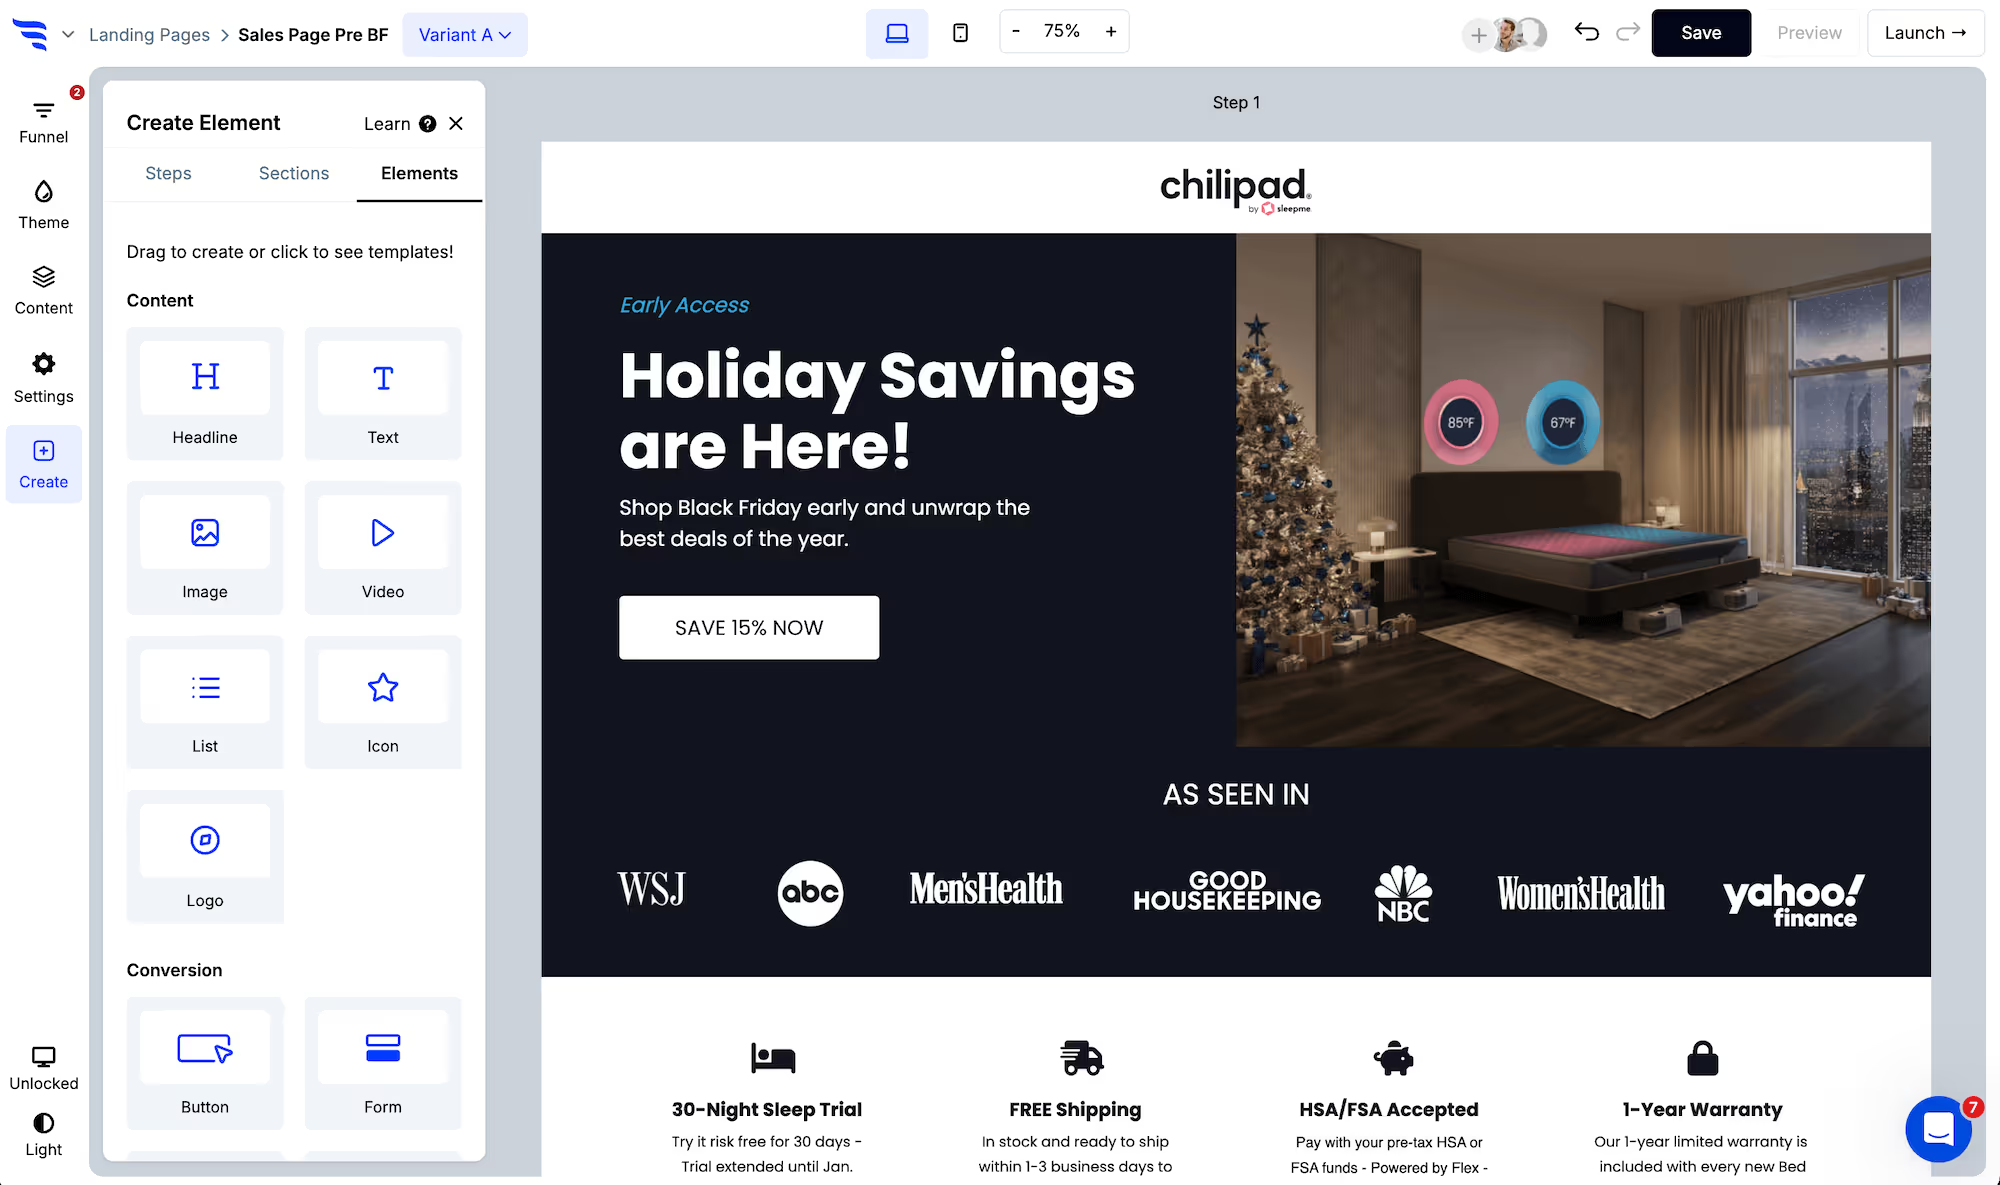
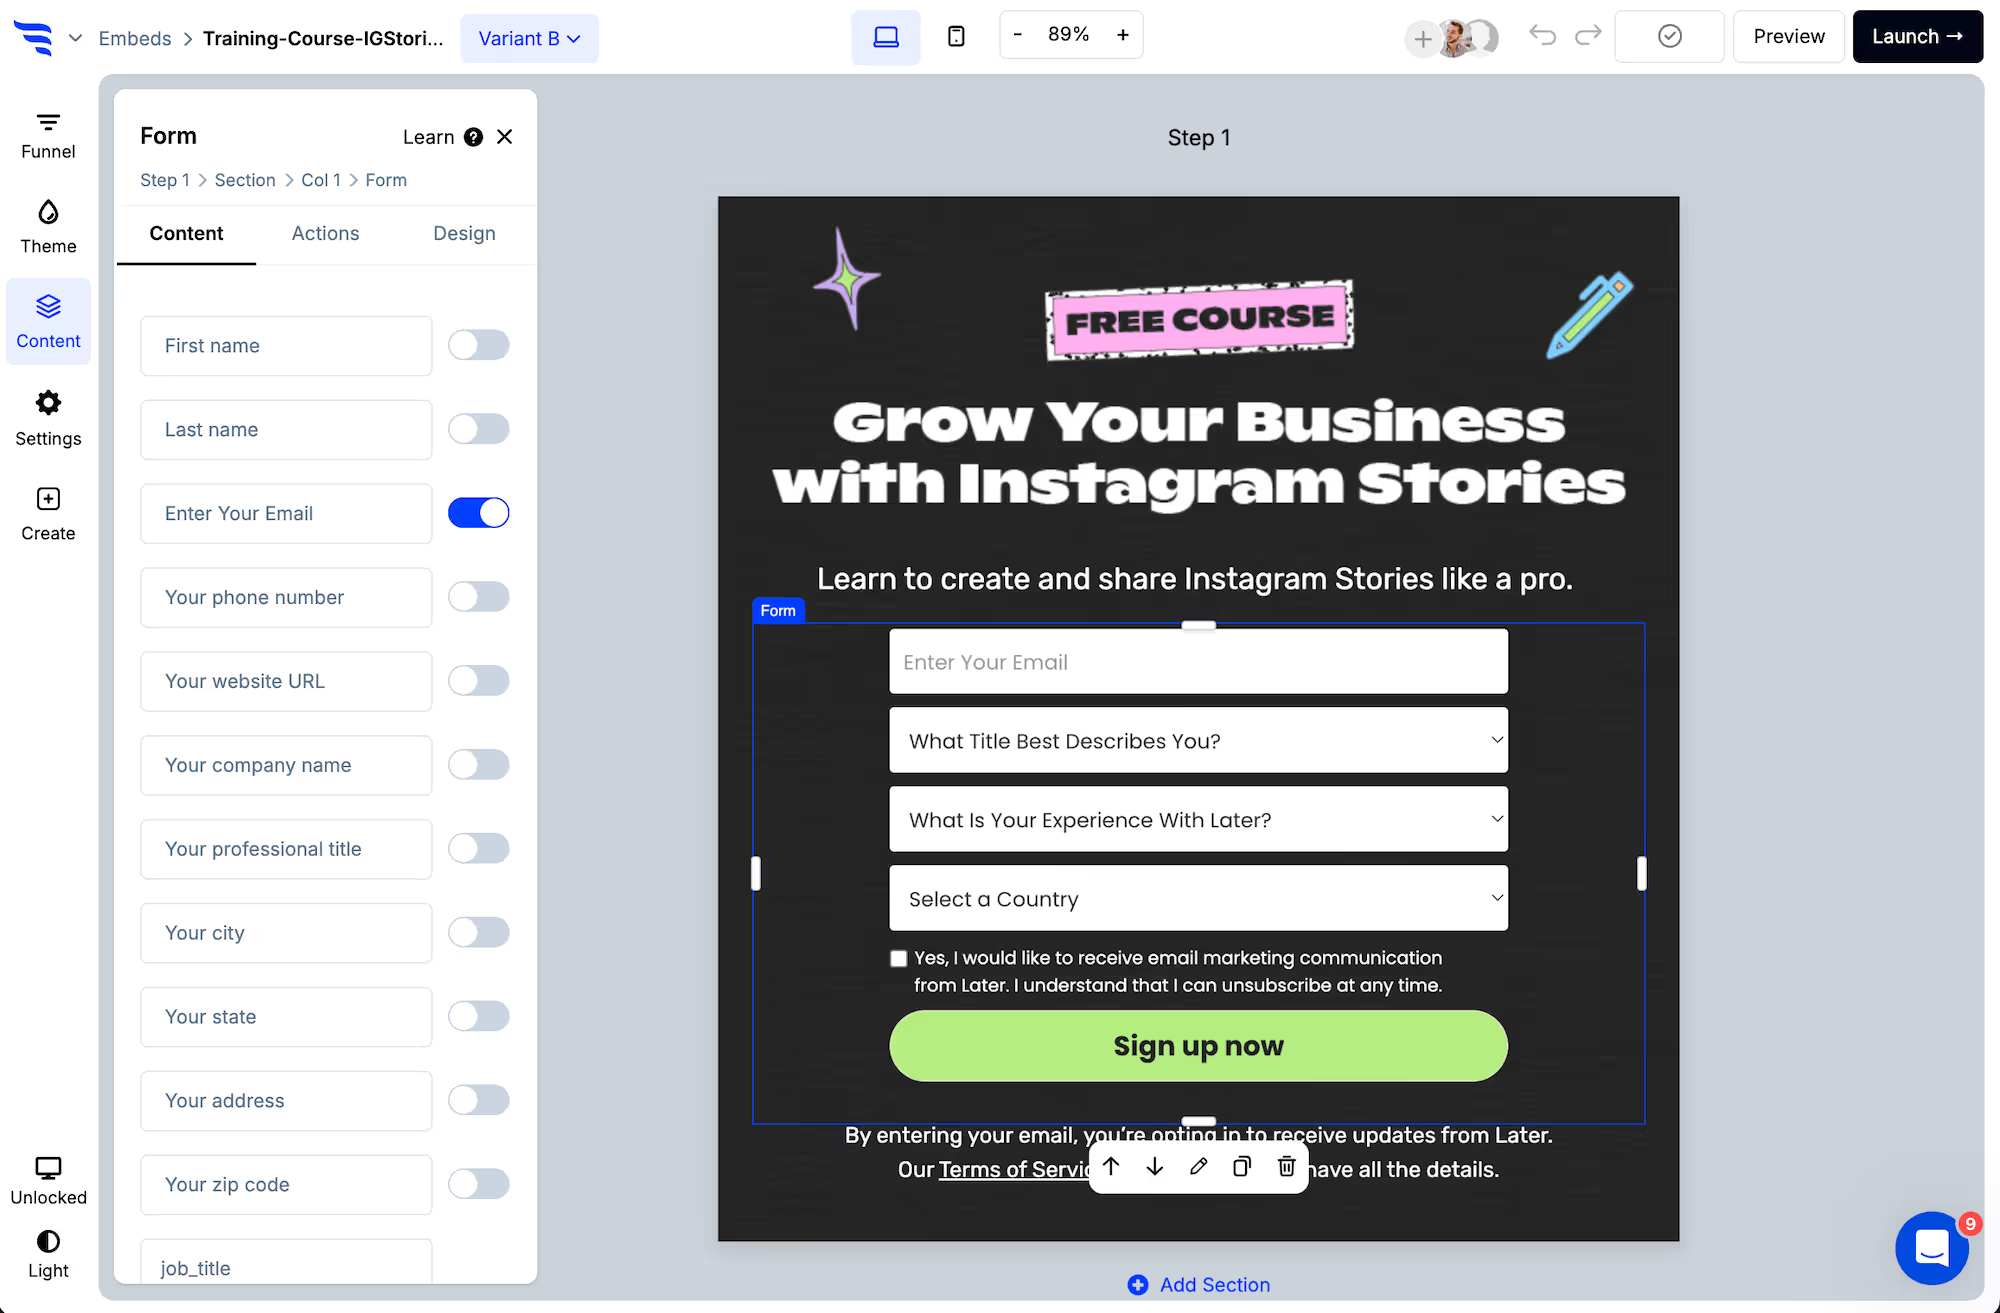
Add your Intercom form to a ConvertFlow landing page, popup or embed. Click to add an element and choose the "form" element type — start from a form template or build from scratch.
.avif)
3. Toggle the contact fields you want
Select the form element and switch on the contact fields to request. Email address maps to Intercom automatically.
.png)
Each field can be edited from the builder panel — placeholder text, label, required state and more.
.avif)
4. Verify emails before the contact syncs
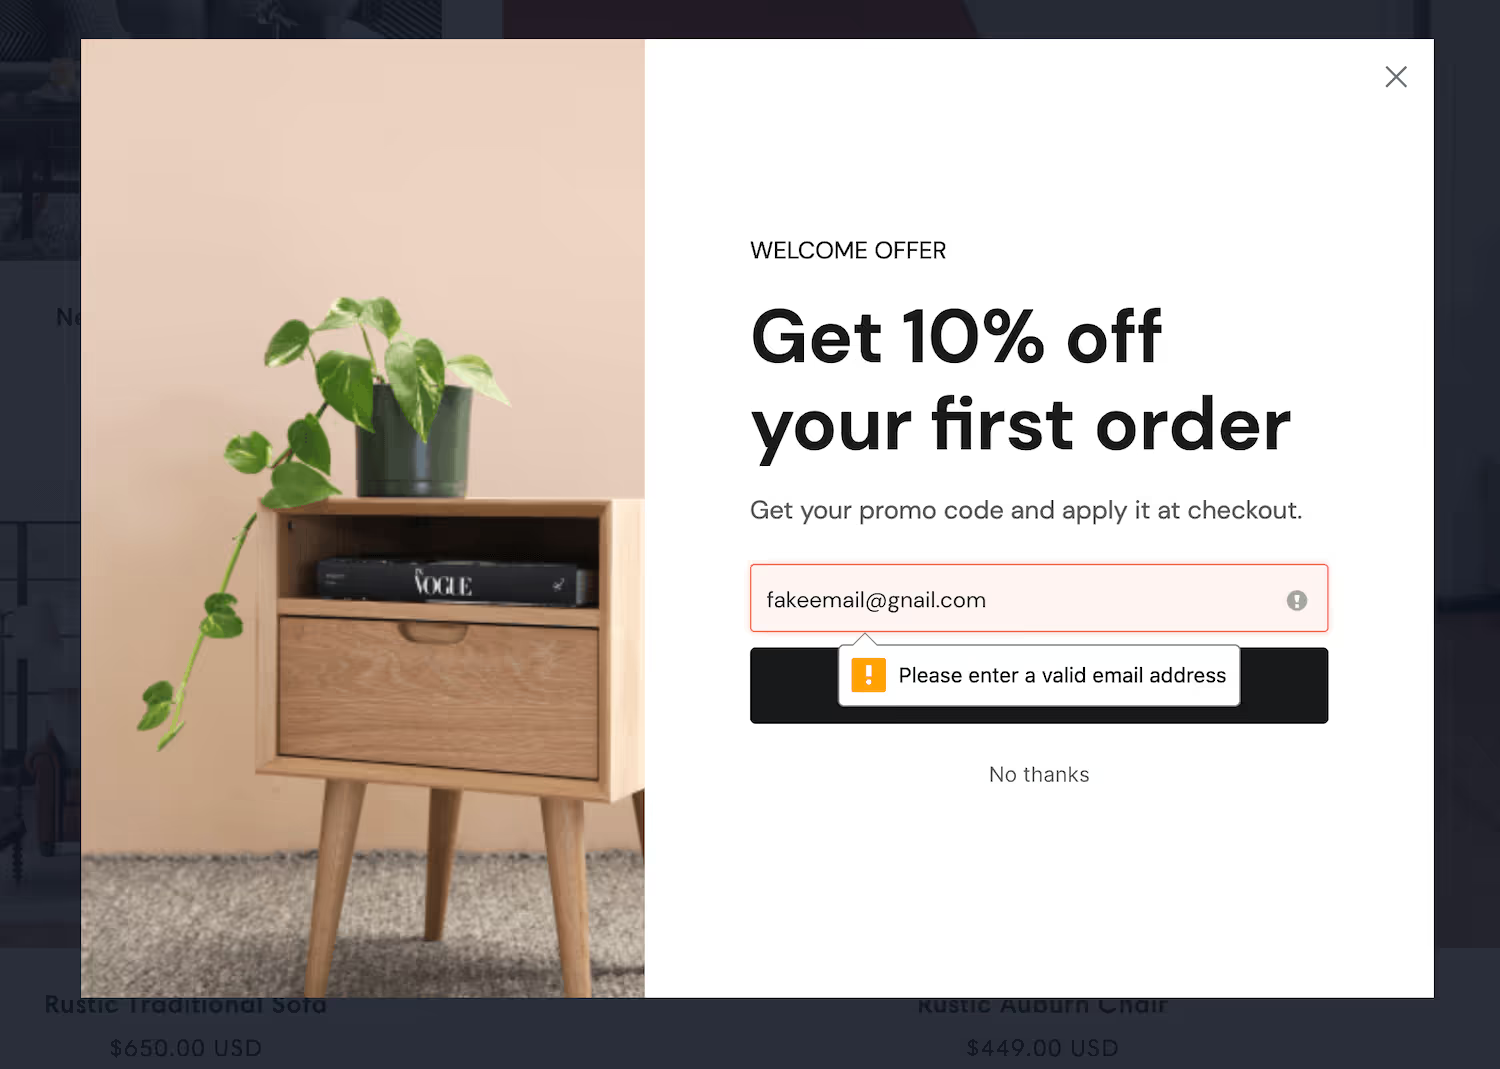
ConvertFlow can check that an entered address exists with its provider before the contact reaches Intercom. Worth doing on a support-led platform: a junk contact can open a conversation thread and consume a teammate's attention before anyone notices it was never real — more so if you're triggering the Messenger on submit.
5. Add consent checkboxes
Scroll below the preset contact fields to find compliance checkboxes:
- Privacy consent: link to your privacy policy and terms of service alongside a required checkbox.
- Marketing consent: if your form gates content but also opts the contact into ongoing marketing, collect consent for it.
- SMS consent: require consent to SMS marketing with the required disclosures.
6. Add custom fields and map them to Intercom attributes
By clicking to add a field at the end of the fields list, you can add as many custom fields as you'd like.
.avif)
Map each to an Intercom custom attribute. ConvertFlow pulled your attributes in when you connected, so they're available to select.
Choose the field type — text, dropdown, radio selection, paragraph or hidden. Dropdown and radio options can carry score values for funnel logic, which matters here: the score is how you decide who's worth opening a conversation with.
7. Map survey and quiz answers to Intercom
Survey and quiz elements have a "Map to custom field" dropdown, where you select the Intercom attribute each answer writes to.
8. Style the form to match your site
In the Design tab, set spacing, field layout, width, fonts, button colour and roundness, field colour and shadows — so the form looks like part of your page rather than a chat widget.
.avif)
9. Add Intercom automations on submit
In the Actions tab, choose what follows submission — redirect to a URL, jump to another funnel step, display a thank-you message, or open a popup.
.avif)
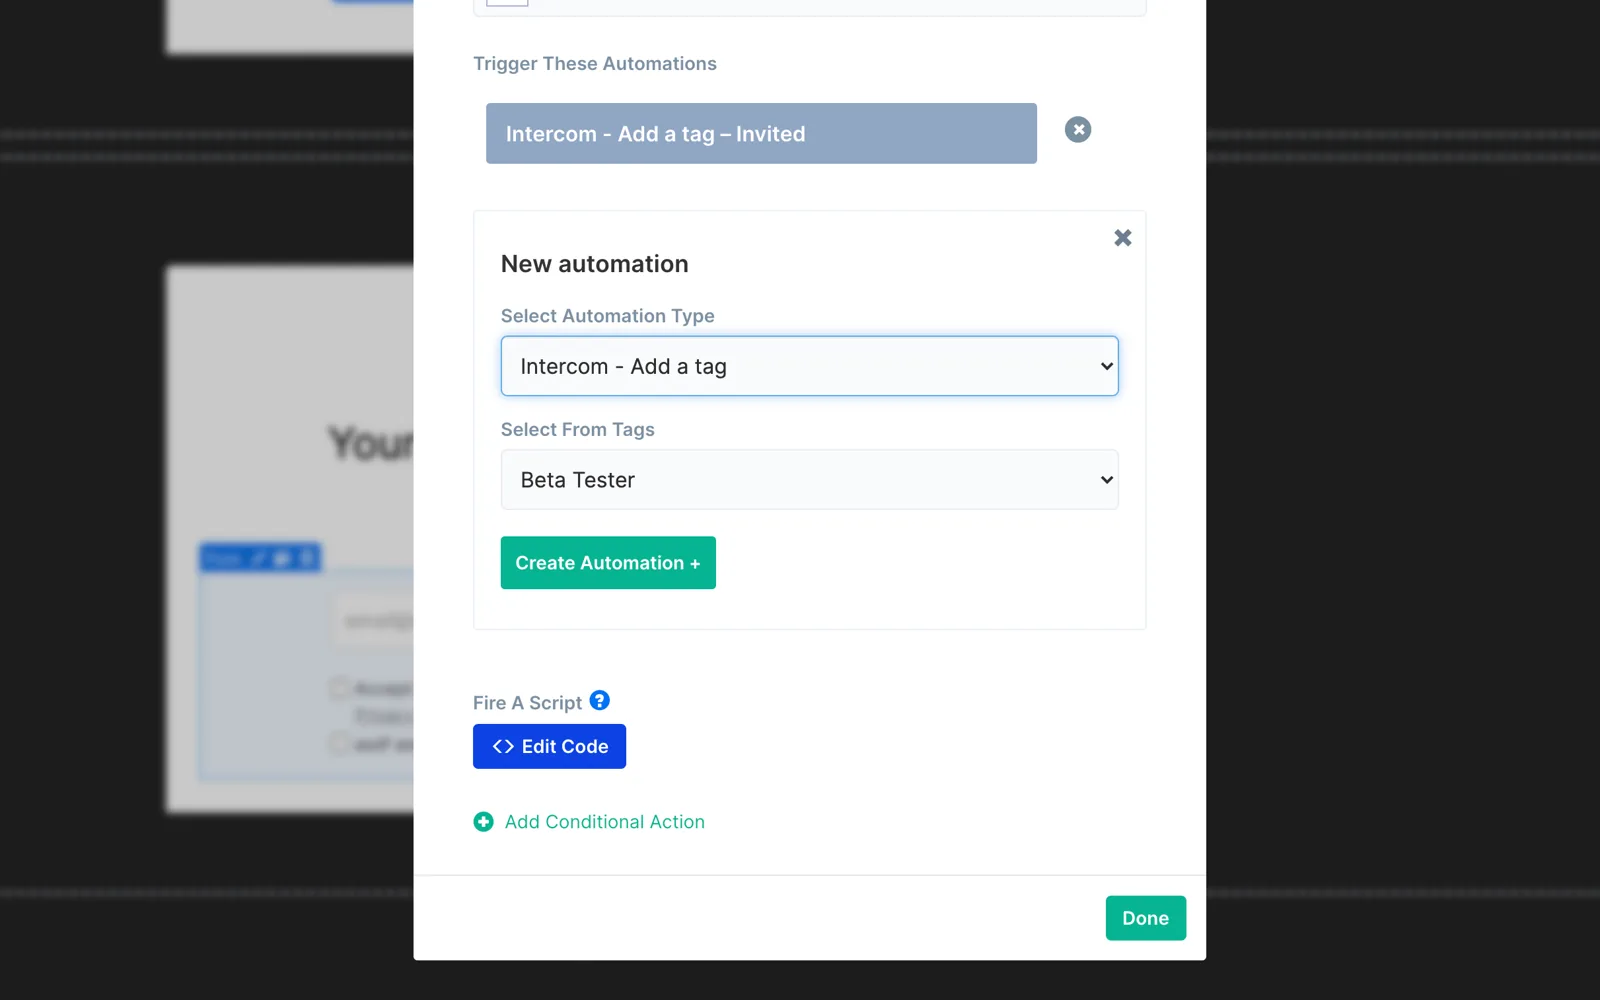
Alongside it, add Intercom automations. Select the element, click "Confirmation Actions", then "Add automation".
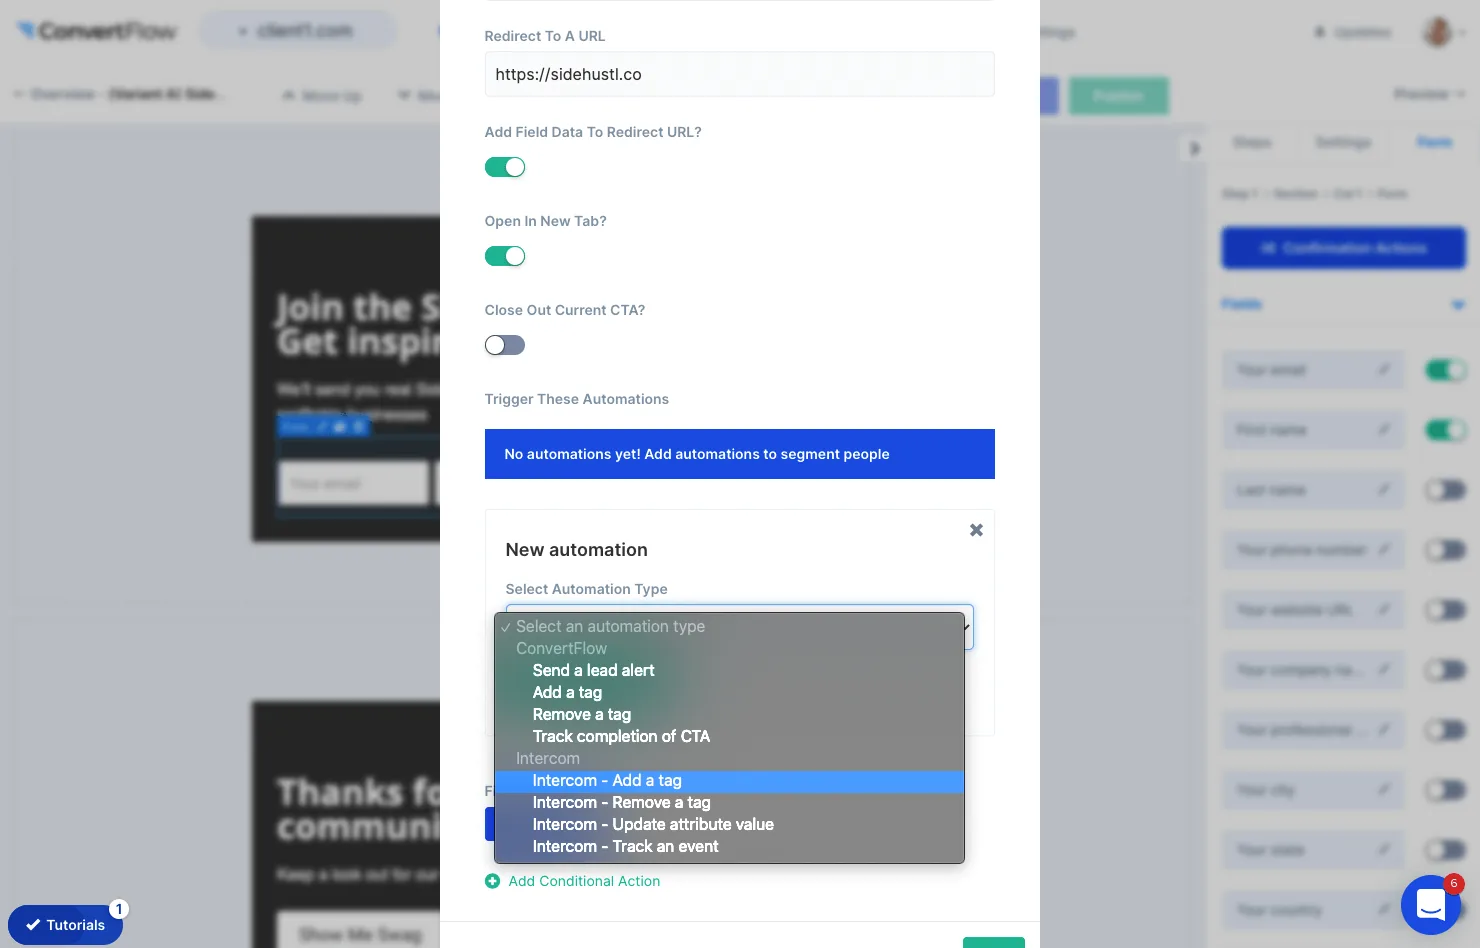
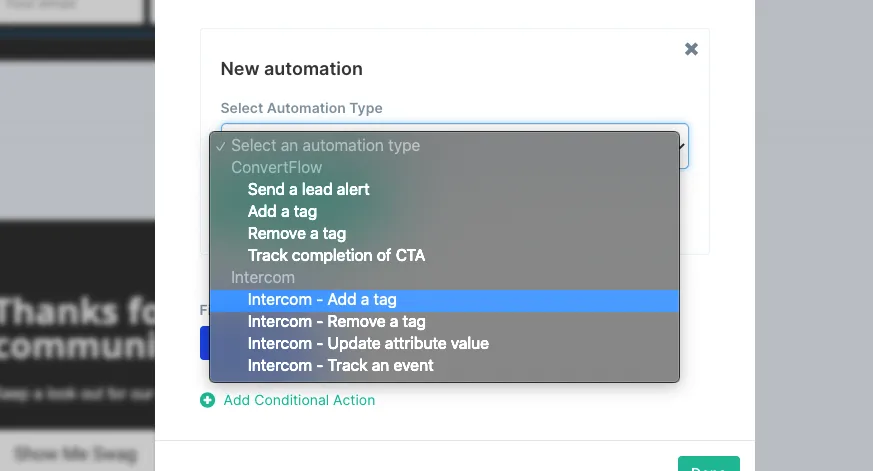
Six automation types are available:
- Add a tag
- Remove a tag
- Update attribute value
- Track an event
- Remove contact from list
- Trigger messenger
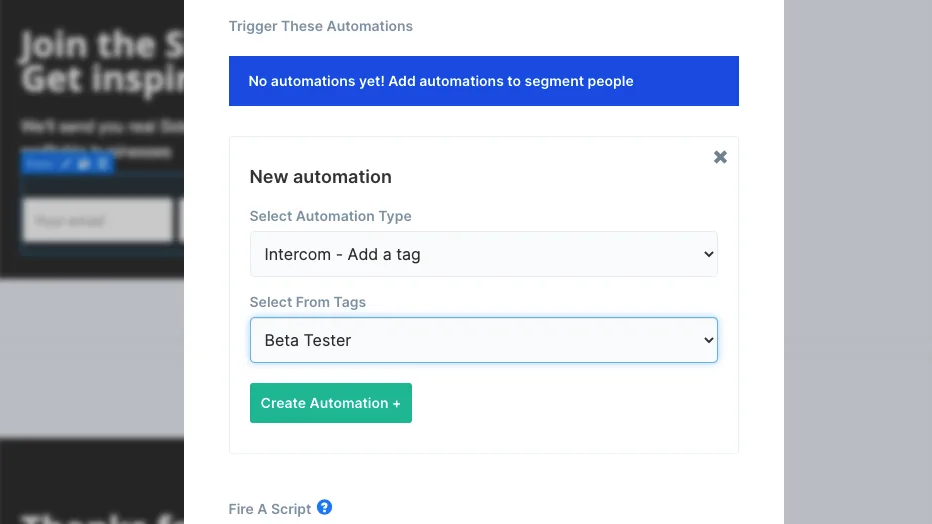
Selecting one asks for whatever it needs — choosing "Add a tag" asks you to pick the tag.
Trigger messenger — the one to build around
This is the automation that makes Intercom different from every other integration ConvertFlow connects to. On submission, ConvertFlow can open the Intercom Messenger.
Think about what that allows. A visitor completes a three-question qualification form. They score above your threshold. Instead of a thank-you page and an email tomorrow, the Messenger opens and they're in a conversation with your team — while they're still on the page, still interested, with their answers already written to their contact record so whoever picks up the chat can see them.
Everyone else gets tagged for nurture and sees the thank-you message. Same form, two outcomes, decided by a conditional action.
That's the pattern worth building: qualify in the form, hand off in the Messenger. It's what a "request a demo" flow should do and rarely does.
Remove a tag, and remove from list
Both let a submission undo something rather than only add to it. Tags in Intercom often drive who receives which outbound message, so removing one on submission means a contact who has just converted stops receiving the campaign that was trying to convert them.
These automations can be triggered by form submissions, survey selections, button clicks and conditional funnel outcomes.
Conditional actions are how you decide who gets the Messenger and who gets a tag.
.avif)
10. Report on submissions
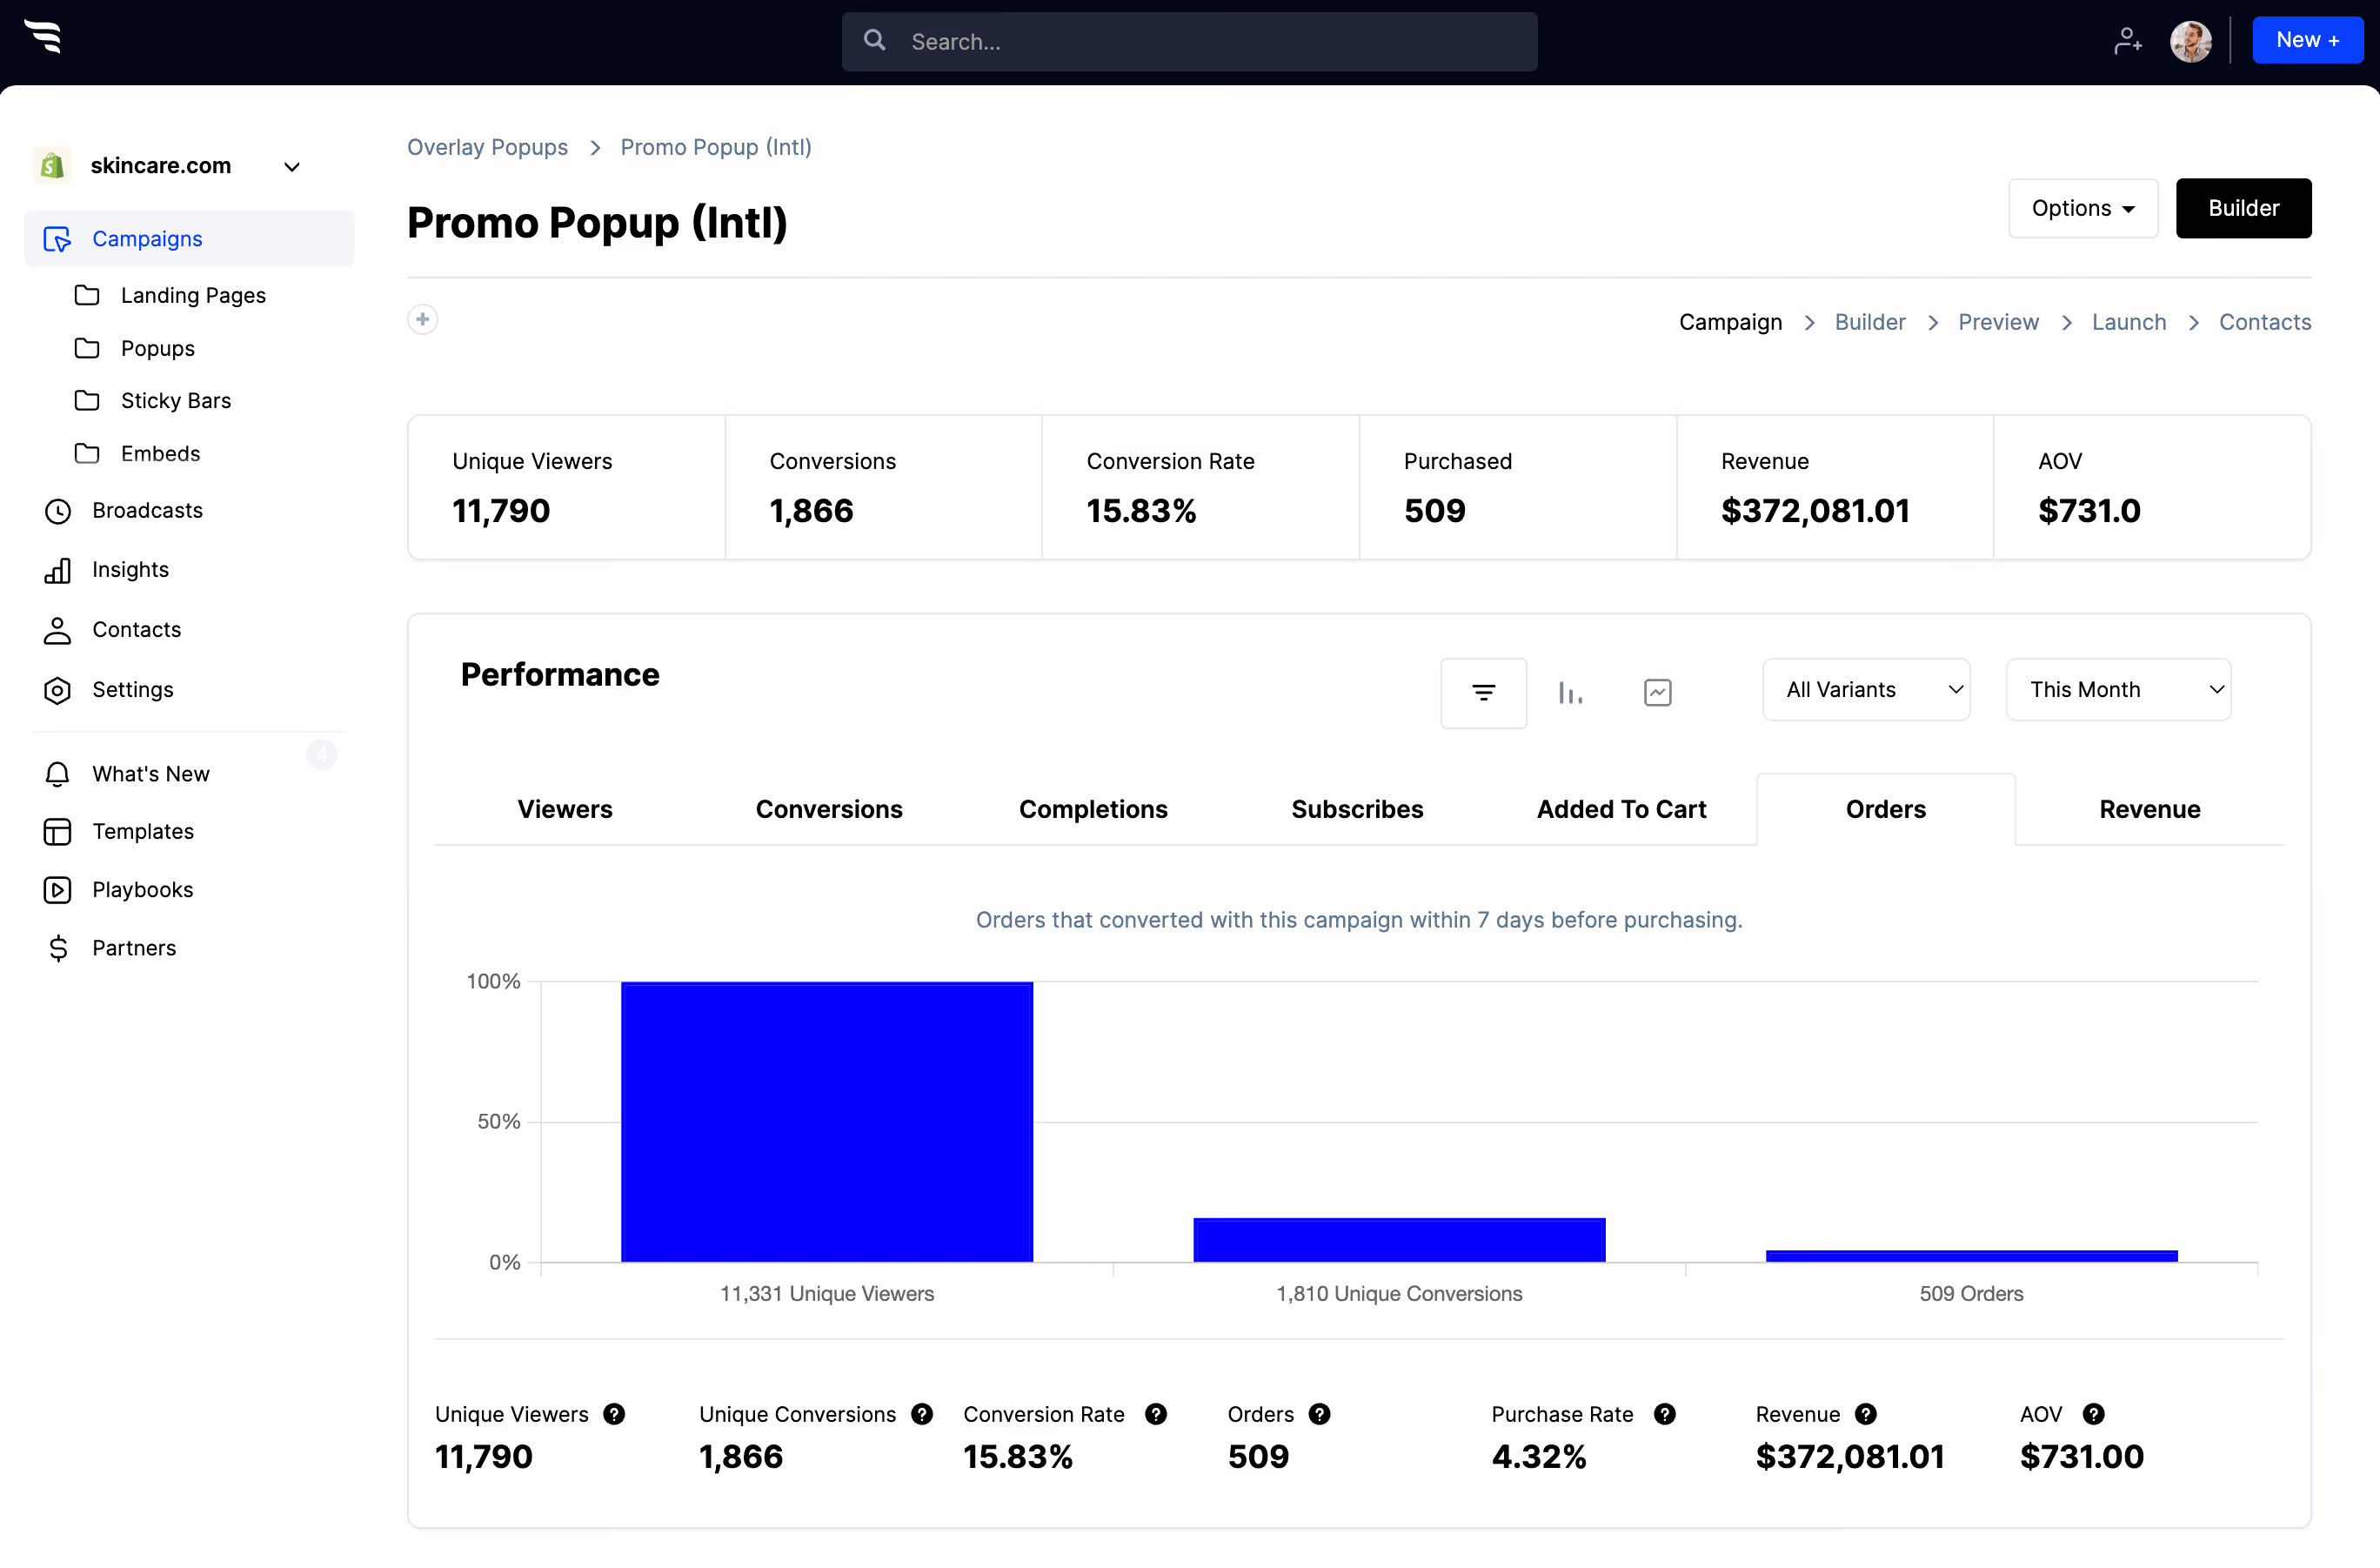
The funnel breakdown report shows how many people saw, converted and completed the form, where they dropped off, and which answers they selected — so you can see which qualifying question is costing you conversations.
.avif)
11. Segment and personalize for Intercom contacts
Once tags, attributes and events are landing on Intercom contacts, build segments from them and target your outbound messages accordingly.
ConvertFlow can also read your Intercom segments and personalize your website for them — so an existing customer sees something other than a lead capture form.
12. Publish
- On Shopify: publish to a Shopify page in one click.
- On WordPress: add ConvertFlow's snippet once, then target the form to specific posts, pages or categories.
- Anywhere else: Webflow, Squarespace, Wix or any CMS take the same single embed snippet.



%20(1).avif)





.svg)
