



Why build Tatango forms in ConvertFlow
Tatango is SMS software, so the form that collects the number lives somewhere else. ConvertFlow builds it — with multi-step logic, conditional routing, custom fields mapped into Tatango, and A/B testing.
What makes Tatango worth reading carefully is the opt-in handling. Most SMS integrations give you one "subscribe" action. Tatango gives you four, and picking the right one is a compliance decision rather than a preference.
1. Connect Tatango to ConvertFlow
Head to your ConvertFlow website's Integrations area and click to connect with Tatango.
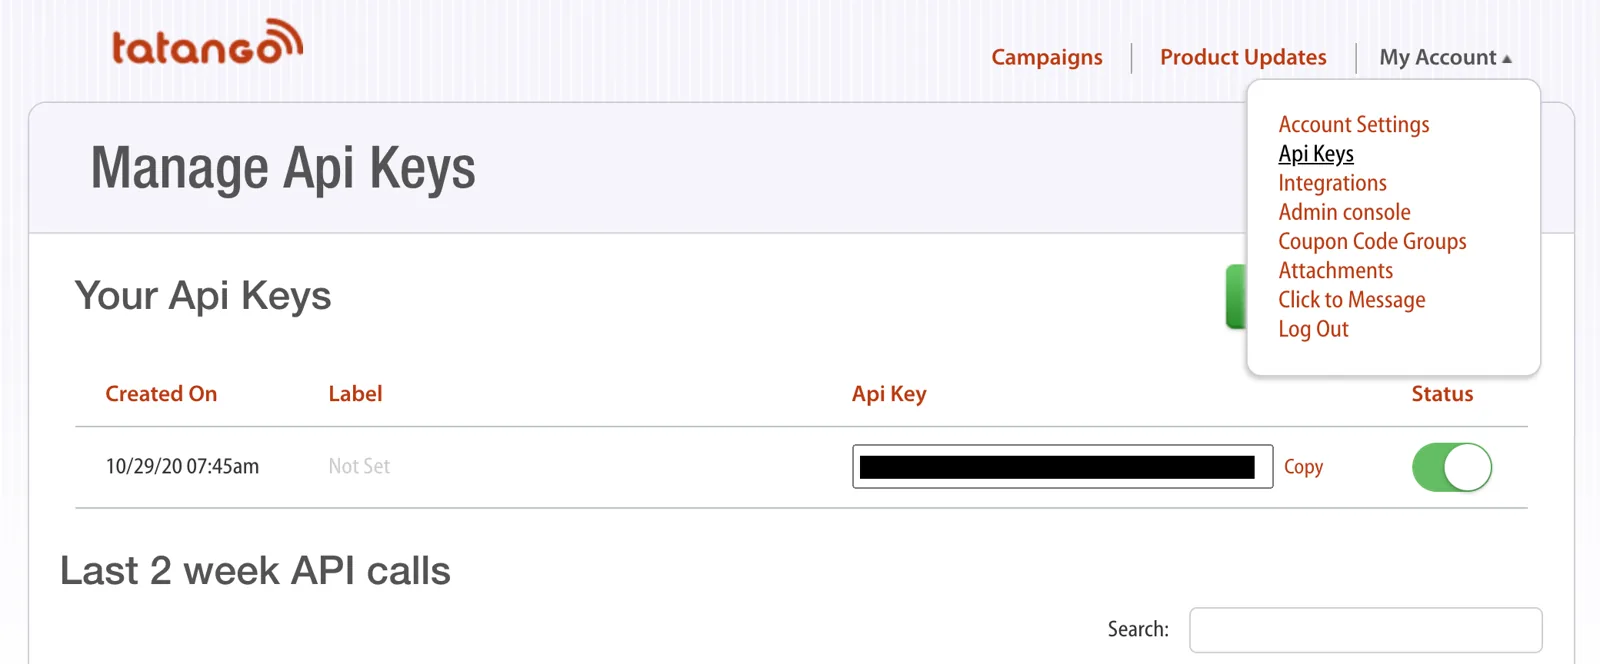
In Tatango, go to the API keys page and copy your API key.
Paste the API key and your Tatango user email into ConvertFlow. Both are required — the key alone won't connect.
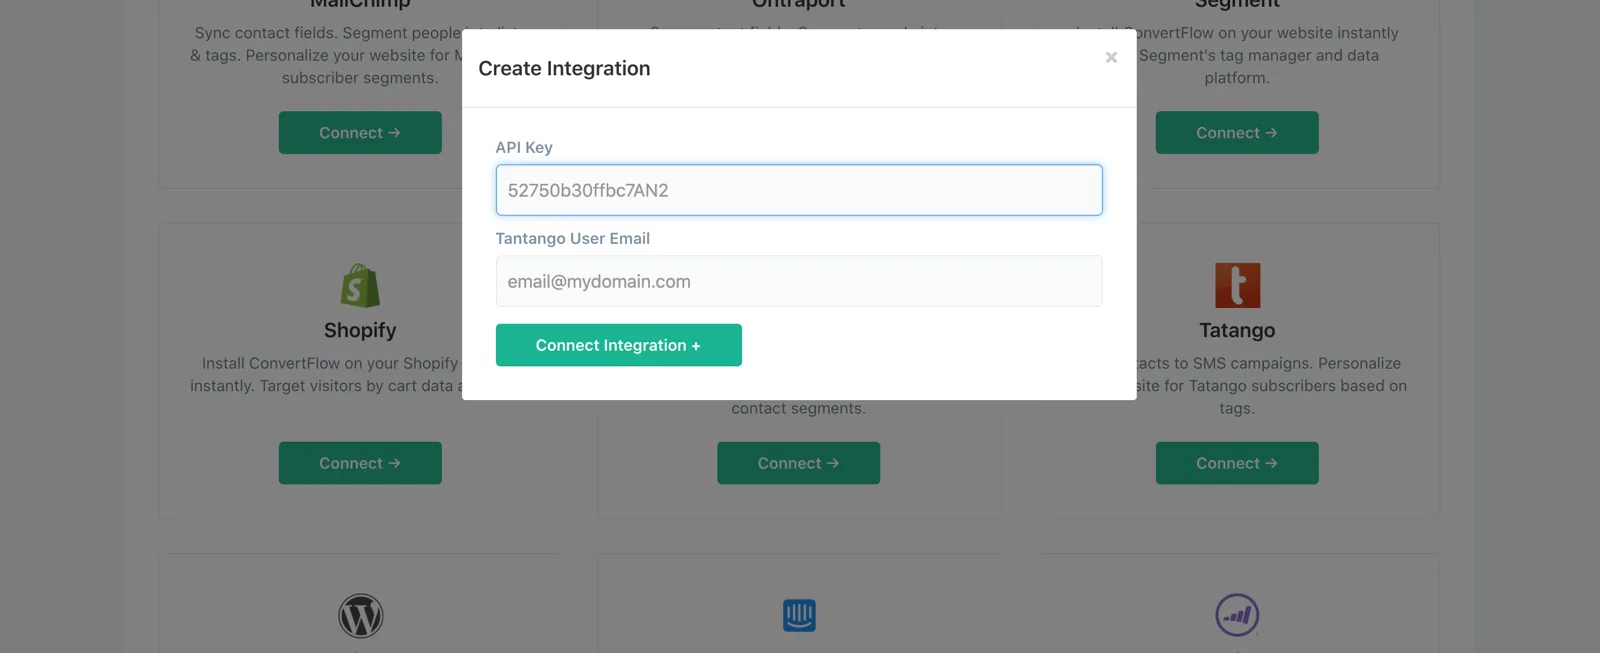
ConvertFlow now starts pulling in your Tatango campaigns, so you can trigger automations and segment subscribers as people submit your forms.
2. Choose your opt-in model before you build
This is the decision that shapes everything else, so make it first.
ConvertFlow offers four ways to add someone to a Tatango list:
- Single opt-in — the number is added on submit. Highest volume.
- Single opt-in + confirmation — added on submit, and Tatango sends a confirmation message.
- Double opt-in — the subscriber must confirm by replying before they're active.
- Double opt-in + confirmation — double opt-in, plus a confirmation message.
Double opt-in costs you part of the list. In exchange you get a list where every subscriber has demonstrably agreed, and where each number is provably reachable, because a number that can't receive the confirmation never becomes active.
Which is appropriate depends on your programme and your regulatory position, so confirm with Tatango or your own counsel rather than defaulting to whichever produces the biggest number.
3. Add a form to your campaign
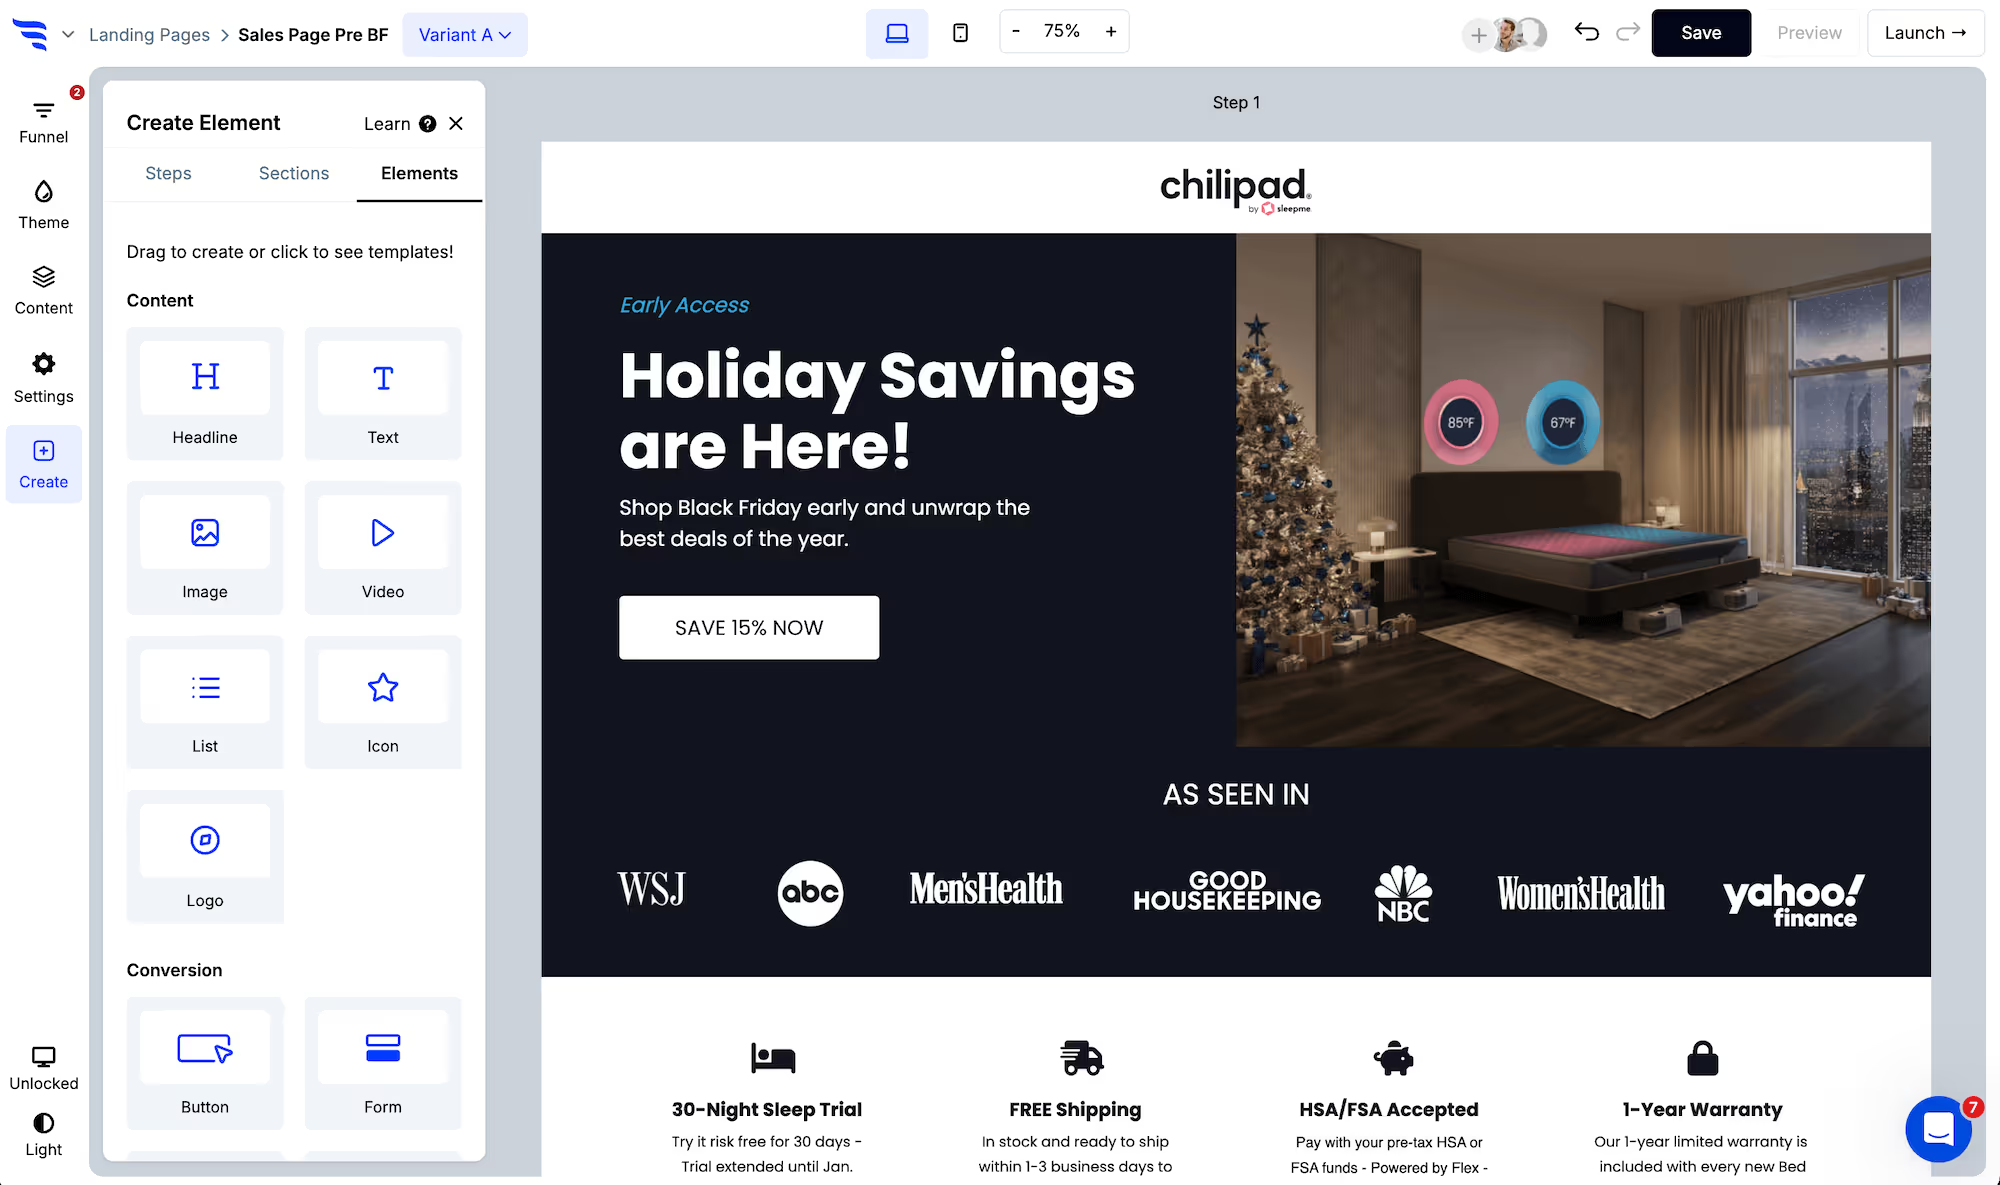
Add your Tatango form to a ConvertFlow landing page, popup or embed. Click to add an element and choose the "form" element type — start from a form template or build from scratch.
.avif)
4. Toggle the contact fields you want
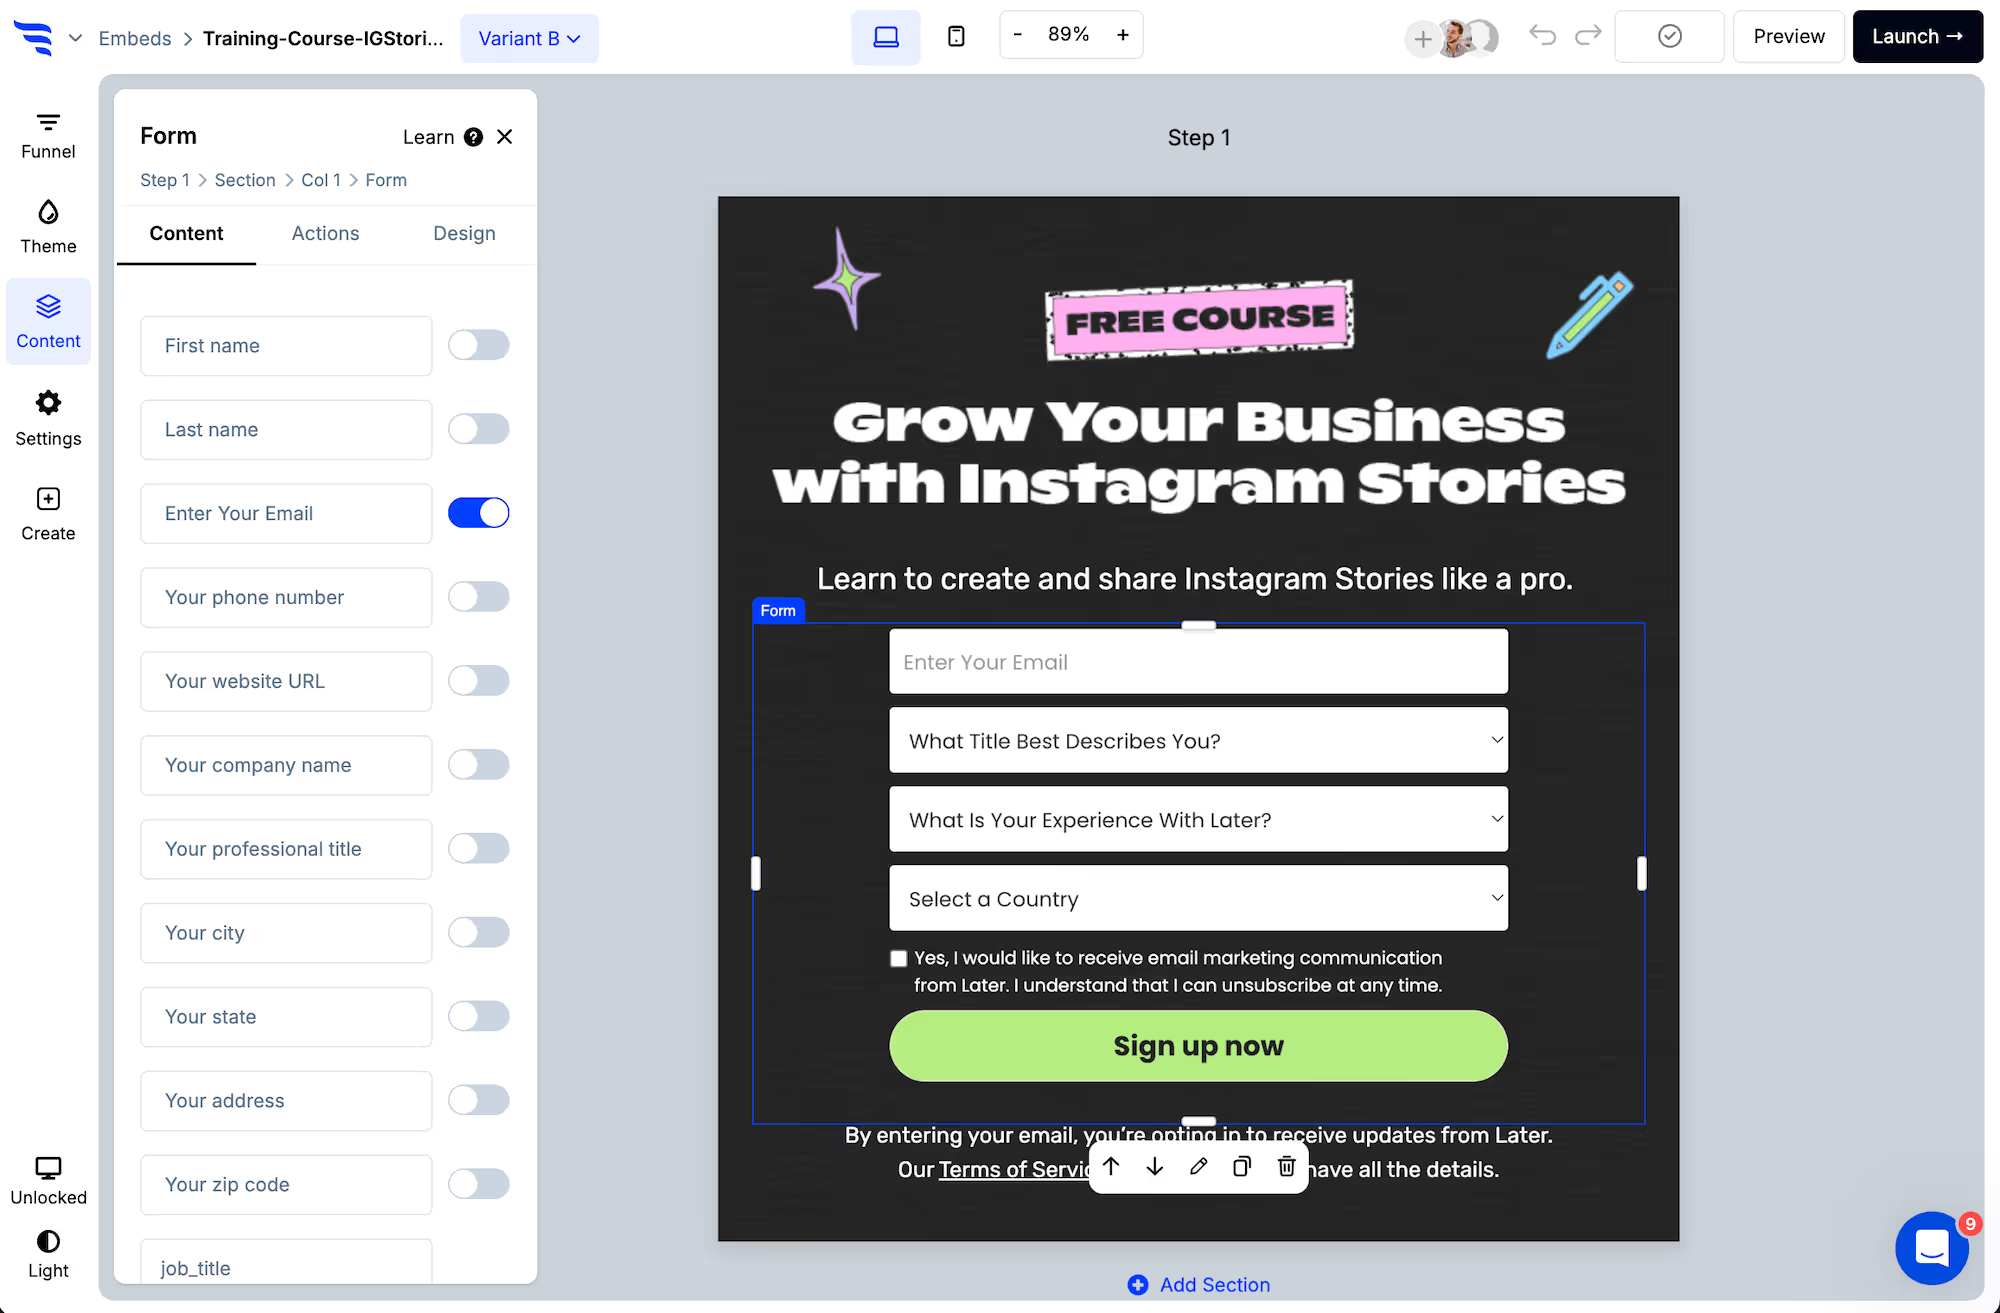
Select the form element and switch on the fields to request. Phone is the one that matters for SMS.
.png)
Each field can be edited from the builder panel — placeholder text, label, required state and more.
.avif)
5. Collect SMS consent on the form
Below the preset contact fields you'll find a dedicated SMS consent checkbox alongside privacy and marketing consent options. Use it with the disclosures your programme requires.
Note that this is separate from the opt-in model you chose in step 2 — the checkbox records consent at the point of capture, the opt-in model governs how Tatango activates the subscriber. Keep the two aligned: a form promising one thing and an automation doing another is the kind of mismatch that causes problems later.
6. Verify the phone number
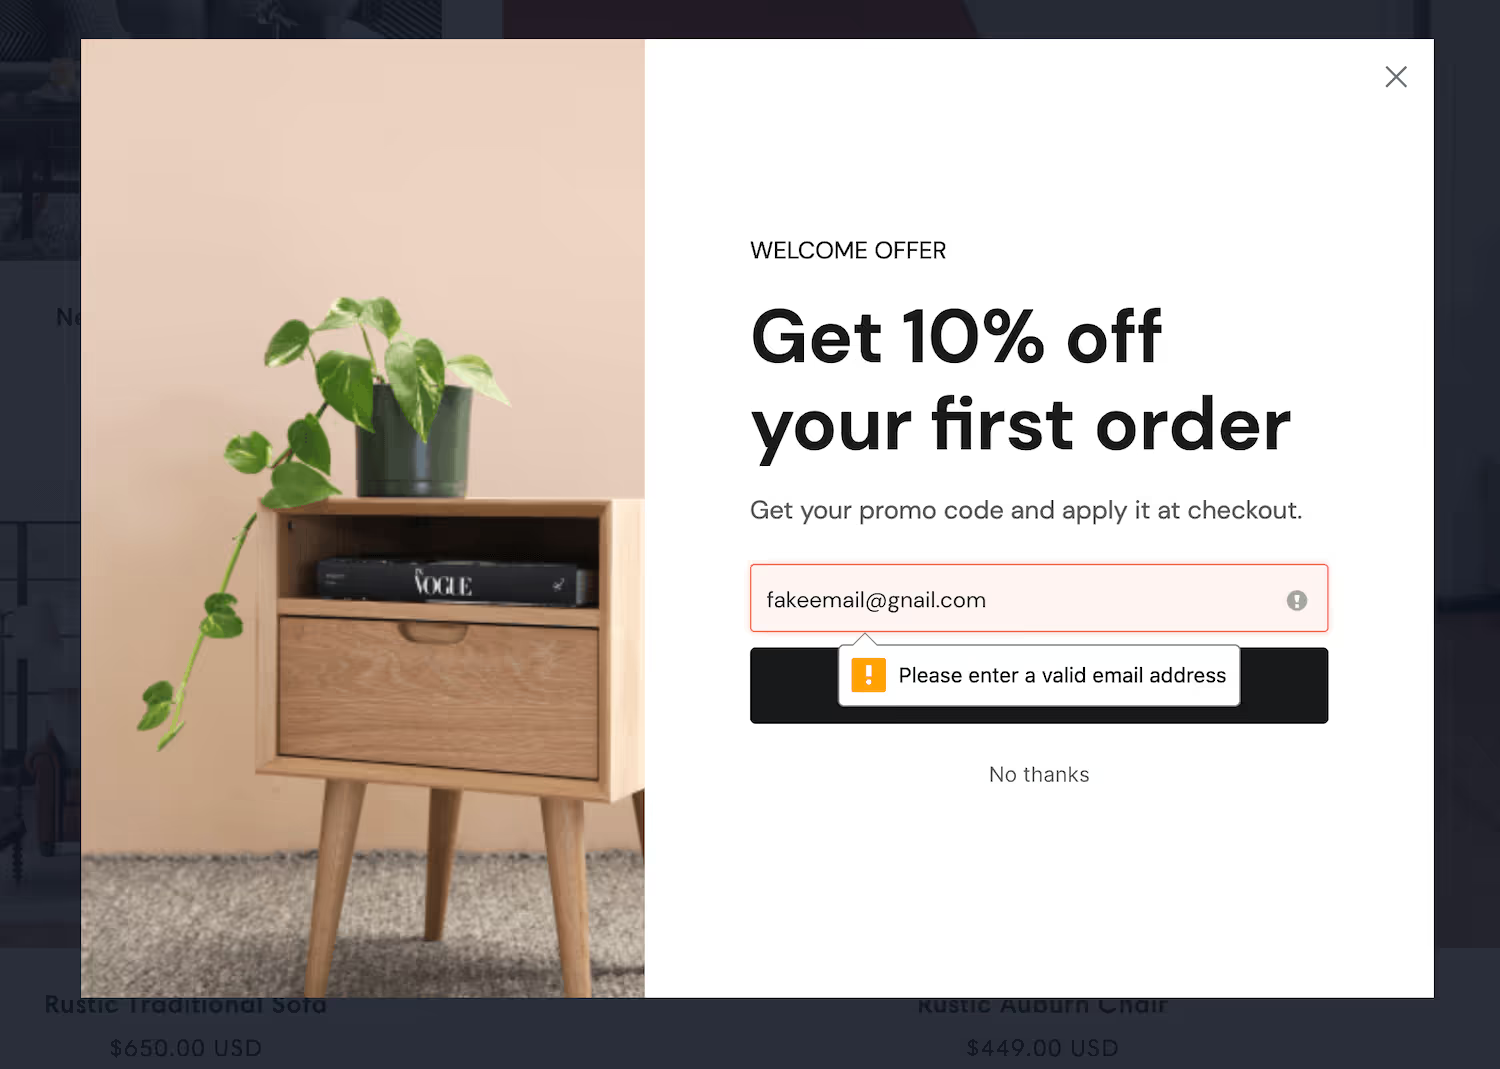
ConvertFlow formats numbers to the international E.164 standard. Without it, a number typed with brackets or spaces can produce a subscriber who never receives anything — and on double opt-in, a badly formatted number simply never confirms, so you lose the subscriber silently.
7. Add custom fields
By clicking to add a field at the end of the fields list, you can add as many custom fields as you'd like, mapping each to a Tatango custom field.
.avif)
Survey responses, quiz selections, dropdowns, radios, paragraphs and hidden fields can all map to Tatango custom fields.
8. Style the form
In the Design tab, set spacing, field layout, width, fonts, button colour and roundness, field colour and shadows.
.avif)
9. Add Tatango automations on submit
Select the element and click "Confirmation Actions" in the builder panel, then "Add automation".
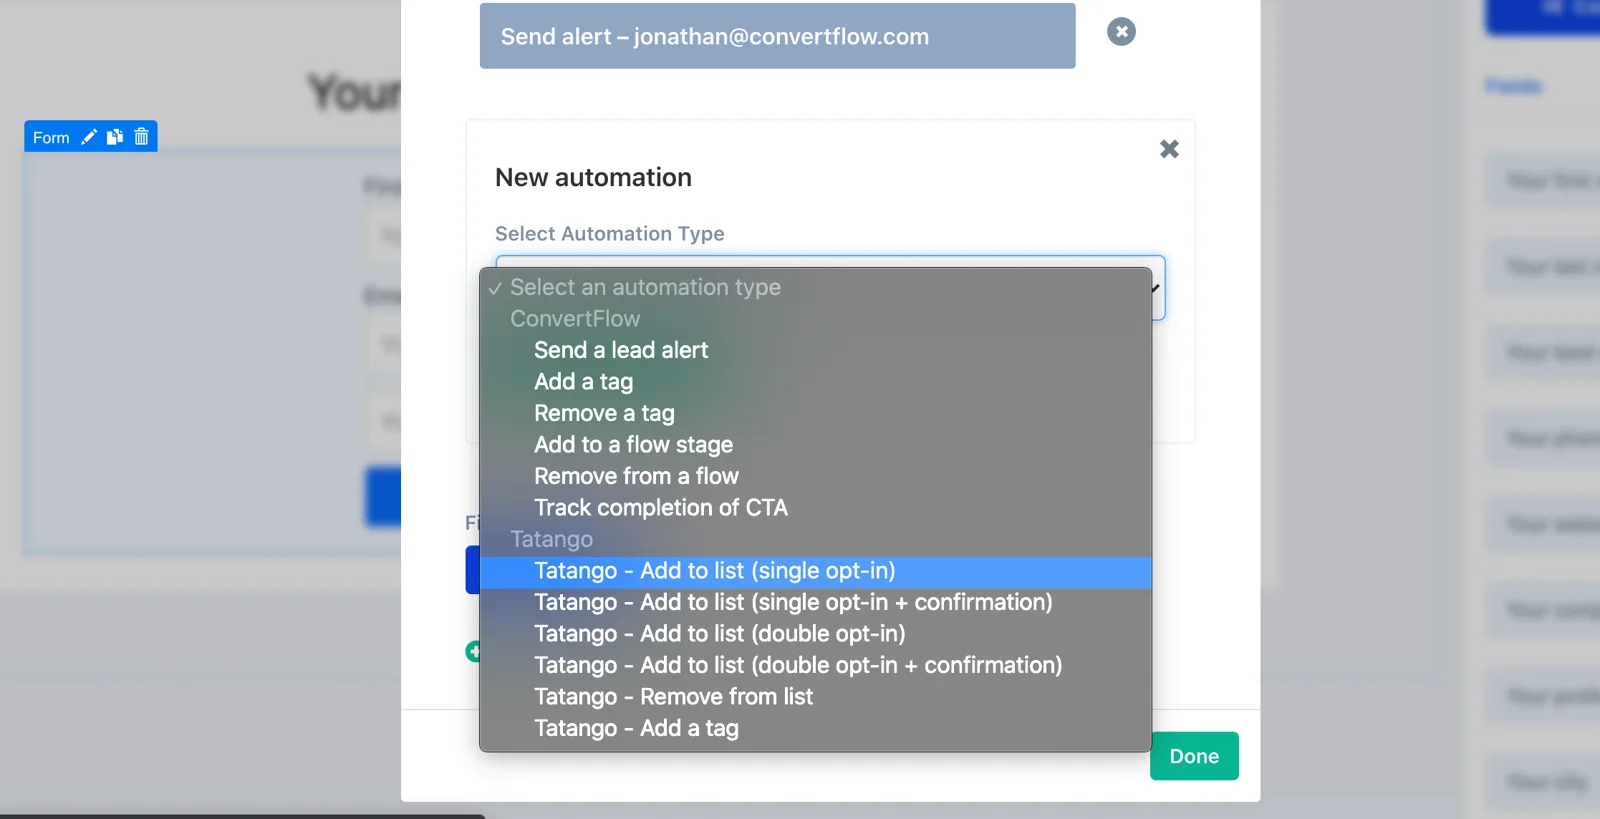
Six Tatango automation types are available:
- Add to list (single opt-in)
- Add to list (single opt-in + confirmation)
- Add to list (double opt-in)
- Add to list (double opt-in + confirmation)
- Remove from list
- Add a tag
Selecting one asks for whatever it needs — choosing an "Add to list" variant asks you to pick the list. Then click "Create Automation".
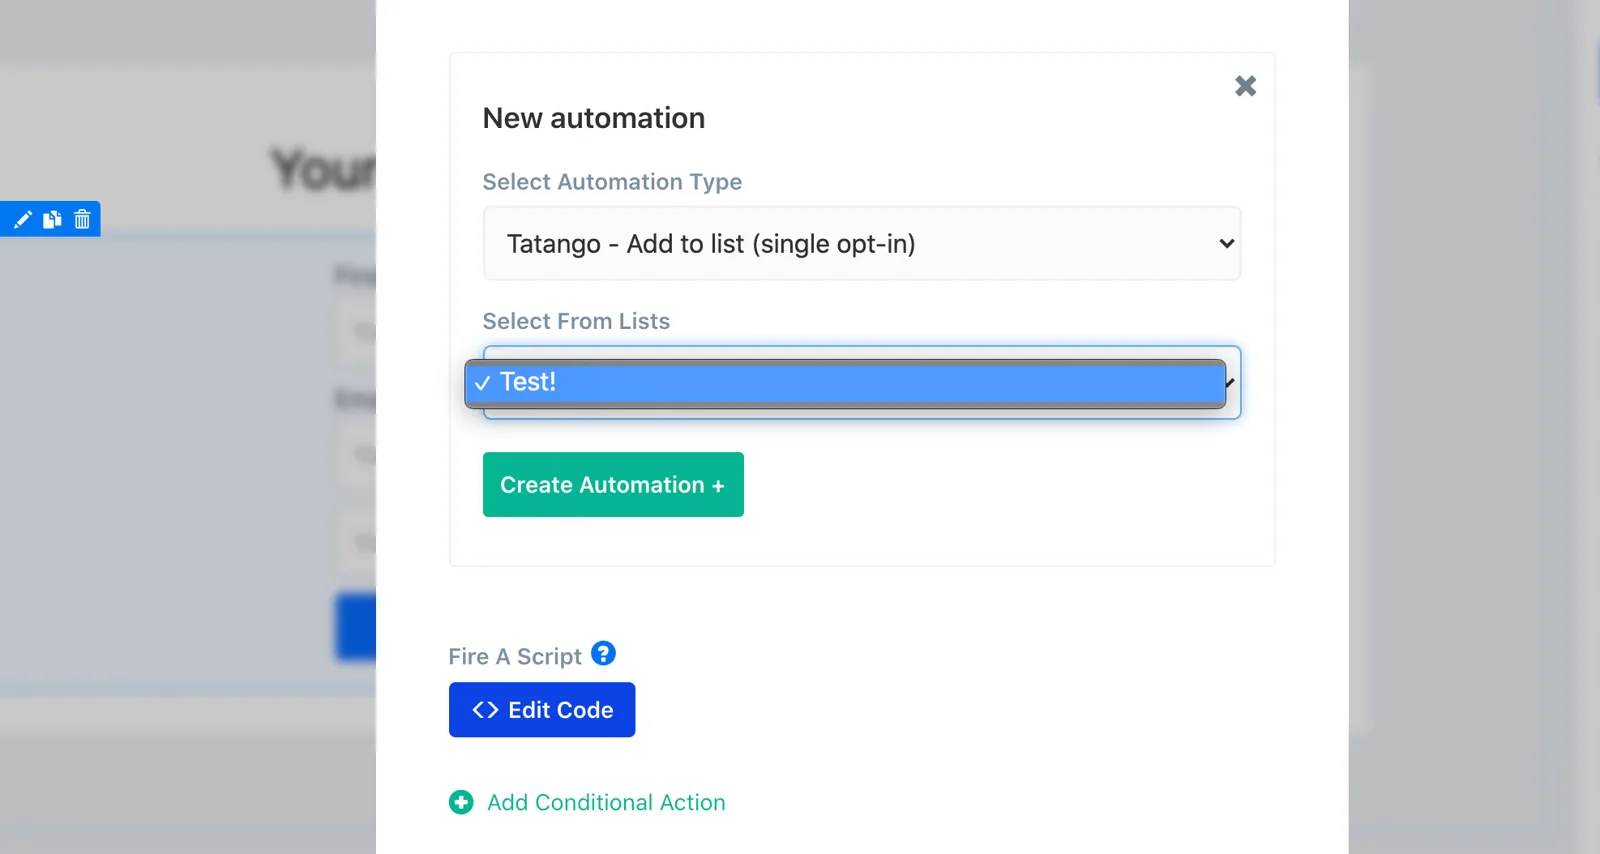
Add a tag is worth pairing with the subscribe action. The list governs which programme someone is in; tags give you a second dimension to segment on, so one list can carry several audiences.
These automations can be triggered by form submissions, survey selections, button clicks and conditional funnel outcomes — so a different answer can join a different list, or add a different tag.
.avif)
10. Report on submissions
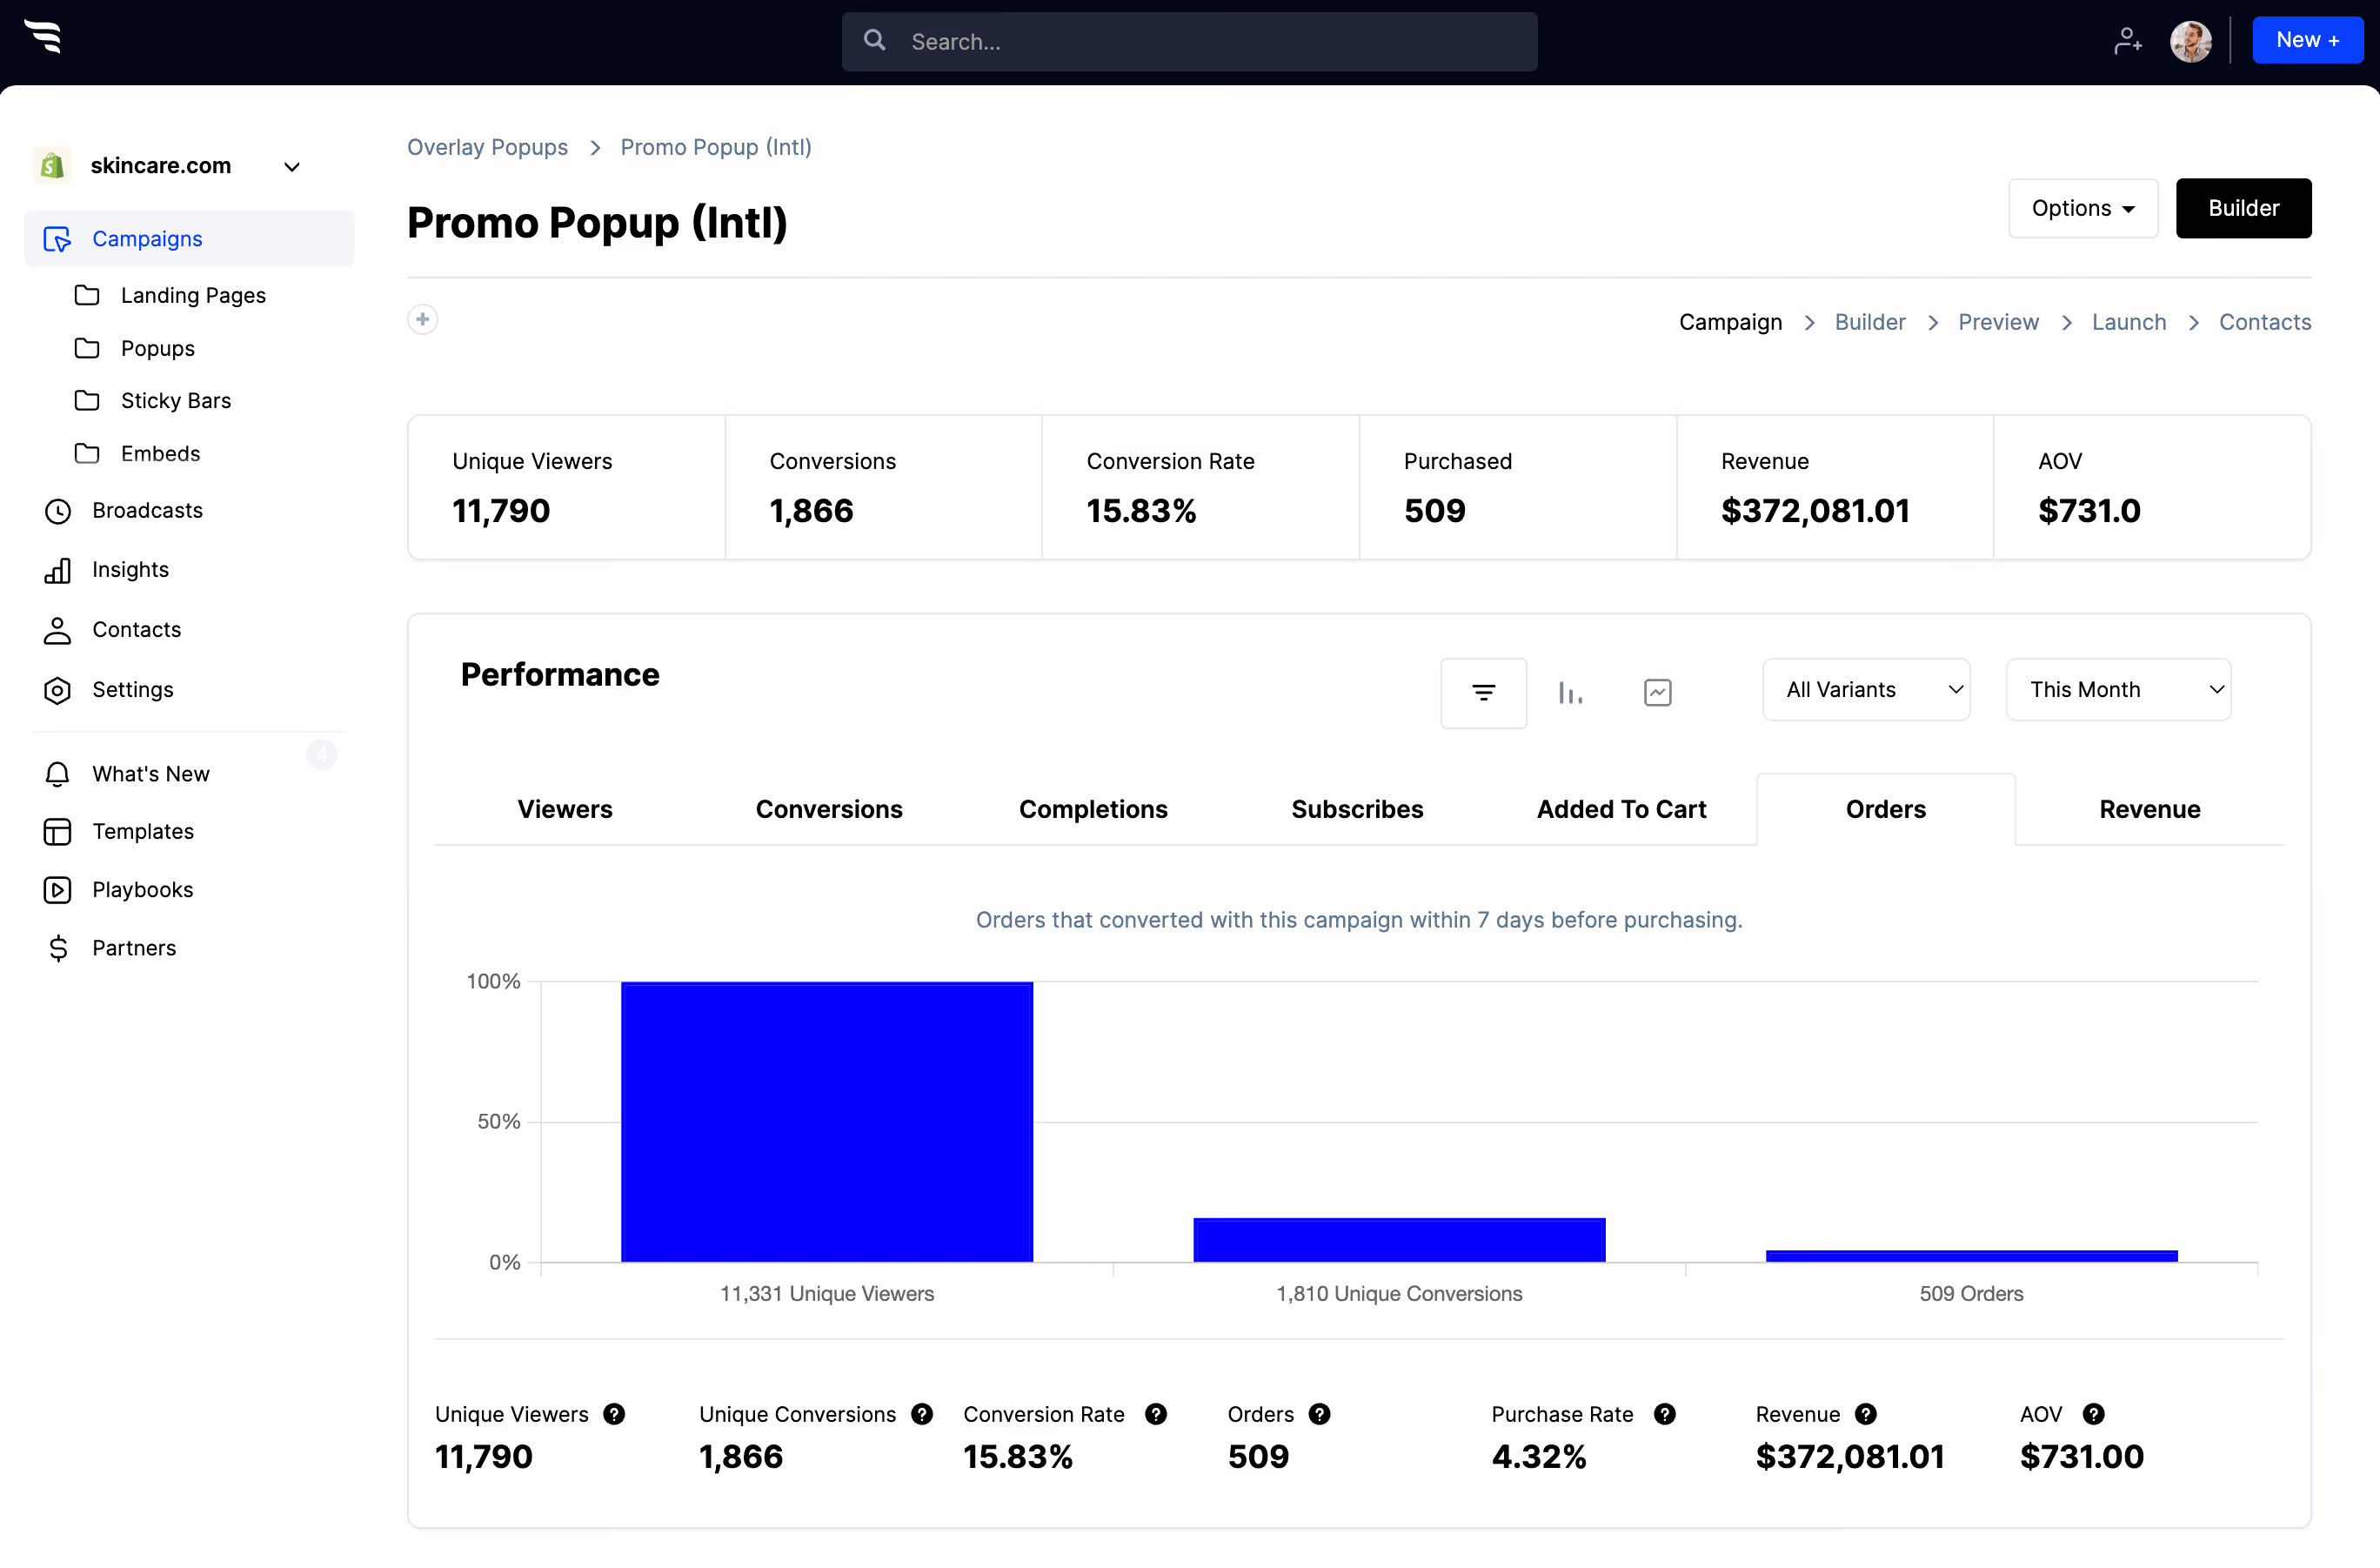
The funnel breakdown report shows how many people saw, converted and completed the form, and where they dropped off.
.avif)
If you're on double opt-in, remember this report ends at form submission. The gap between submissions here and active subscribers in Tatango is your confirmation rate, and it's worth watching — a large gap usually means the confirmation text isn't expected, so people ignore it.
11. Personalize for Tatango subscribers
ConvertFlow can read your Tatango lists and tags and personalize your website accordingly — so existing subscribers aren't shown the same opt-in form again.
12. Publish
- On Shopify: publish to a Shopify page in one click.
- On WordPress: add ConvertFlow's snippet once, then target the form to specific posts, pages or categories.
- Anywhere else: Webflow, Squarespace, Wix or any CMS take the same single embed snippet.



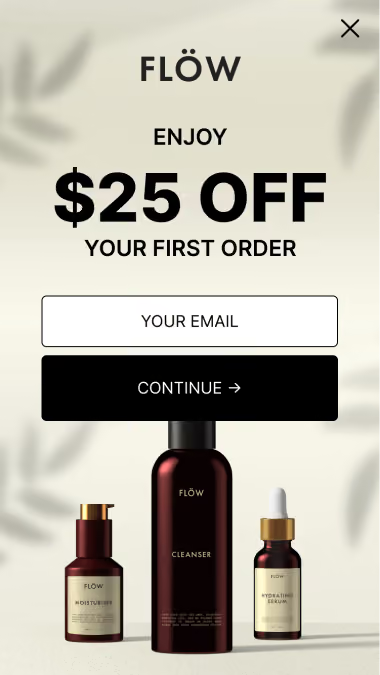
%20(1).avif)
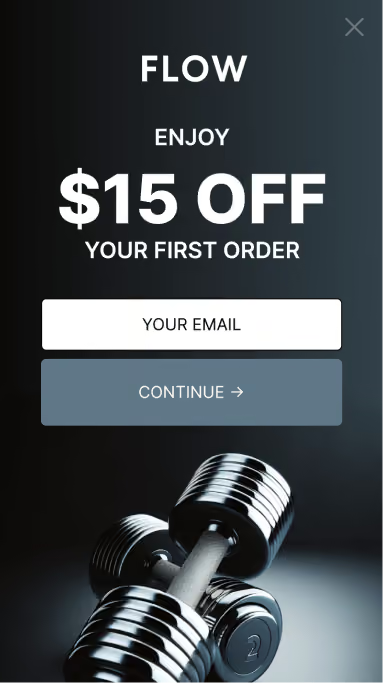





.svg)
