



Why build Segment forms in ConvertFlow
Segment isn't a place you send contacts to sit. It's the pipe — whatever lands in a source fans out to every destination attached to it.
That makes on-site forms unusually valuable and unusually annoying to build. Every field you collect could populate a trait that reaches your CRM, your email platform and your warehouse at once. But wiring a form to identify and track properly normally means a developer and a spec.
ConvertFlow does it with a toggle. Submissions fire identify calls with your fields as traits, and track events for every conversion — and those traits flow onward to everything downstream.
1. Add ConvertFlow as a destination on your Segment source
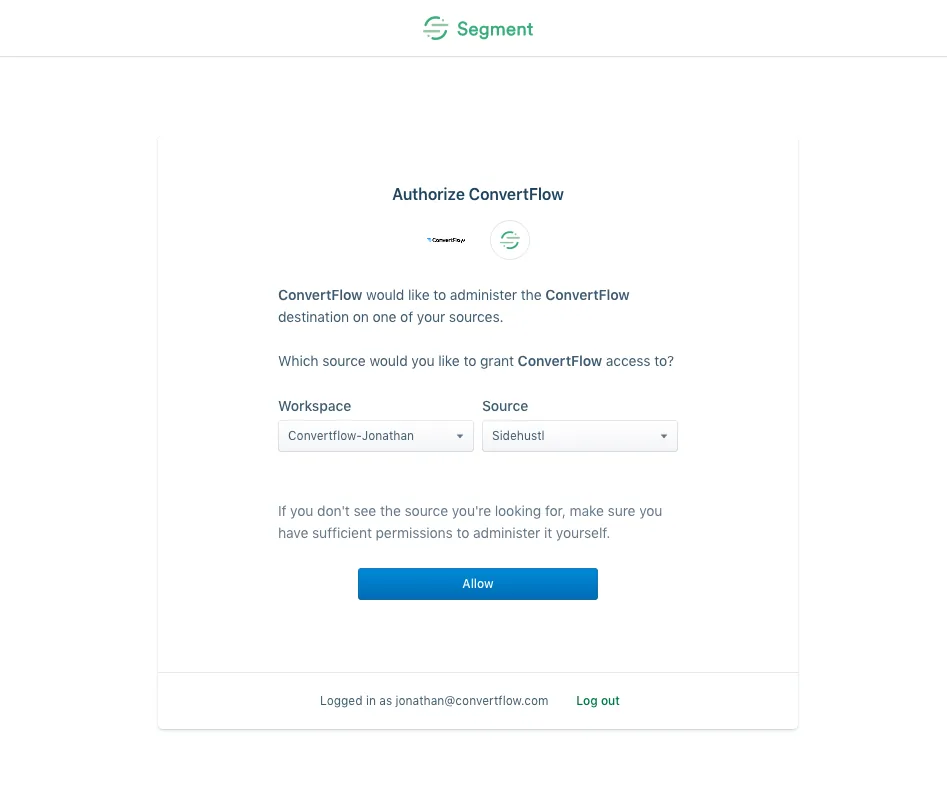
Connecting works the opposite way round from most integrations here. Rather than pasting a key into ConvertFlow, you add ConvertFlow as a destination on a Segment source of your choice.
Why ConvertFlow is a destination, not a source
This confuses people, so it's worth explaining rather than skipping.
Segment treats tag installations through their tag manager as destinations. ConvertFlow only sends data to Segment through Segment's javascript API — the Segment script tag on your website is what Segment considers the source. ConvertFlow integrates with that script.
So if you go looking for ConvertFlow under sources, you won't find it. That's expected, not a misconfiguration.
2. Turn on the events toggle
In ConvertFlow's Segment integration options, enable "Send Submission & Conversion Events" and save.
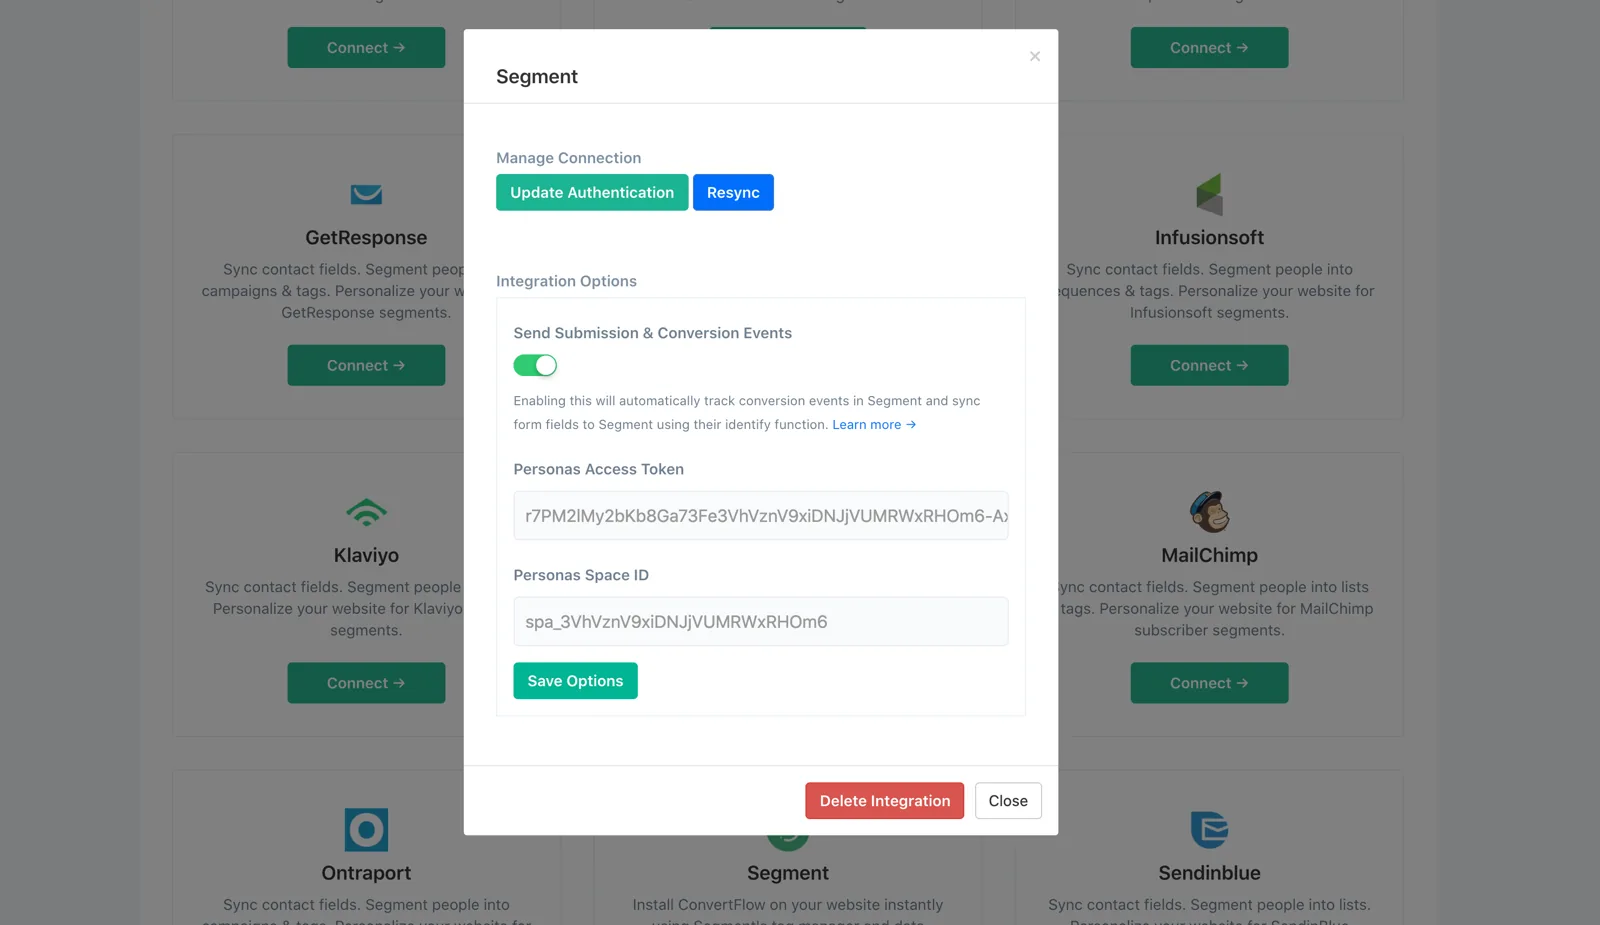
ConvertFlow will not track conversion events or identify form fields as traits until this is toggled on. If you build the whole thing and nothing appears in your debugger, this is almost always why.
The toggle exists because event naming matters in Segment. If you already have a conversion event taxonomy you need to respect, leave it off and use ConvertFlow's javascript API to build events your own way — covered at the end of this page.
3. Add a form to your campaign
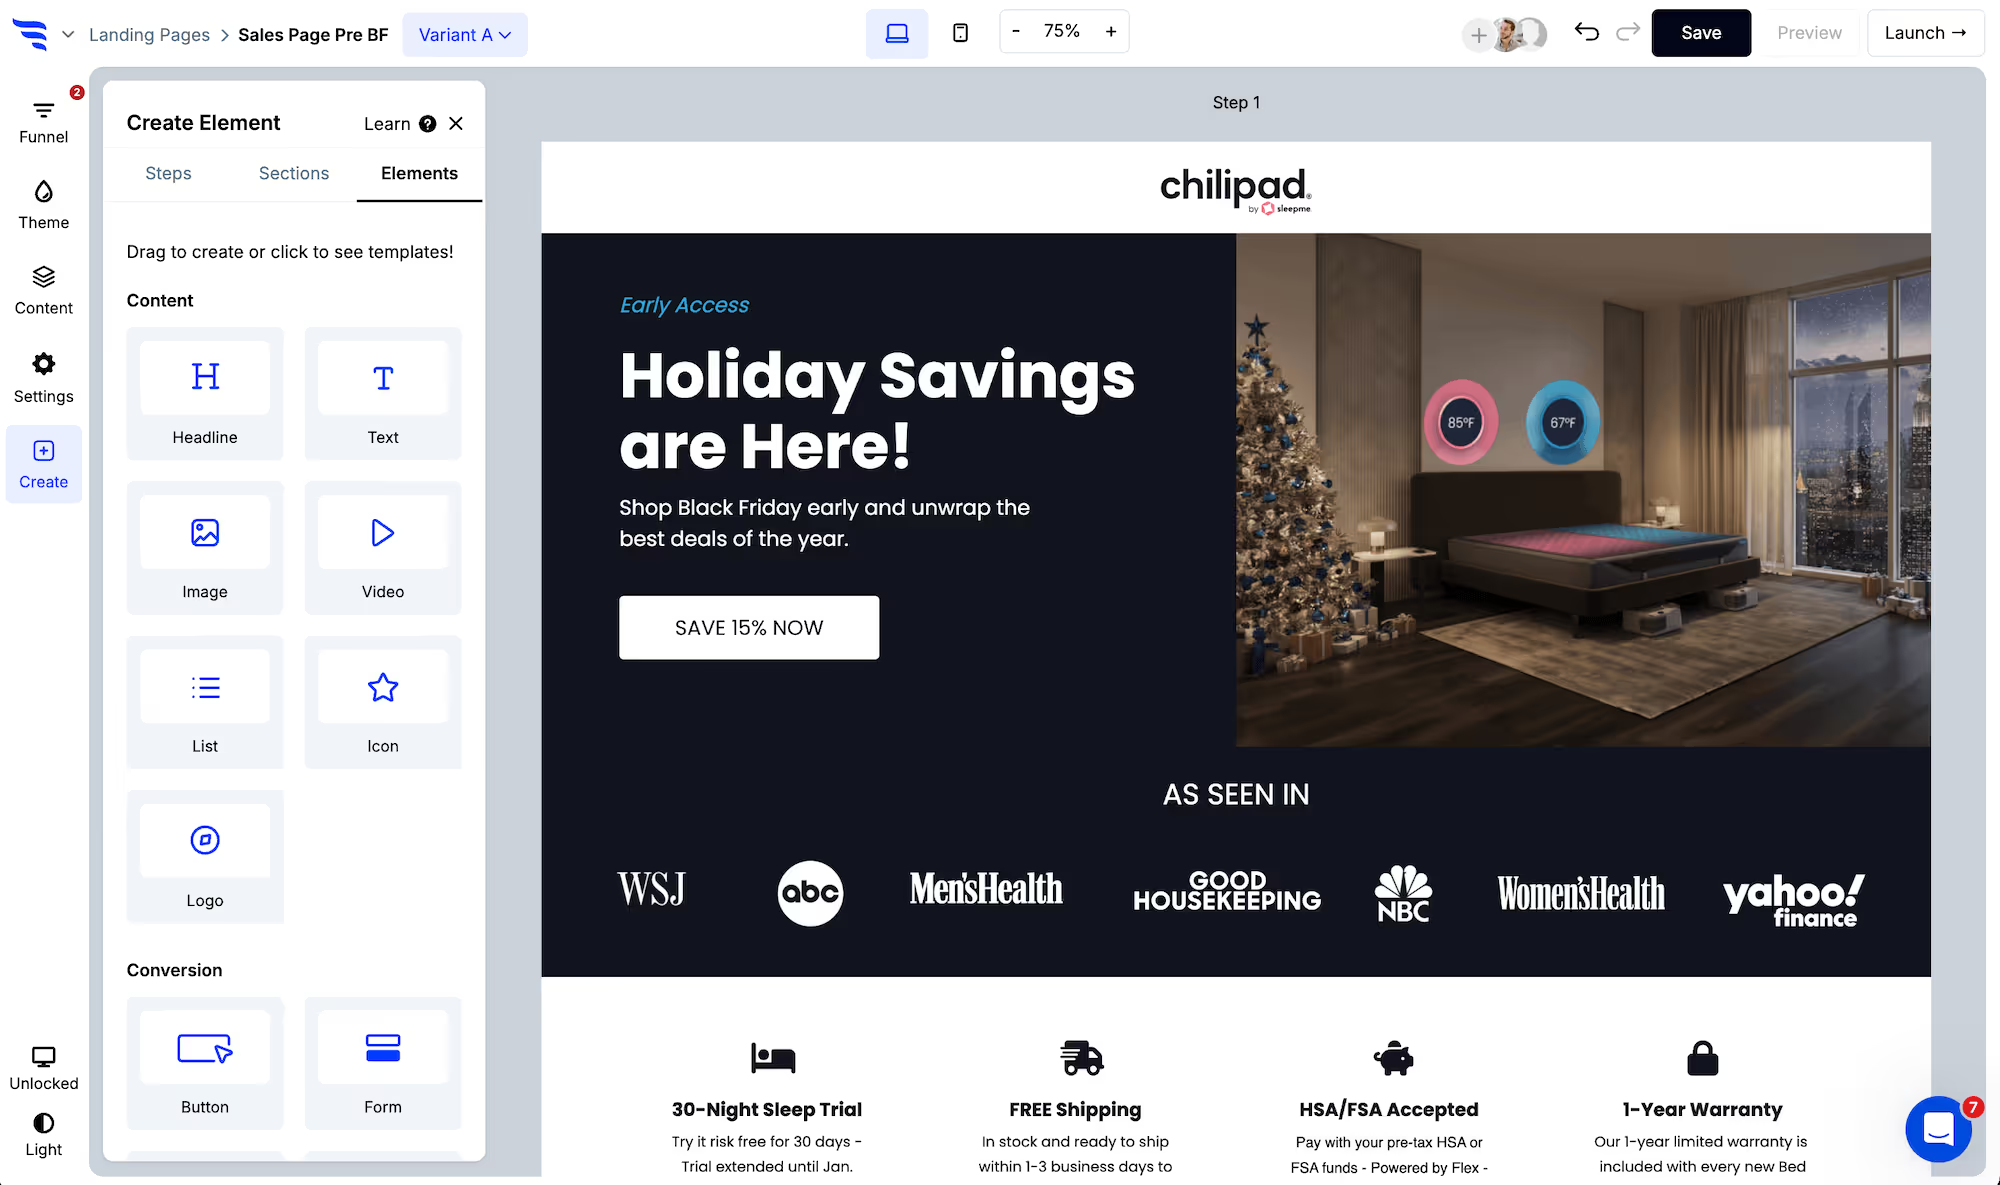
Add your form to a ConvertFlow landing page, popup or embed. Click to add an element and choose the "form" element type — start from a form template or build from scratch.
.avif)
4. Toggle the contact fields you want
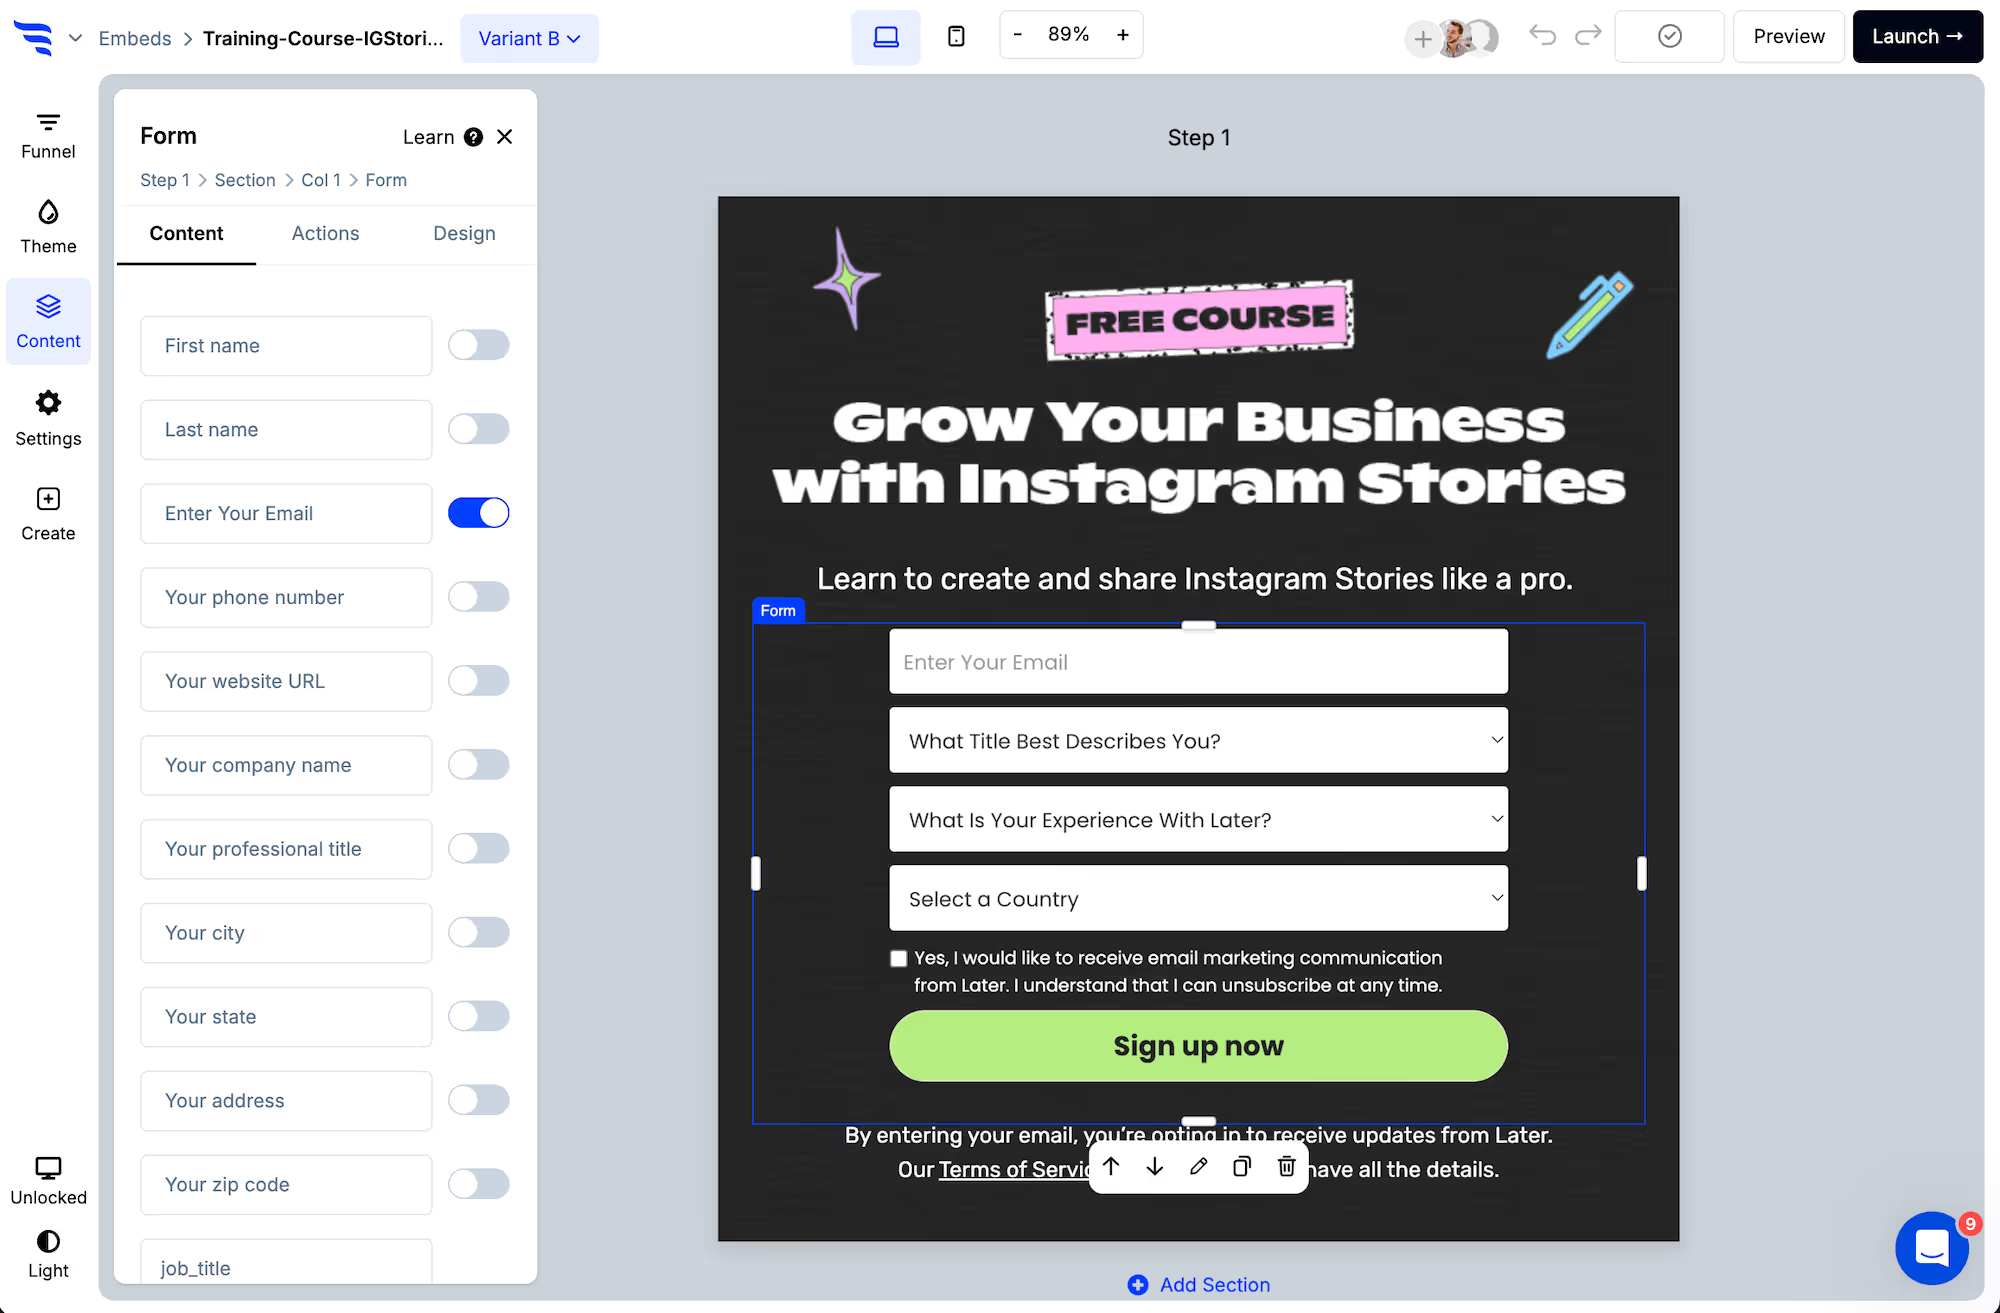
Select the form element and switch on the fields to request.
.png)
ConvertFlow's preset contact fields map to Segment's official traits — so email, first name and the rest arrive as the standard trait names Segment's destinations already expect, rather than as bespoke keys every downstream tool has to be taught.
.avif)
5. Verify emails before they become traits
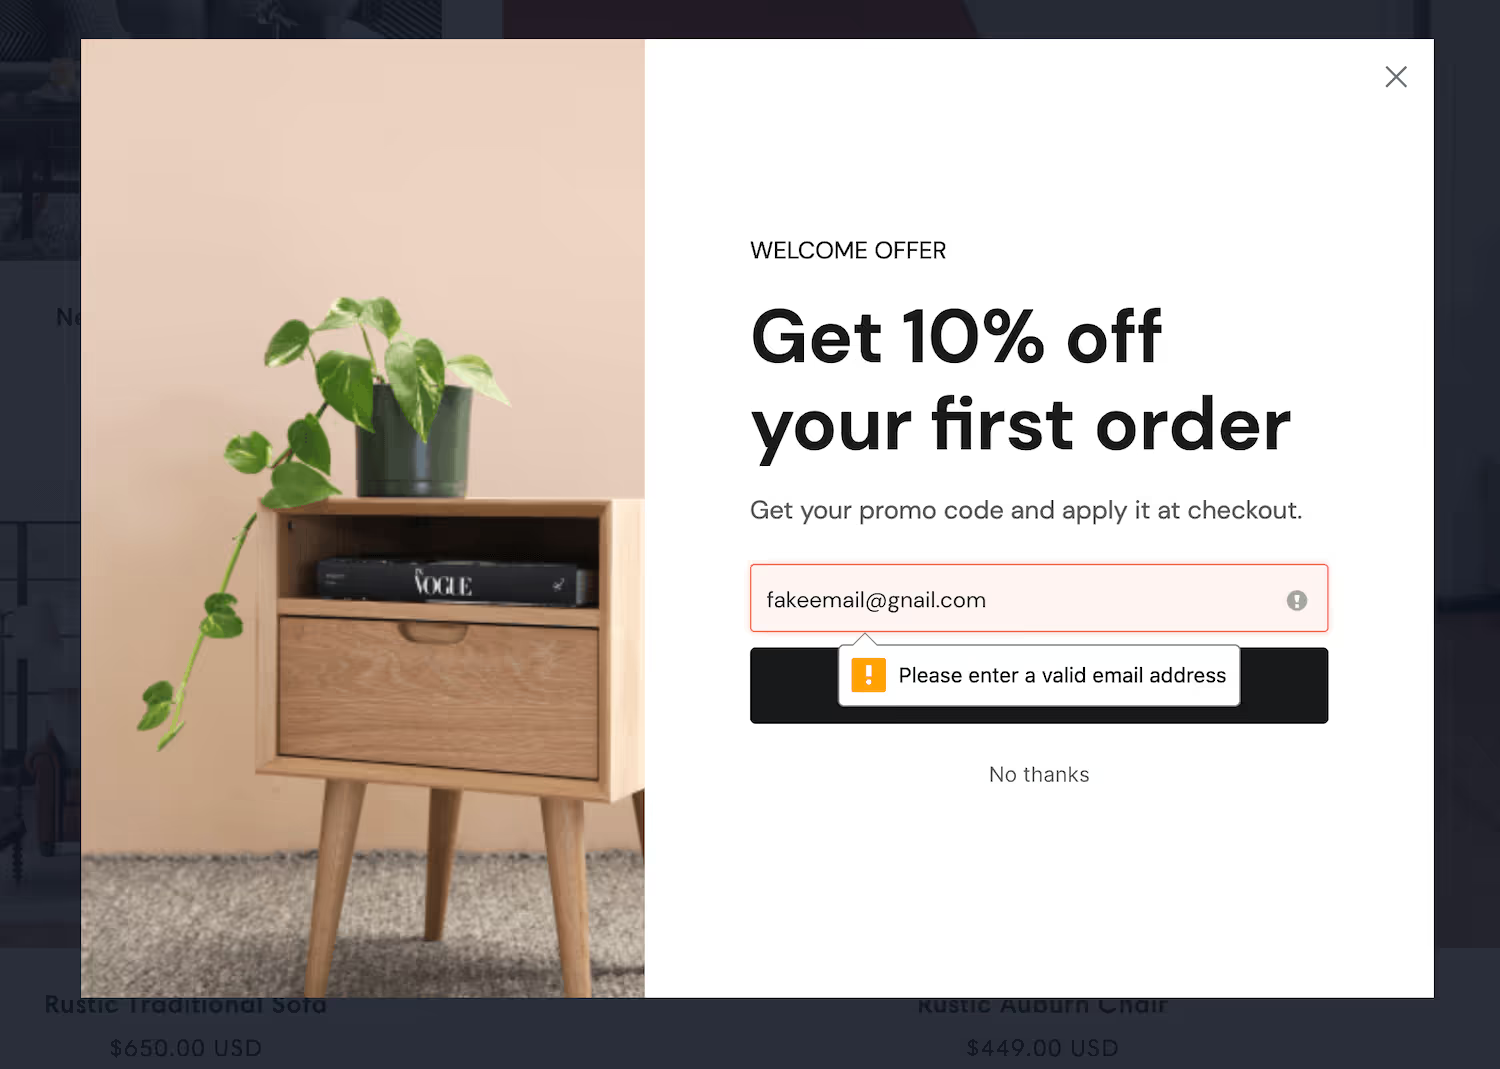
ConvertFlow can check that an address exists with its provider before the submission fires.
This matters more with Segment than with a single ESP. A junk address doesn't just sit in one tool — it identifies a profile and propagates to every destination on the source, so one bad submission becomes bad data in your CRM, your email platform and your warehouse simultaneously.
6. Add custom fields — each becomes a new trait
By clicking to add a field at the end of the fields list, you can add as many custom fields as you'd like.
.avif)
Any custom field creates a new Segment trait. Survey responses, quiz selections, dropdowns, radios, paragraphs and hidden fields all work this way.
Name them as carefully as you would in a schema. These become permanent trait keys on your profiles and travel to every destination, so a sloppy name is not a local problem — it's a field your data team inherits. Pick a convention and hold to it across campaigns.
7. Style the form
In the Design tab, set spacing, field layout, width, fonts, button colour and roundness, field colour and shadows.
.avif)
8. Check the debugger
Once the toggle is on and ConvertFlow is installed through Segment, events start appearing in your Segment source's debugger.
Conversions arrive as track events named according to what produced them:
- CTA Form Submitted
- CTA Survey Submitted
- CTA Button Clicked
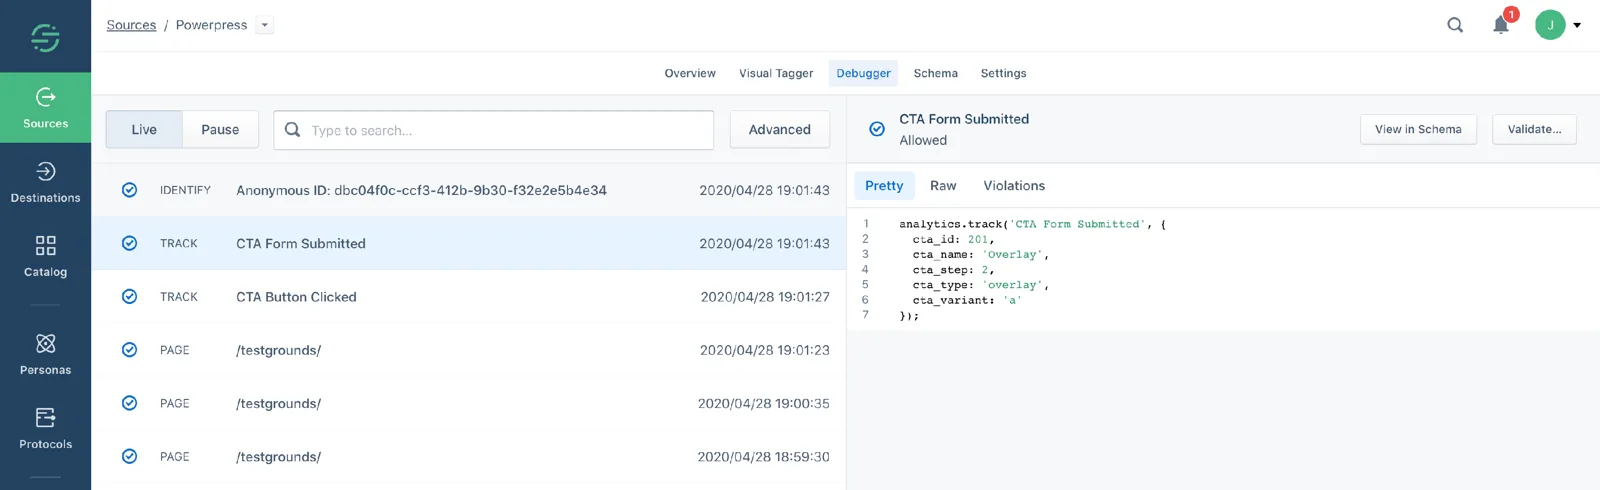
Alongside them you'll see identify calls triggered by form submissions, carrying your fields as traits.
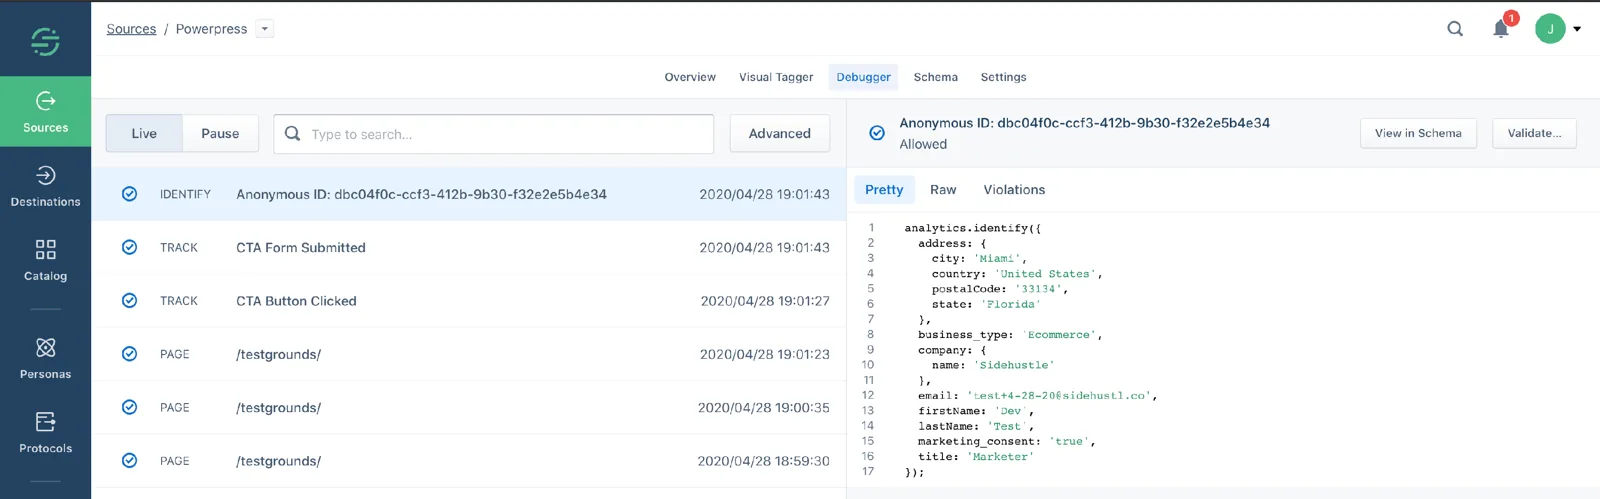
If you have CRMs added as destinations on that source, Segment will attempt to sync those traits into the CRM's API fields — which is the whole point. One form, correctly wired, populates everything downstream.
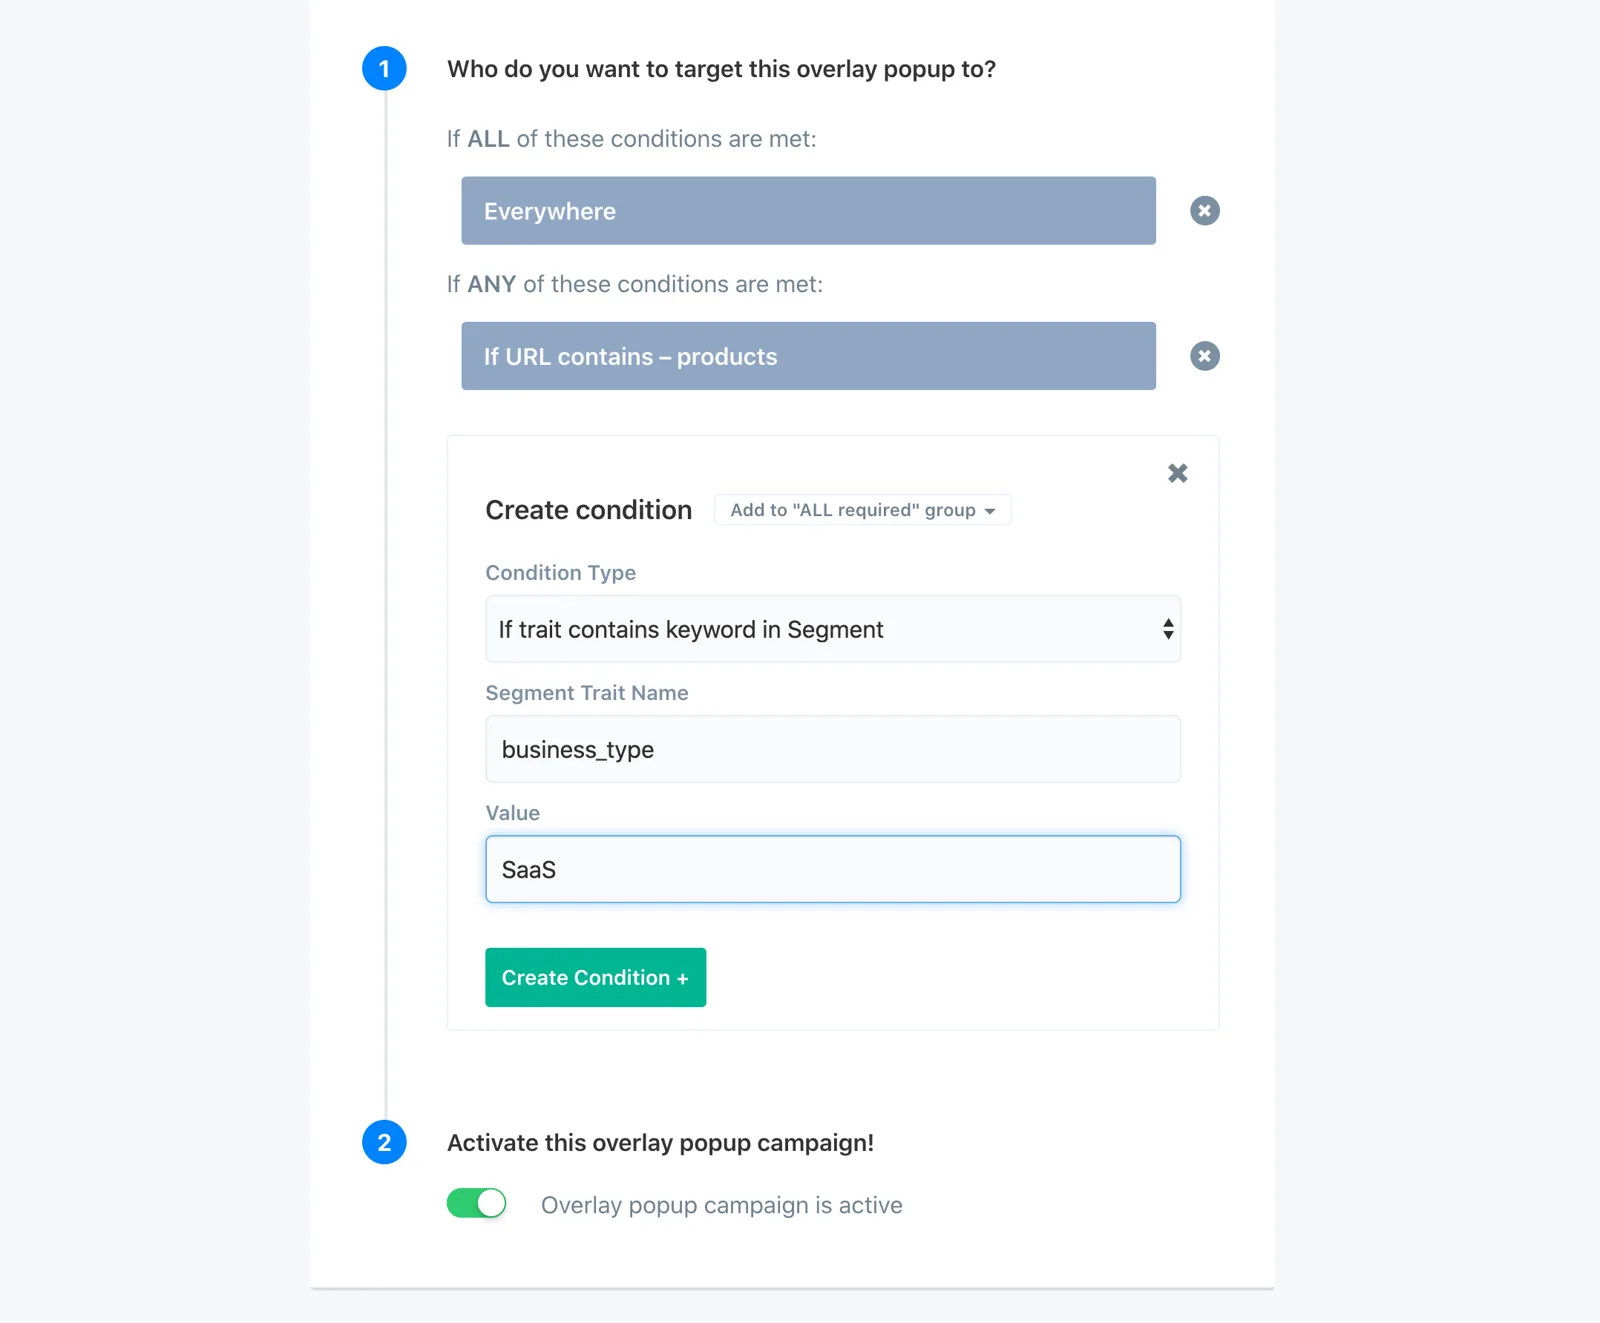
9. Personalize for Segment traits
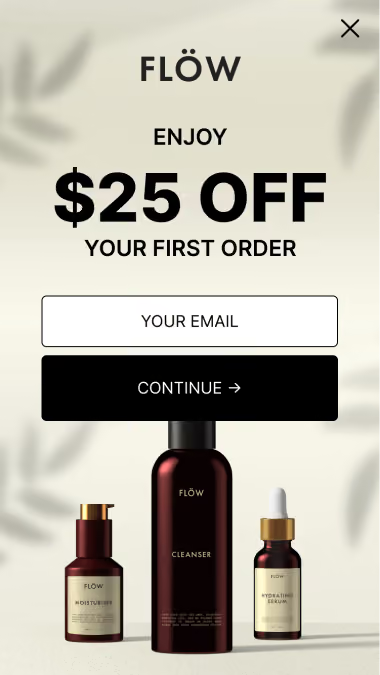
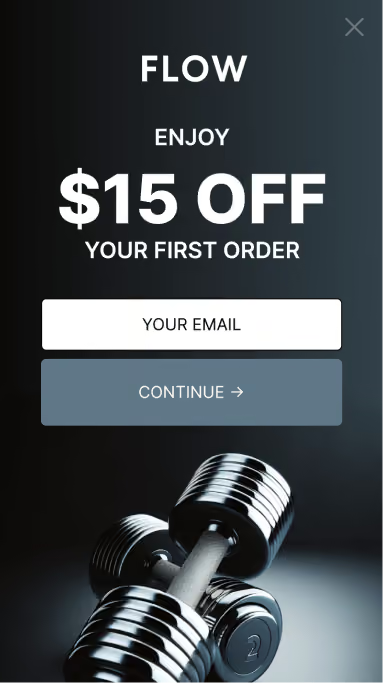
The integration runs both directions. With Segment connected, ConvertFlow can target campaigns on the traits it knows about — so a form can be hidden from people who already converted, or replaced with a different offer.
10. If you need your own event names
If you already have a conversion event taxonomy, toggle the option off and build your own events instead.
ConvertFlow emits conversion and form submission events with the conversion data and field data accessible, so a developer can hook into them with ConvertFlow's javascript API and shape exactly what goes to Segment. A site-wide handler on cfSubmit can track every ConvertFlow submission under names that match your existing schema.
Worth deciding up front rather than switching later — changing event names after the fact means reconciling two taxonomies in your warehouse.
11. Report on submissions
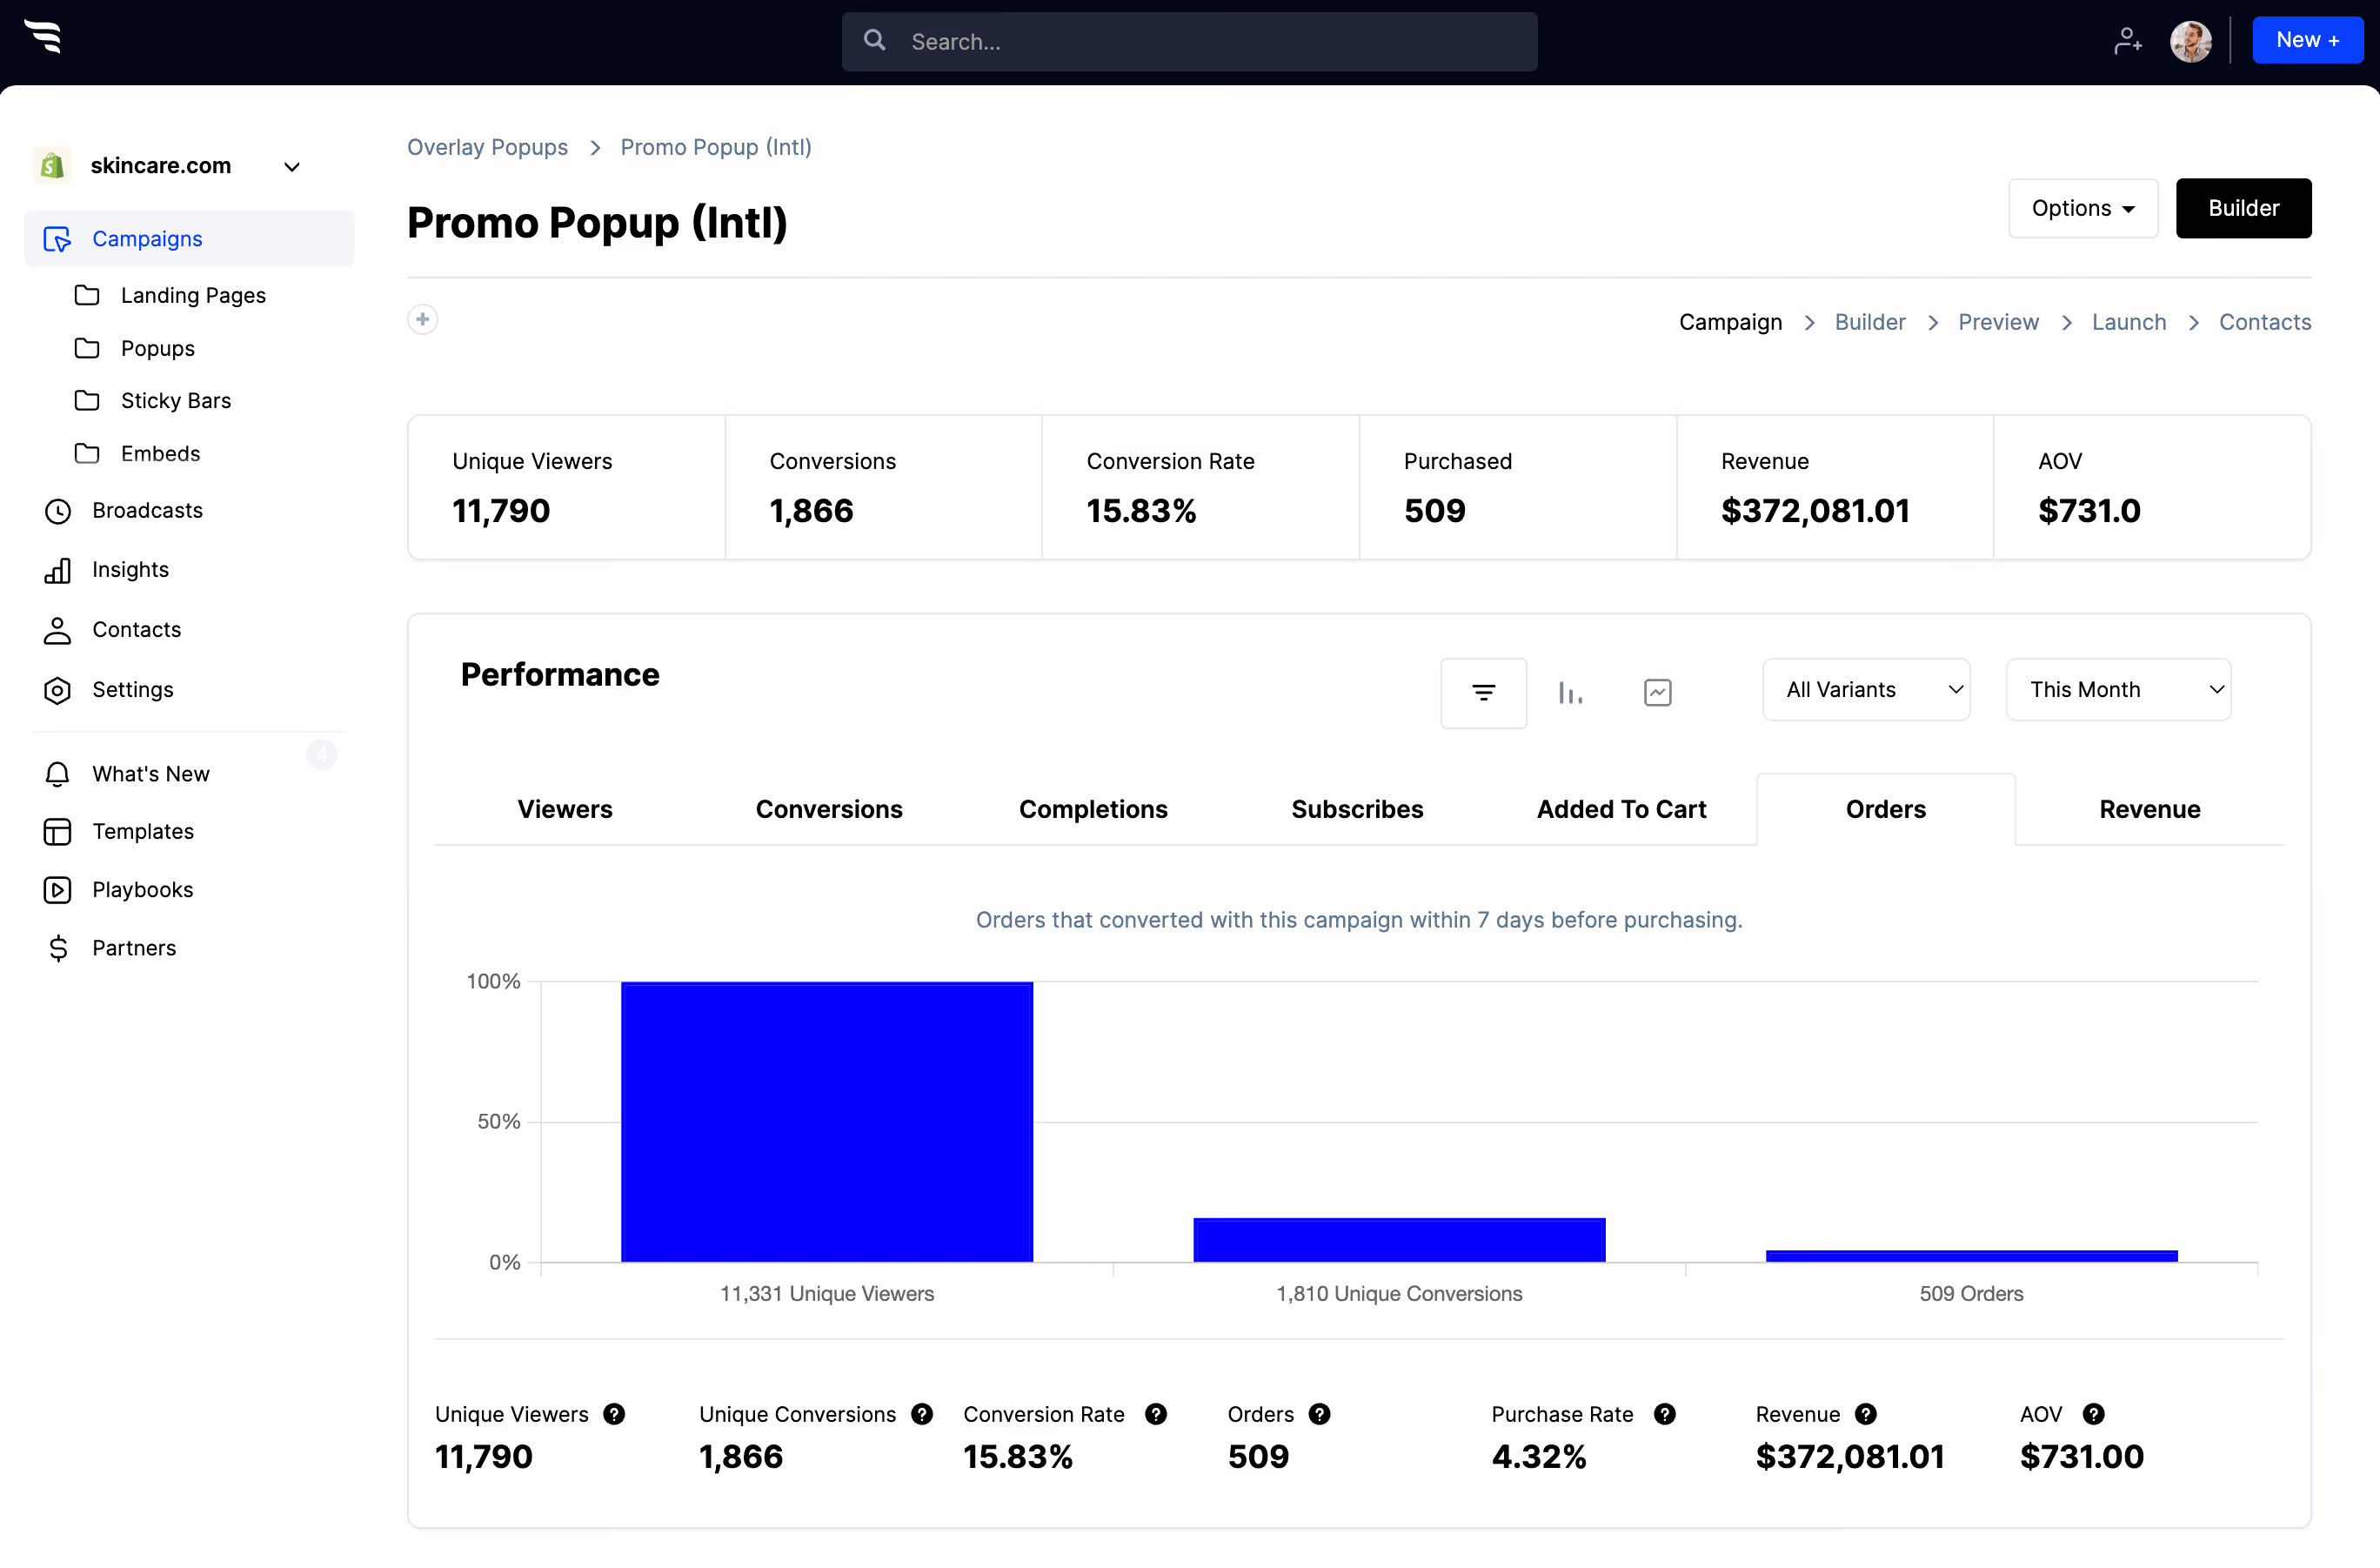
Alongside Segment, ConvertFlow's own funnel breakdown report shows how many people saw, converted and completed the form, and where they dropped off.
.avif)
12. Publish
- On Shopify: publish to a Shopify page in one click.
- On WordPress: add ConvertFlow's snippet once, then target the form to specific posts, pages or categories.
- Anywhere else: Webflow, Squarespace, Wix or any CMS take the same single embed snippet — alongside your Segment script.



%20(1).avif)






.svg)
