



Why build Sendlane forms in ConvertFlow
Sendlane's built-in signup forms do one job well: capture an email or phone number in exchange for a discount. That works until you need the form to do more than collect an address.
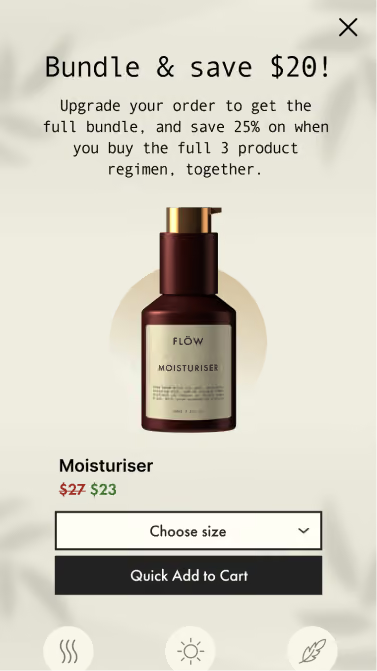
ConvertFlow forms sync into the same Sendlane subscriber record, but add multi-step funnels that qualify before asking for contact info, conditional paths that show different offers to different segments, custom field values written on every answer, Shopify product recommendations with add-to-cart, and A/B testing with revenue attribution.
The contacts still live in Sendlane. ConvertFlow is the capture layer in front of it.
1. Connect Sendlane to ConvertFlow
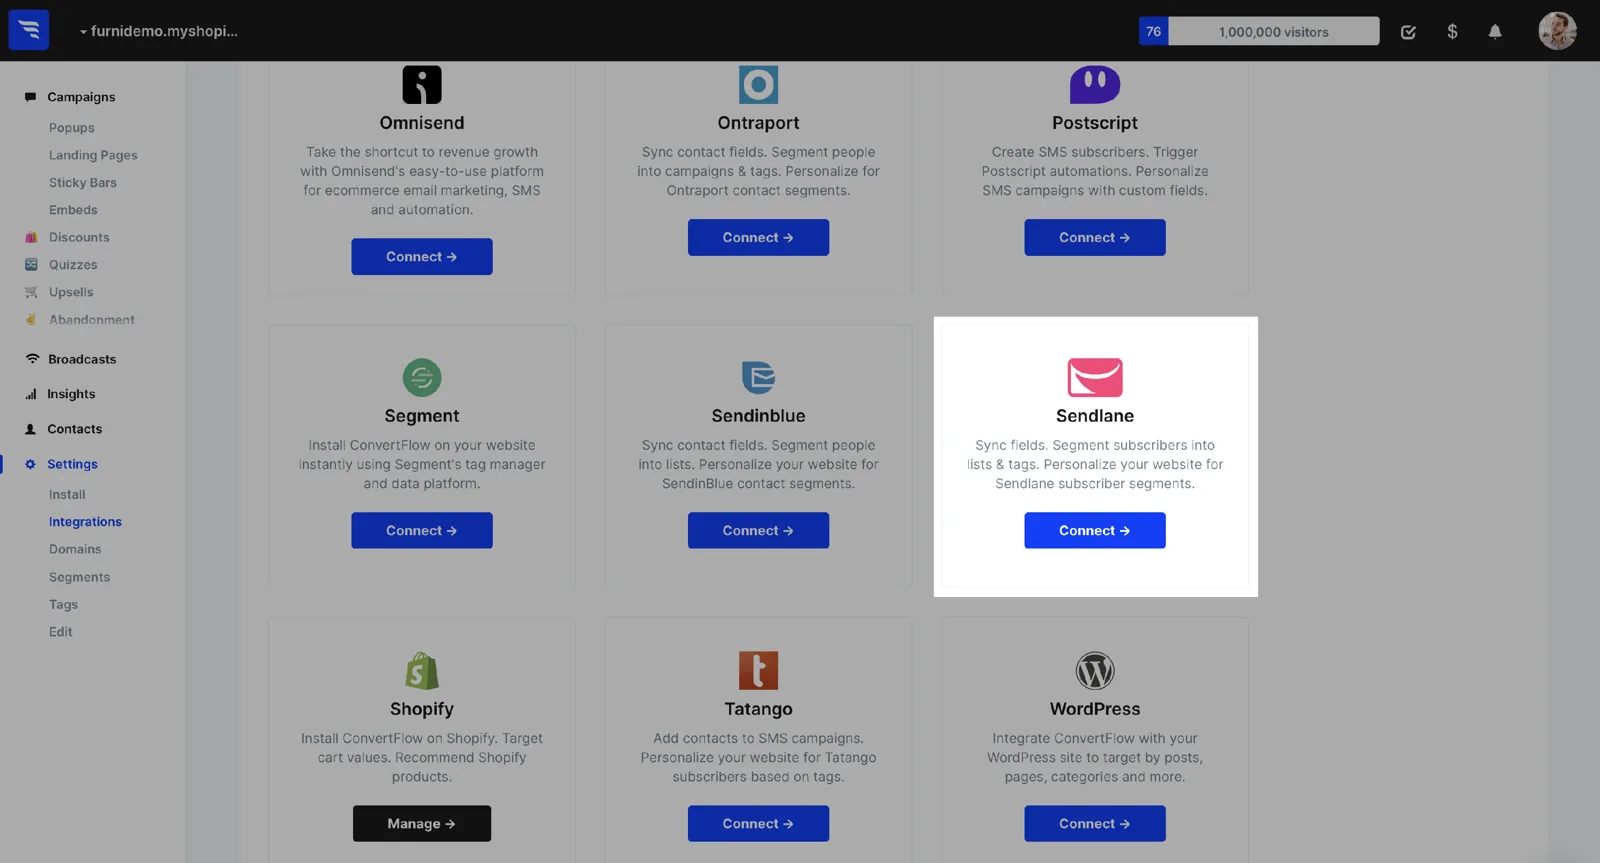
Head to your ConvertFlow website's Integrations area and click to connect with Sendlane.
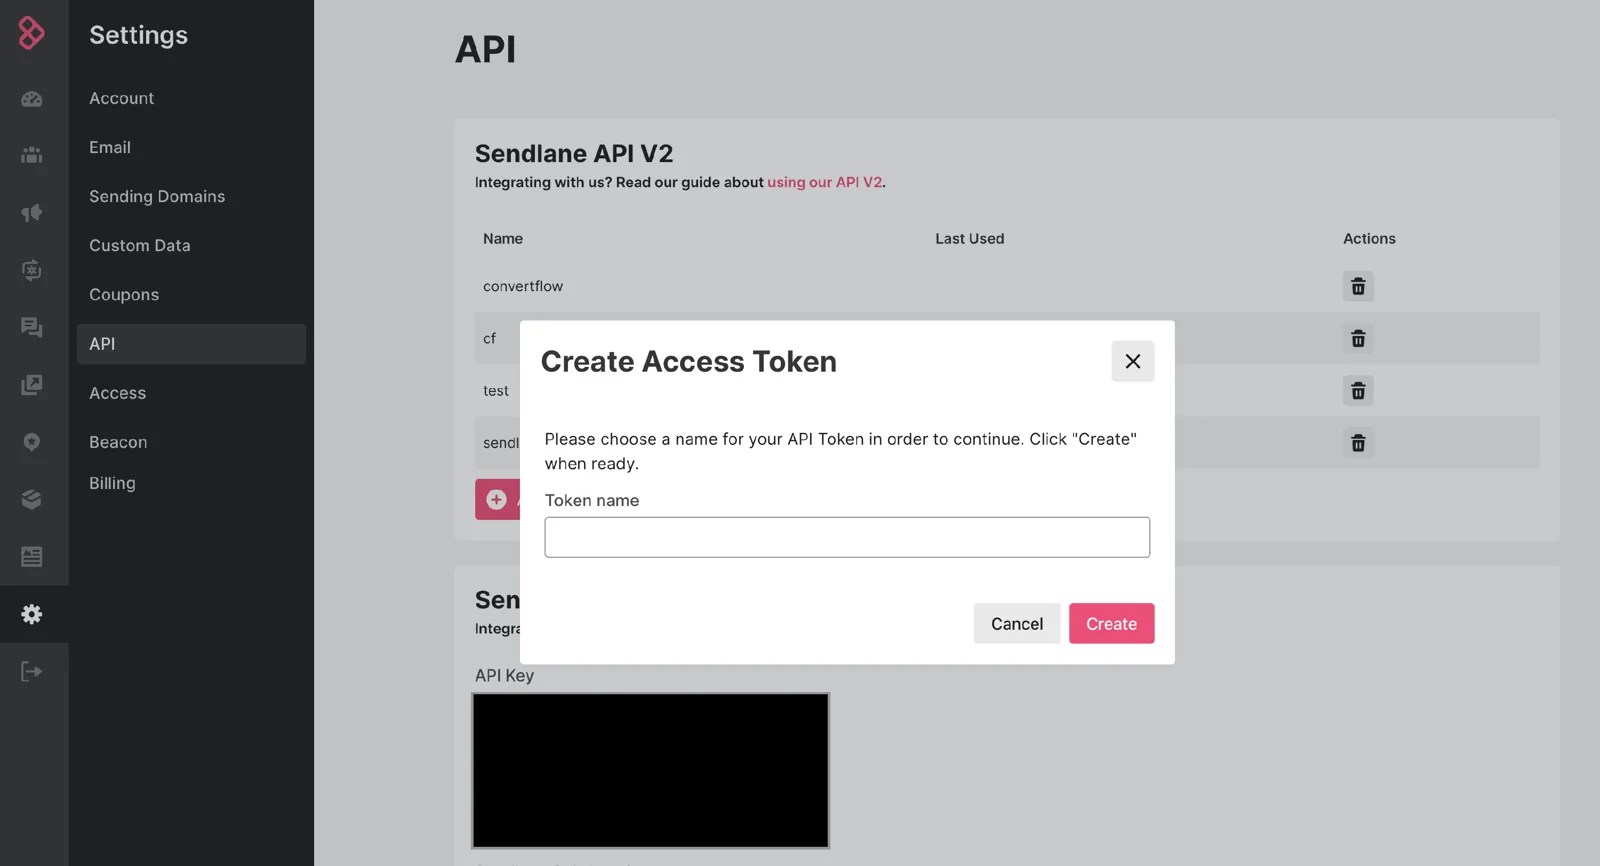
In Sendlane, go to Account → API → API Tokens and create a v2 API token for ConvertFlow. Note the version — a v1 token won't authenticate.
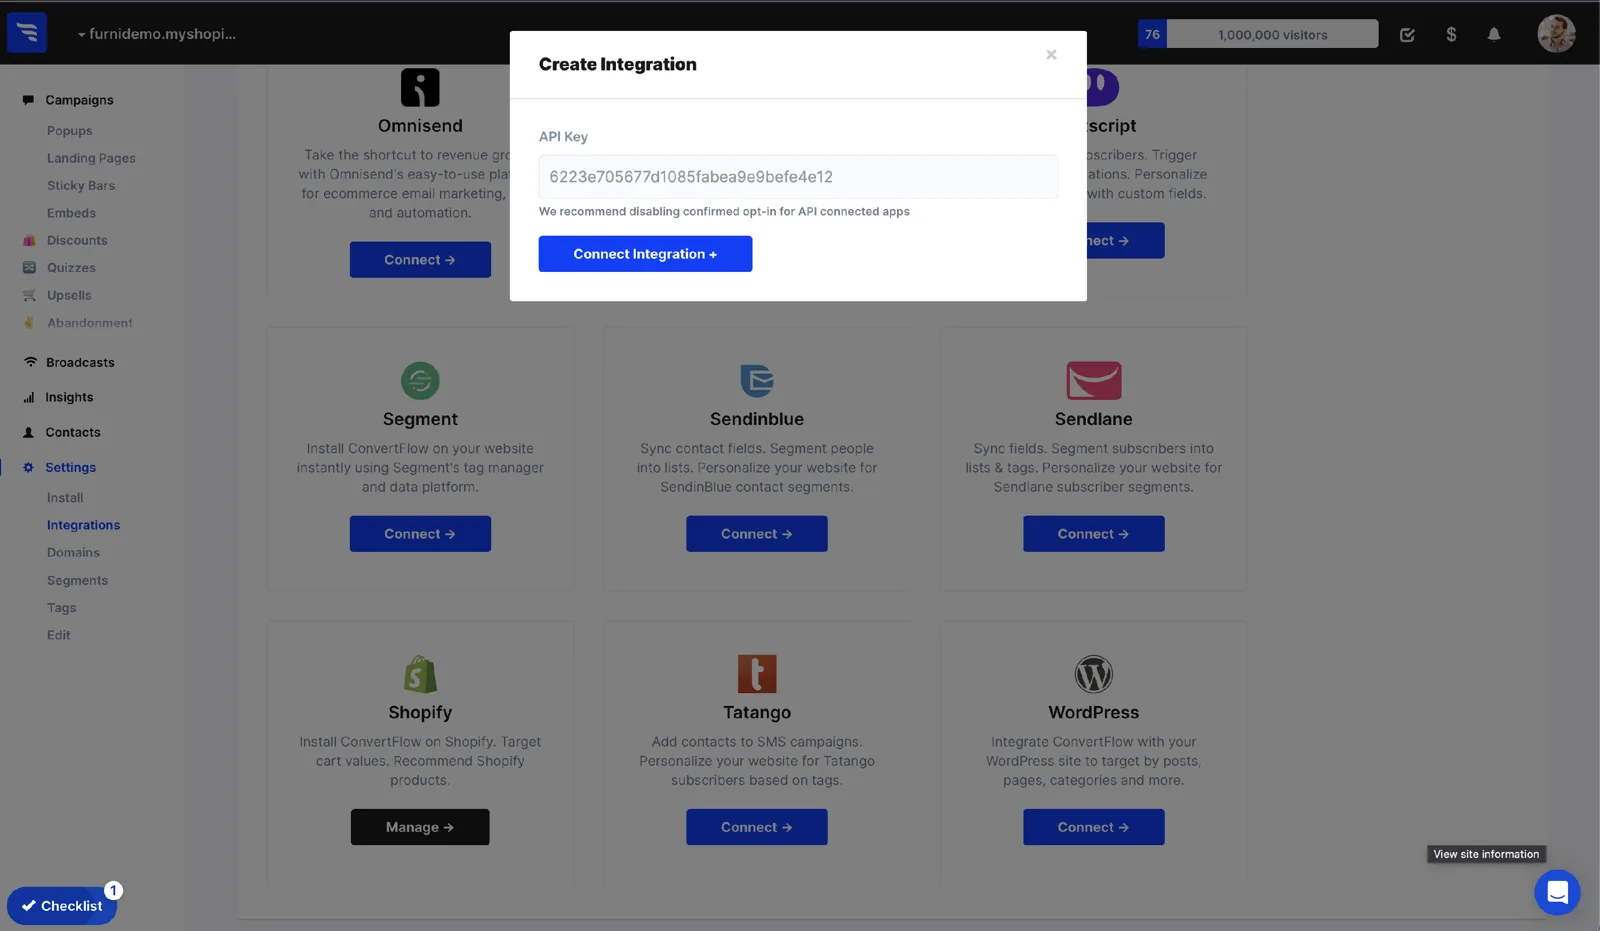
Copy and paste it into ConvertFlow's integration creation form.
Sendlane and ConvertFlow are now connected. ConvertFlow starts pulling in your Sendlane lists and tags, so you can trigger automations and segment subscribers as shoppers submit your forms, landing pages and quizzes.
How to build the best Sendlane forms
By adding a Sendlane form to your ConvertFlow landing page, popup, or embed, you can collect contact details and custom field values from your website visitors.
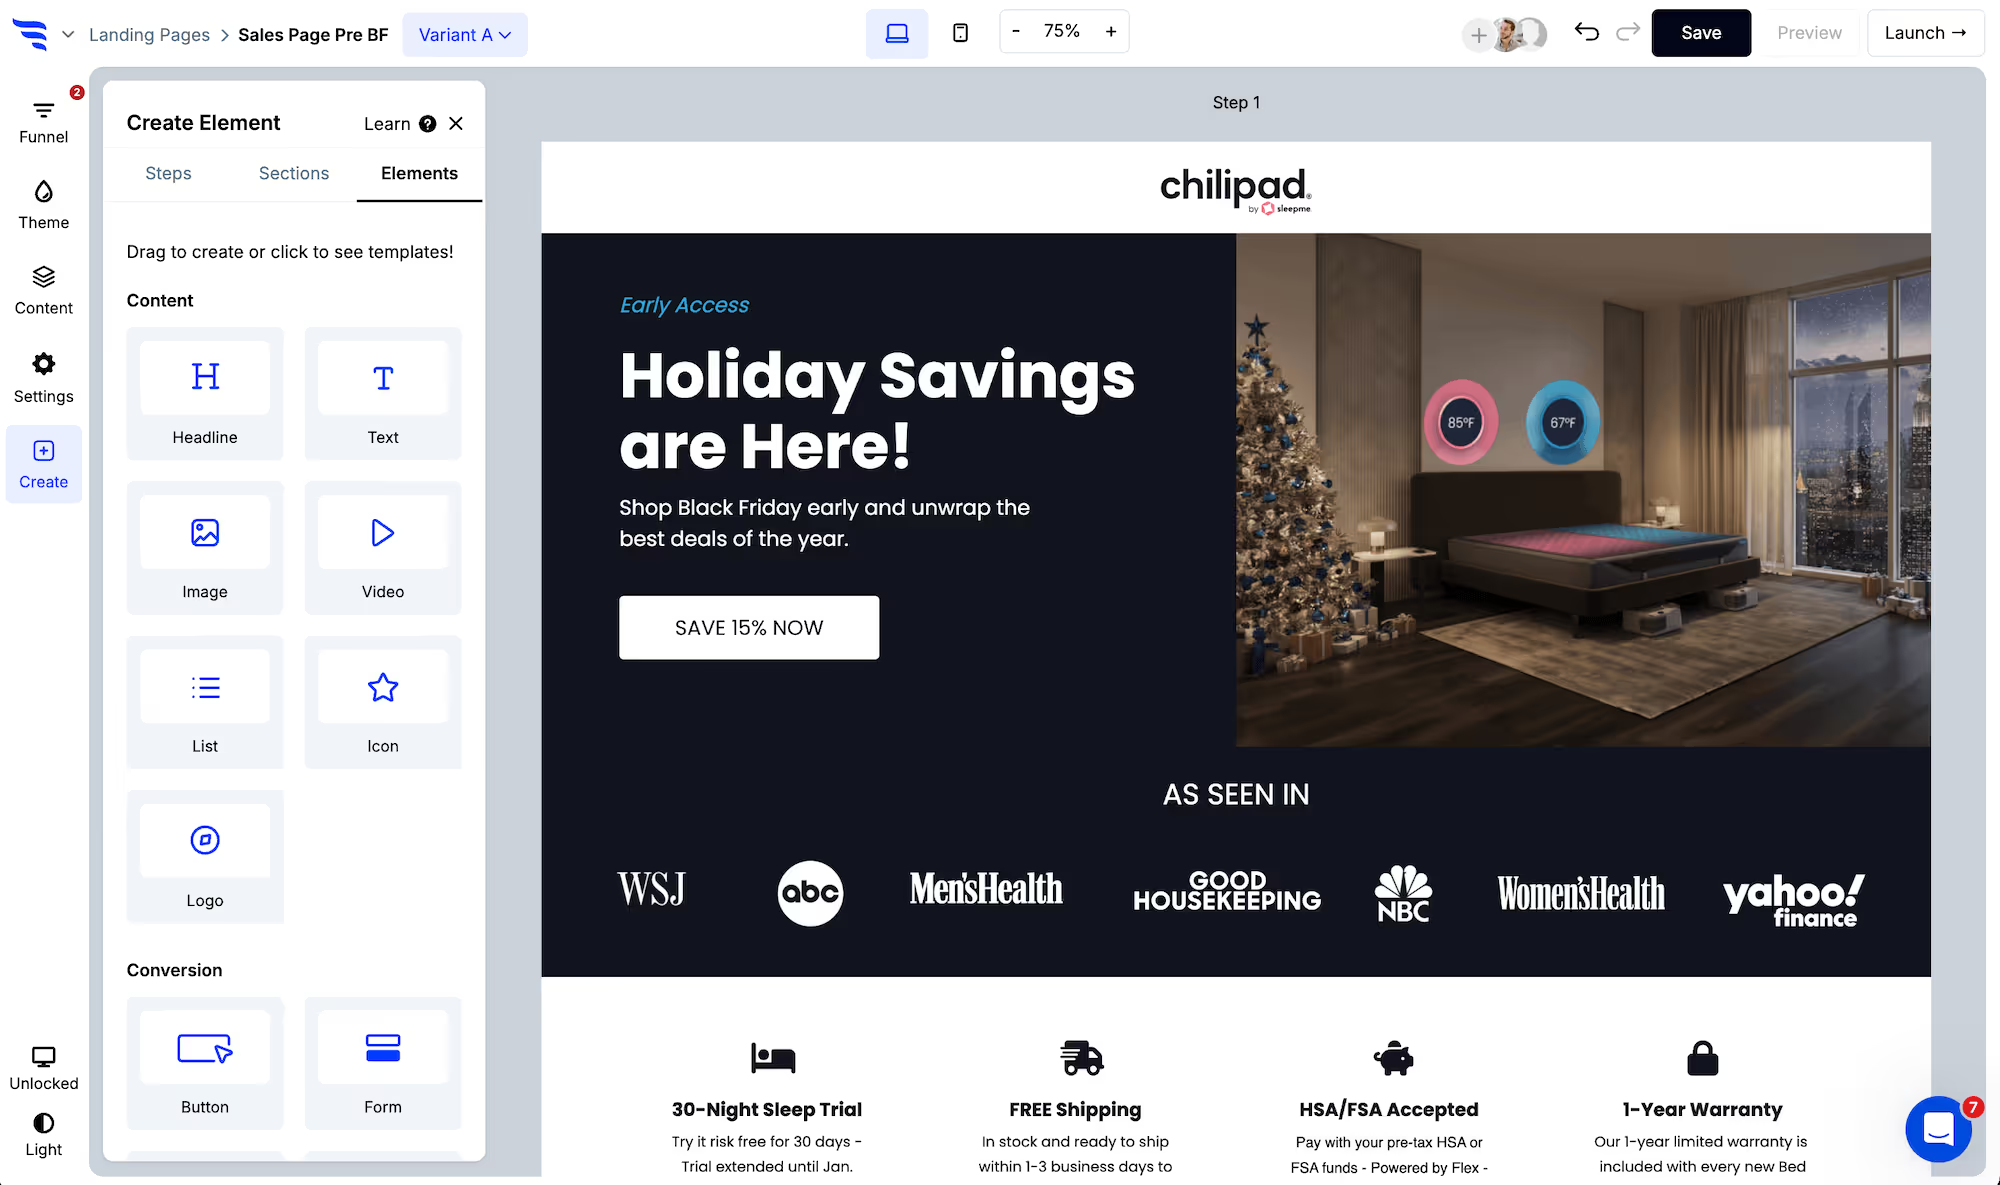
Just click to add an element and choose the "form" element type. You'll be able to choose from form templates, or create from scratch.
.avif)
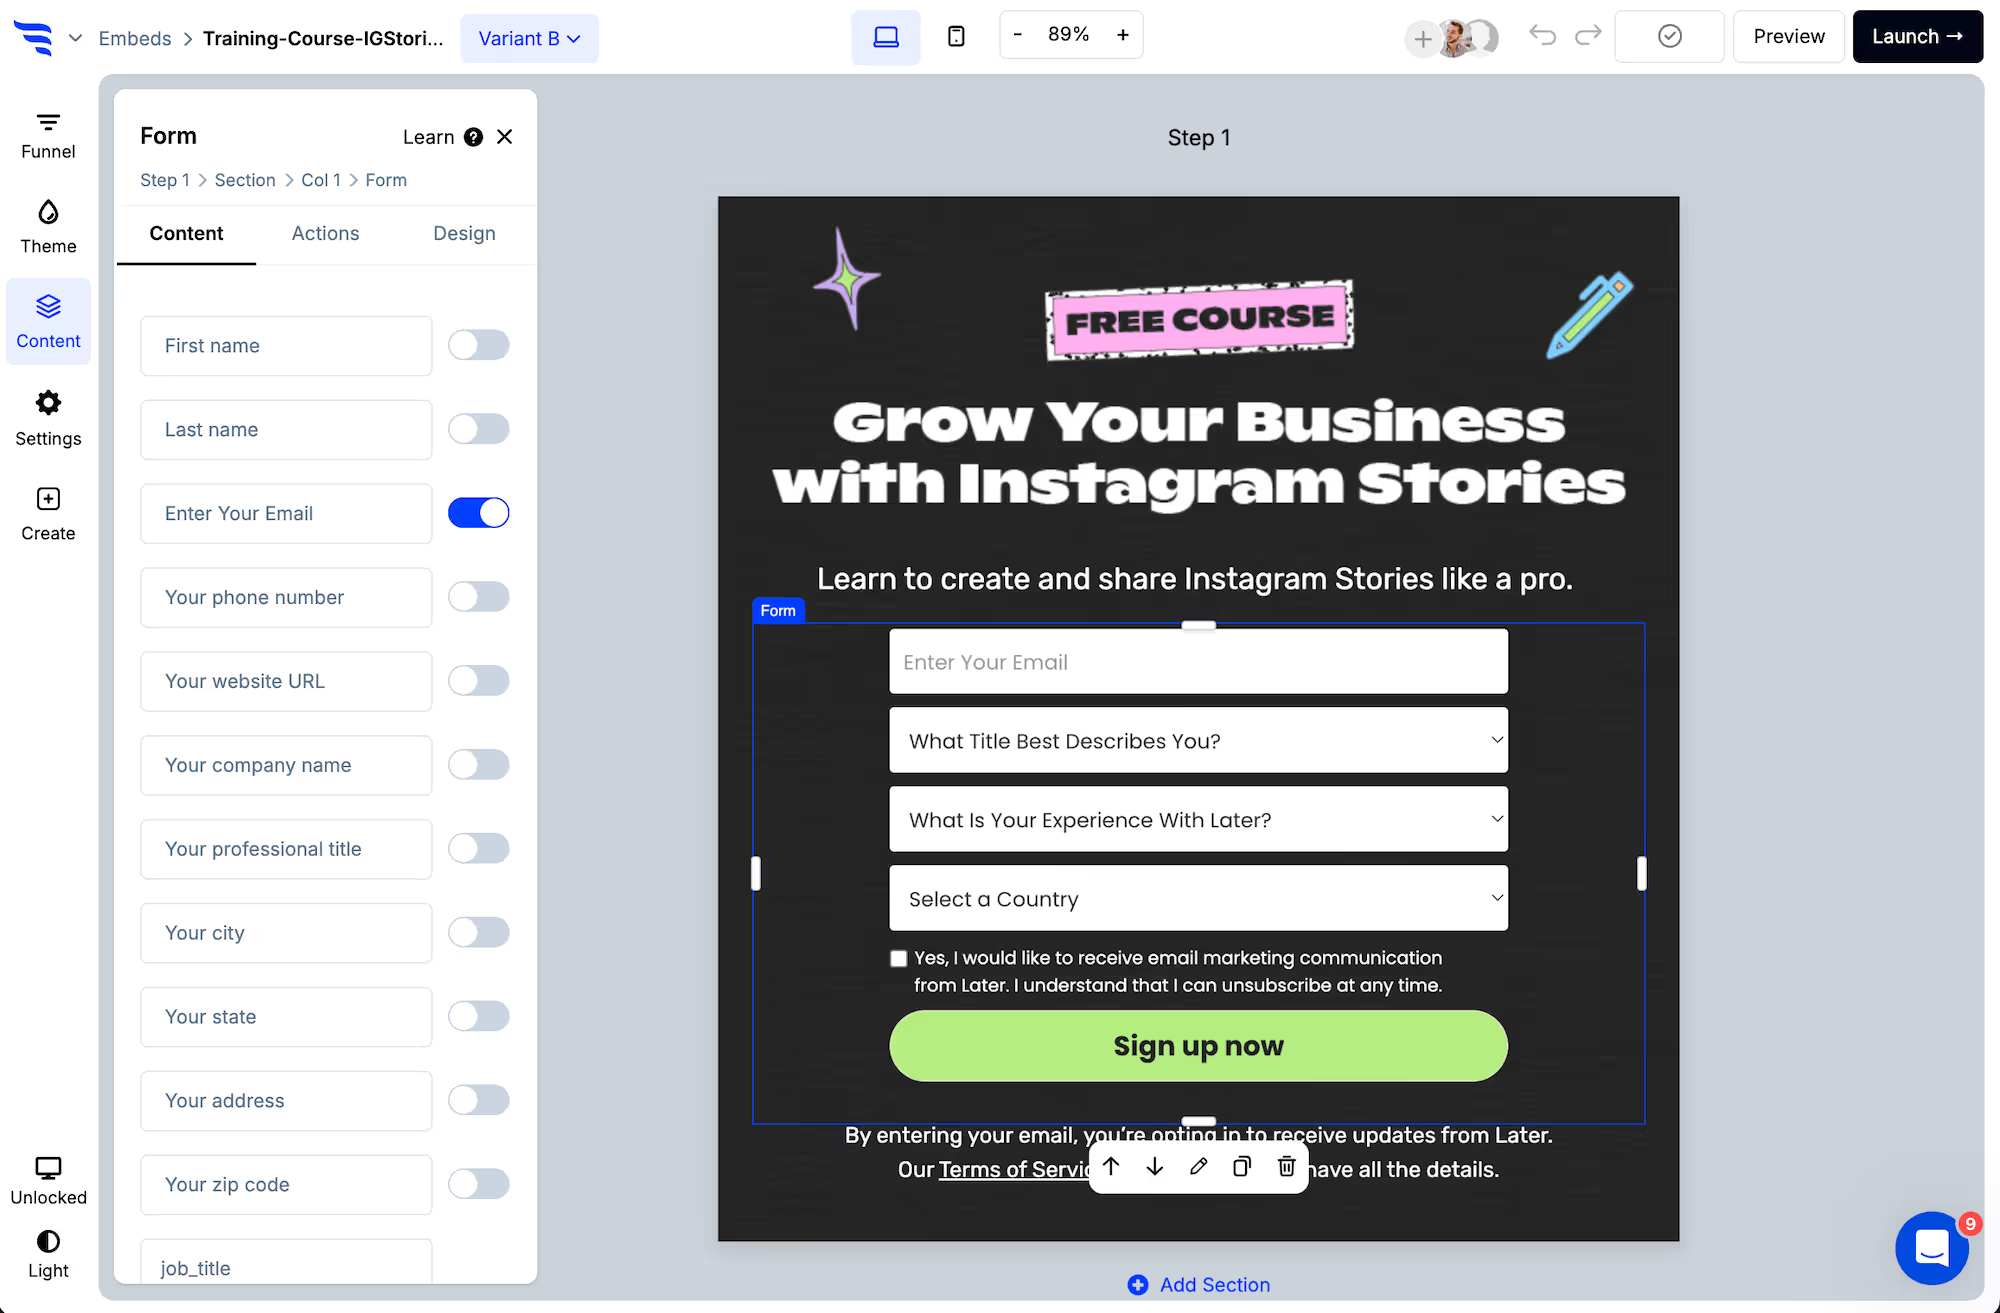
Once you've added your form, select it to show the form settings in the builder panel.
.png)
Toggling contact fields for your Sendlane form
Select the form element and you can toggle on all of the contact fields you want to request. ConvertFlow's form fields come with preset contact fields already configured, helping you collect standard contact information and send it to your integration's contact fields.
Each contact field can be edited by clicking on the field setting in the builder panel. You can edit the placeholder displayed in the field, add a label, make the field required, and more.
.avif)
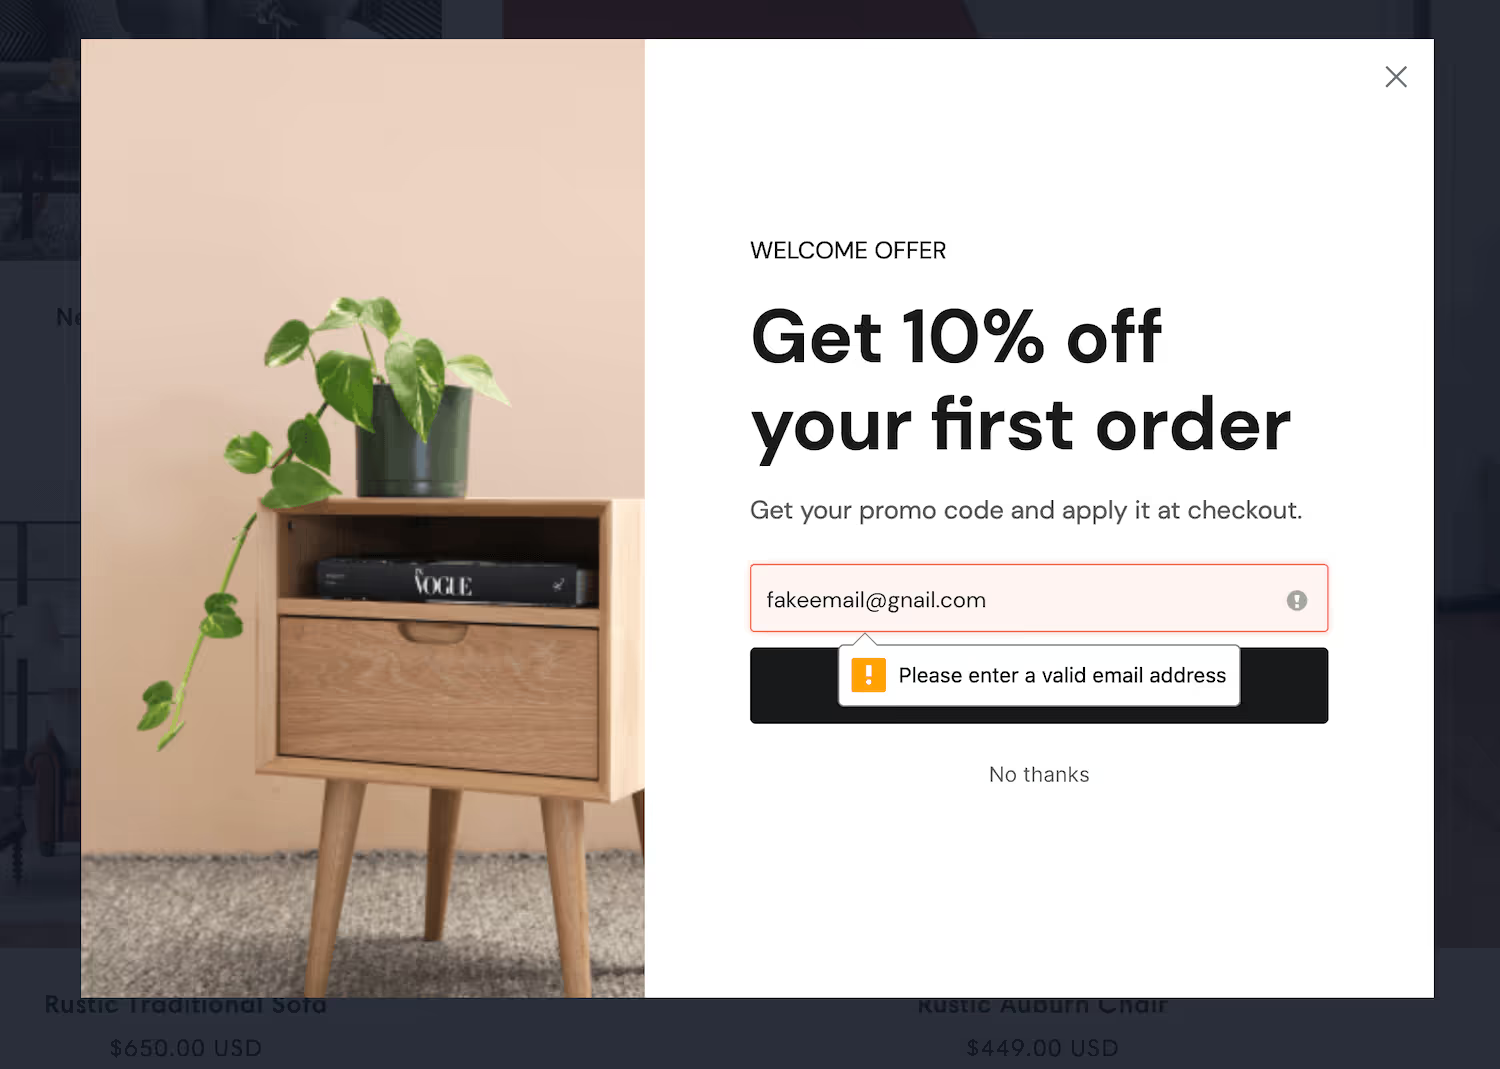
Email and phone verification fields
ConvertFlow can optionally check that the entered email address is real and exists with its provider before it reaches Sendlane, at the expense of a few seconds of wait time. This improves your list quality and sender score, and can reduce the need for a double opt-in confirmation email.
Pro tip: want your Sendlane form to allow business emails only? Toggling email validation also presents an optional setting for that.
Verification is available for phone fields too. If the number entered isn't real, ConvertFlow requires the visitor to enter one that can be verified — then formats and syncs it in the international E.164 standard that SMS marketing tools require. That matters for Sendlane in particular, since SMS sits alongside email in the same subscriber record.
Toggling consent checkboxes
Scroll below the preset contact fields and you'll find compliance checkboxes you can enable:
- Privacy consent checkbox: by adding your privacy policy and terms of service to your ConvertFlow website, you can link to that info alongside a required checkbox using "Require Privacy Consent".
- Marketing consent checkbox: if your form gates content the visitor expects but also opts them into an email list, collect consent for ongoing marketing with "Request Marketing Consent".
- SMS consent checkbox: require consent to SMS marketing with the required disclosures.
Consent values can be sent to the subscriber's record in Sendlane by mapping these preset fields in your integration settings.
Adding custom fields to your Sendlane form
By clicking to add a field at the end of the fields list, you can add as many custom fields as you'd like.
.avif)
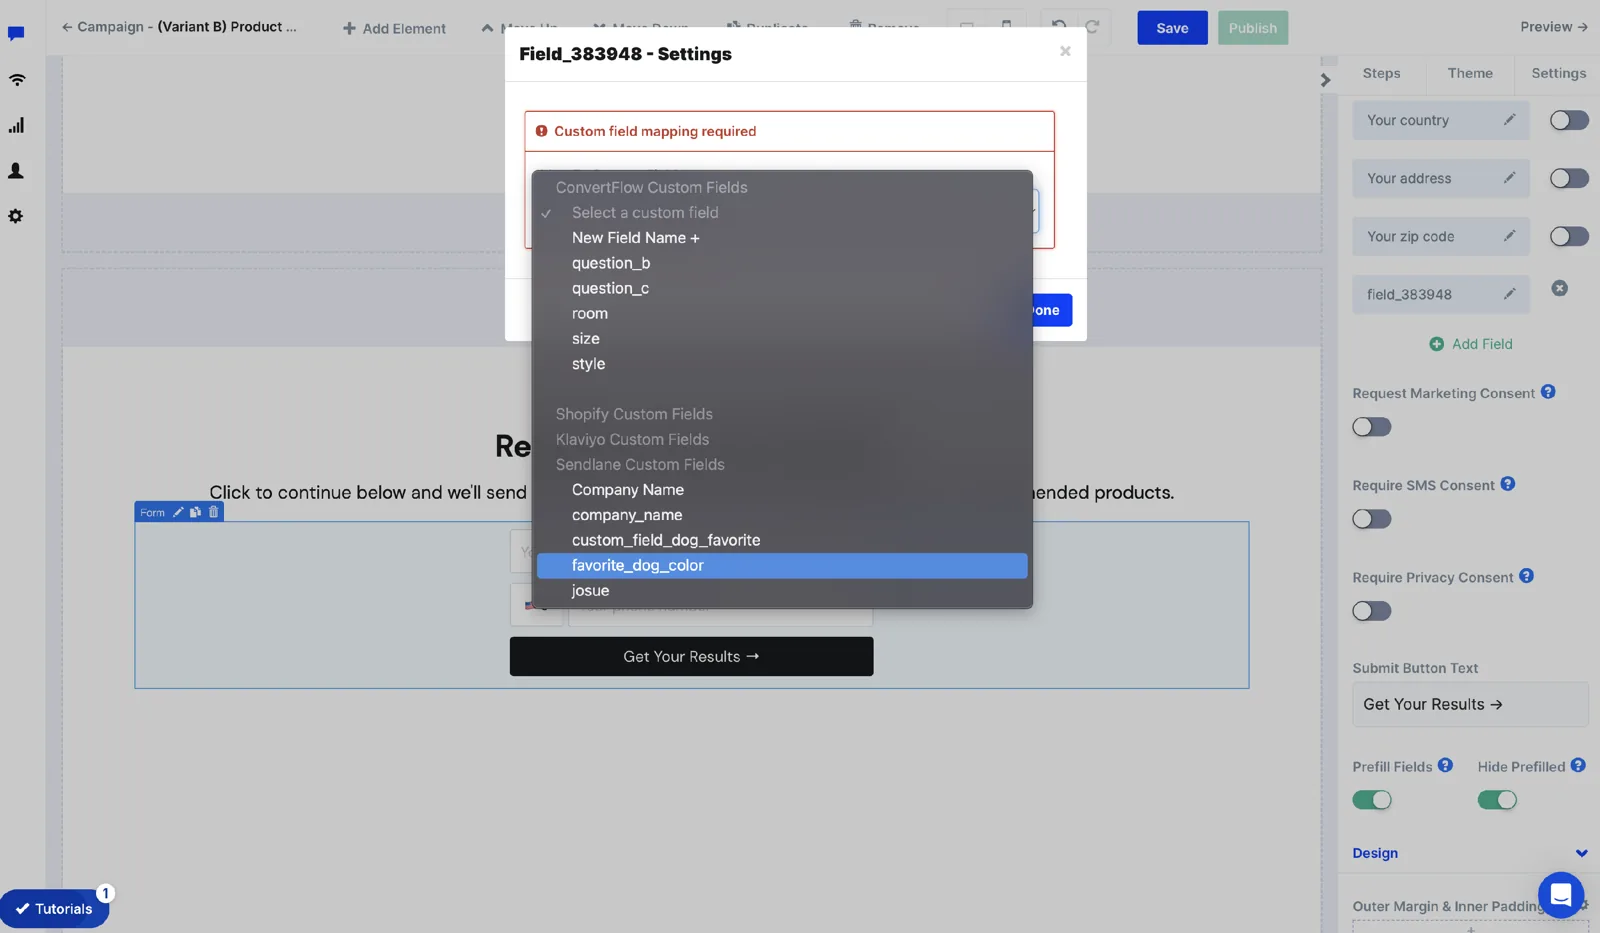
First, choose a custom field data name. Here's the part specific to Sendlane: you can select from "Sendlane fields" — a dropdown of the custom fields that already exist in your Sendlane account — and ConvertFlow will send the value collected by this form into that Sendlane field.
That means the field needs to exist in Sendlane first. If you're planning a form around a new attribute, create it in Sendlane before you build, and it'll be waiting in the dropdown.
Next, choose what type of custom field to display — text, dropdown, radio selection, paragraph or hidden. Each type has its own options:
- Want a custom checkbox? Create a radio selection field with only one option.
- Want to separate a dropdown option's data value from its displayed label? Click the field option to open its settings modal.
- Dropdown and radio options can be assigned score values from the same modal.
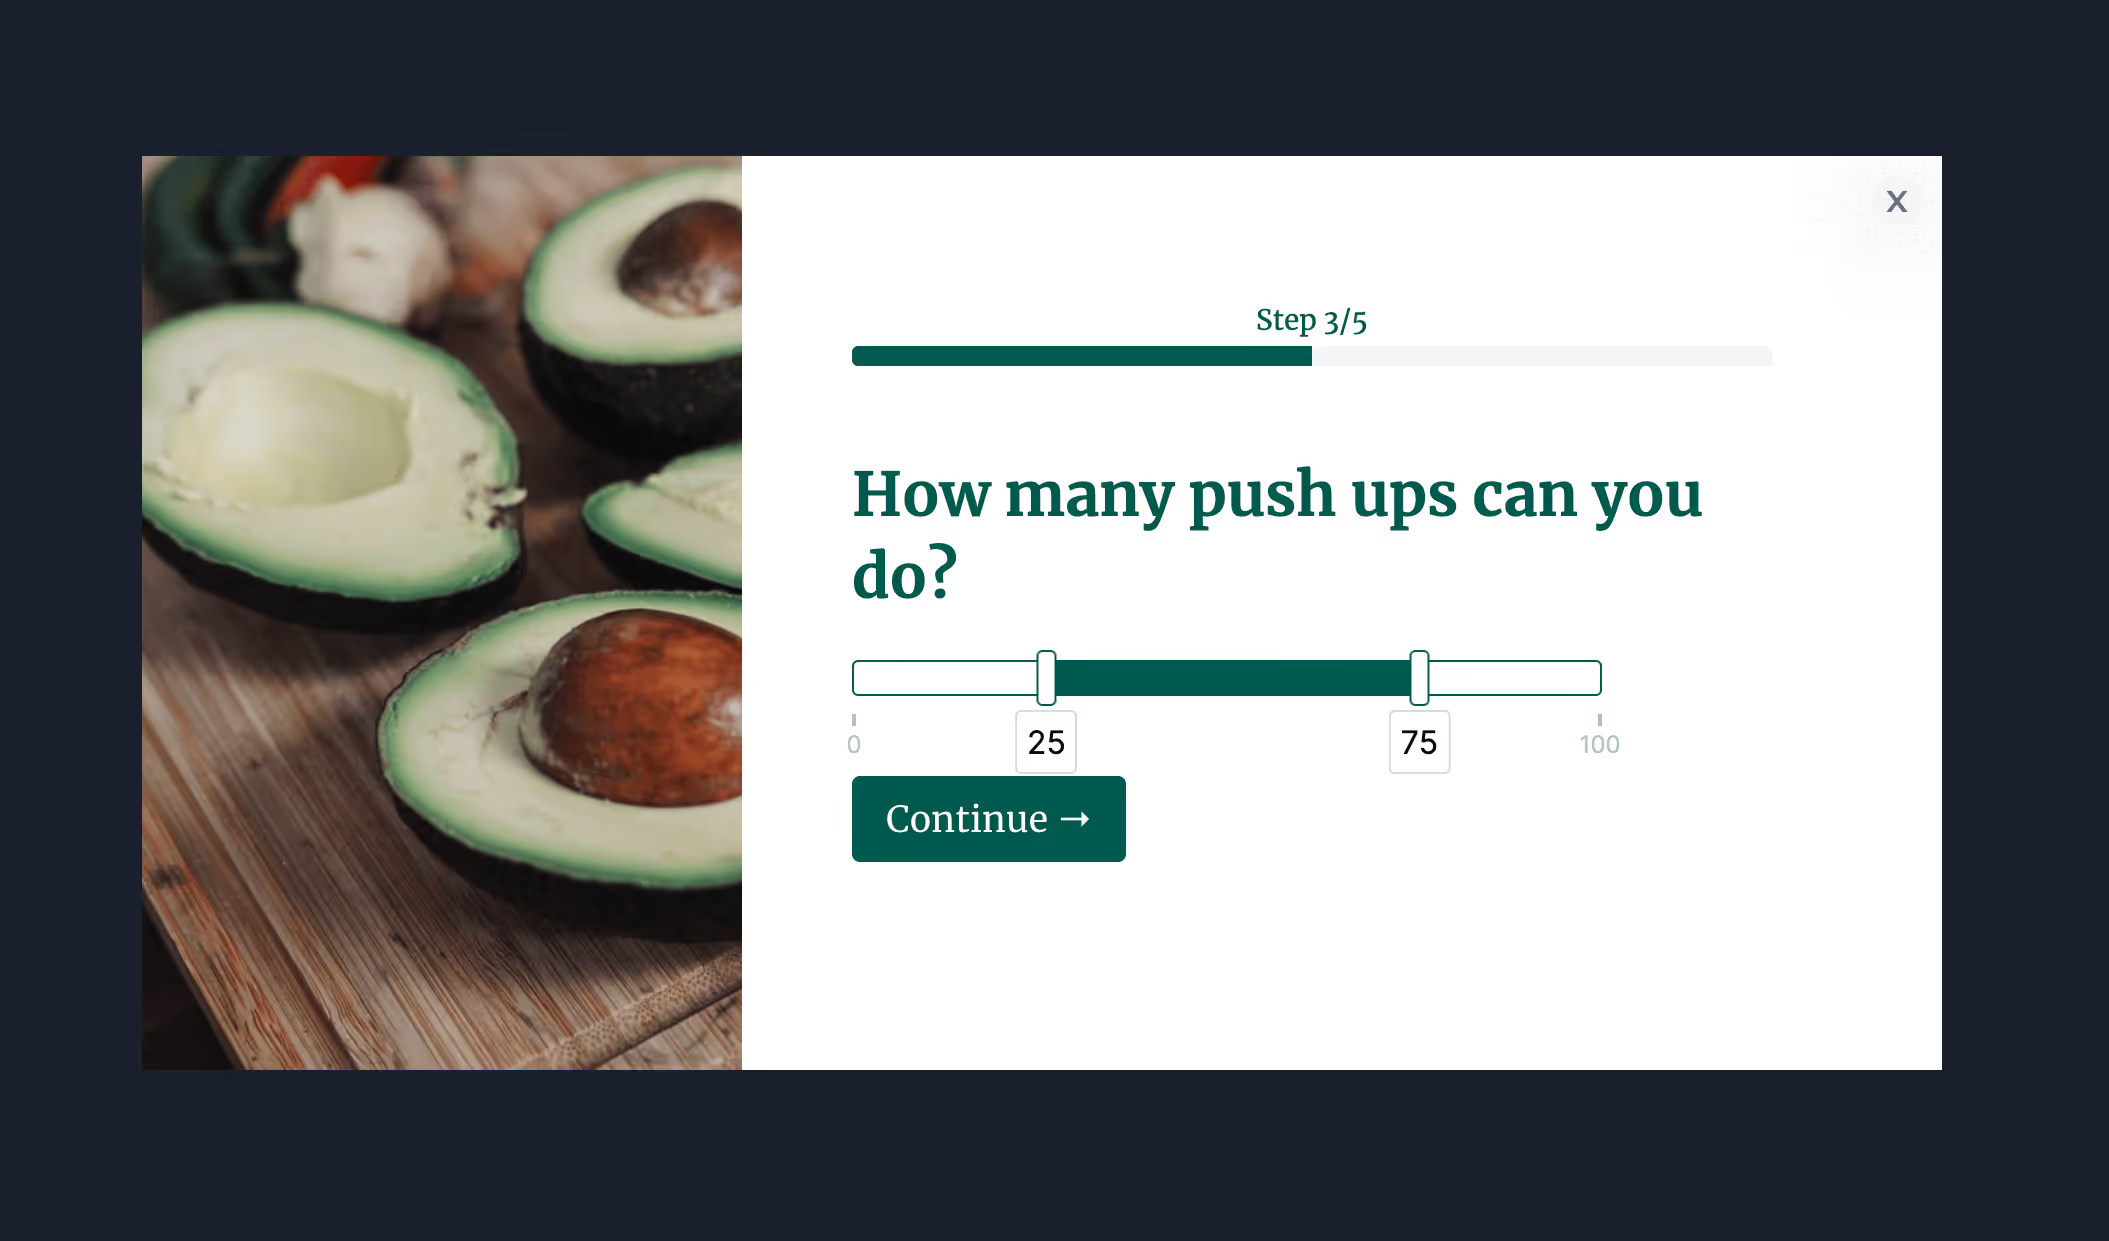
- The range field type makes it easy for visitors to input numerical values, NPS scores, price estimates and percentages.
Mapping survey and quiz answers to Sendlane
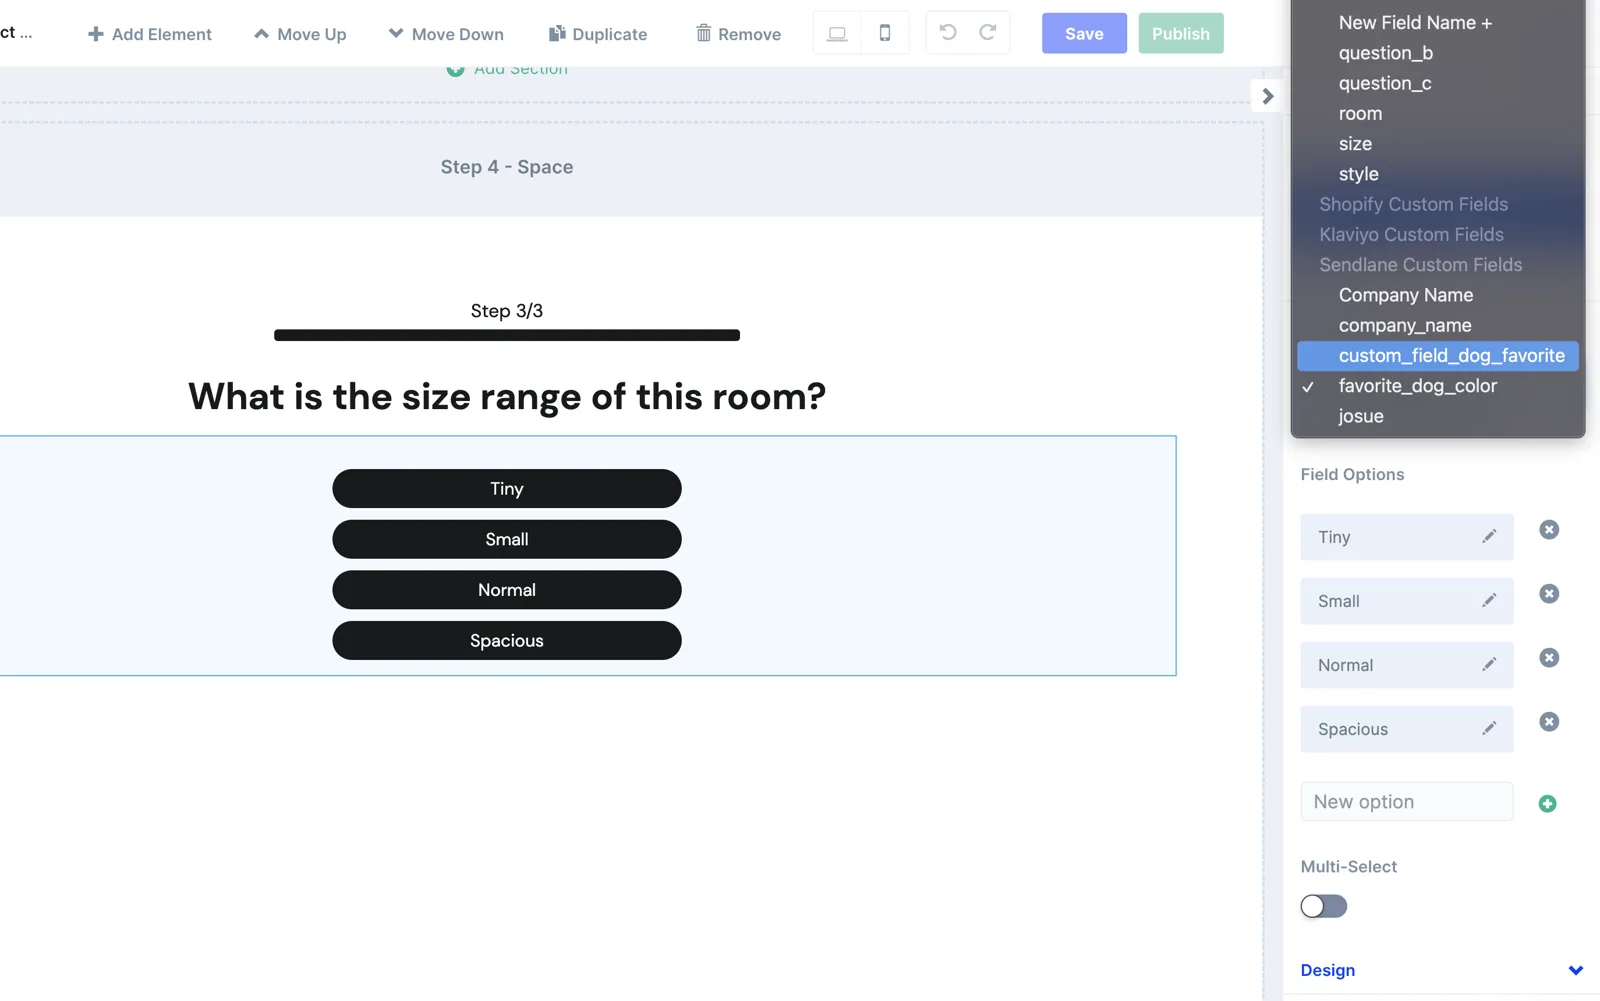
Survey elements have a "Map to custom field" dropdown in the builder panel, where you select from your Sendlane custom fields. Each answer is written to the subscriber's Sendlane record — which is what makes answer-based segmentation possible.
Mapping ConvertFlow's preset fields to Sendlane
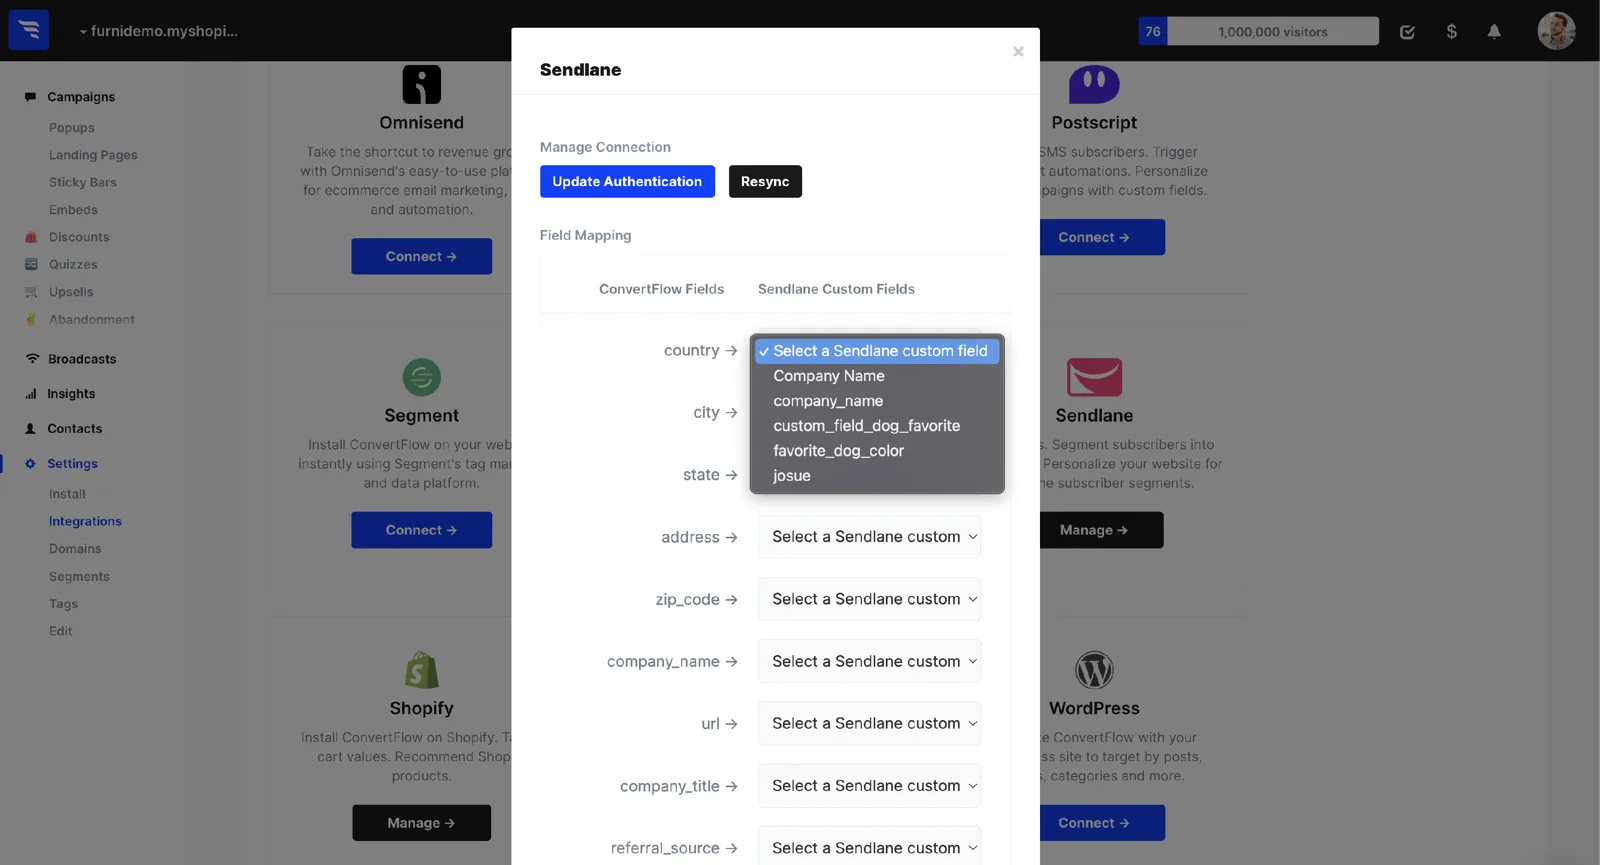
With Sendlane connected, your Integrations page shows a Fields mapping interface. Use it to map ConvertFlow's preset contact fields to Sendlane custom fields.
First name and email address are already mapped to Sendlane for you — use this for the rest, like last name, phone and company.
Styling your Sendlane form
When editing a form element, click to the "Design" tab. Here you can space your form, choose a vertical or horizontal field layout, set how wide it expands, and control fonts, button colour, button roundness, field colour and drop shadows — so the form looks native to your site rather than bolted on.
.avif)
Configuring form submission actions
.avif)
In the "Actions" tab, you'll be able to control what happens after someone submits your form:
- Redirect your visitors to a URL
- Show another funnel step in the campaign
- Display a thank you message
- Display a popup campaign you've created in ConvertFlow
- Open an SMS message to a phone number
Automations
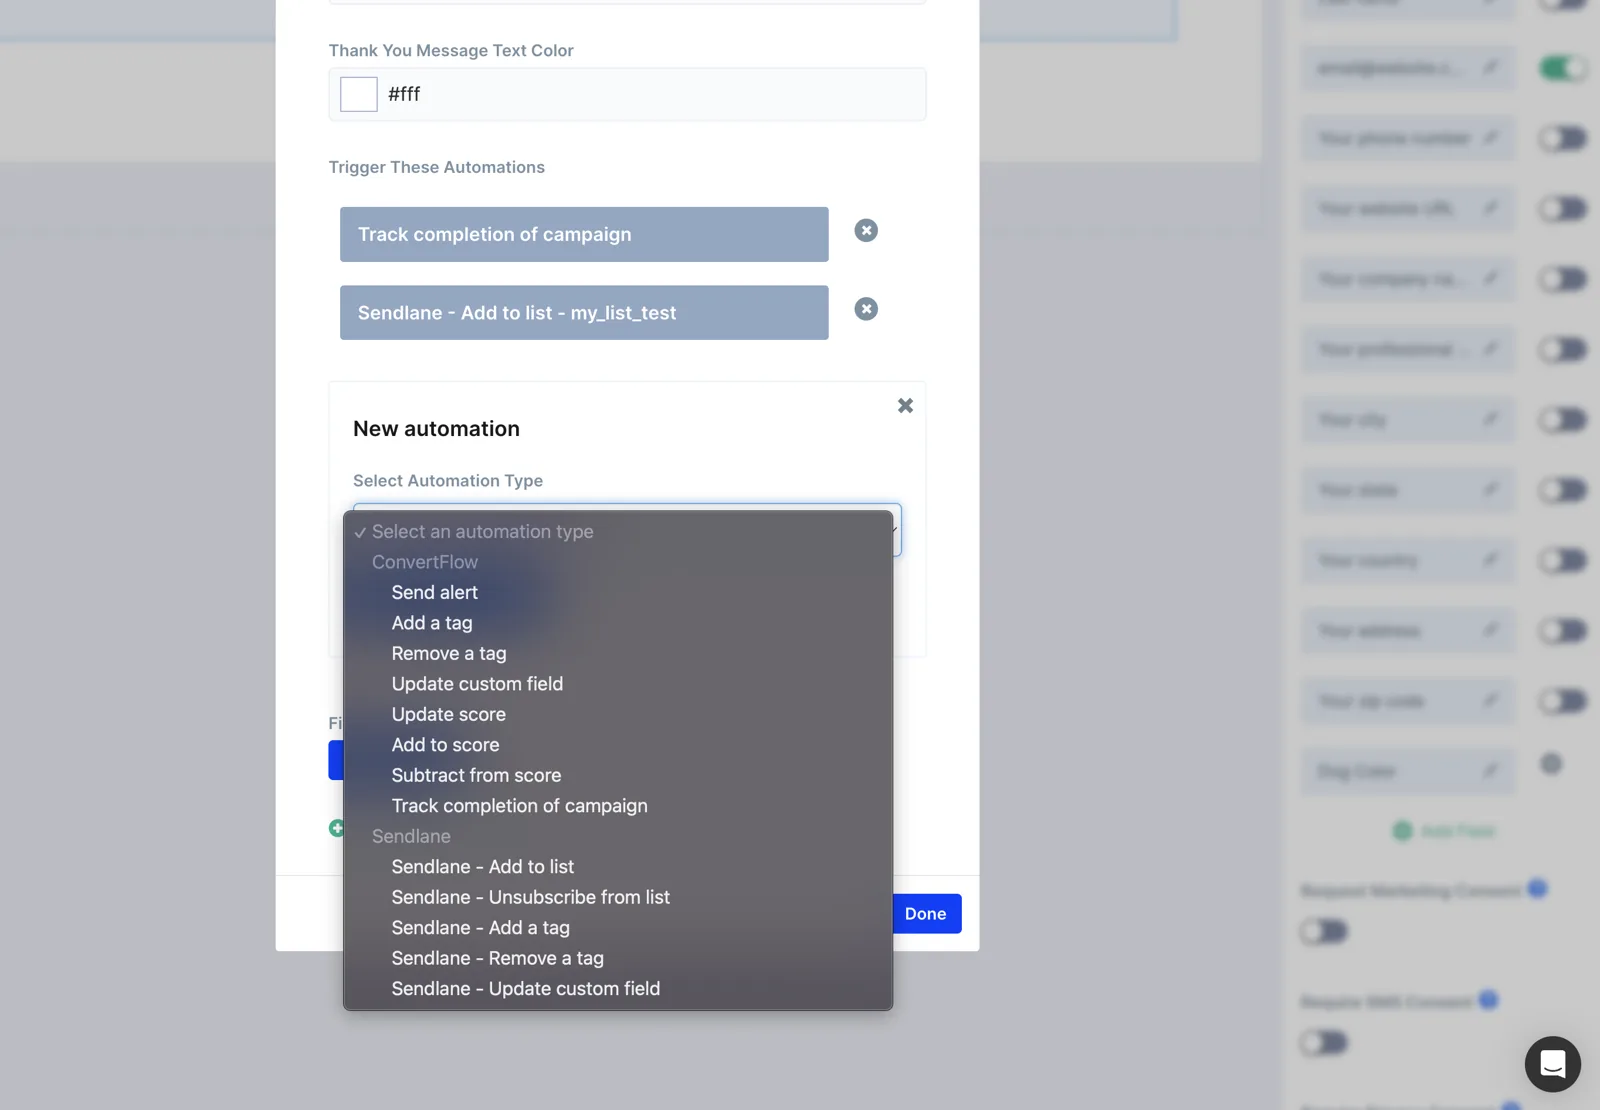
Here you can also add automations that fire when your Sendlane form is submitted — ConvertFlow actions like sending a lead alert or adding a tag, plus Sendlane automations such as which Sendlane list the contact is added to.
Because ConvertFlow pulls in your Sendlane lists and tags on connection, they're available in the dropdown without leaving the builder. Add as many as you need to segment contacts into the right audiences.
Running custom scripts and conversion pixels
By adding custom scripts to your Sendlane form's actions, you can fire conversion pixels in your advertising platforms and perform other custom javascript. ConvertFlow runs scripts added here only after the form has been successfully submitted.
Conditional actions
On submission, ConvertFlow always performs the default action you've configured. But there may be scenarios where you want to act only for certain people — redirecting to a different URL based on field values, or applying a different Sendlane tag based on an answer.
Click "+ Add Conditional Action" to perform actions only for the visitors that meet the conditions you've defined.
.avif)
Reporting on Sendlane form submissions
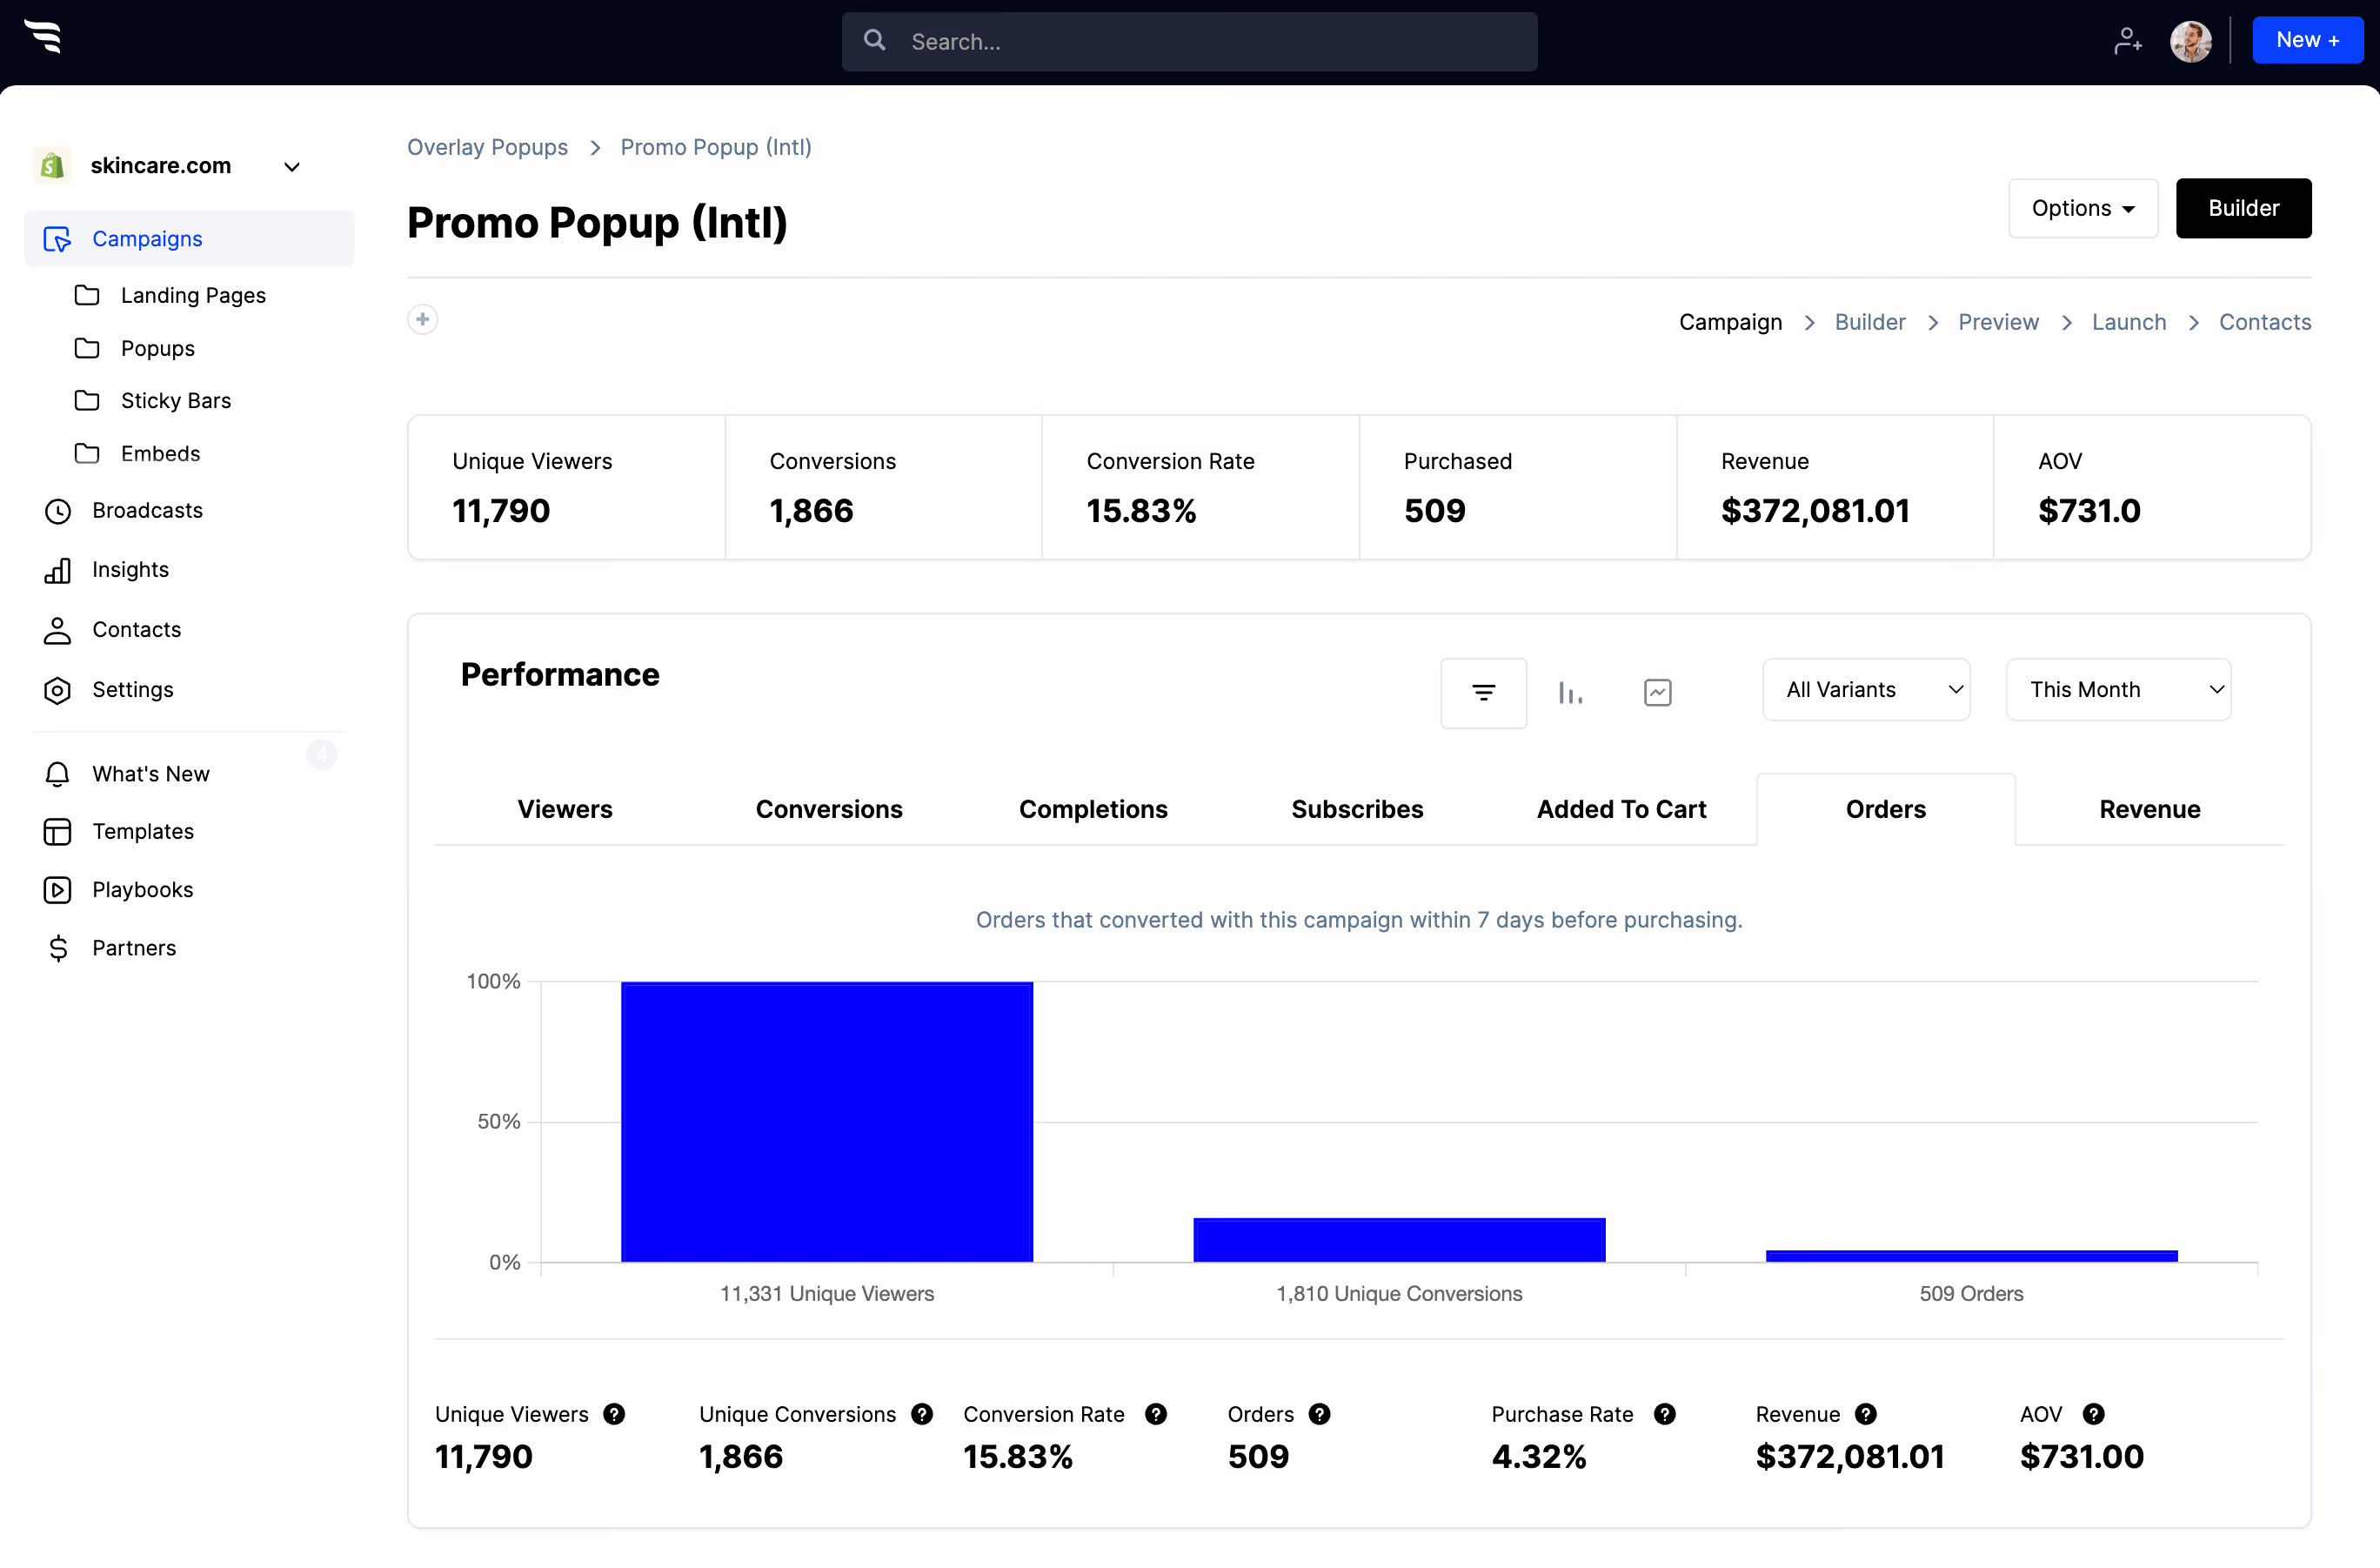
Head to your form's funnel breakdown report to see how many people are submitting and which answers they're selecting — with orders, revenue and AOV attributed to each answer, not just an opt-in count.
.avif)
Segment and personalize in Sendlane
Once answers are landing on Sendlane subscriber records, build Sendlane segments from those lists, tags and custom field values, and target your follow-up against them.
You can also personalize your website for Sendlane subscriber segments — showing returning subscribers a different offer instead of the same signup form.



%20(1).avif)






.svg)
