Install ConvertFlow on your Shopify store instantly. Target visitors by cart data and more.
Connect For FreeEvery Shopify store needs email capture, and most stores implement it once — a welcome popup on the homepage — then never revisit it. That single popup is usually doing about a third of the work it could.
This guide covers where email capture actually belongs on a store, and how to build it.
The standard welcome offer. Fires as a first-time visitor moves to leave, so the interruption costs nothing — they were going anyway.
This is the one most stores have. It's the right default, not the whole strategy.
Underused, and often the best-converting placement on the store. A shopper who has just added something has demonstrated more intent than any browsing signal, and they're already in a decision-making frame.
A shopper browsing one category doesn't need a generic 10% off. An offer that references what they're looking at converts substantially better — and tells you what they were shopping for, which is worth more than the email address alone.
Highest-intent capture on any store. Someone asking to be told when a specific product returns is not a newsletter subscriber — they're a buyer with a date attached.
Low-yield but zero-friction. Worth having as a fallback for people who want to subscribe without being asked.
Most stores that plateau on list growth have only the first of these. Adding the second and third usually moves the number more than optimising the first.
Create a campaign and choose a format — overlay popup for a welcome offer, hook popup for something less disruptive, or an embed for a footer or landing page.


Trigger settings are in the Settings tab.

Set suppression on all of them so the same offer doesn't reappear on every page view.
Click any element to edit its content.

A percentage discount is the default and it works. It also trains repeat shoppers to look for the popup before buying, and permanently discounts your first order.
Free shipping, a free gift, or early access to a drop convert comparably without that. Worth testing rather than assuming.

This is the difference between collecting addresses and building a list you can segment.
.png)
One question before the email field — what they're shopping for, who it's for — costs a few percentage points of opt-in and gives every subsequent email something to work with. Map the answer to a field or tag in your email platform.
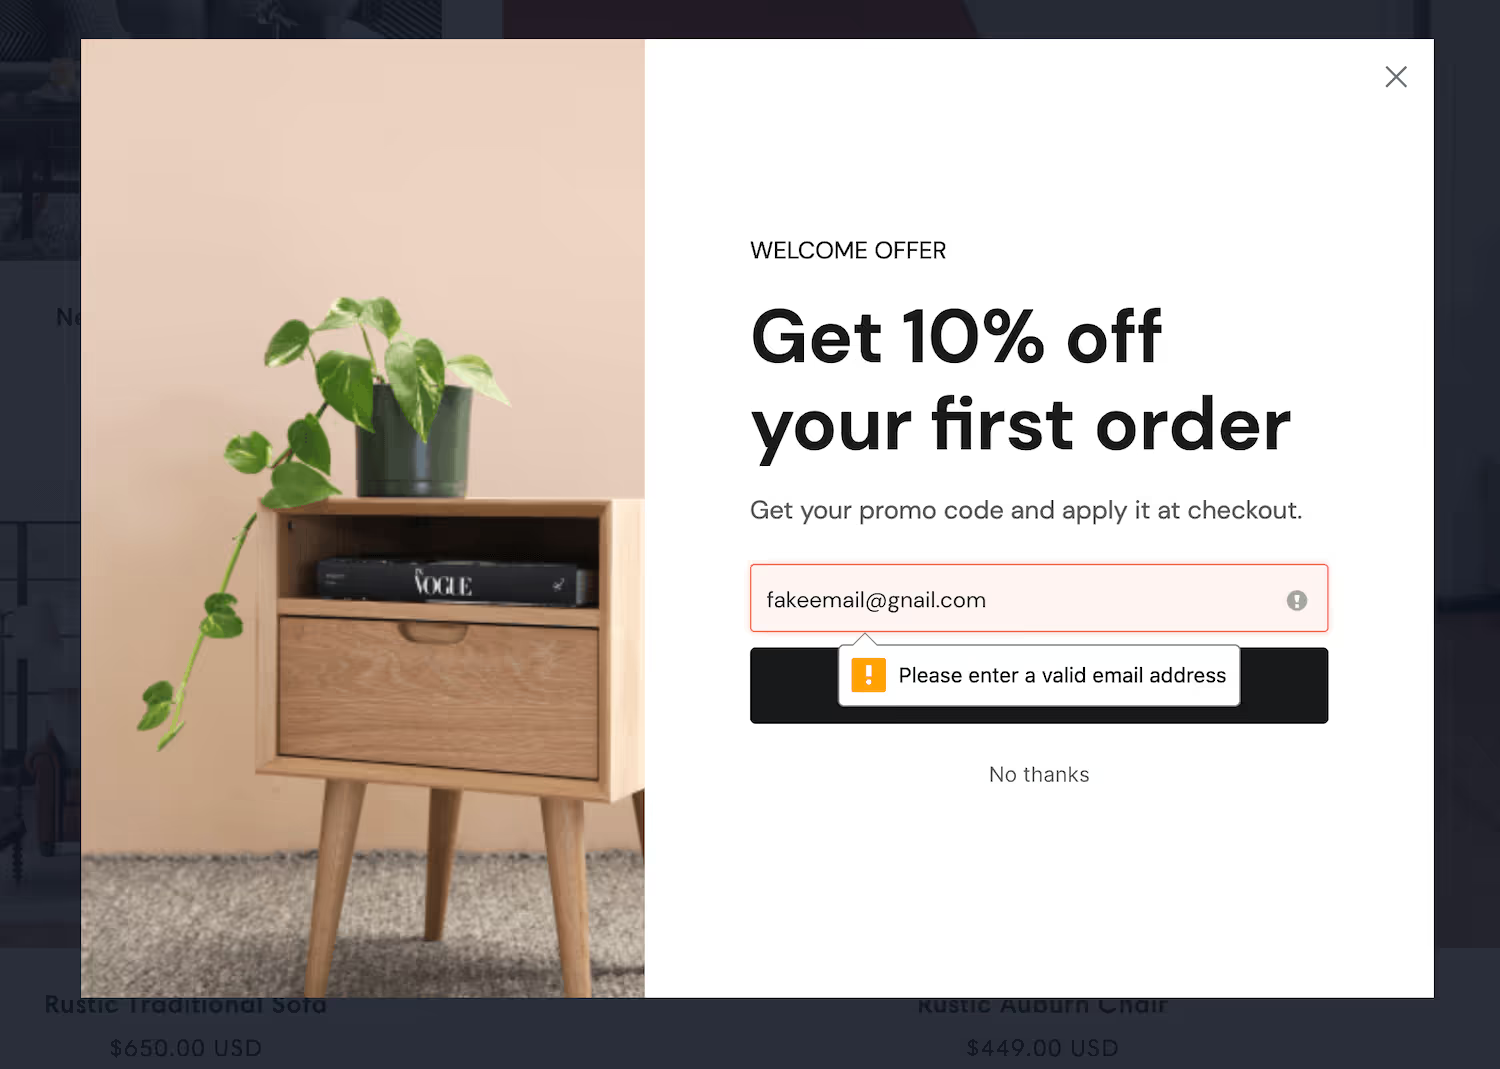
Turn on email verification too, so invalid addresses don't reach your list and drag down the open rate.
Go to Settings → Integrations and connect Shopify — the script installs automatically, with no theme editing.

Then connect your email platform — Klaviyo, Omnisend, Mailchimp, Attentive, Postscript and others.

Select the form, click Manage Actions, and add the automation that subscribes the shopper to the right list.

Use a different list or tag per placement. A cart-add capture and a homepage welcome capture are different people at different stages, and sending them the same welcome sequence wastes the distinction.
Show the code immediately rather than only emailing it. A shopper who has to check their inbox frequently doesn't come back.

Click Launch and set the subscriber exclusion first.

Existing subscribers are your most frequent visitors, so an untargeted capture is shown disproportionately to people who can't convert on it. Excluding them raises your measured rate and stops your best customers being asked to subscribe every visit.

Split-test variants and read revenue per variant, not opt-in rate.
.avif)
A deeper discount will always win on opt-in rate. Whether it wins on revenue is a different question, and it's the one worth answering.
To see templates and the full feature set, visit the Shopify popup builder.
Create a free ConvertFlow account and integrate
Shopify
in minutes.
Install ConvertFlow on your Shopify store instantly. Target visitors by cart data and more.
Connect For Free










.svg)