



Why build beehiiv forms in ConvertFlow
beehiiv includes signup forms, so this page owes you a straight answer about when they're enough.
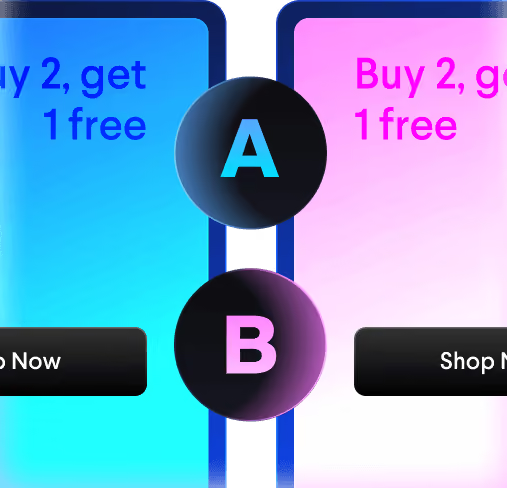
For a plain email capture in the middle of a post, beehiiv's own form is fine and you don't need another tool. ConvertFlow earns its place when you want the form to ask something before it subscribes, run across several steps, route different answers to different tags or automations, or A/B test properly.
The subscriber lands in the same publication either way — the difference is how much you know about them when they get there.
1. Connect beehiiv to ConvertFlow
Head to your ConvertFlow website's Integrations area.
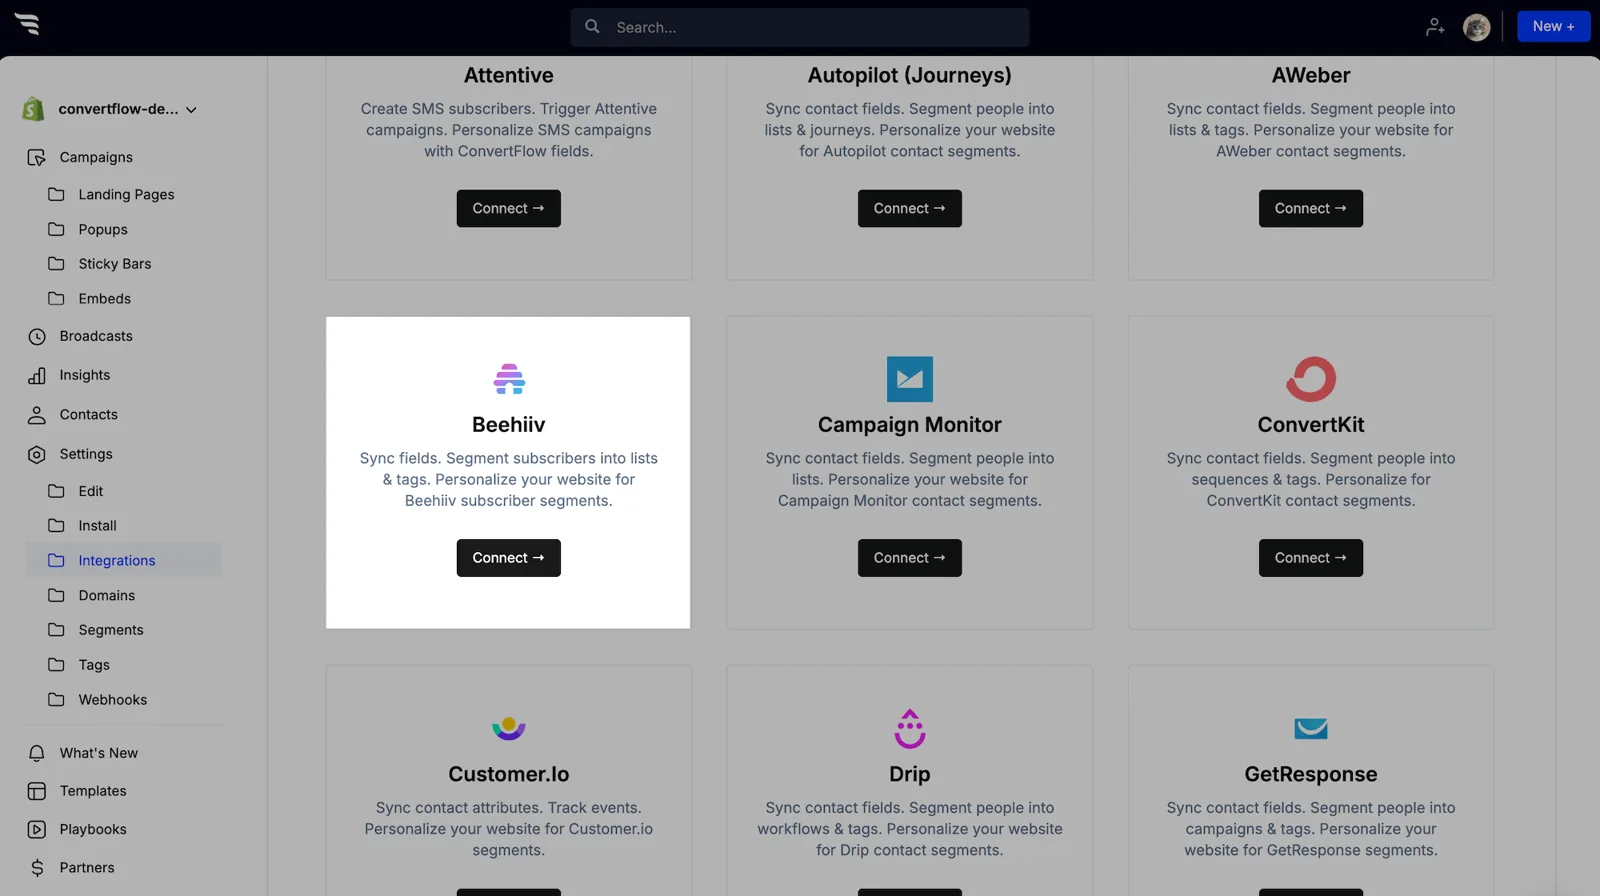
Click to connect with beehiiv, and you'll see where to add your integration details.
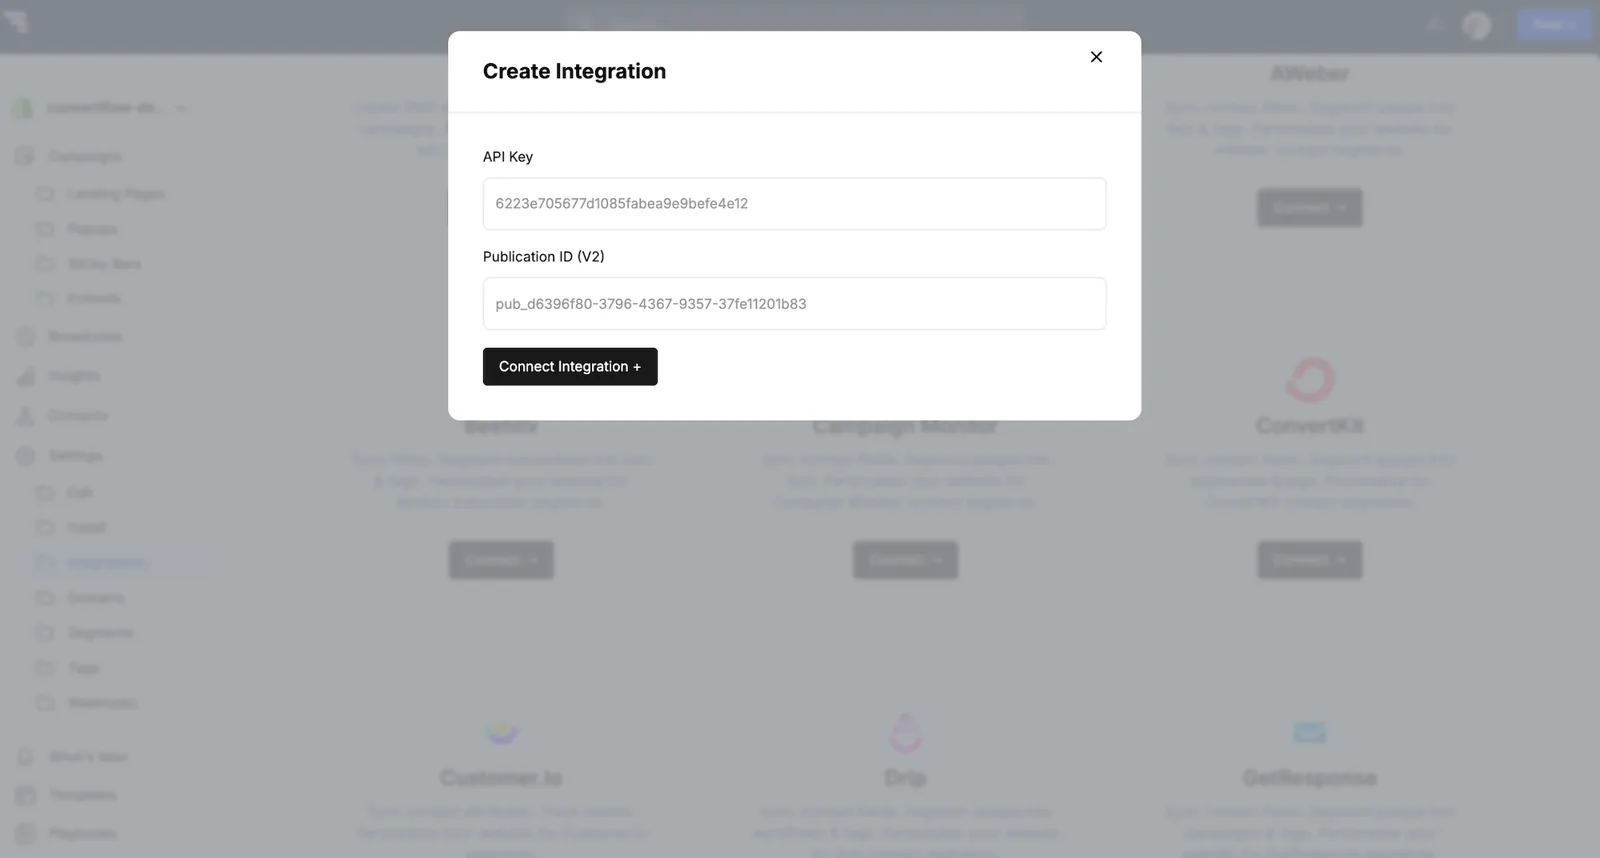
You'll need two things, both from the Settings page in beehiiv: your v2 publication ID and your API key.
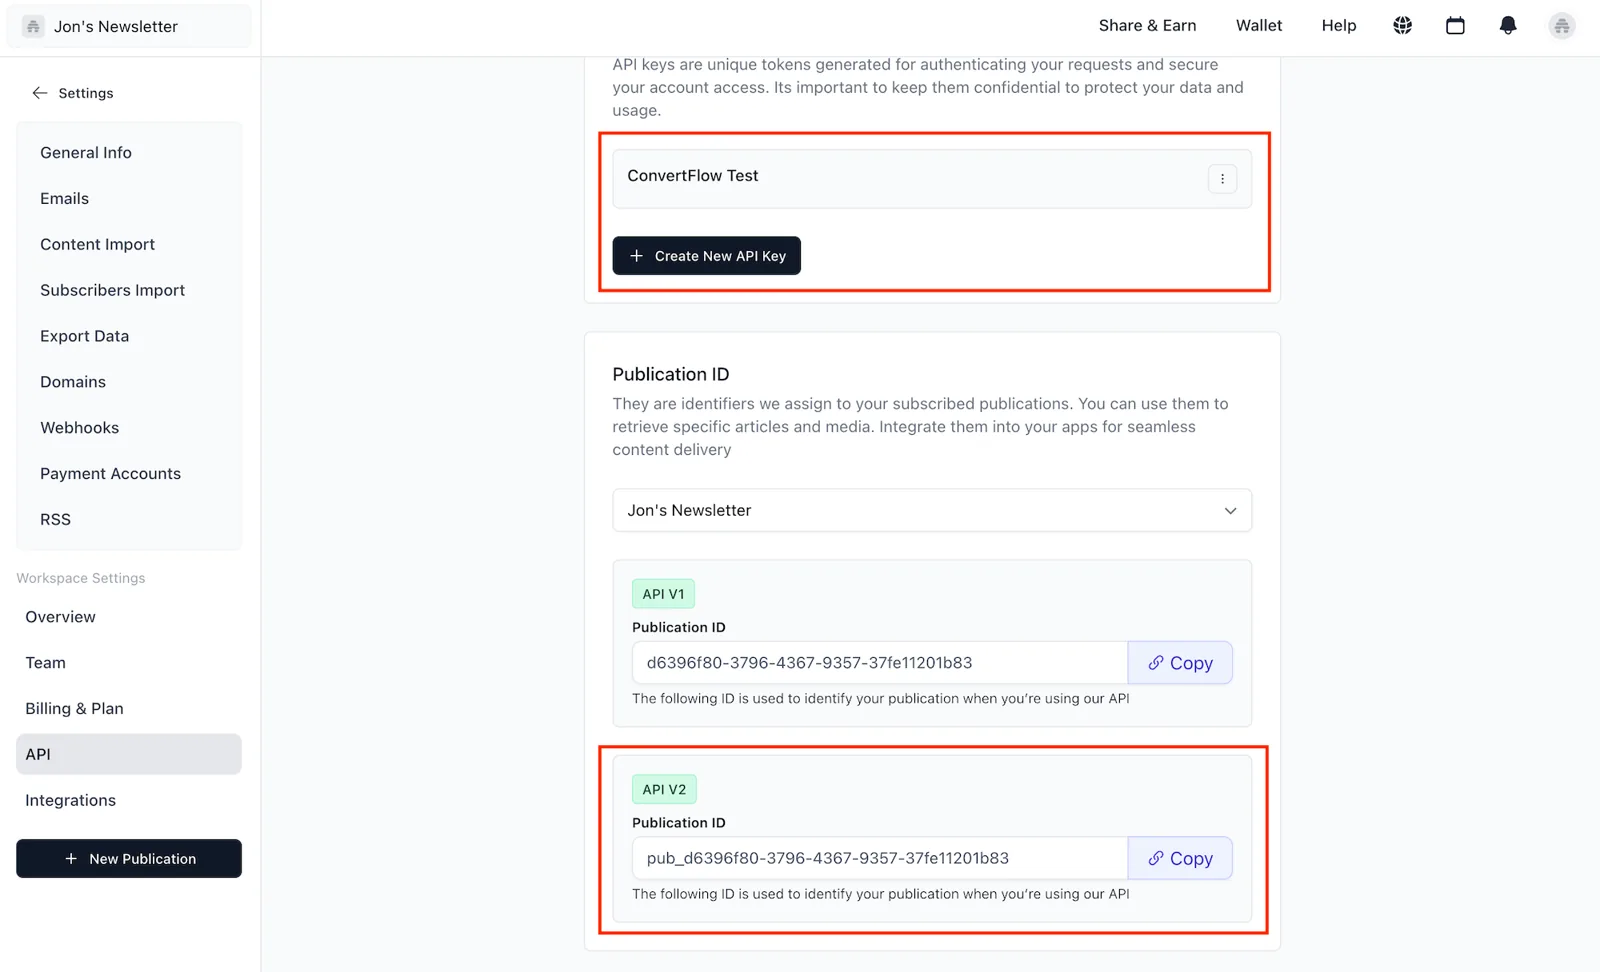
The publication ID is the part worth noting. A beehiiv account can hold more than one newsletter, so the API key alone doesn't say which publication a subscriber belongs in. If you run several, double-check you've taken the ID from the right one — a valid key with the wrong publication ID sends your subscribers to the wrong newsletter, quietly.
Once connected, ConvertFlow starts pulling in your fields and segments.
2. Add a form to your campaign
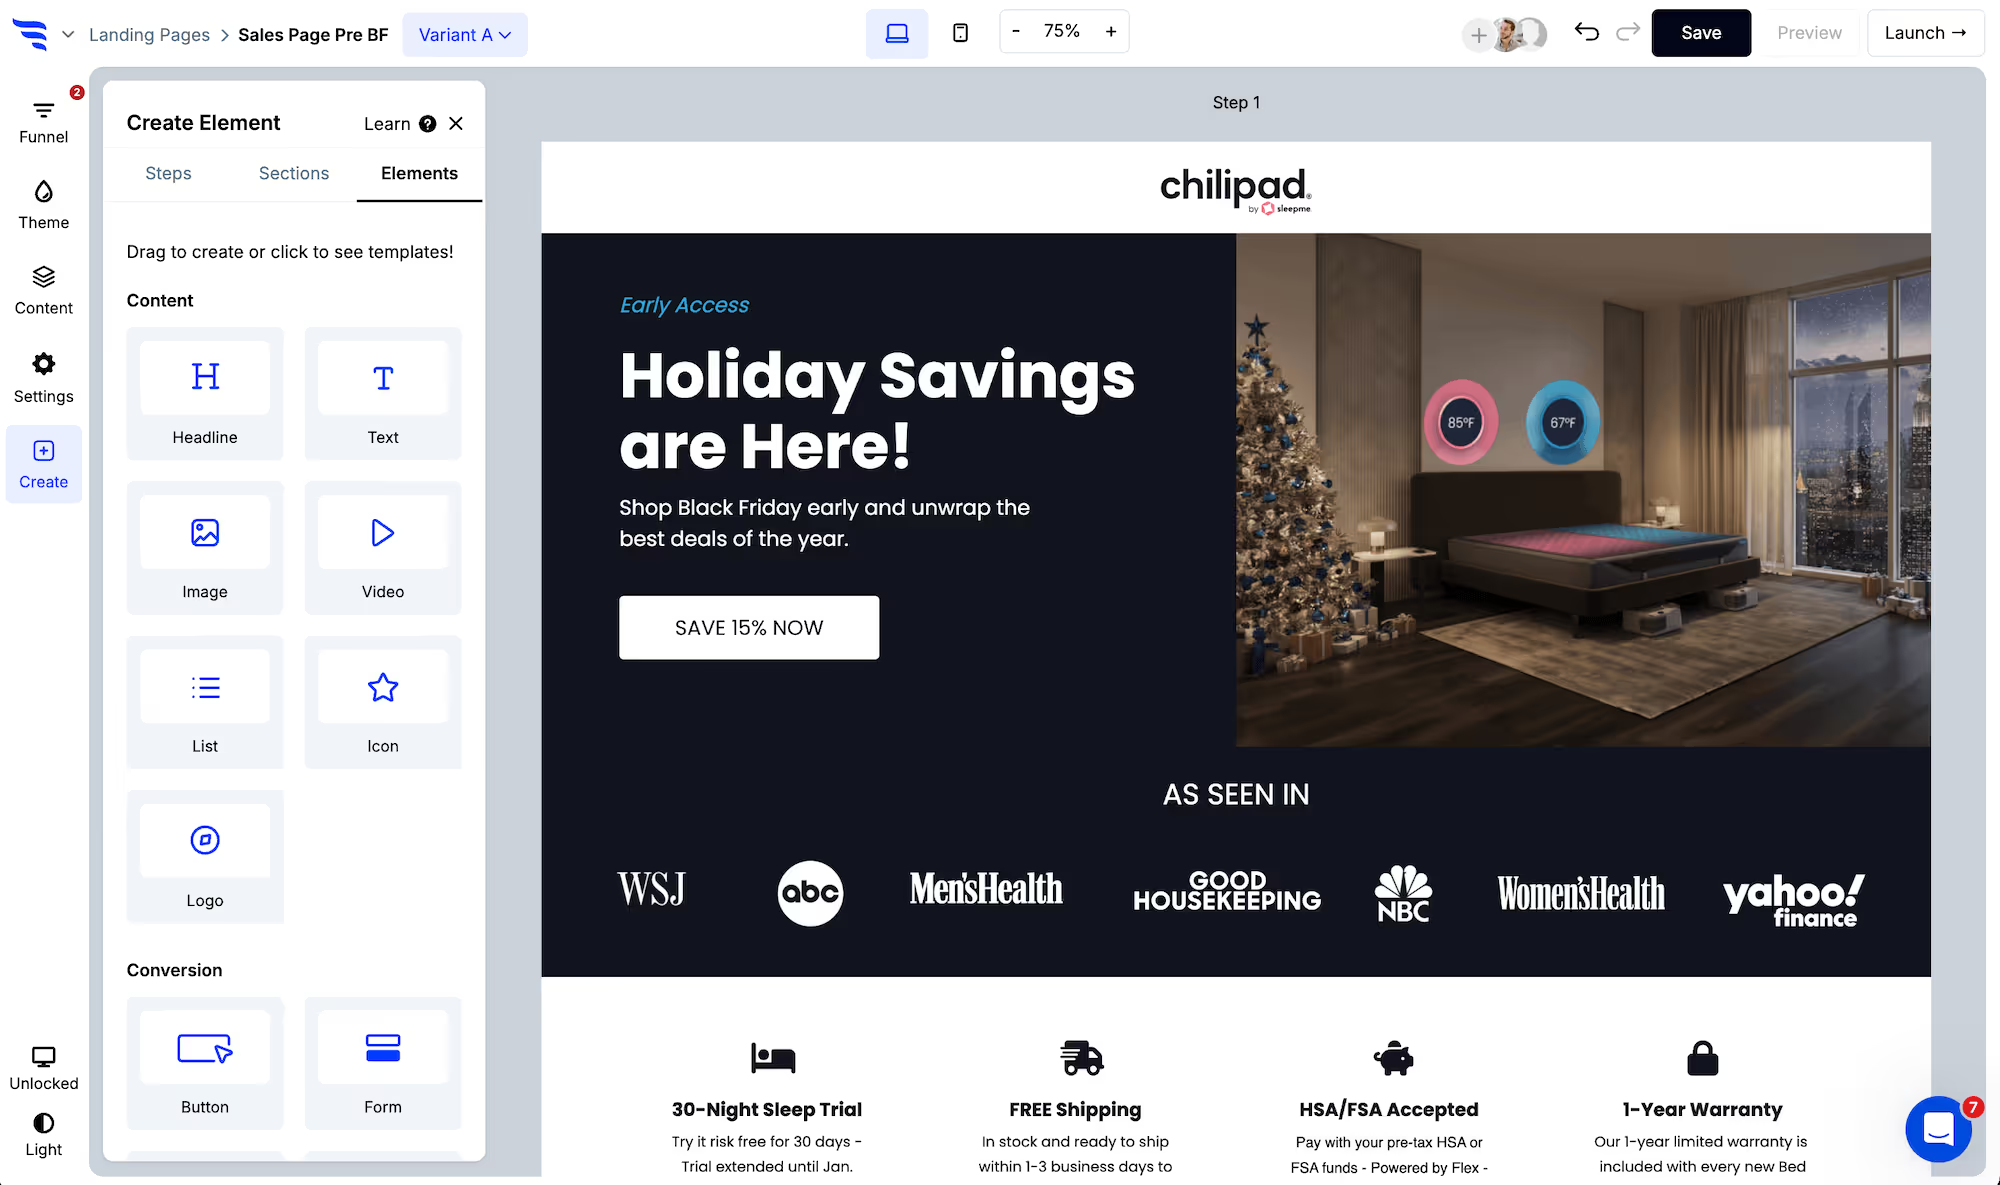
Add your beehiiv form to a ConvertFlow landing page, popup or embed. Click to add an element and choose the "form" element type — start from a form template or build from scratch.
.avif)
3. Toggle the contact fields you want
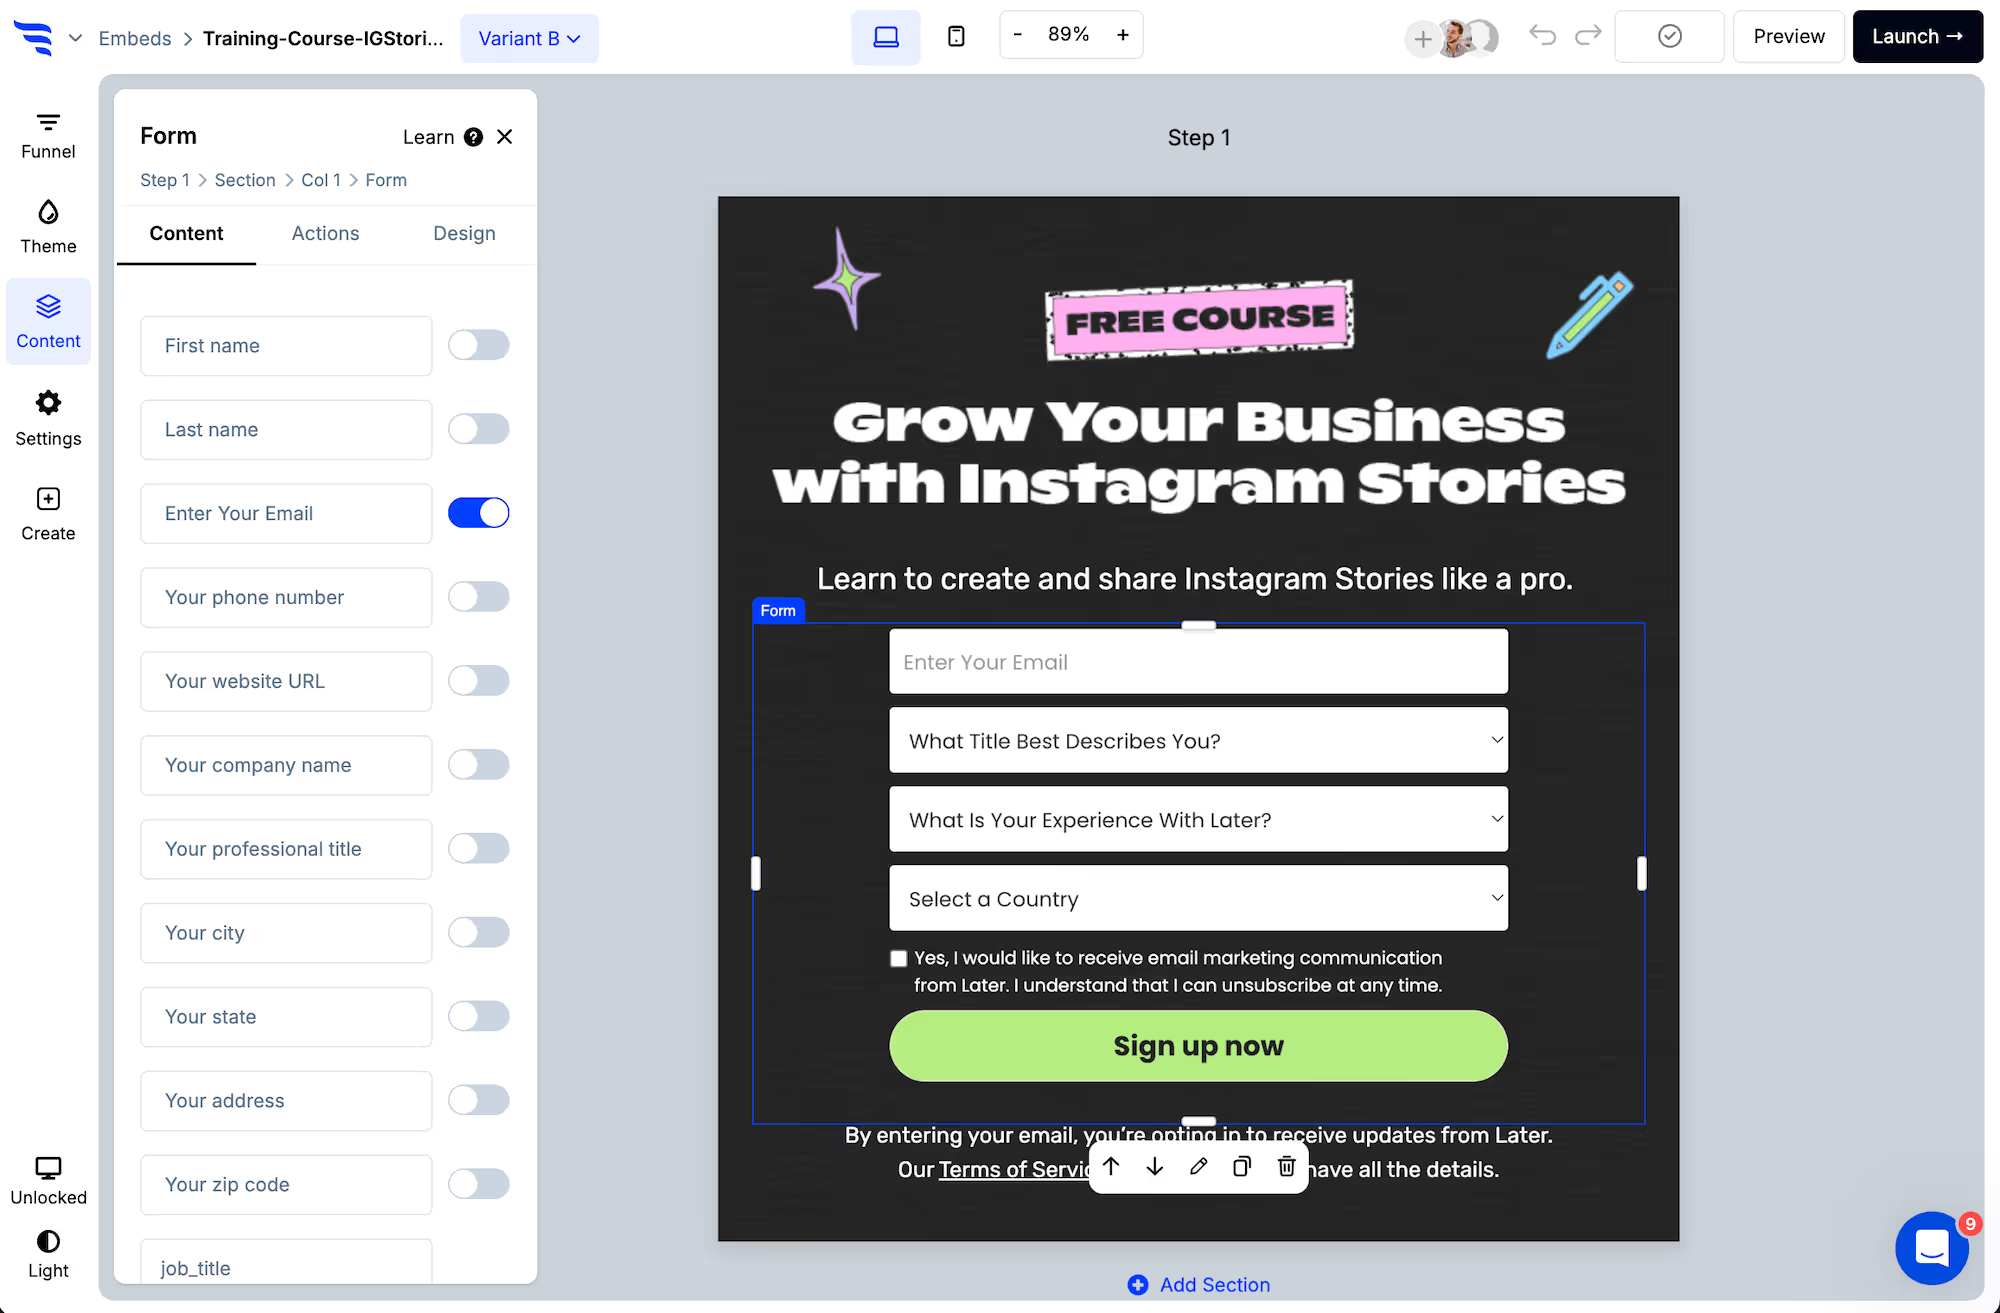
Select the form element and switch on the fields to request. Email address maps to beehiiv automatically.
.png)
Resist adding many. Newsletter signup converts on being effortless, and every extra field costs you subscribers. If you want to know more, ask it after the subscribe rather than before — more on that below.
.avif)
4. Verify the email before it subscribes
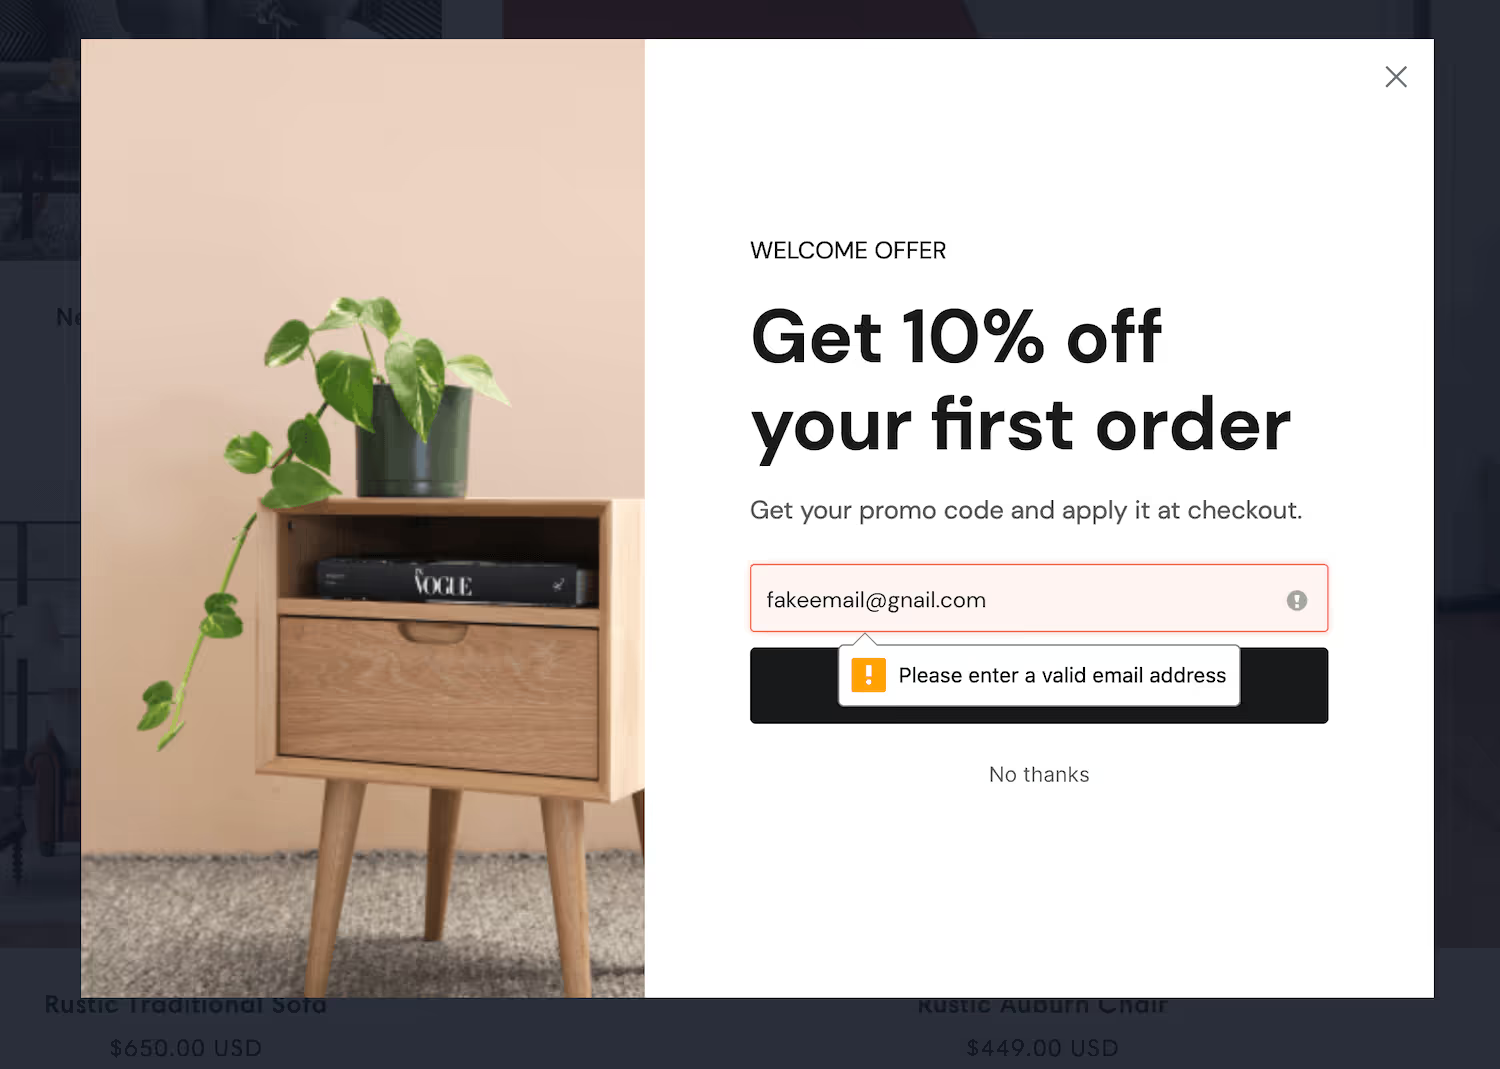
ConvertFlow can check that an entered address exists with its provider before the subscriber reaches beehiiv.
For a newsletter this is worth switching on. Your open rate is your headline metric — the number you show sponsors — and every undeliverable address drags it down while also costing you against your subscriber count.
5. Add consent checkboxes
Scroll below the preset contact fields to find privacy and marketing consent checkboxes, with links to your privacy policy and terms.
6. Map custom fields to beehiiv
By clicking to add a field at the end of the fields list, you can add as many custom fields as you'd like.
.avif)
When naming the field, select from "beehiiv fields" — a dropdown of the custom fields in your publication.
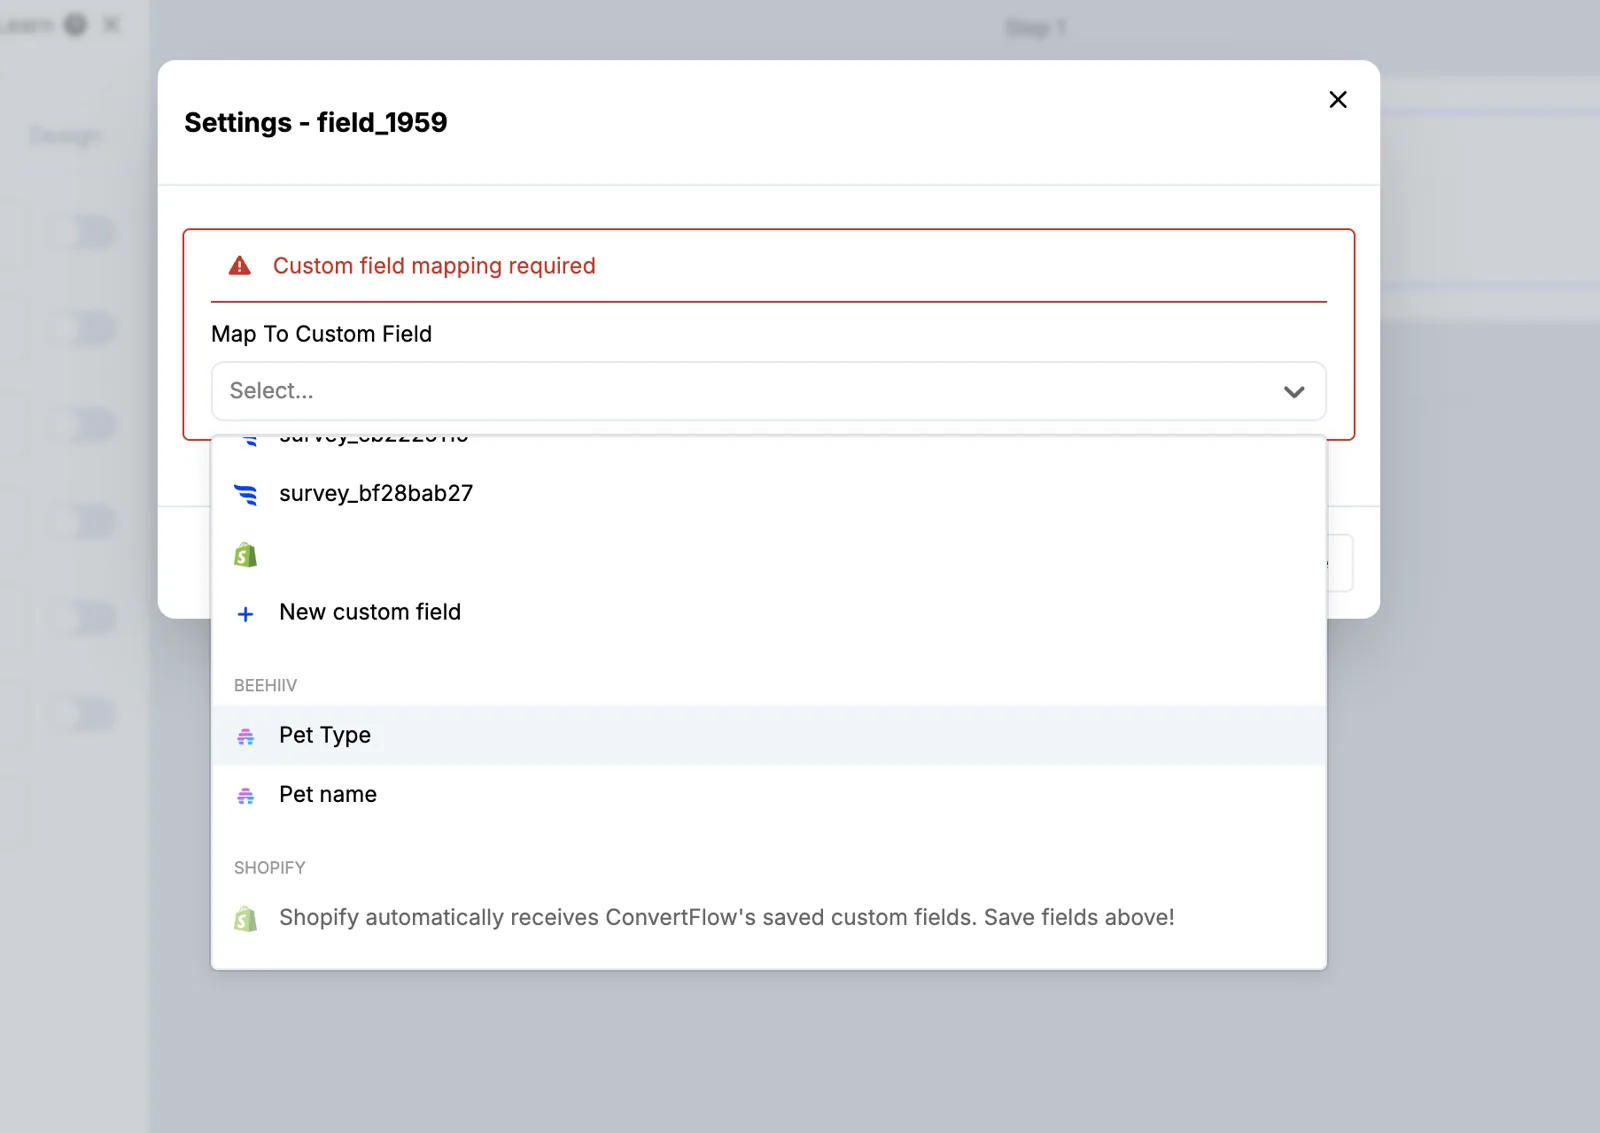
Quiz questions map the same way. For ConvertFlow's preset contact fields, click to manage the integration on your Integrations page and enter the data name of the beehiiv custom field — email address is already mapped.
7. Style the form
In the Design tab, set spacing, field layout, width, fonts, button colour and roundness, field colour and shadows — so the form matches your publication rather than looking like an embed.
.avif)
8. Add beehiiv automations on submit
In the Actions tab, choose what follows submission, then add beehiiv automations.
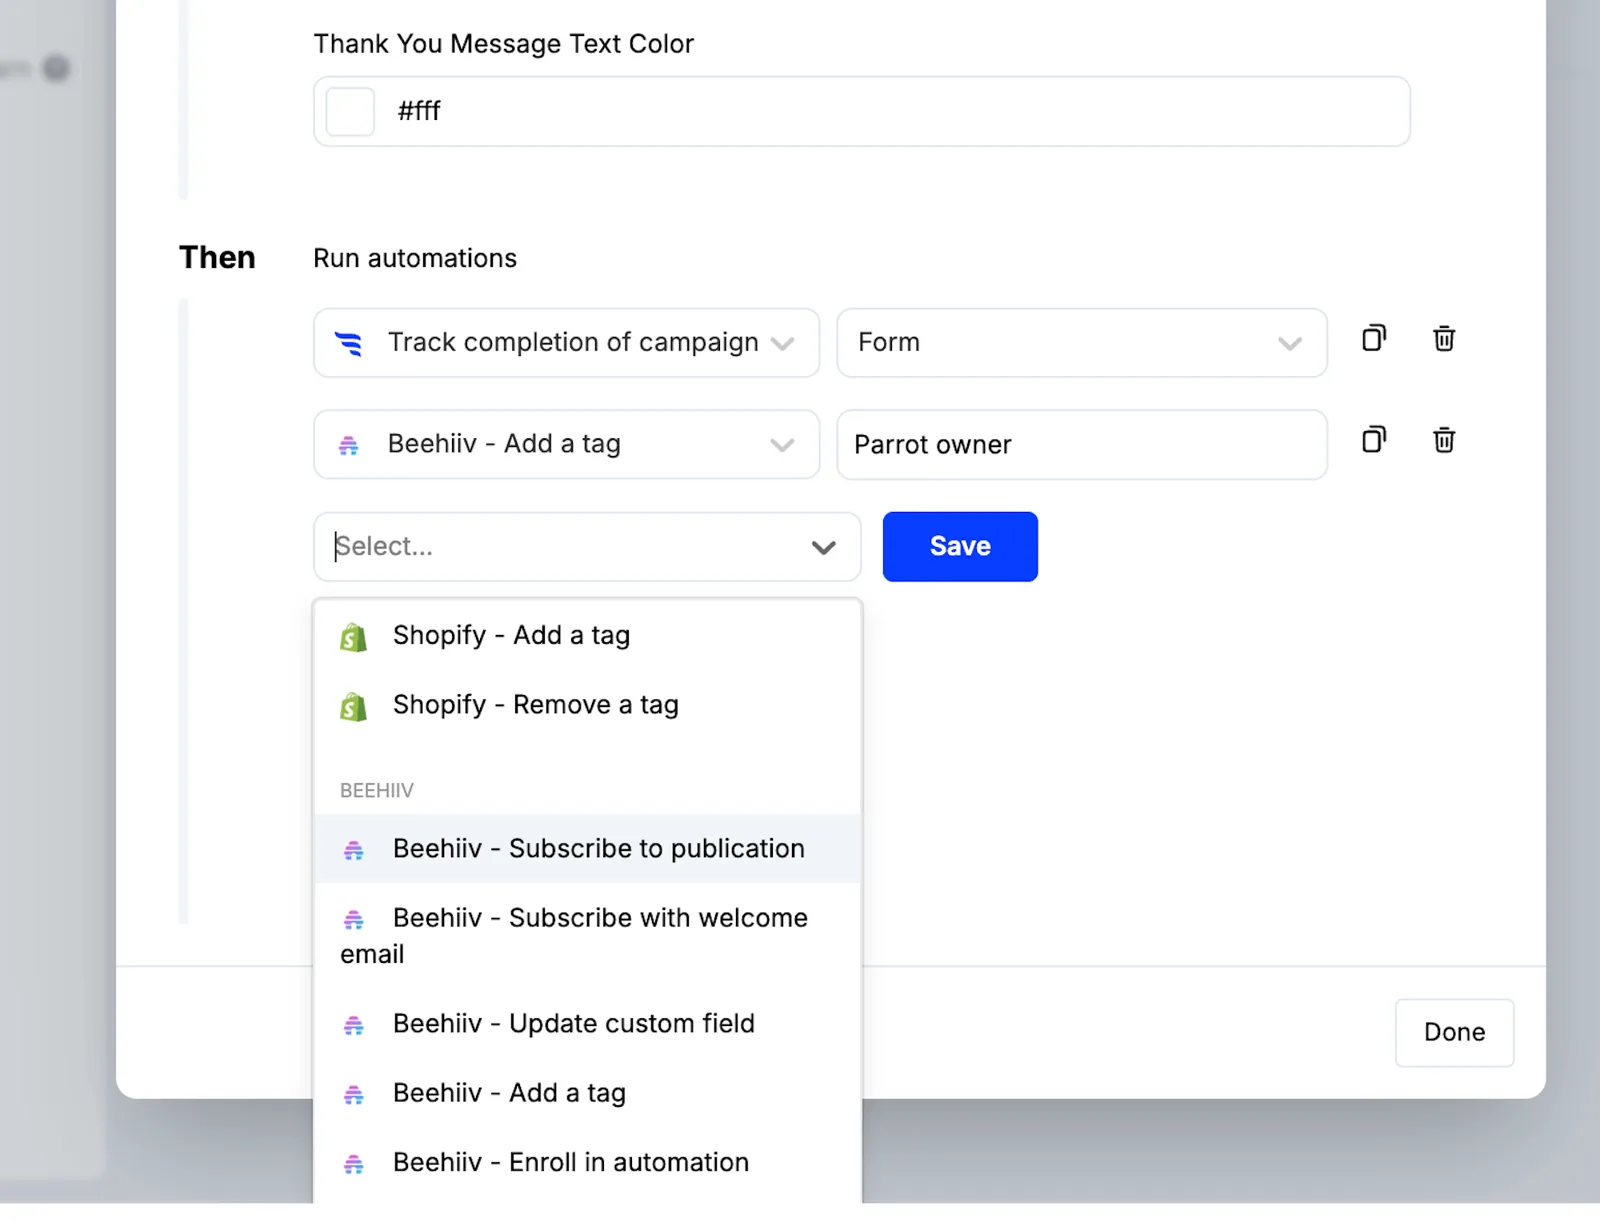
Five types are available:
- Subscribe to publication — forces a subscribe or resubscribe
- Subscribe with welcome email
- Update custom field
- Add a tag
- Enroll in beehiiv automation — uses the API trigger on your automation
Two things worth understanding
Subscribe forces a resubscribe. Someone who previously unsubscribed and then fills in your form is subscribed again. That's usually what you want — they asked — but be deliberate about where you place the form, because it means an old opt-out doesn't stick if they pass through it again.
Welcome email is a separate action. Use "subscribe with welcome email" where the form is the reader's first contact with you. Use plain subscribe where they've already had a welcome, or where your own funnel is delivering something immediately and a second email would collide with it.
Enroll in beehiiv automation requires the automation in beehiiv to have an API trigger set up — build that first, or the action has nothing to call.
Conditional actions let you route by answer, so a different response applies a different tag or enrolls the reader in a different automation.
.avif)
9. Ask after the subscribe, not before
This is the pattern that makes a ConvertFlow form worth using over beehiiv's own.
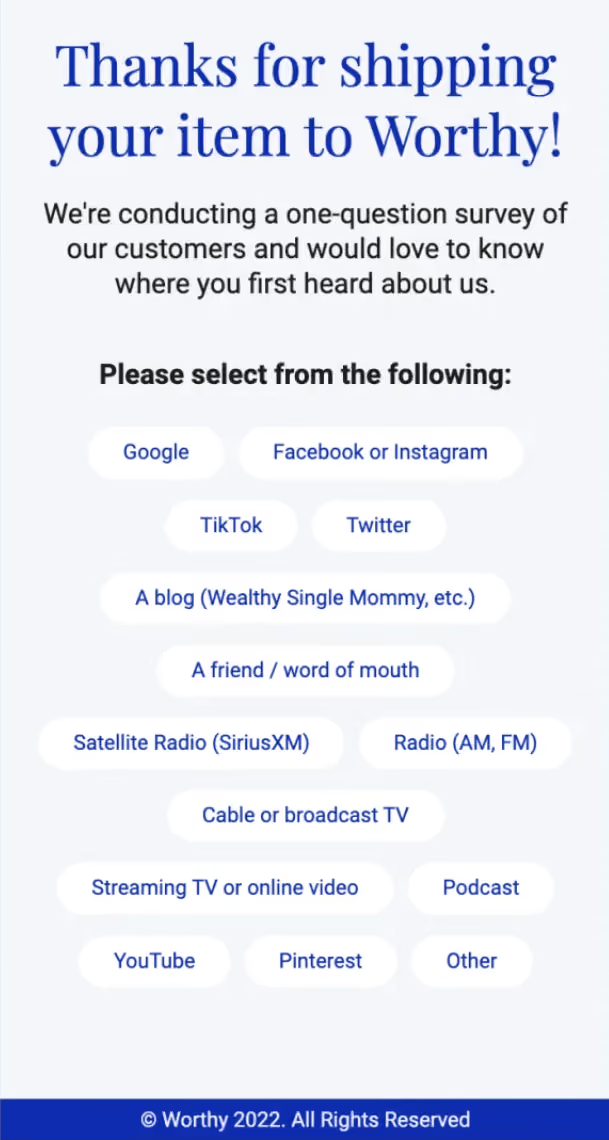
Keep step one to the email address, so you don't lose anyone. Then, on the confirmation step, ask one question — what they're most interested in, say. The answer applies a tag or writes a custom field, and readers who skip it are still subscribed.
You get segmentation without paying for it in signups.
10. Report on submissions
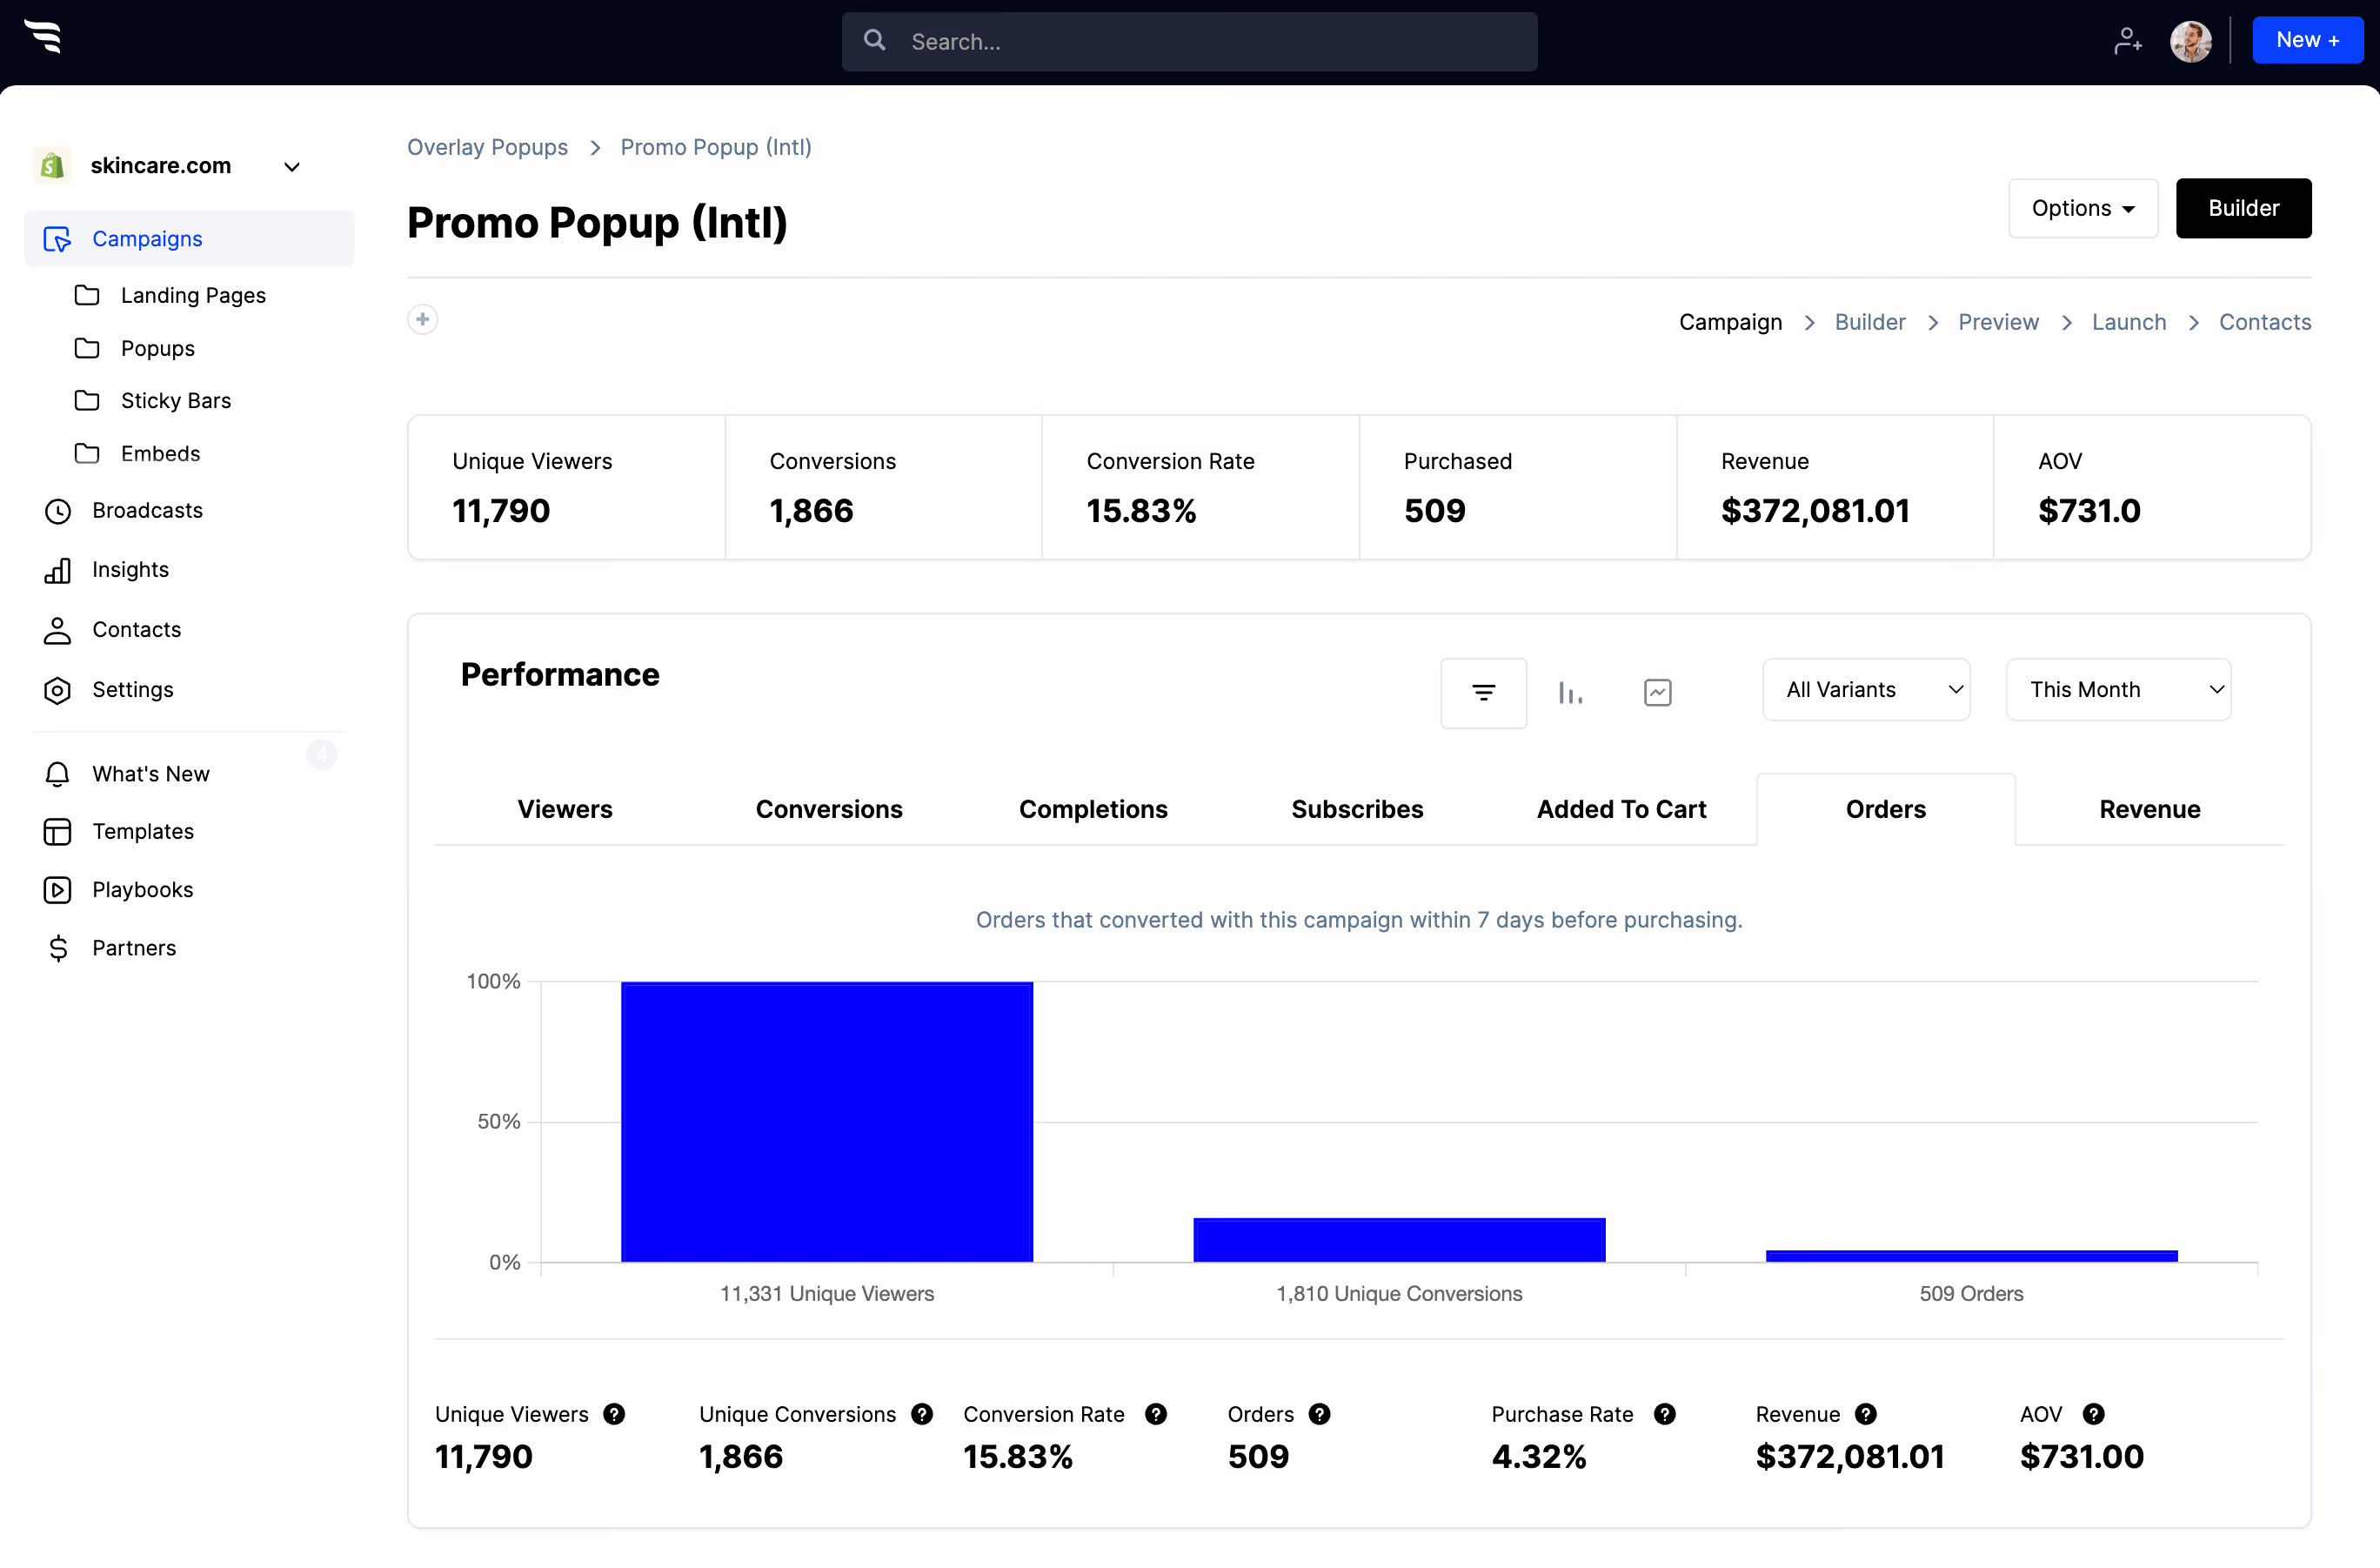
The funnel breakdown report shows how many people saw, converted and completed the form, and which answers they selected.
.avif)
11. Personalize for existing subscribers
ConvertFlow can read your beehiiv segments and personalize your site for them — so a reader who already subscribes isn't shown a signup form on every post.
12. Publish
- On WordPress: add ConvertFlow's snippet once, then target the form to specific posts, pages or categories.
- Anywhere else: Webflow, Squarespace, Wix or any CMS take the same single embed snippet.



%20(1).avif)





.svg)
