



Why build Mailchimp forms in ConvertFlow
Mailchimp's built-in signup forms do one job well: capture an email address in exchange for a discount. That works until you need the form to do more than collect an address.
ConvertFlow forms sync into the same Mailchimp audience, but add multi-step funnels that qualify before asking for contact info, conditional paths that show different offers to different segments, merge field values written on every answer, Shopify product recommendations with add-to-cart, and A/B testing with revenue attribution.
The subscribers still live in Mailchimp. ConvertFlow is the capture layer in front of it.
1. Connect Mailchimp to ConvertFlow
Head to your ConvertFlow website's Integrations area and click to connect with Mailchimp. There's no API key to generate — Mailchimp connects over OAuth, so you simply log into your Mailchimp account to authorize it.
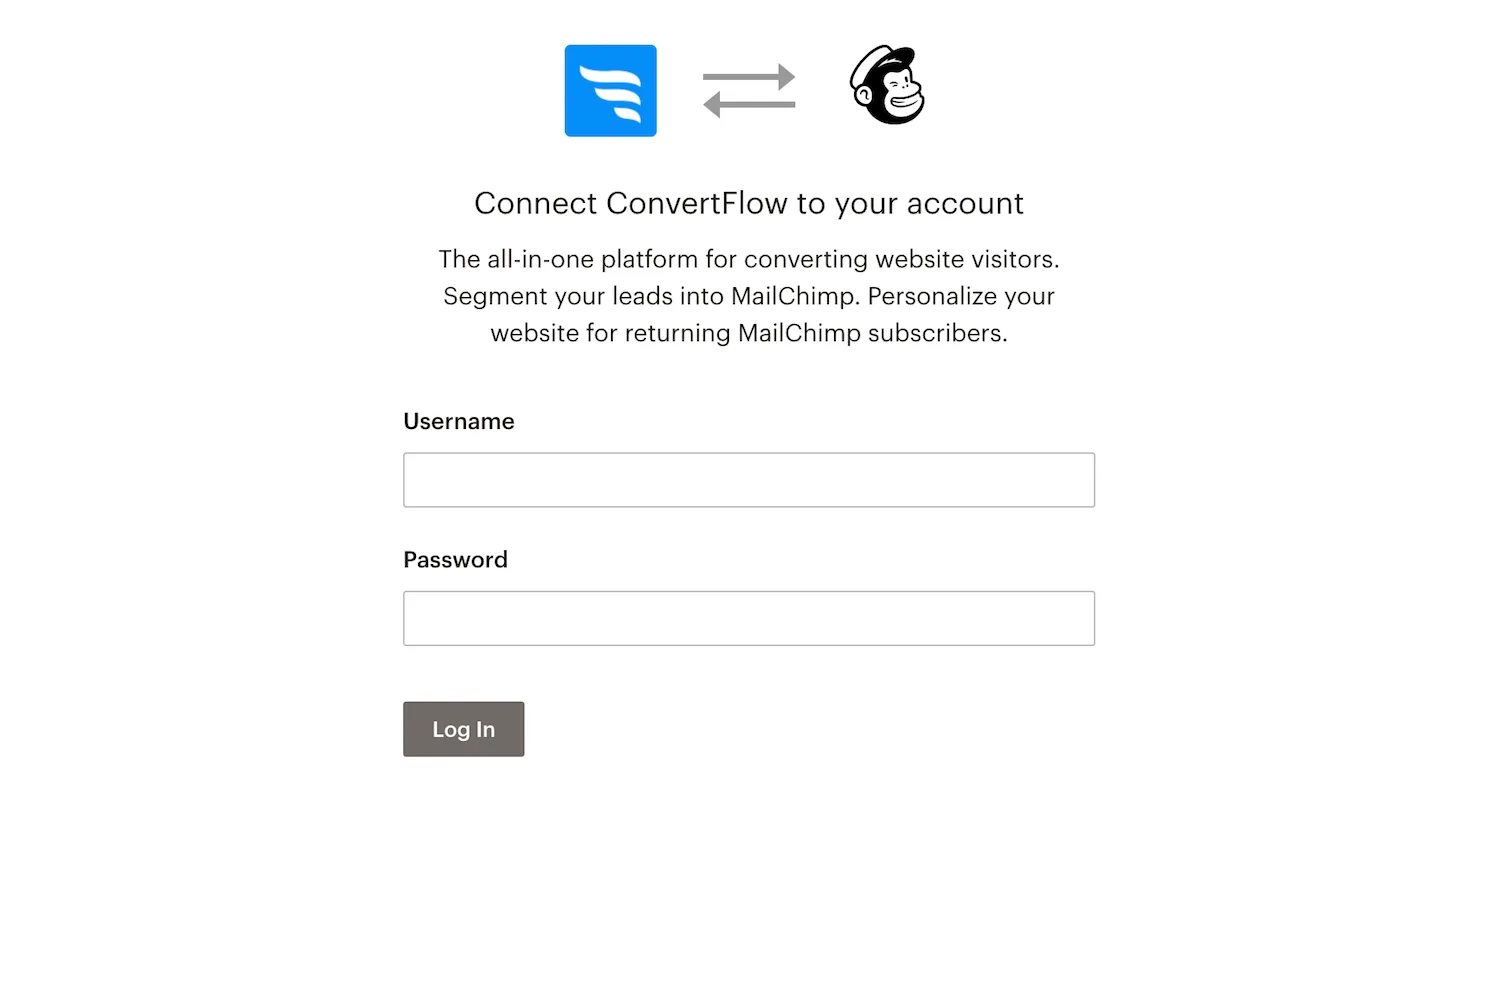
Mailchimp and ConvertFlow are now connected. ConvertFlow starts pulling in your audiences, tags, groups and interests — a wider set than most integrations expose — so you can trigger automations and segment subscribers as shoppers submit your forms.
2. Add a form to your campaign
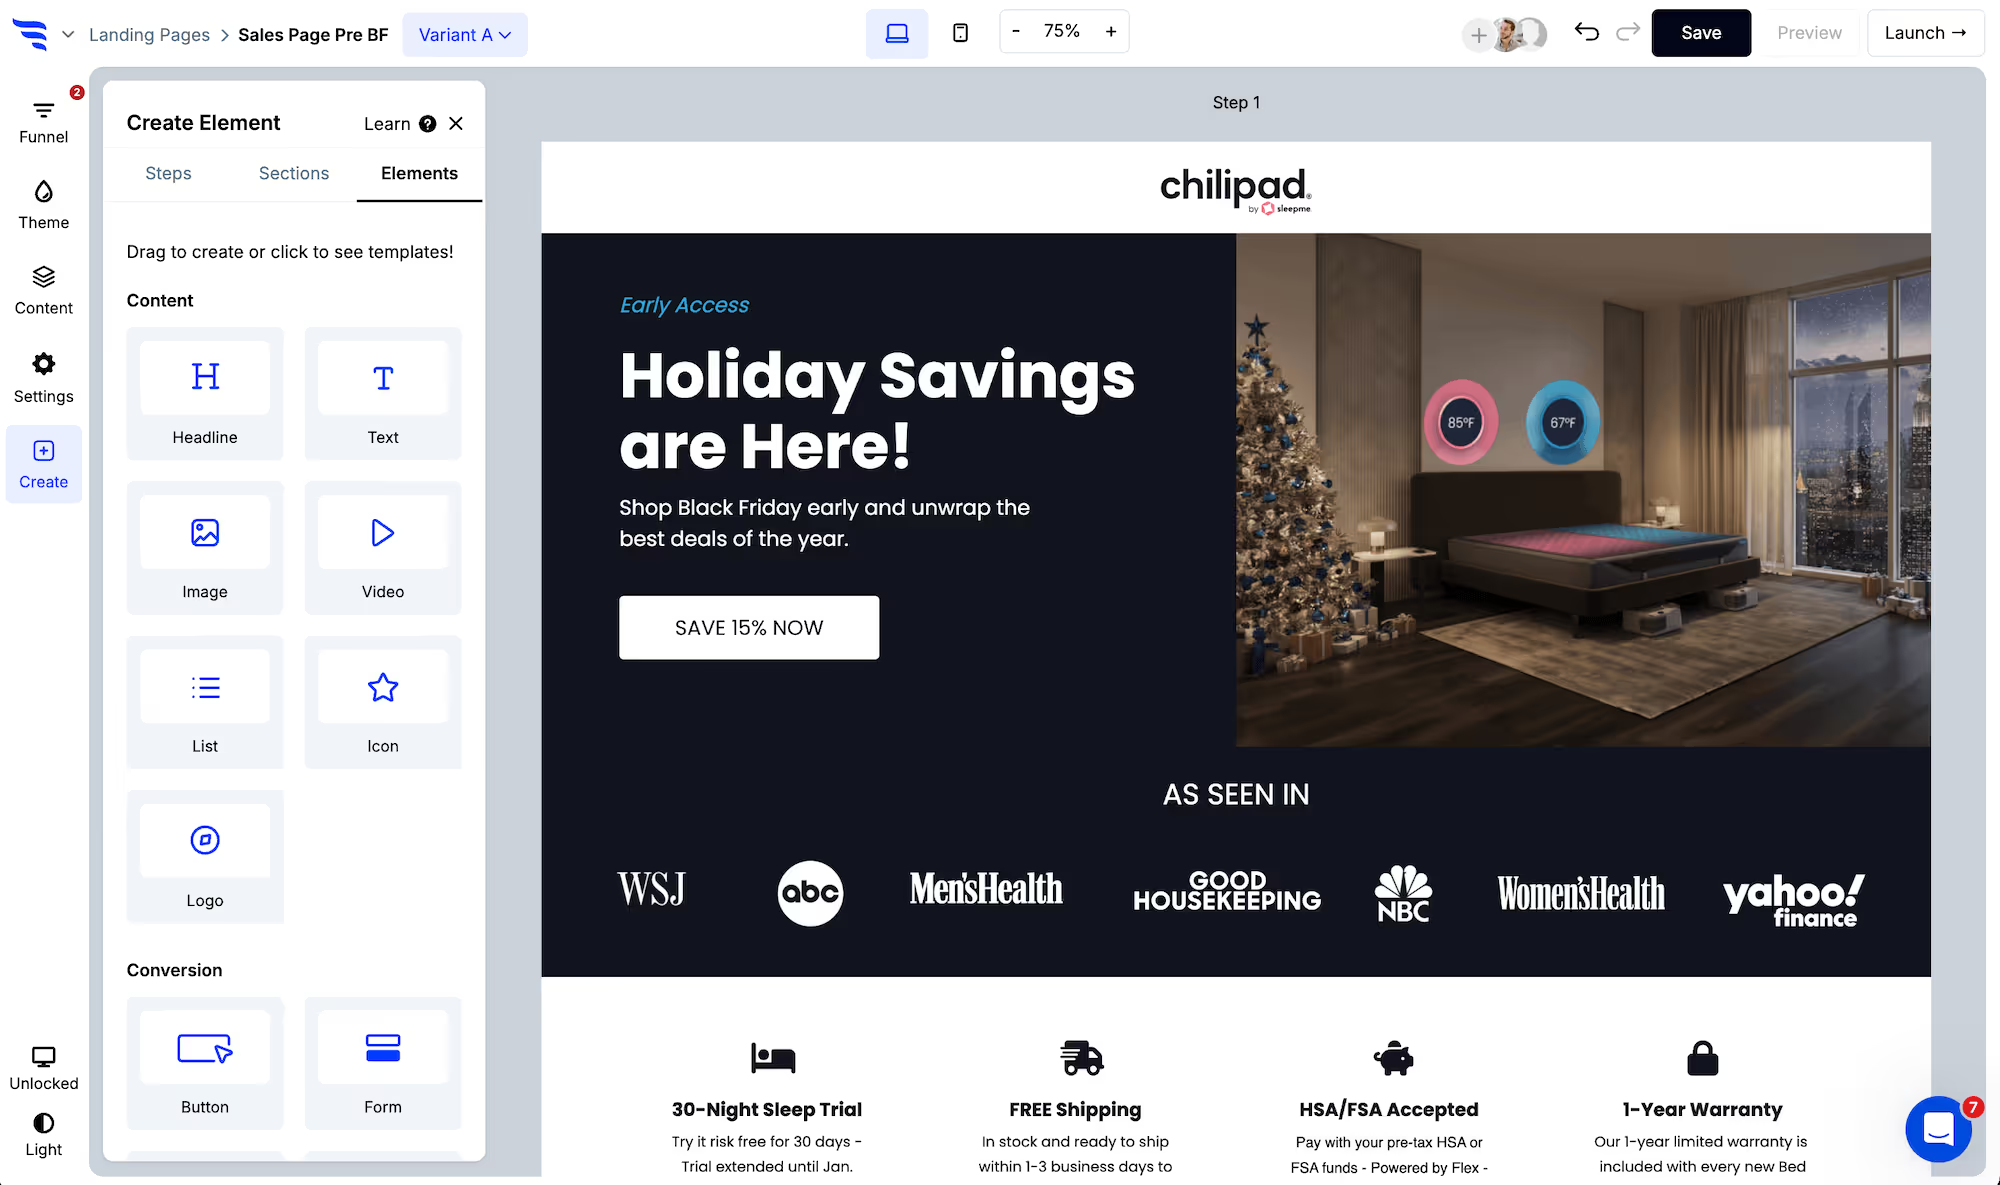
Add your Mailchimp form to a ConvertFlow landing page, popup or embed. Click to add an element and choose the "form" element type — start from a form template or build from scratch.
.avif)
3. Toggle the contact fields you want
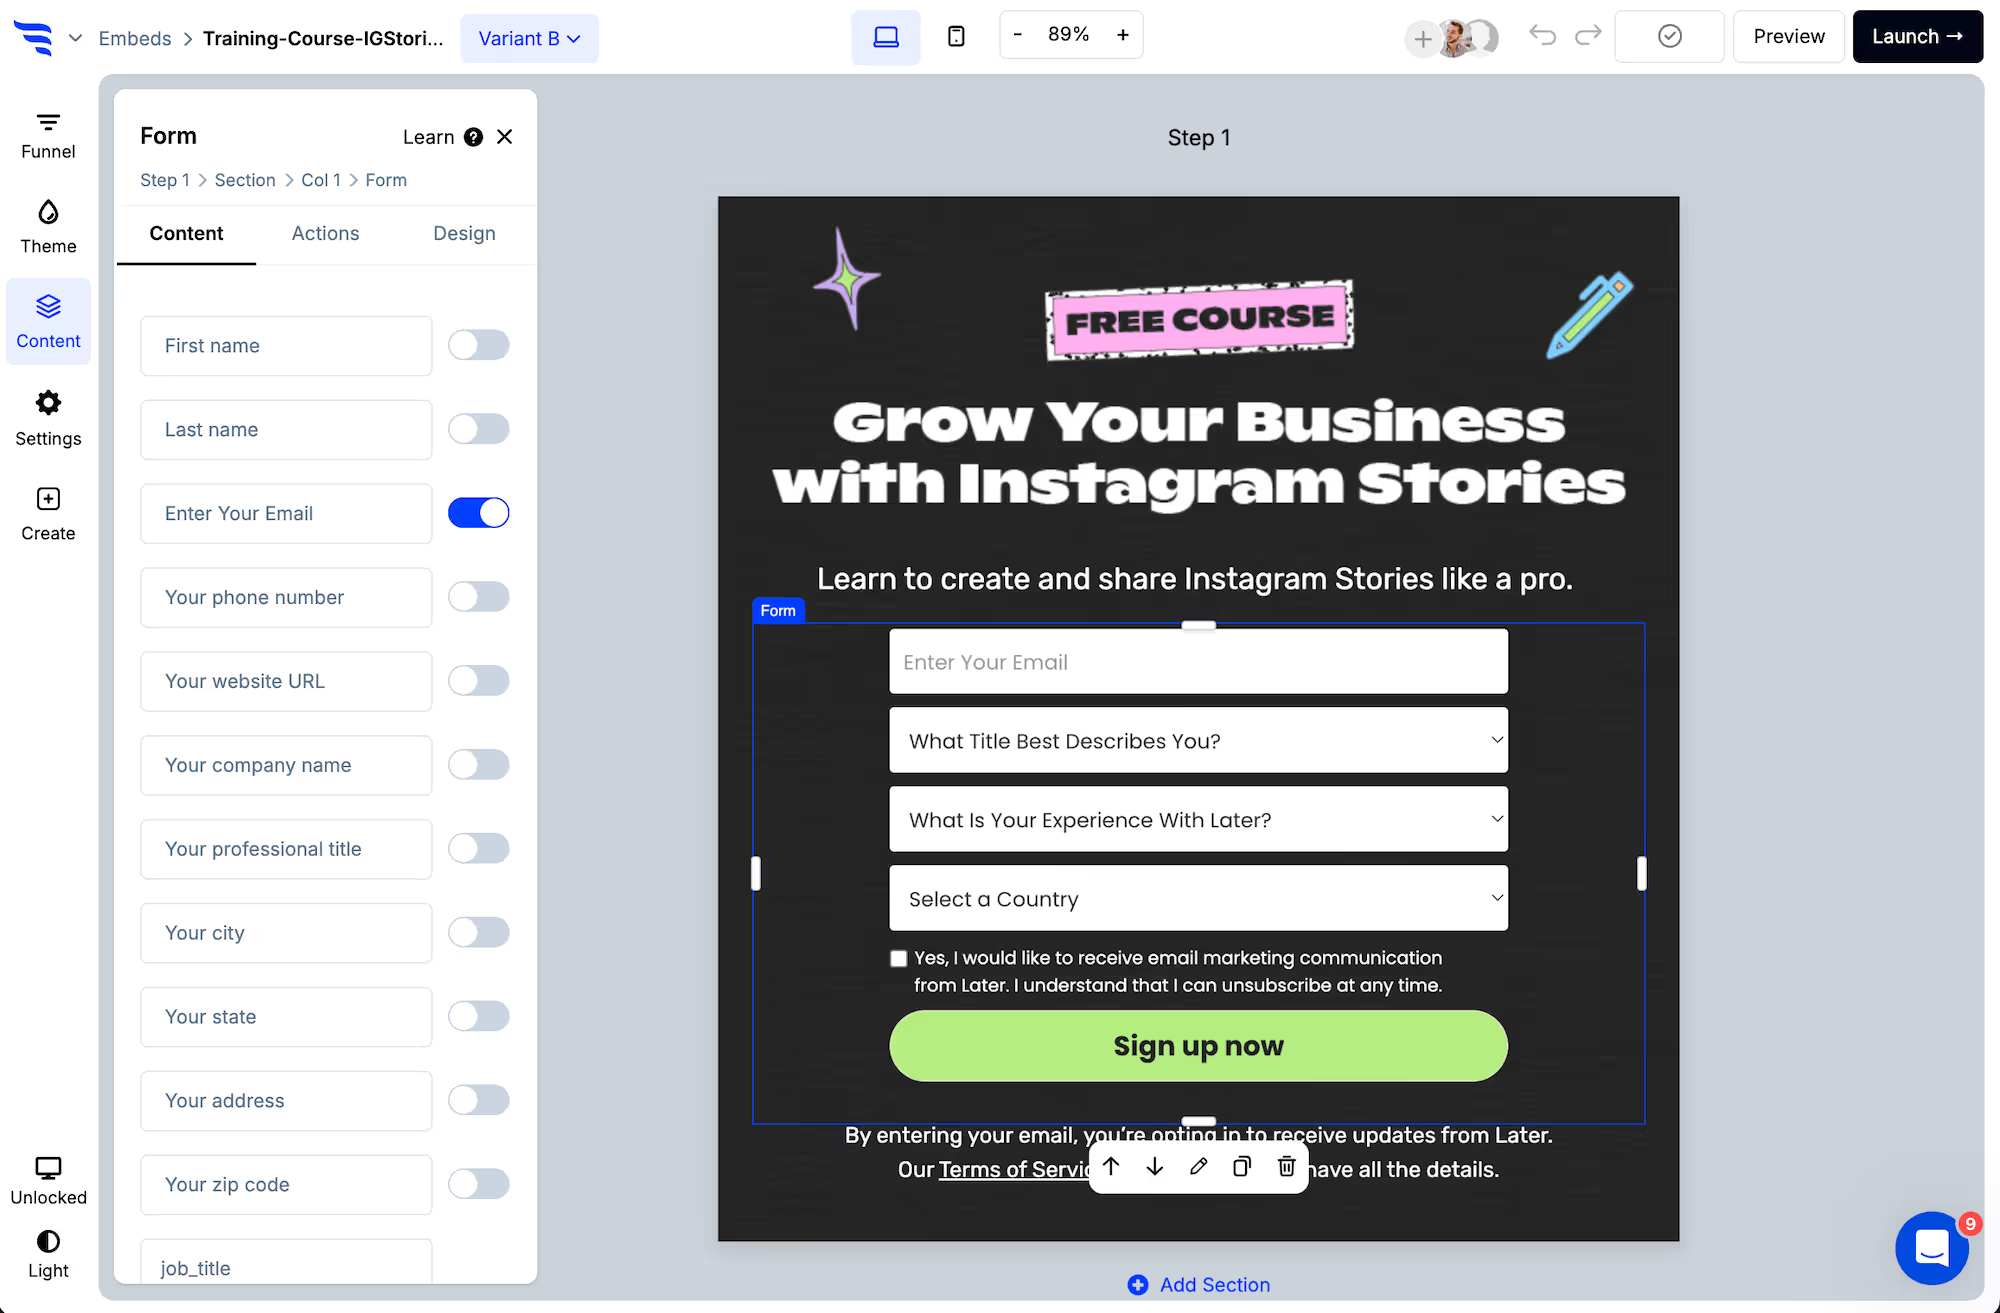
Select the form element and switch on the contact fields to request. Email address and first name map to Mailchimp automatically.
.png)
Each field can be edited from the builder panel — placeholder text, label, required state and more.
.avif)
4. Verify emails and phone numbers
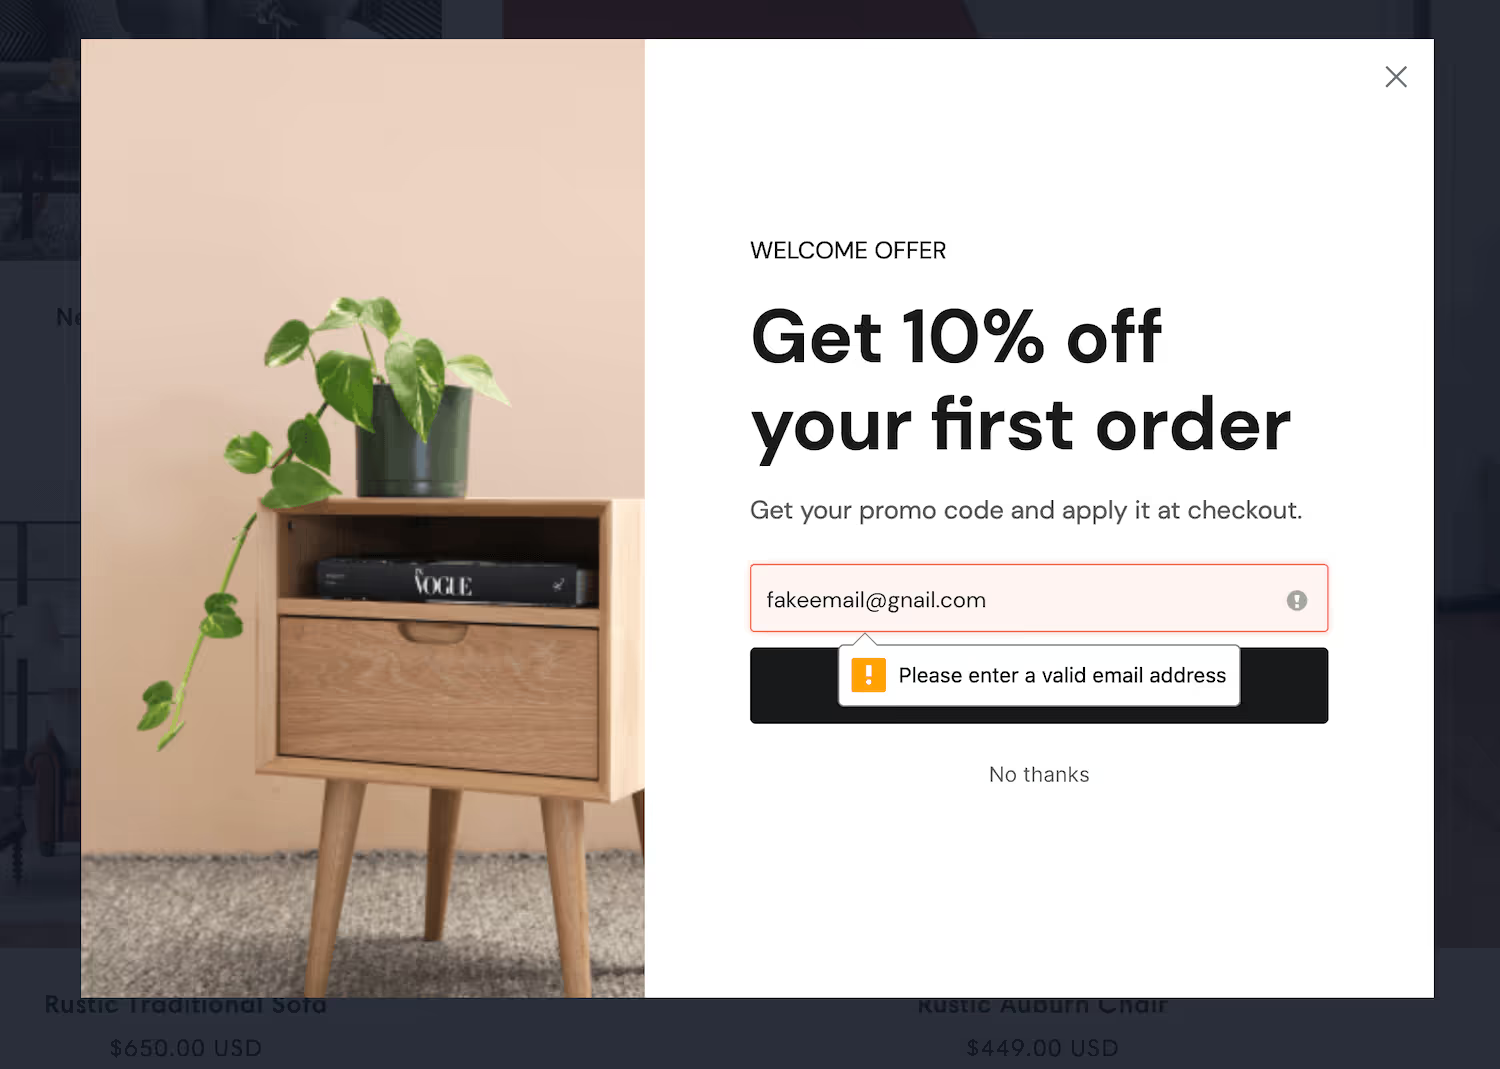
ConvertFlow can check that an entered address exists with its provider before the subscriber reaches Mailchimp. That protects your sender reputation, and it keeps invalid addresses out of the contact count you're billed on.
5. Add consent checkboxes
Scroll below the preset contact fields to find compliance checkboxes:
- Privacy consent: link to your privacy policy and terms of service alongside a required checkbox.
- Marketing consent: if your form gates content but also opts the shopper into ongoing marketing, collect consent for it.
- SMS consent: require consent to SMS marketing with the required disclosures.
6. Add custom fields and map them to Mailchimp merge fields
By clicking to add a field at the end of the fields list, you can add as many custom fields as you'd like.
.avif)
When naming the field, select from "Mailchimp fields" — a dropdown of the merge fields that already exist in your audience. ConvertFlow sends the value collected by this form into that merge field.
The merge field needs to exist in Mailchimp first. If you're building a form around a new attribute, add it to the audience before you start and it'll be waiting in the dropdown.
Choose the field type — text, dropdown, radio selection, paragraph or hidden. Dropdown and radio options can carry score values for funnel logic.
7. Map survey and quiz answers to Mailchimp
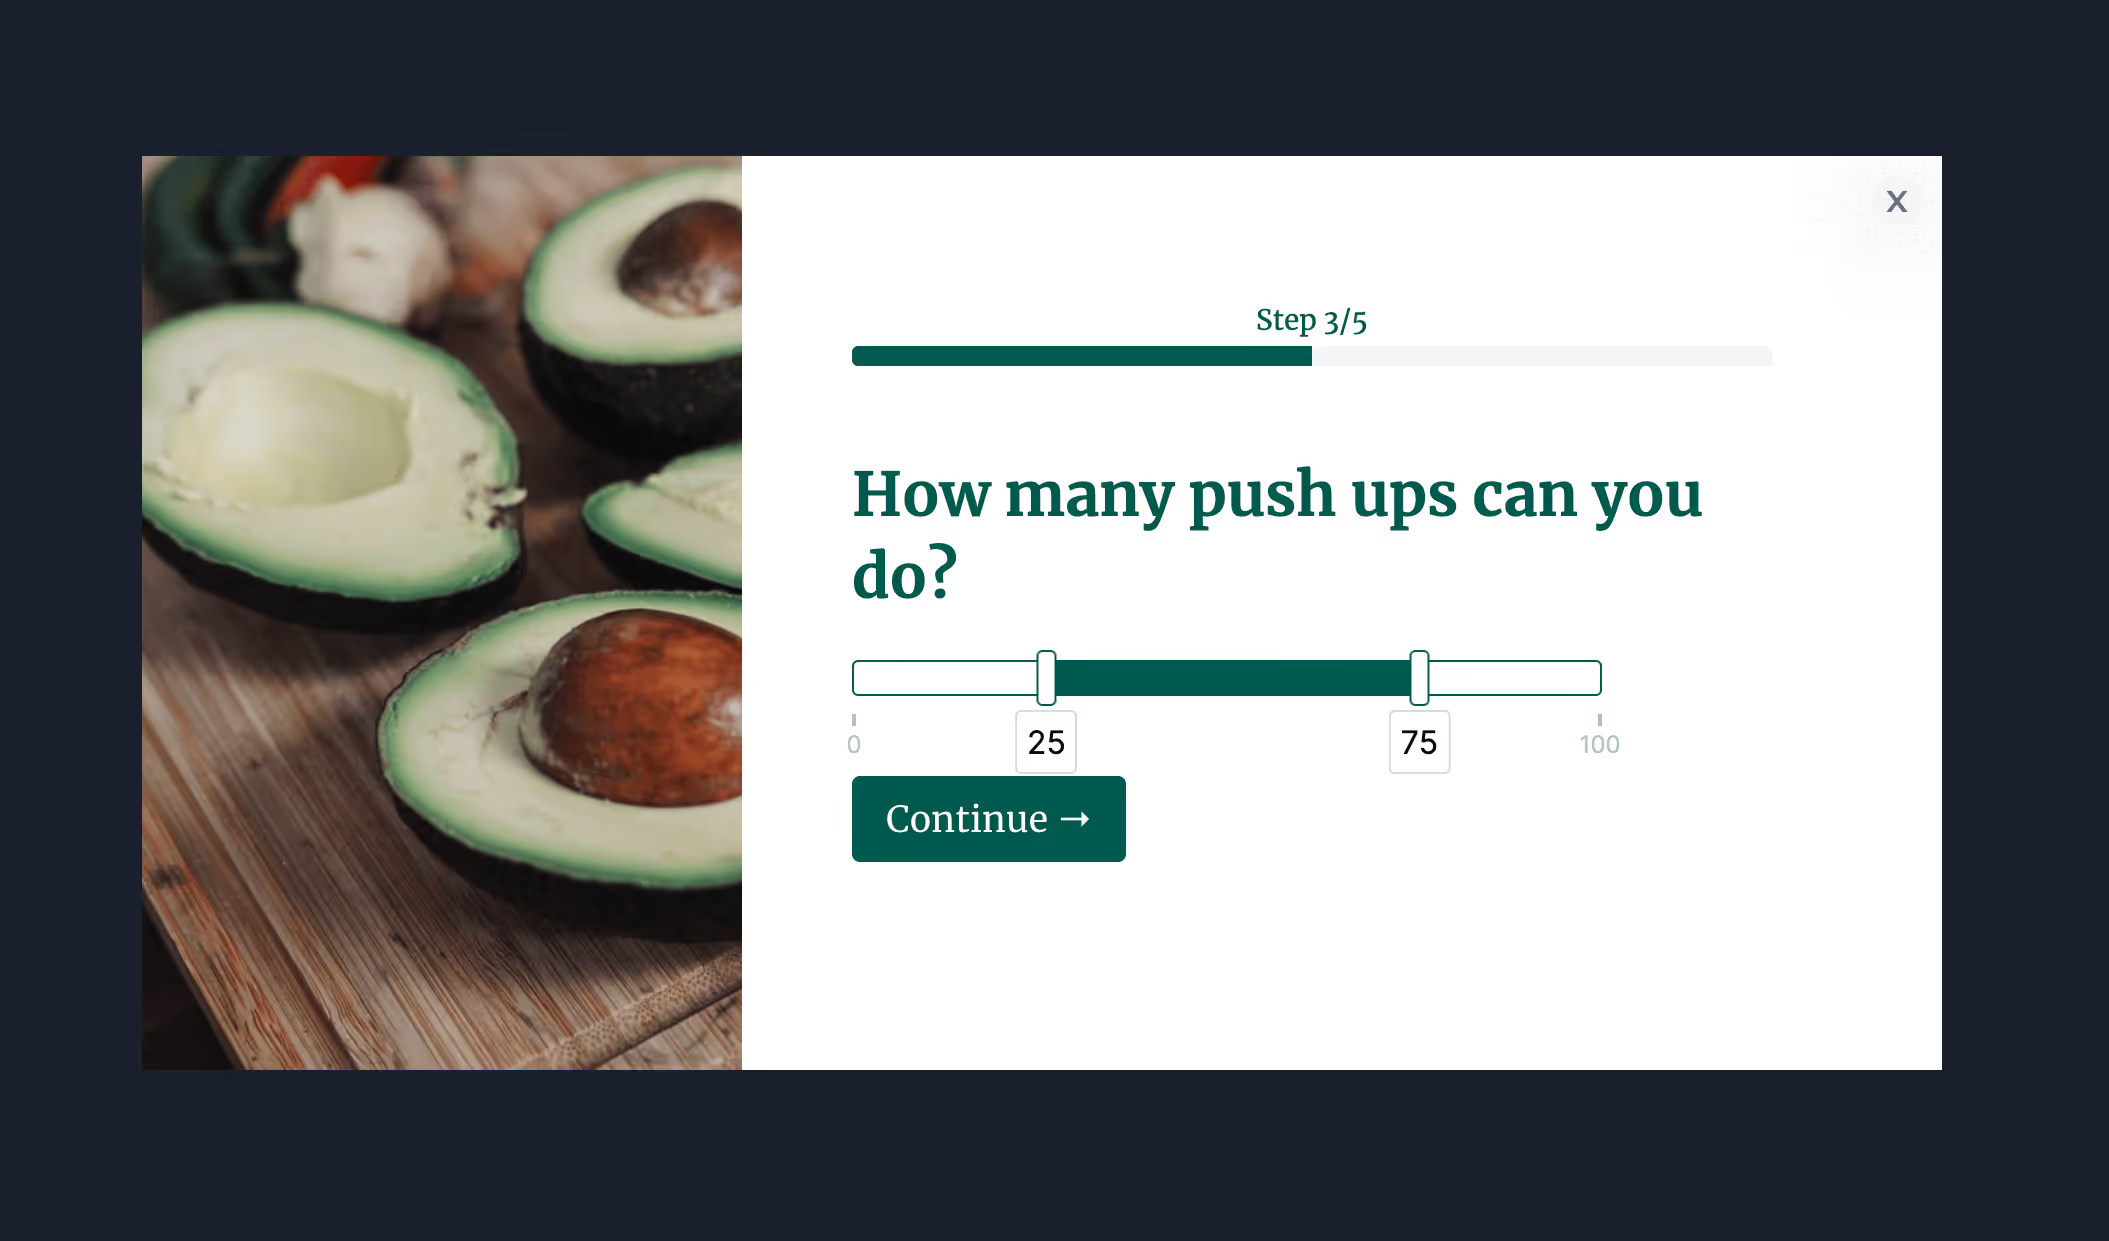
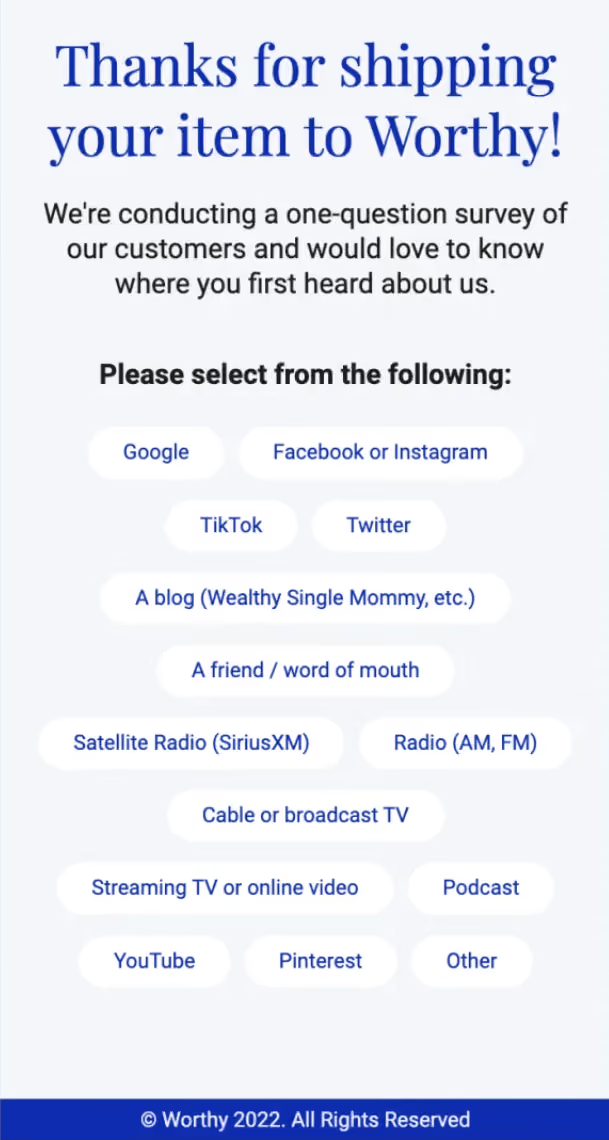
Survey and quiz elements have a "Map to custom field" dropdown, where you select from your Mailchimp merge fields. Each answer is written to the subscriber's record — which is what makes answer-based segmentation possible.
8. Map ConvertFlow's preset fields to Mailchimp
With Mailchimp connected, your Integrations page shows a Fields button. Use it to map ConvertFlow's preset contact fields to Mailchimp merge fields by entering the merge field's data name — the merge tag, such as LNAME or PHONE. Email address and first name are already mapped.
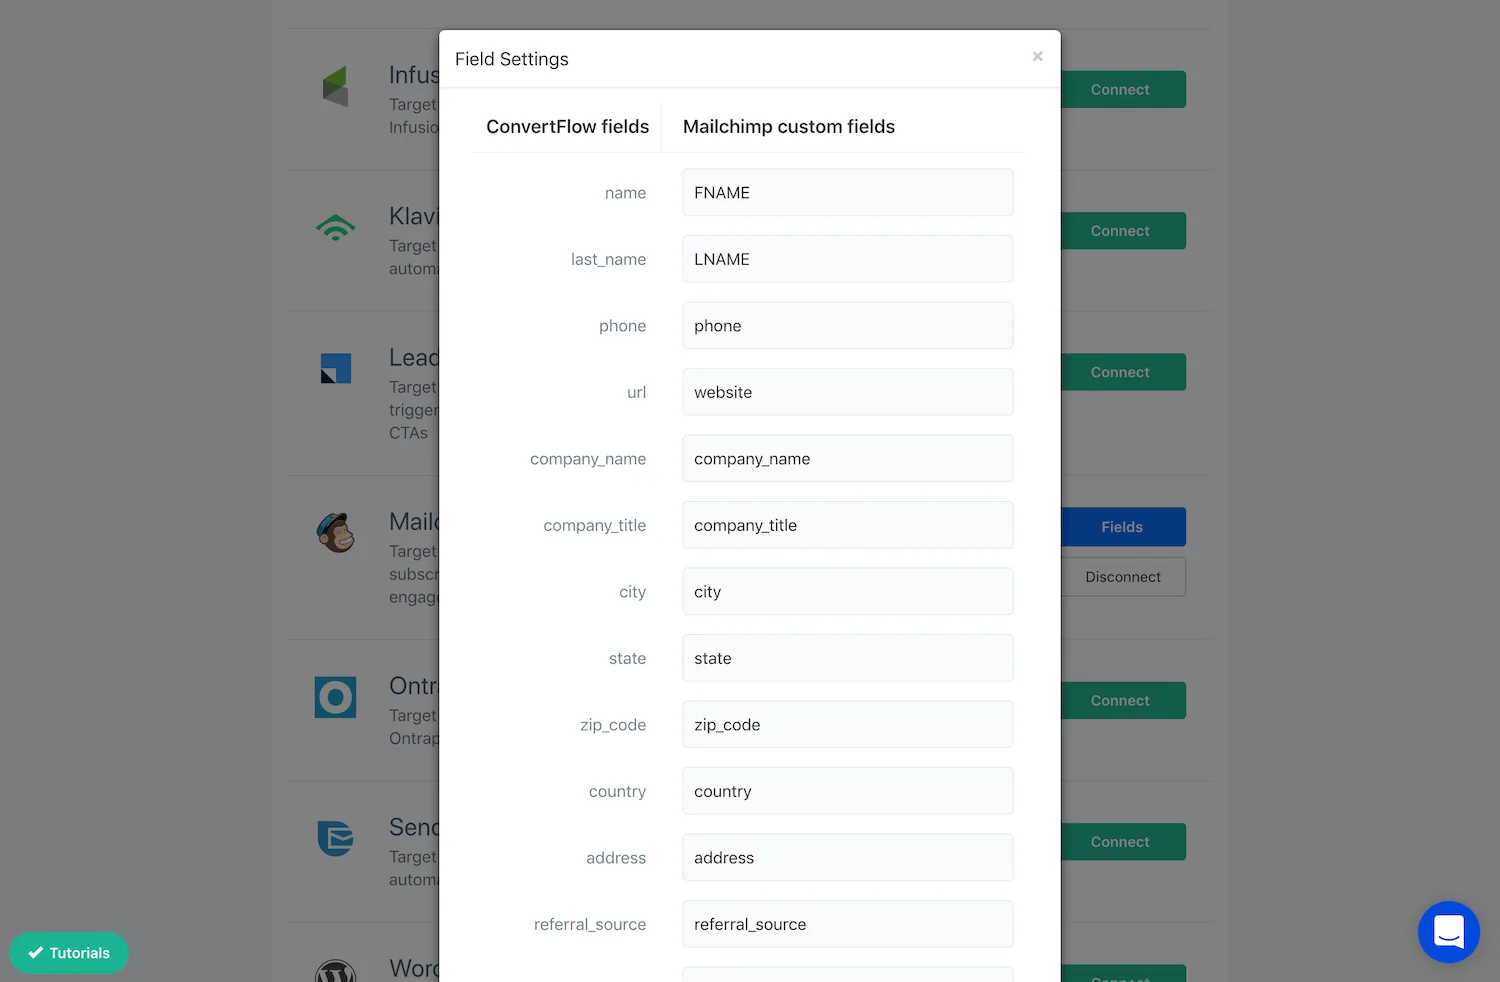
9. Resync when you add something new in Mailchimp
If you've just created a new audience, tag, group or merge field in Mailchimp and it isn't appearing in ConvertFlow's dropdowns, refresh the integration to pull the latest account data.
10. Style the form to match your brand
In the Design tab, set spacing, field layout, width, fonts, button colour and roundness, field colour and shadows — so the form looks native to your store rather than an embedded Mailchimp form.
.avif)
11. Configure what happens on submit — including groups
In the Actions tab, choose what follows submission — redirect to a URL, jump to another funnel step, display a thank-you message, or open a popup.
.avif)
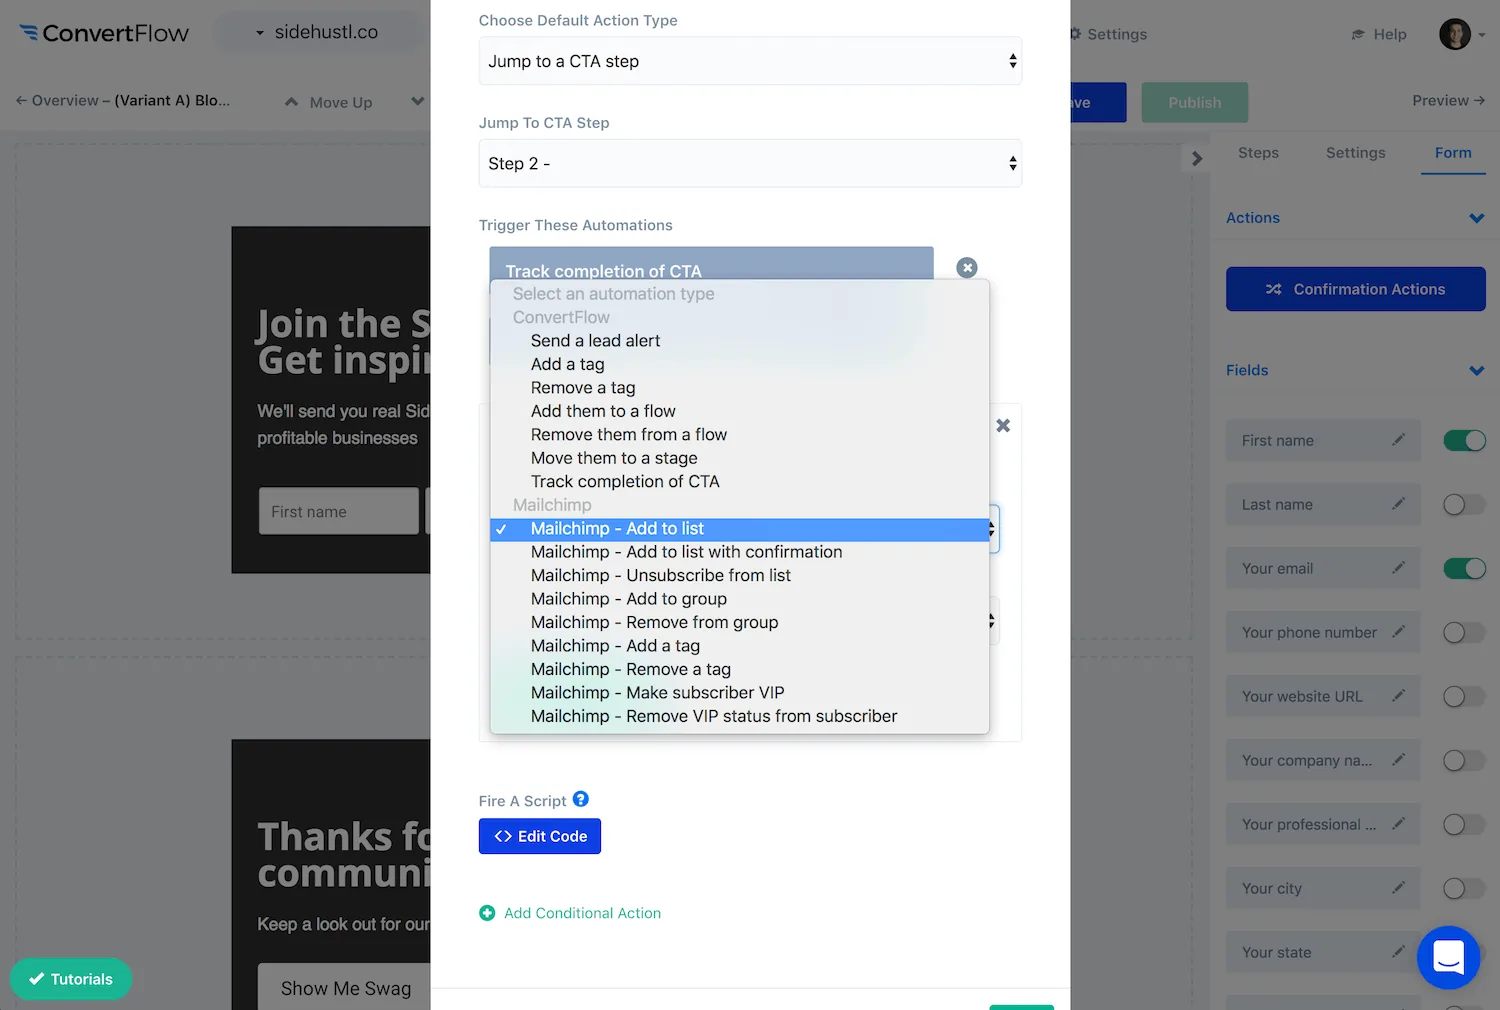
Alongside the default action, add automations that fire on submit — which Mailchimp audience the subscriber joins, which tag is applied, and which group or interest they're assigned to.
That last one is worth dwelling on. Groups are how Mailchimp expects you to segment within a single audience rather than splitting people across audiences and paying for the same contact twice. Assigning a group at the moment of capture means the segmentation is done before the subscriber ever reaches a campaign.
Conditional actions let you route by field value, so a high-intent answer joins a different group than a browser.
.avif)
12. Report on submissions
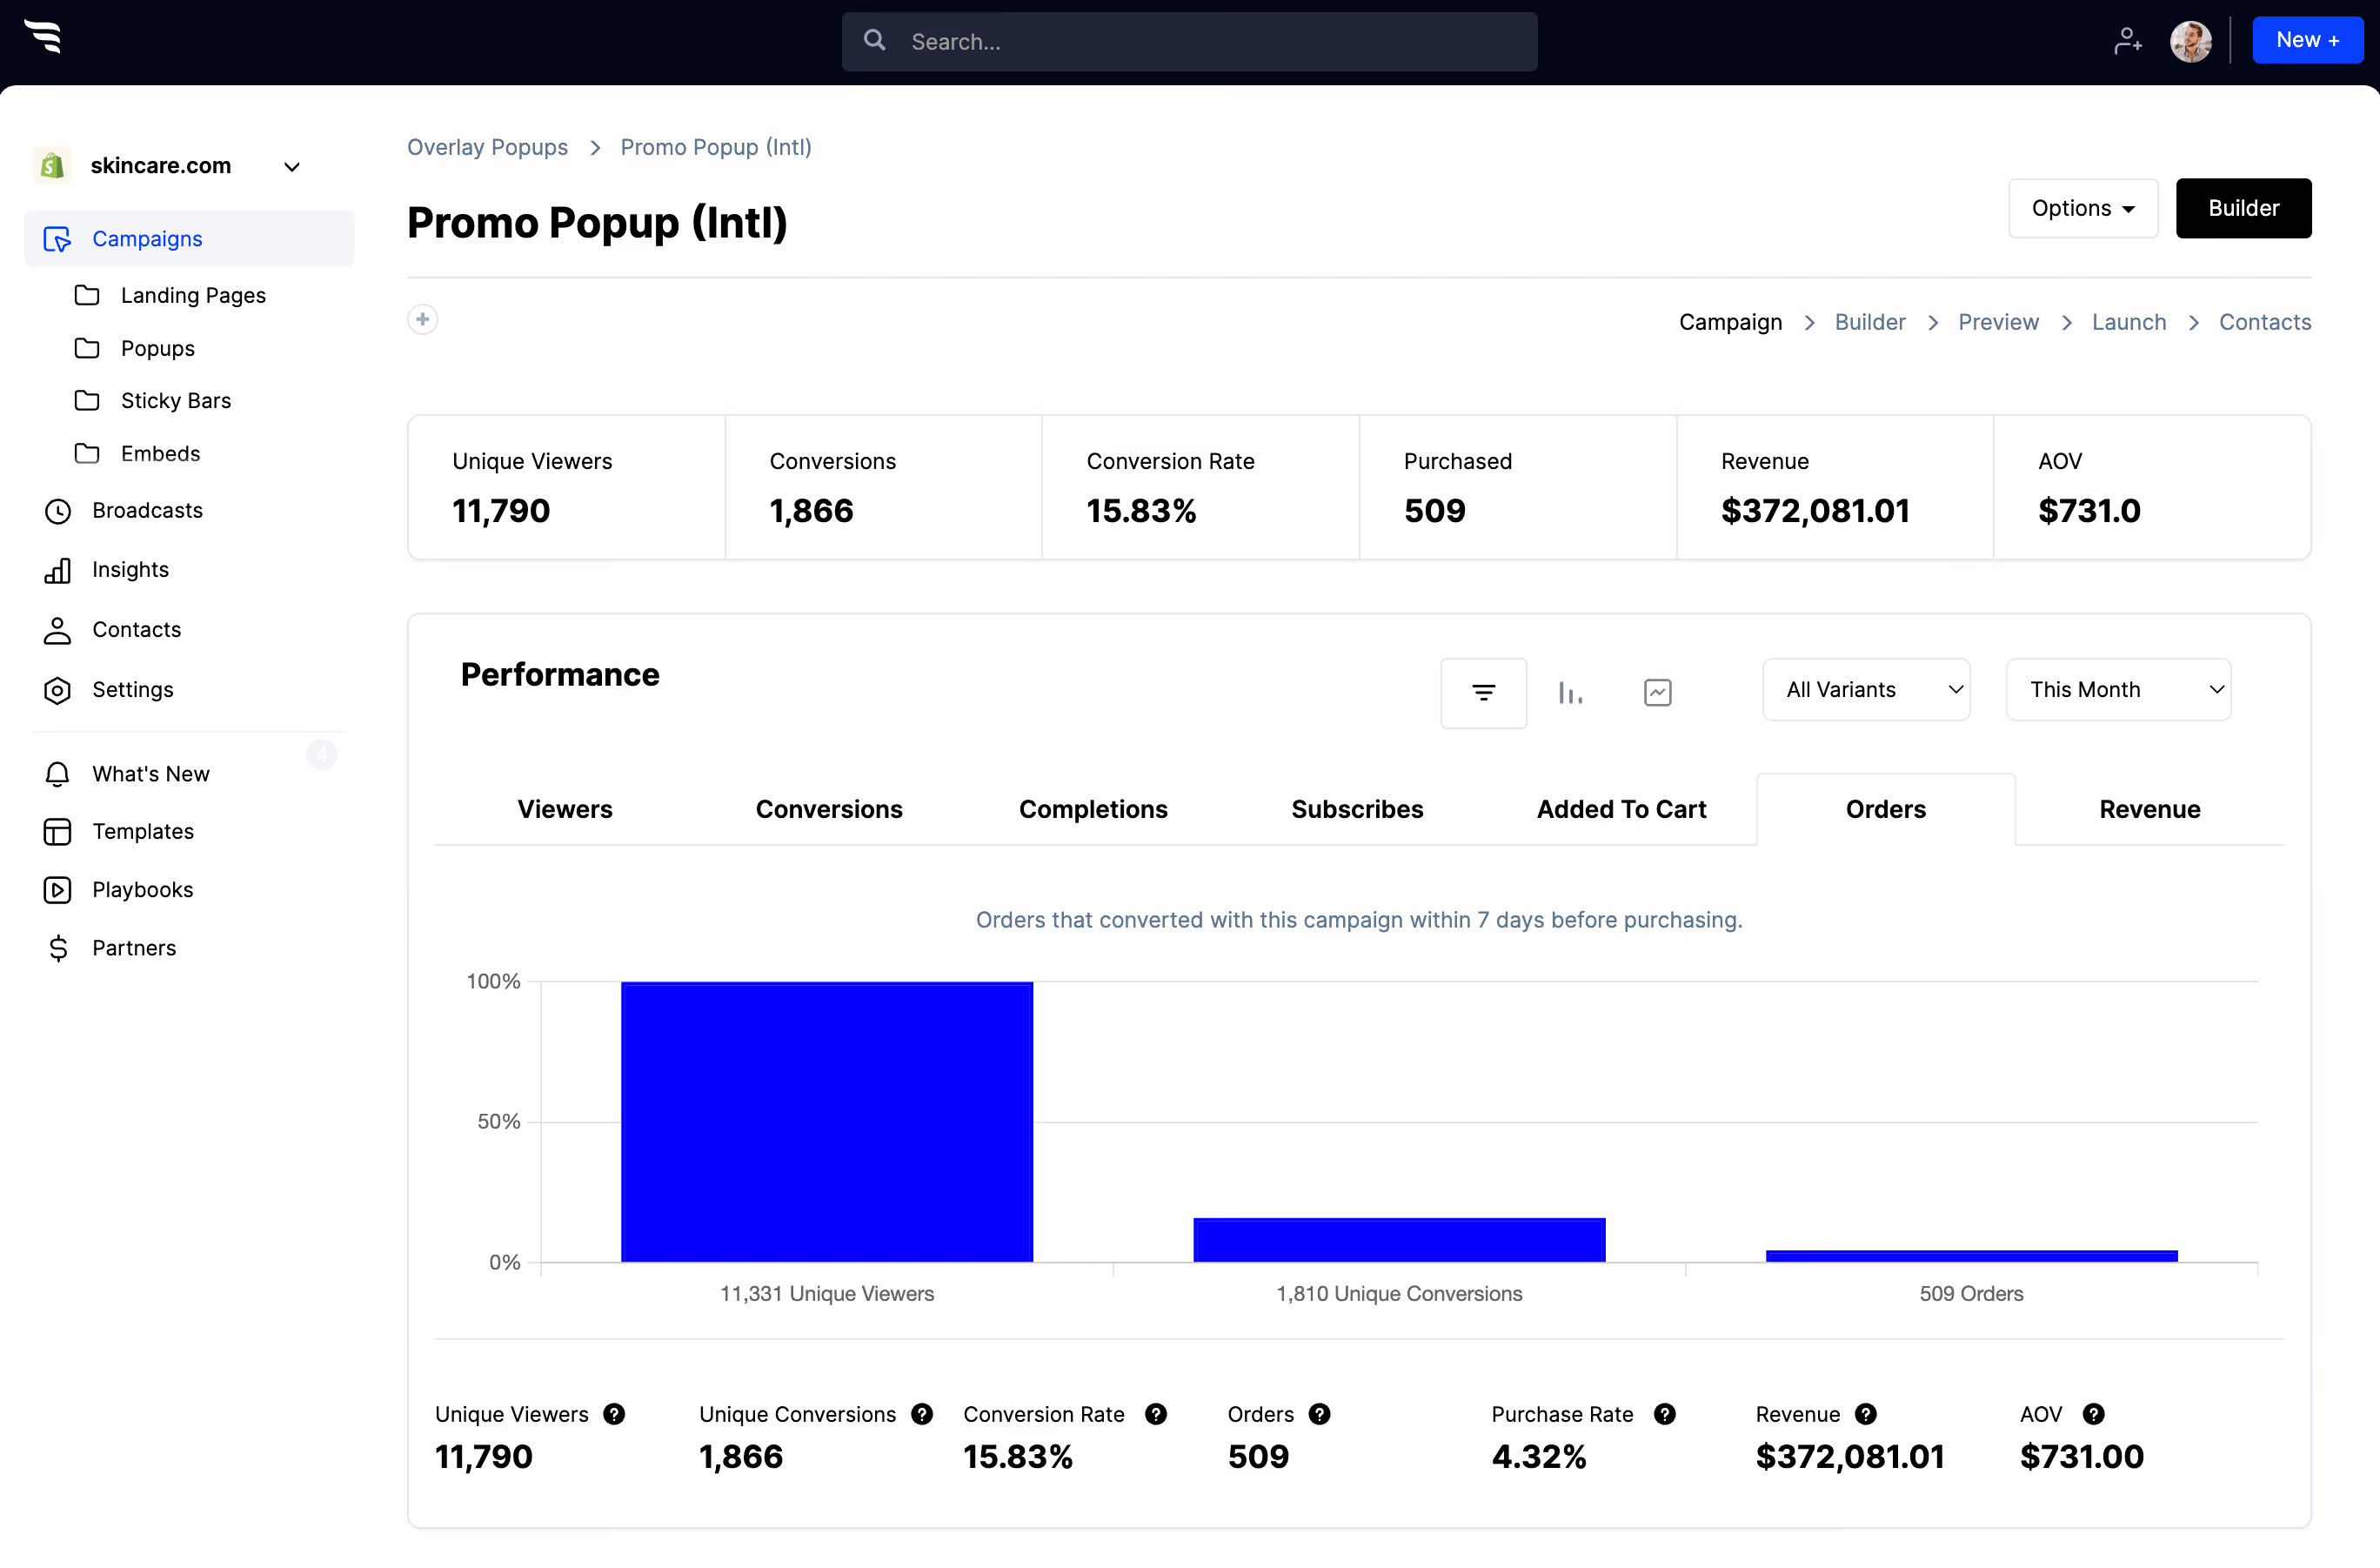
The funnel breakdown report shows how many people saw, converted and completed the form, where they dropped off, and which answers they selected — with orders, revenue and AOV attributed to each answer.
.avif)
13. Segment and personalize in Mailchimp
Once answers are landing on Mailchimp subscriber records, build segments from those merge field values, tags and group memberships, and target your campaigns against them.
ConvertFlow can also read your Mailchimp segments and personalize your store for them — showing returning subscribers a different offer instead of the same signup form.
14. Publish
- On Shopify: publish to a Shopify page in one click.
- On WordPress: add ConvertFlow's snippet once, then target the form to specific posts, pages or categories.
- Anywhere else: Webflow, Squarespace, Wix or any CMS take the same single embed snippet.



%20(1).avif)





.svg)
