



How forms work with Canva Websites
Canva Websites are built in Canva's editor, which is excellent for design and limited when it comes to form logic and integrations.
The practical approach is to keep the site in Canva and link out to a hosted form or landing page from a button. The visitor clicks, lands on a page you control, and the submission syncs wherever you need it.
Done well, the handoff is invisible — which is mostly a styling problem, covered in step 2.
Step 1: Build the form as a landing page
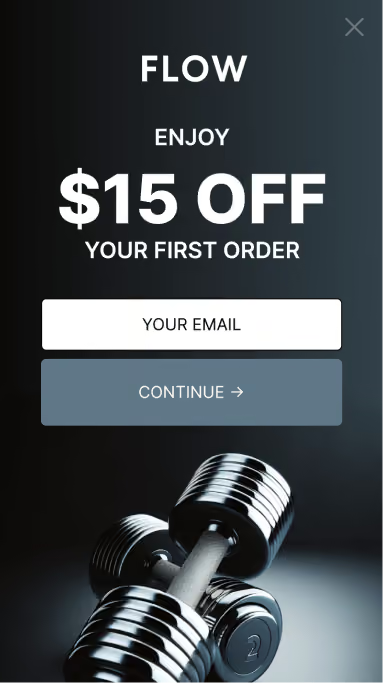
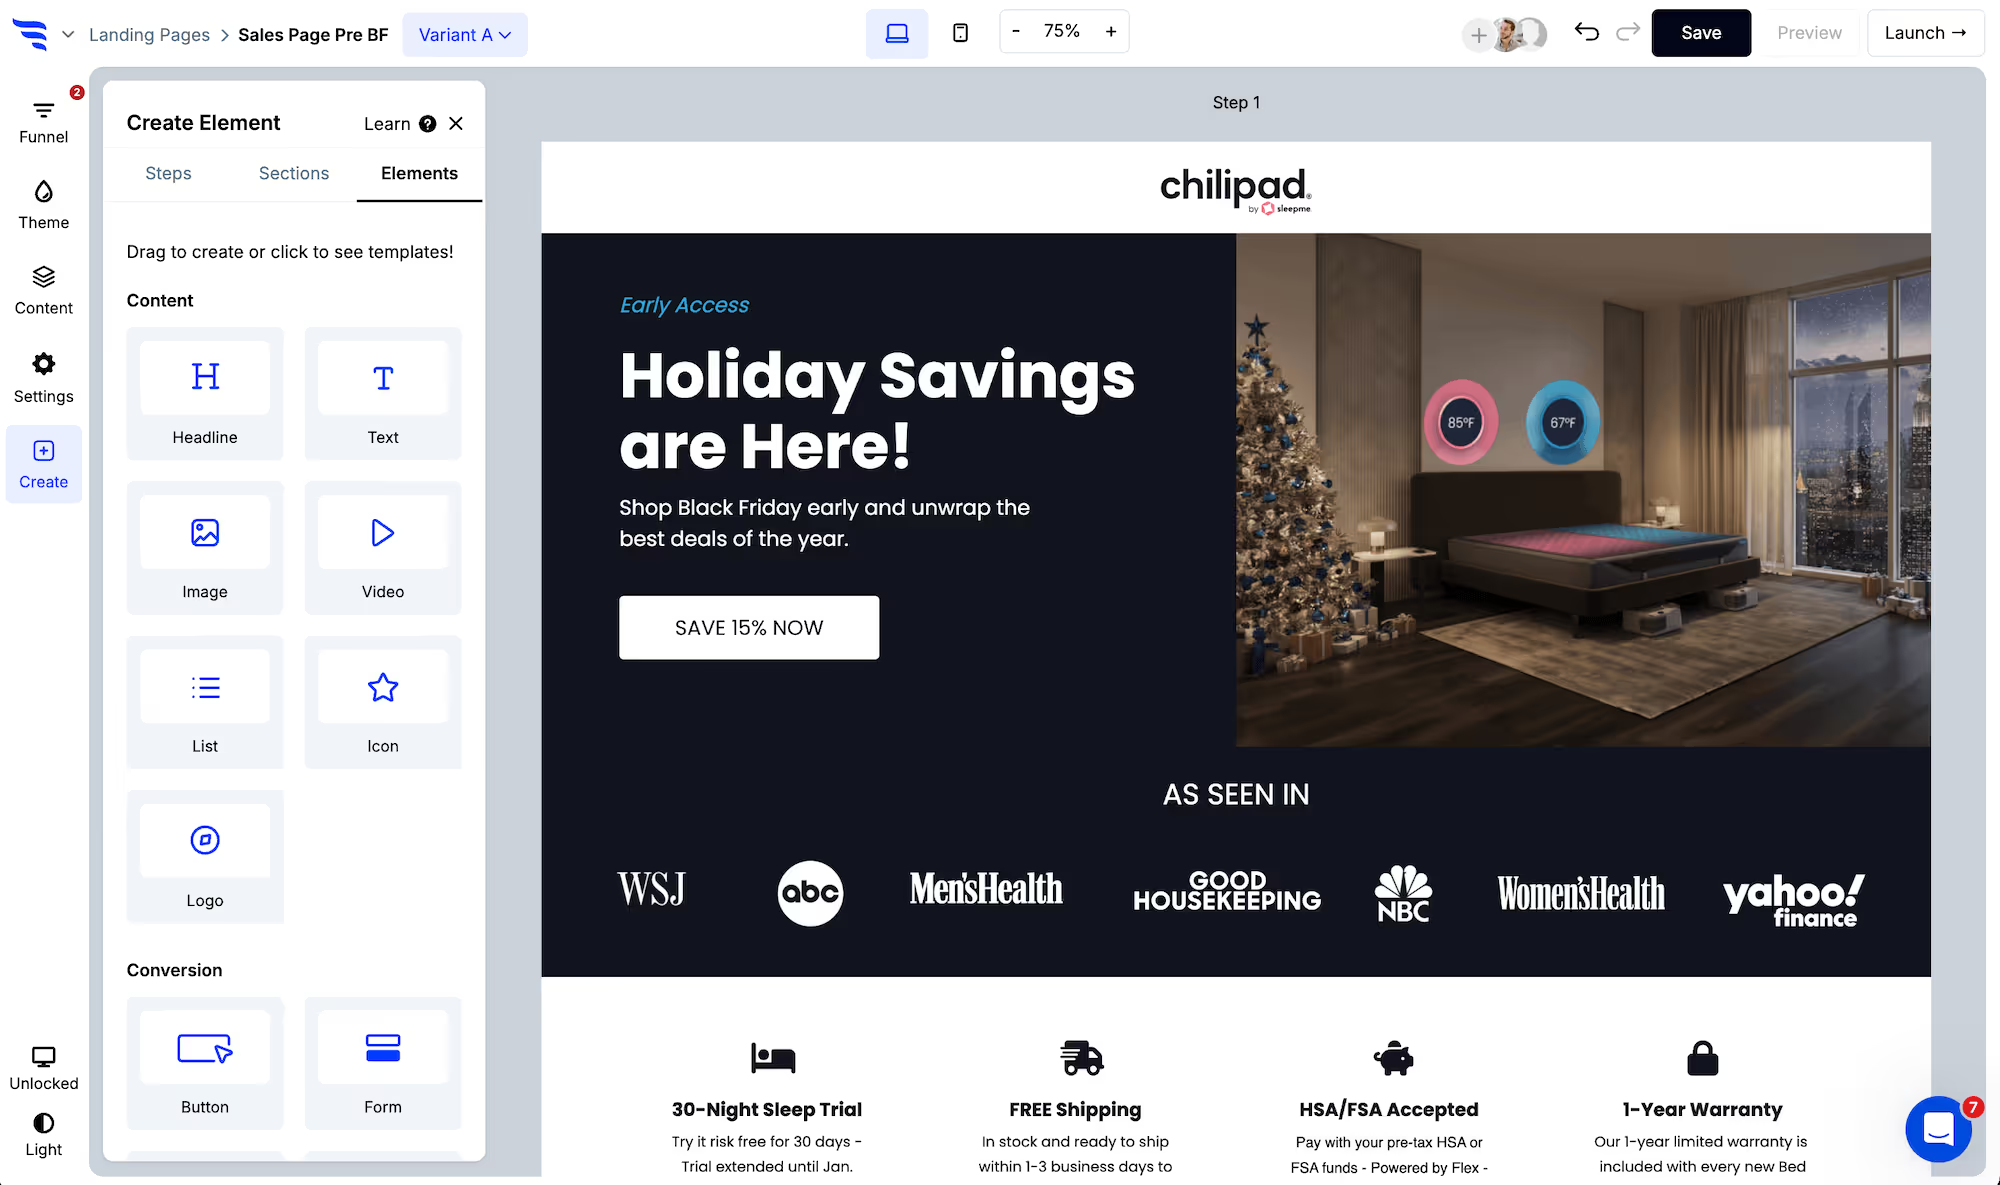
Create a campaign and choose the landing page format, then add a form element.
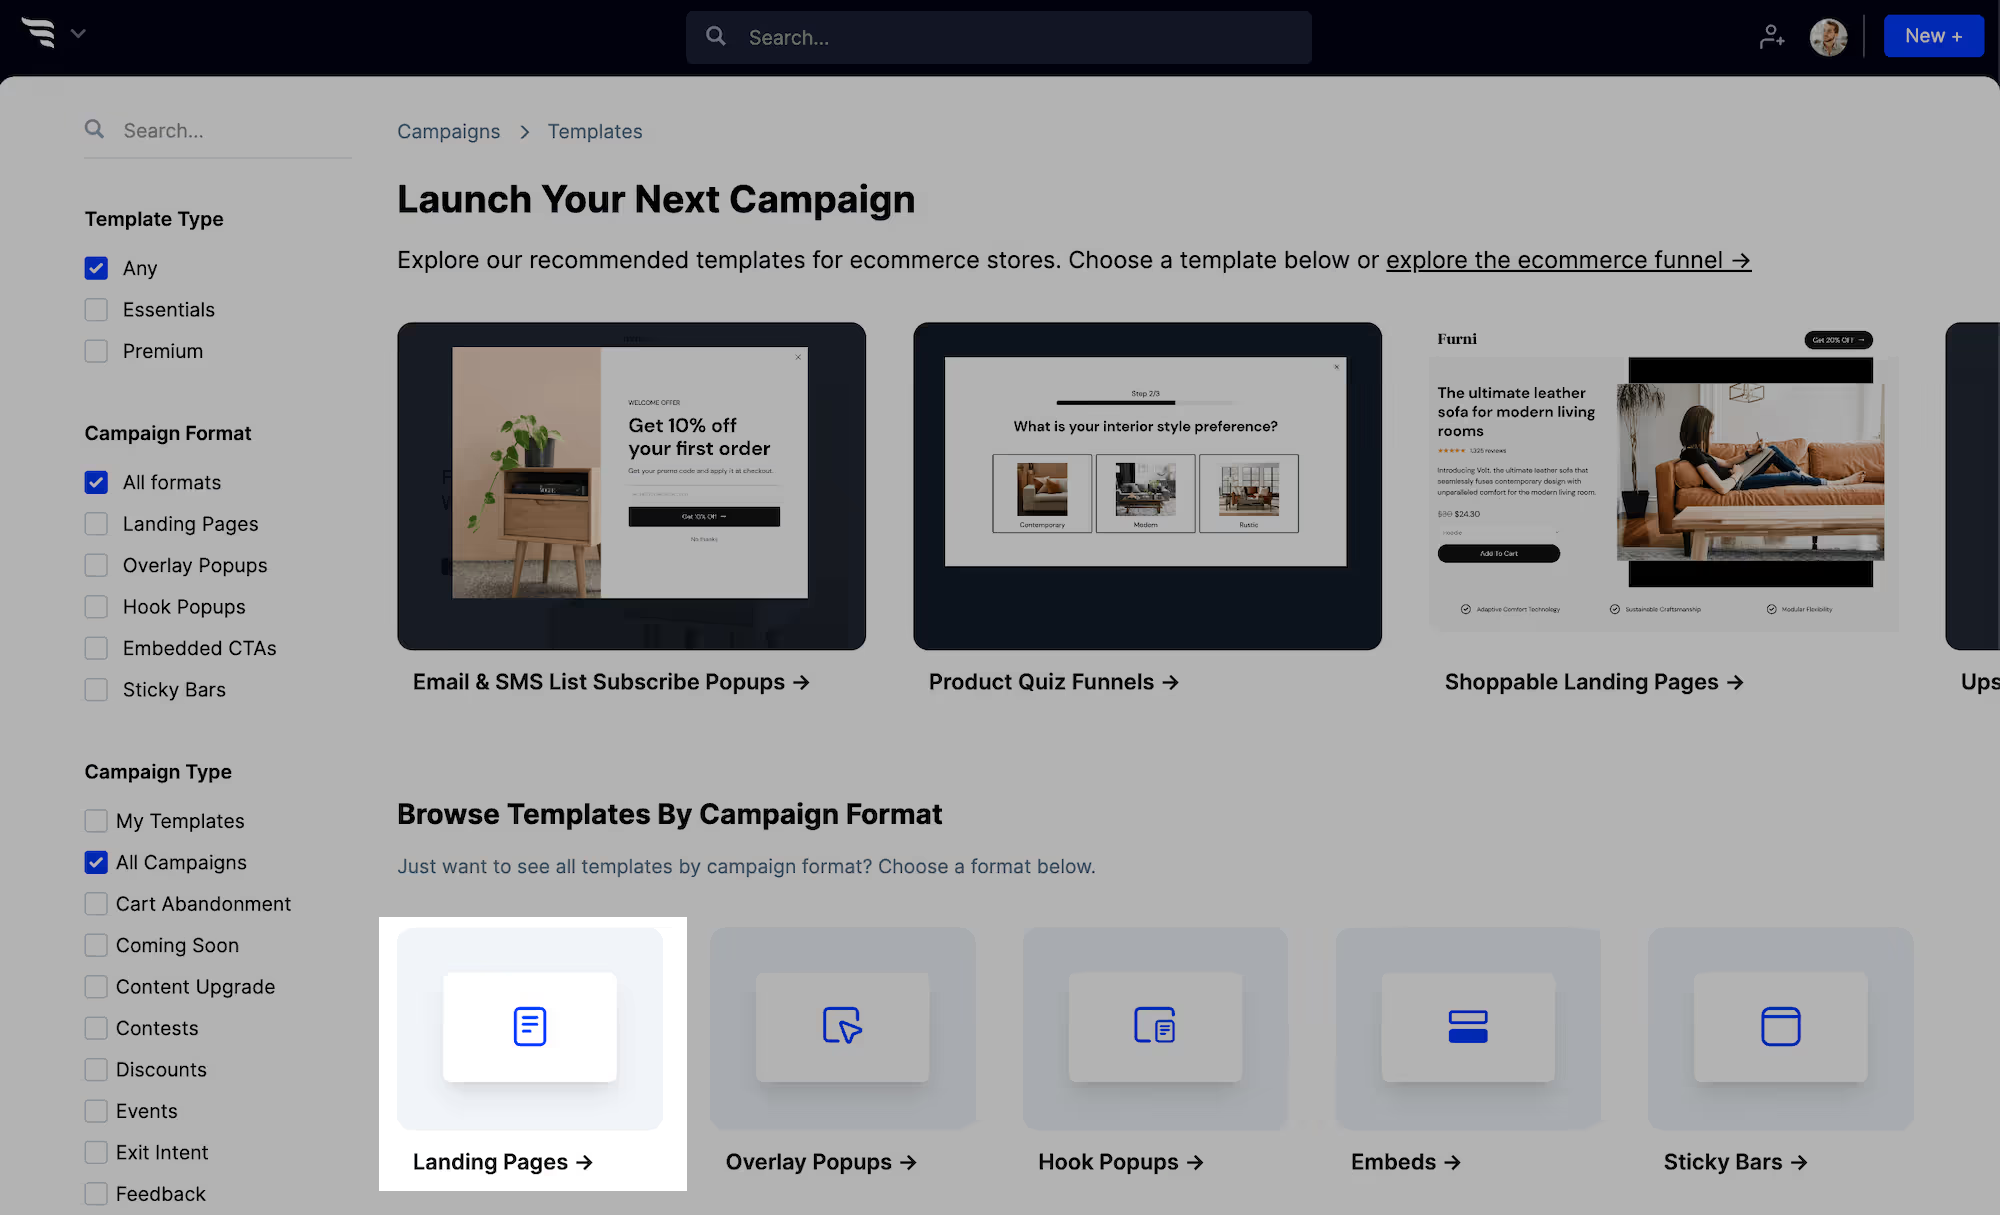
.png)
Step 2: Match your Canva design
This is the step that makes the link feel like part of the site rather than a jump elsewhere.

Take the exact fonts, colours and button styling from your Canva design and set them at theme level. Every element inherits them.
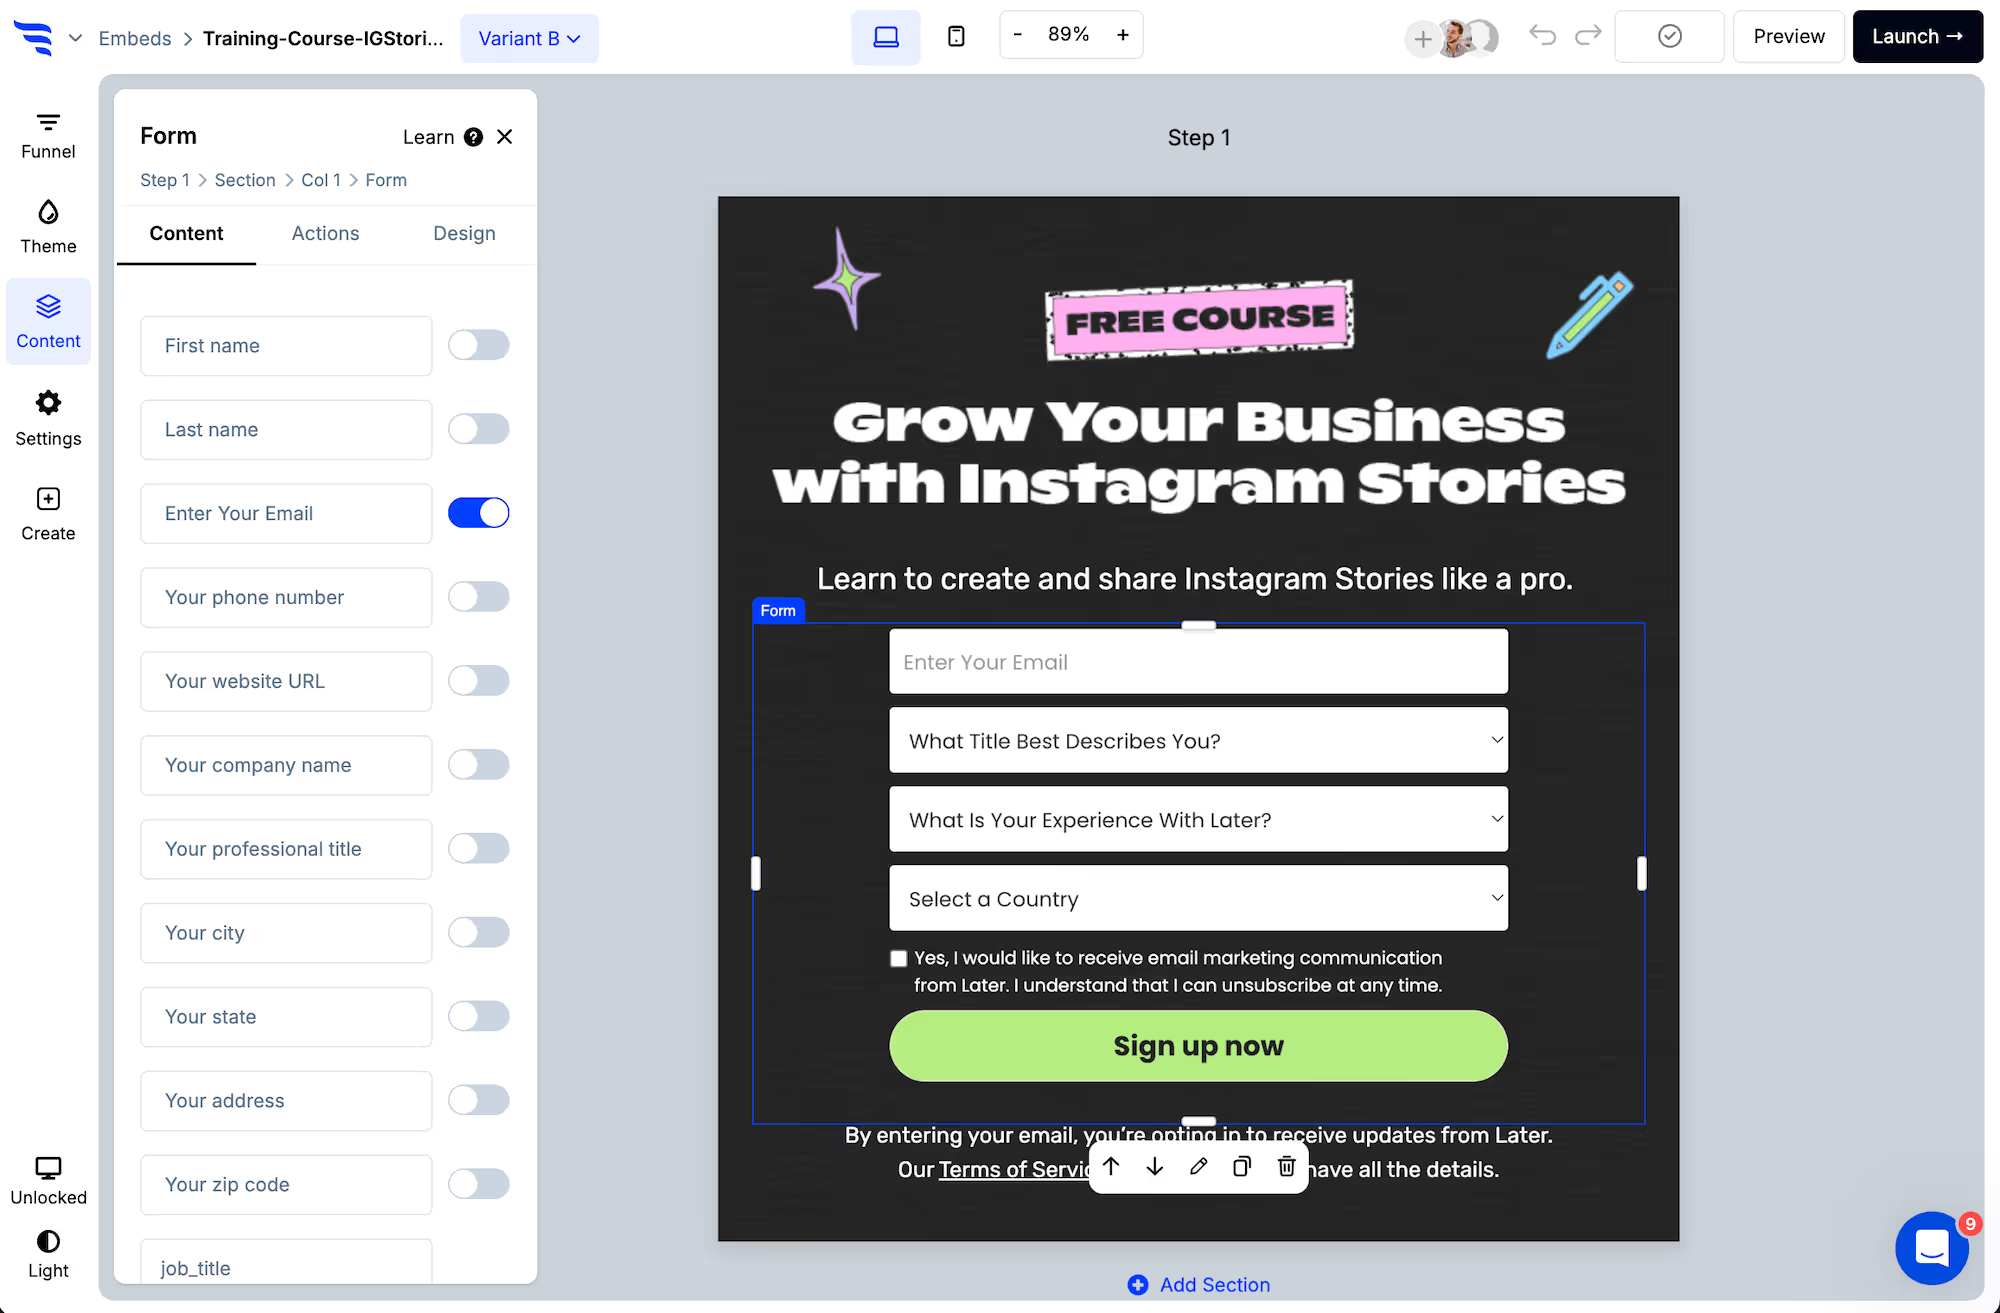
Step 3: Add your fields
.avif)
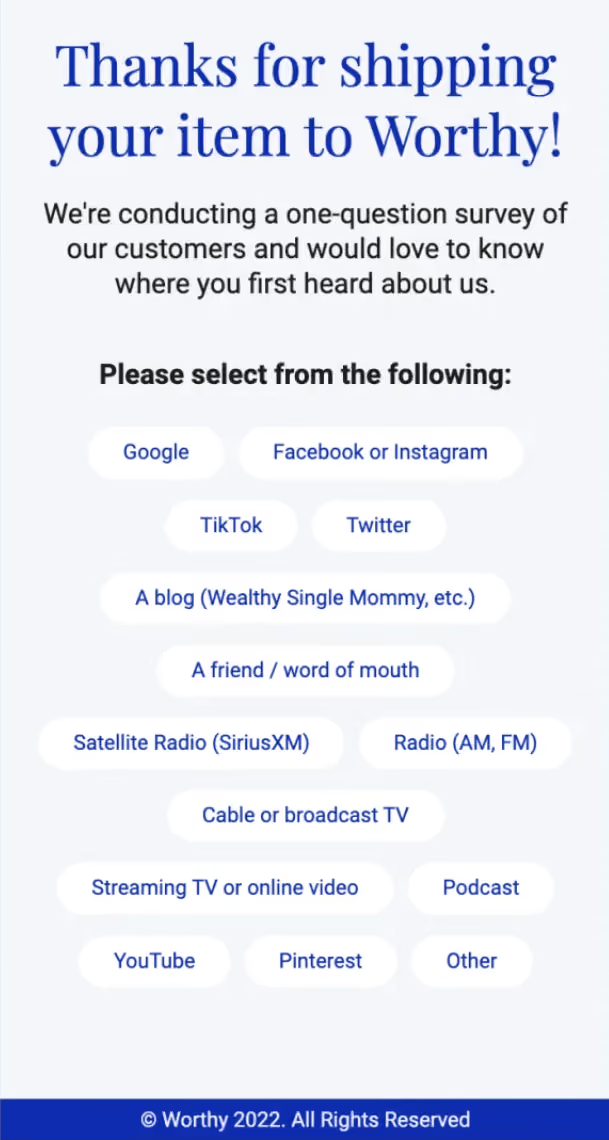
Since the visitor has already clicked through, a slightly longer form is tolerable here than it would be inline — they've committed to the action.
Turn on email verification.
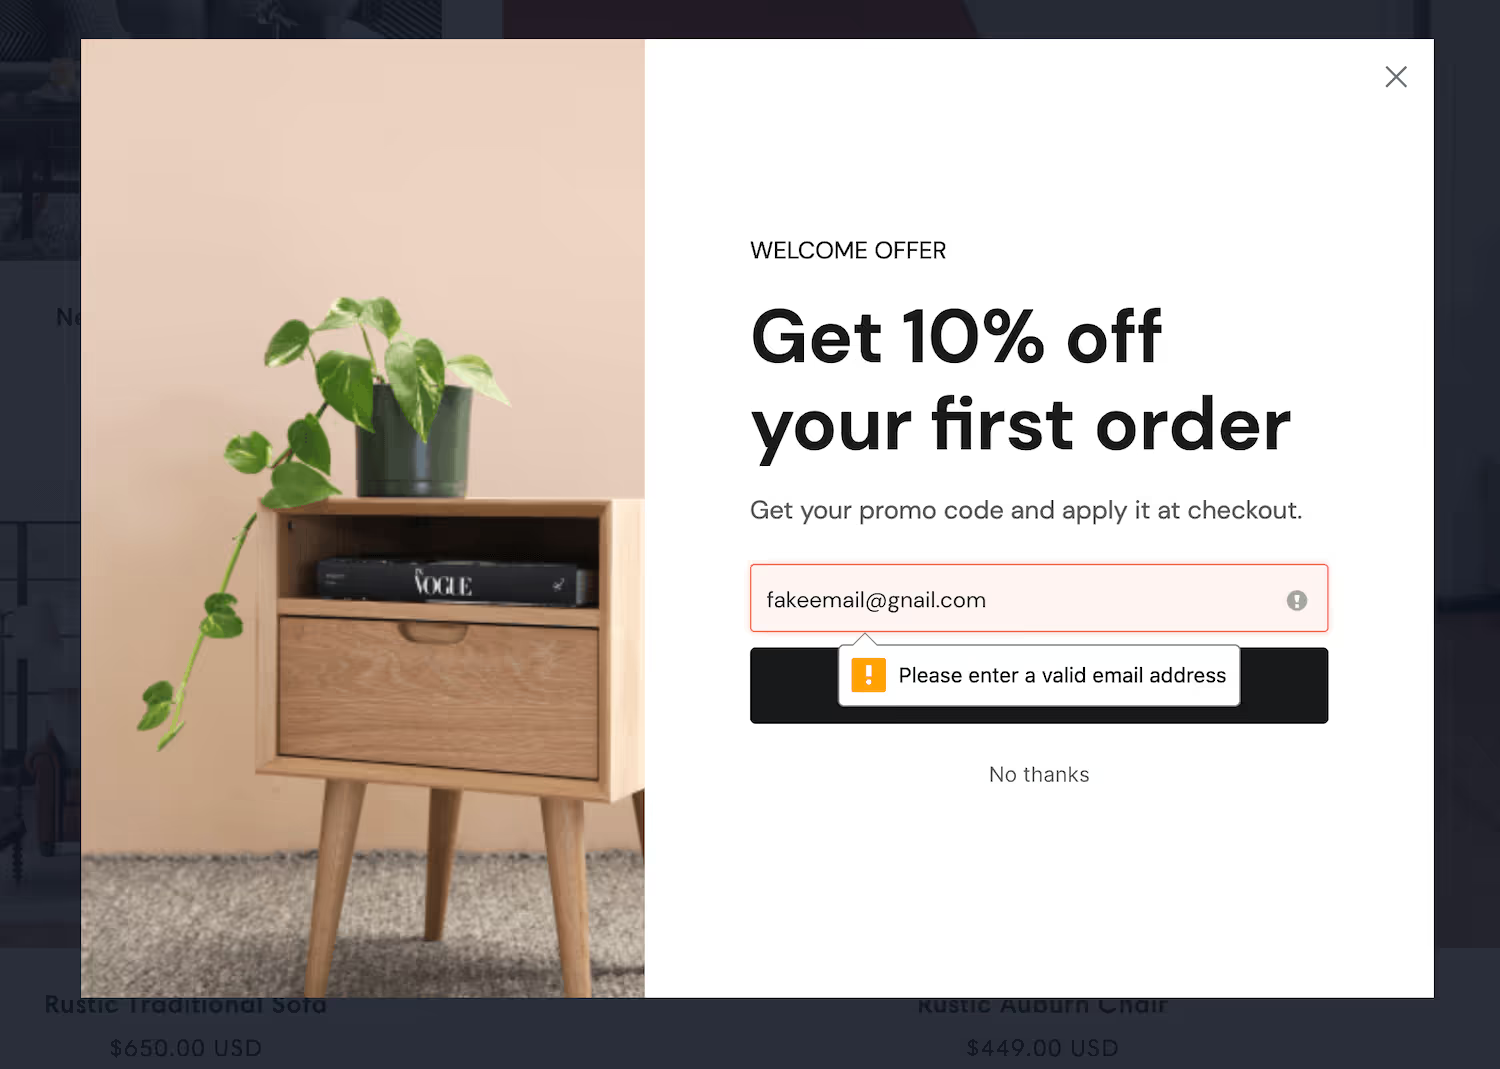
Step 4: Sync the submission
.avif)
Add the automation that sends the contact to your email platform or CRM.
Step 5: Publish and link it
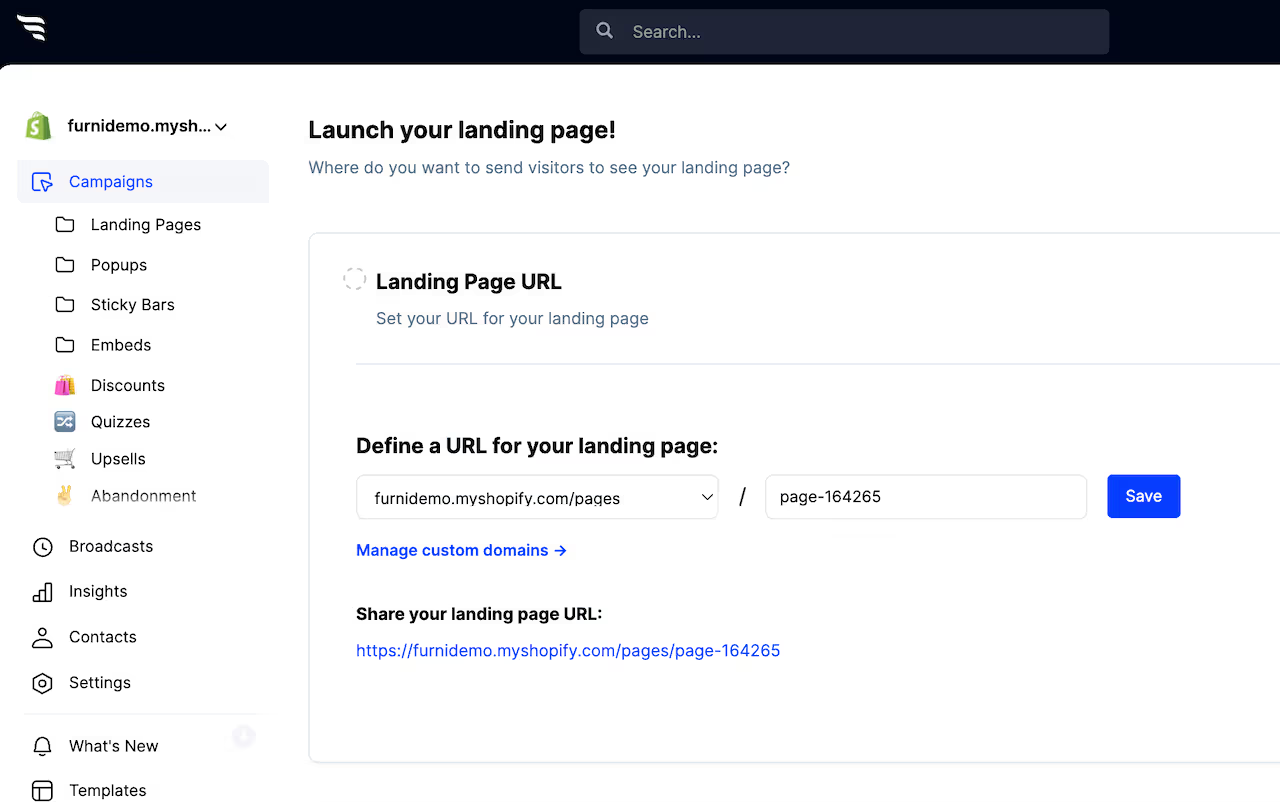
Publish to a custom domain or your reserved subdomain, then point your Canva button at the URL.
Use a subdomain of your own domain if you can. A link that stays on your domain reads as part of the same site; one that jumps to an unfamiliar URL loses a share of clicks at exactly the wrong moment.
Step 6: Track and test
.avif)
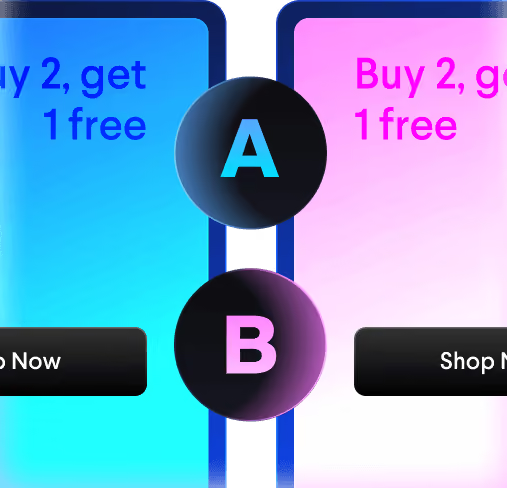
Because the form is a hosted page rather than a Canva element, you get proper reporting — views, submissions, per-field drop-off — and can split-test variants against each other.



%20(1).avif)







.svg)
