Integrate ConvertFlow with your WordPress site to target by posts, pages, categories and more.
Connect For FreeAsk for a WordPress popup recommendation and you'll get a list of plugins. That's the default answer, and for a lot of sites it's the right one — but it's worth understanding what you're taking on before installing another plugin.
This guide covers both routes: popup plugins, and hosted builders that publish through a single snippet.
Installs from the WordPress directory, runs inside your site, and integrates with your theme and other plugins.
The trade-offs are the familiar WordPress ones. It's another plugin to keep updated, another possible conflict, and another set of CSS and JavaScript loading on every page — popup plugins are a common contributor to the script bloat that slows WordPress sites down. If you're already running twenty plugins, the marginal one is a real cost.
One snippet in your header, and the popups are built and served externally. Nothing to update, no plugin conflicts, and one script rather than a plugin's worth of assets.
The trade-off is that it's another subscription and another interface, and your popups live outside your WordPress admin.
Below we'll build one in ConvertFlow.
Overlay popups are large and centered. Hook popups sit in a corner and are less disruptive — usually the better fit mid-article, where a full takeover interrupts the reading you're trying to be rewarded for.
.avif)
Then pick a template, or start from scratch.
.avif)
Trigger settings are in the Settings tab.
.avif)
With every trigger except click-only, set suppression so the popup stays hidden for a number of days after someone closes it.
Theme settings control container size, close icon, headlines and buttons.
.avif)
Click any element, or use the layer manager, to edit content.
.png)
Match your theme's fonts and colours here. A popup that looks bolted on gets dismissed faster than one that looks like part of the site.
One email field. Newsletter signup converts on being effortless, and a popup is the worst place to add friction.
.png)
If you want segmentation, ask the question on the confirmation step instead — after they've subscribed. People who answer give you a tag; people who don't are still on your list.
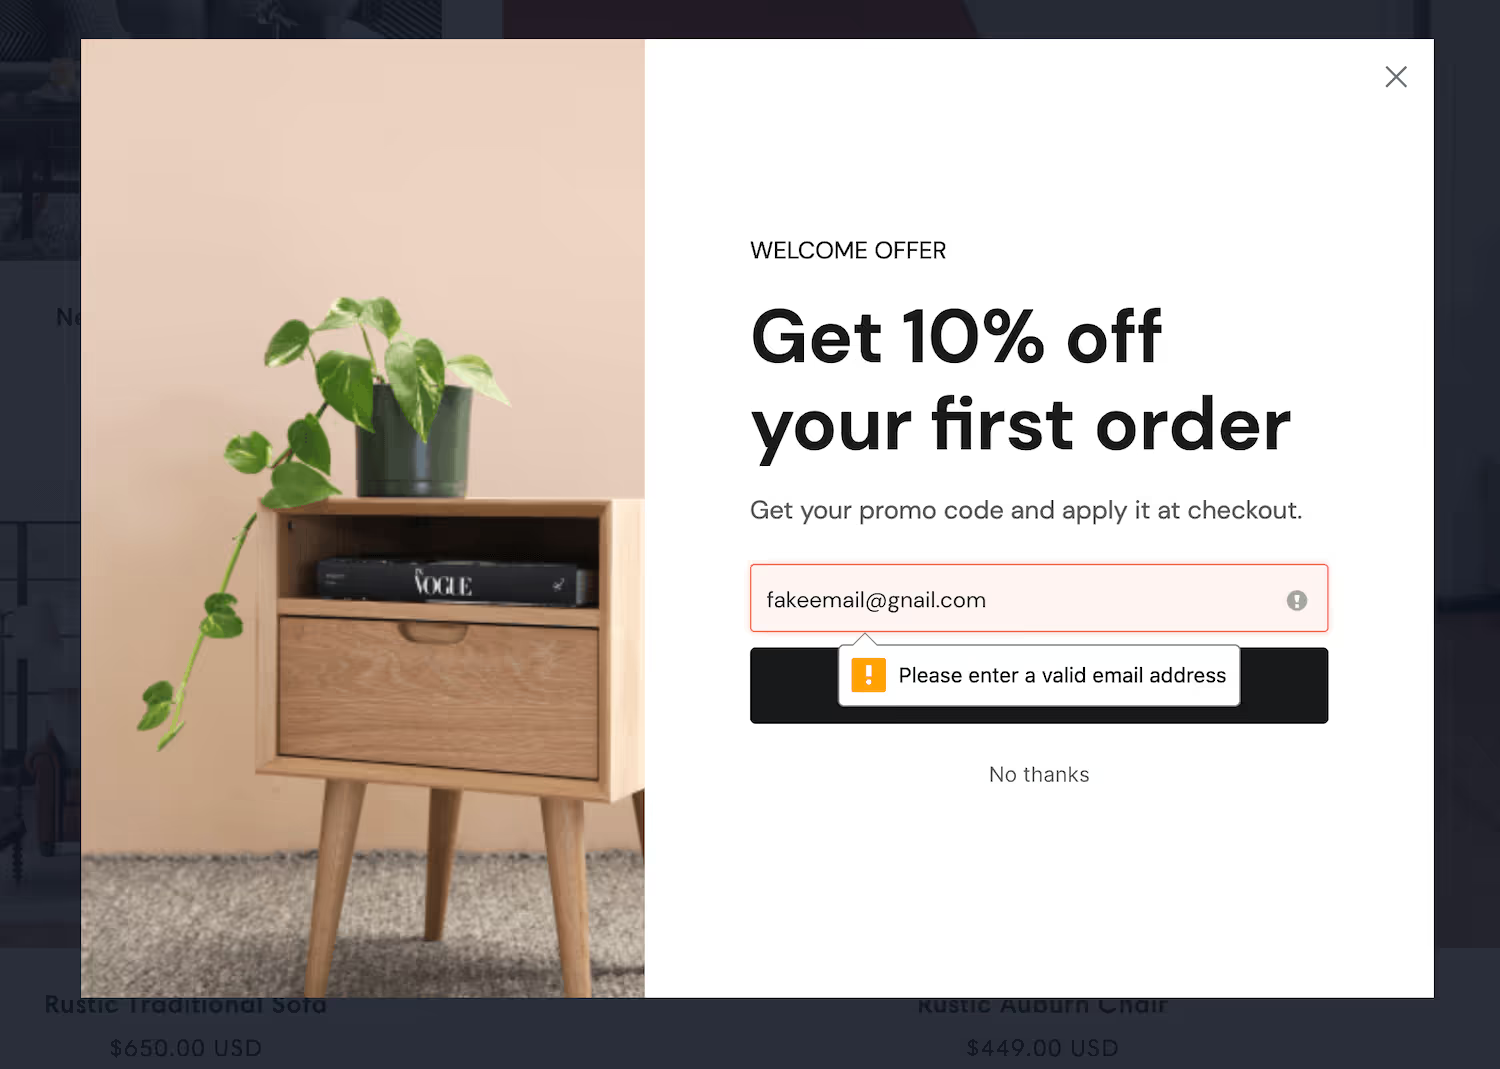
Turn on email verification so invalid addresses don't reach your email platform.
Add ConvertFlow's snippet to your site once — via your theme's header settings, a code-snippets plugin, or your existing tag manager.
That single script covers every popup, form and landing page you build afterwards, which is the main structural argument against a dedicated popup plugin: one script rather than one plugin per job.
Click Launch to control who sees the popup and where.
.png)
On a content site this is where the value is. Target by post, page or category so a reader on your recipes category sees a different offer from one reading your gear reviews — and the lead magnet actually matches what they came for.
Two other things worth setting:
Run variants against each other and read views, conversions and where readers dropped off.
.avif)
On WordPress content sites, the offer moves the number more than the design. A category-specific lead magnet routinely beats a generic "subscribe to the newsletter" by a wide margin — which is the whole reason category targeting is worth having.
To see templates and the full feature set, visit the WordPress popup builder.
Create a free ConvertFlow account and integrate
WordPress
in minutes.
Integrate ConvertFlow with your WordPress site to target by posts, pages, categories and more.
Connect For Free










.svg)