Web-to-Lead is the feature Salesforce gives you for capturing leads from your website. You enable it in Setup, choose which fields to include, and Salesforce generates a block of HTML for a developer to paste onto a page. Submissions arrive as Lead records.
It works. It's also the part of Salesforce most people end up searching for help with — which is why the results for this term are full of forum threads and workarounds rather than success stories.
This guide covers what Web-to-Lead does, where it stops, and what to do when you hit those limits.
In Setup, find Web-to-Lead under the marketing settings, enable it, and click to create a form. You pick the Lead fields to include, set a return URL for after submission, and Salesforce hands you generated HTML.
That HTML contains a hidden oid field identifying your org, plus an input for each field you selected. Your developer pastes it into a page, styles it, and submissions start creating Leads.
For a plain "contact us" form on a site that already has a developer, that's a reasonable amount of work for the result.
Six limits account for most of the frustration:
None of these matter for a low-volume contact form. All of them matter the moment marketing wants to run a campaign.
You don't have to choose between Web-to-Lead and losing the Salesforce connection. A form built in ConvertFlow writes to the same objects through the API — Leads, Contacts or Person Accounts — while being designed visually.
Here's how that's set up.
From ConvertFlow's Integrations area, click to connect with Salesforce and authorize.
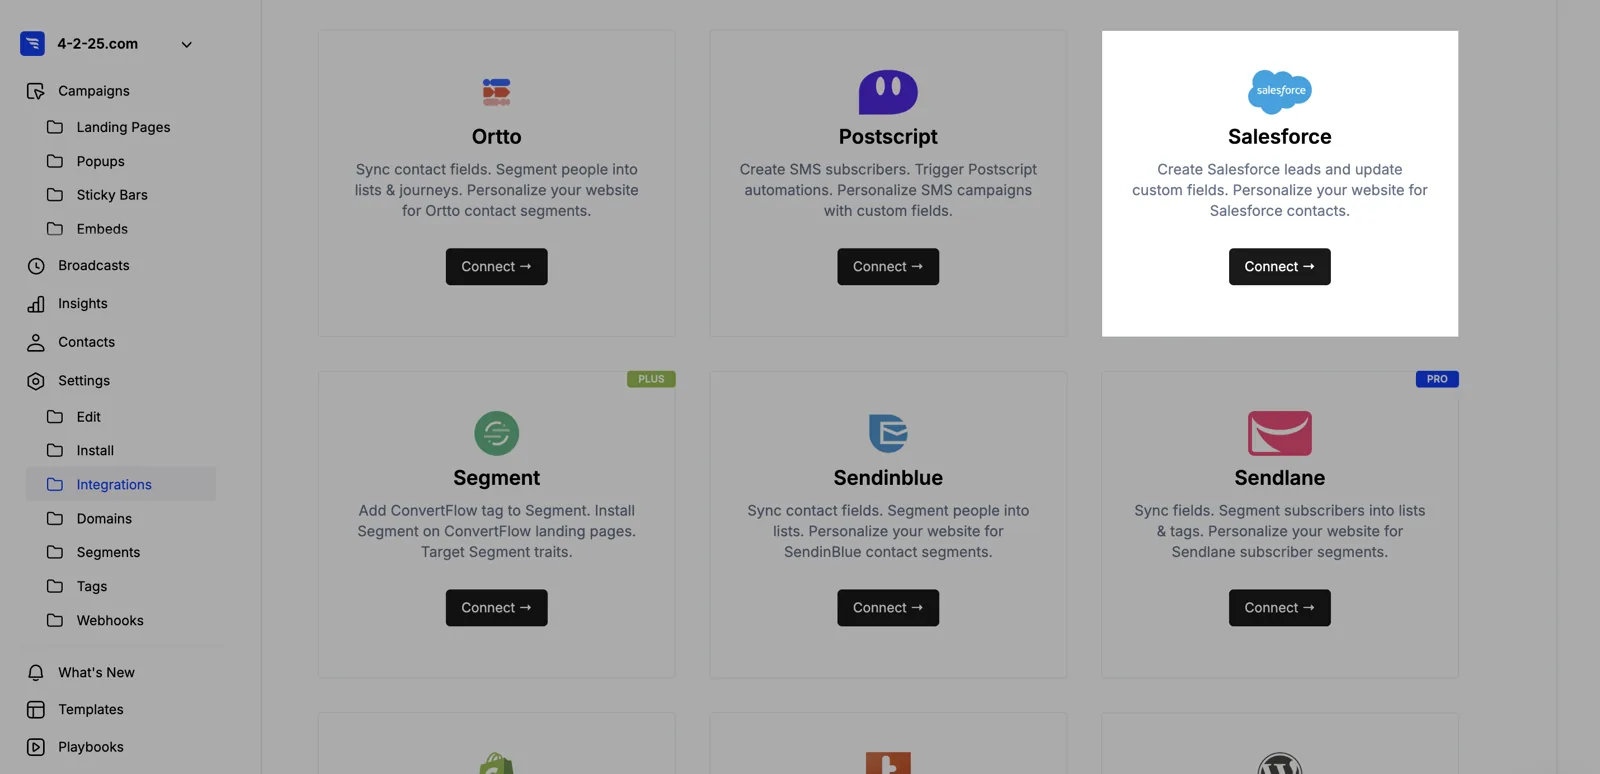
No API key, no consumer secret, no generated HTML. Once approved, ConvertFlow pulls in your Salesforce fields.
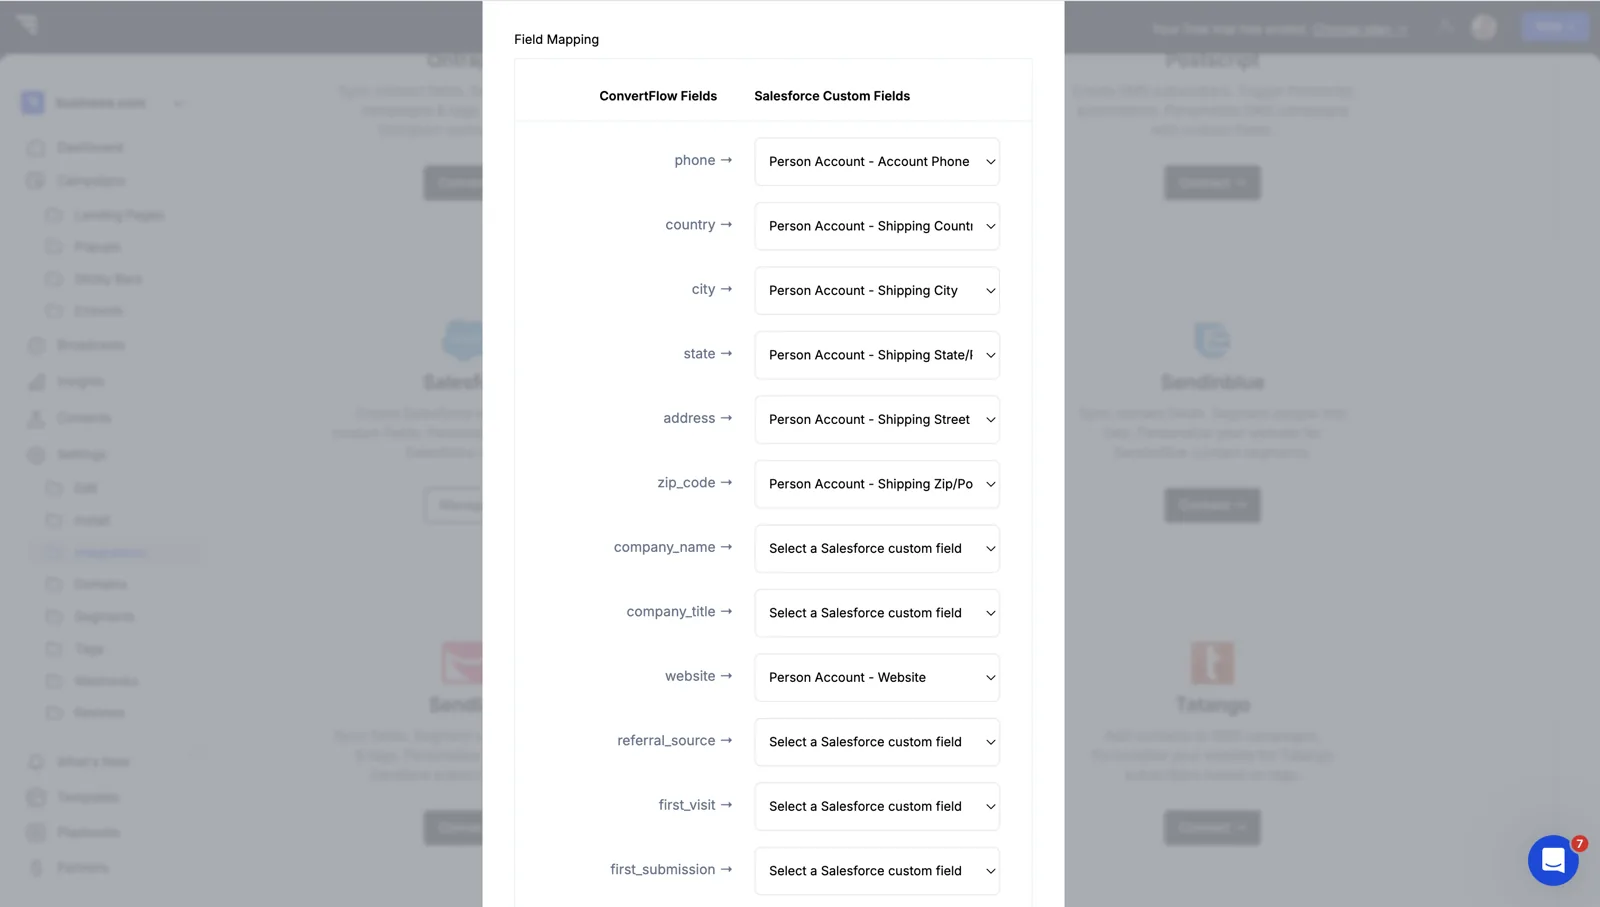
This is the first thing Web-to-Lead can't do. If your org uses Person Accounts — standard in healthcare, education, financial services and most B2C — switch the toggle, then resync so the right fields load.
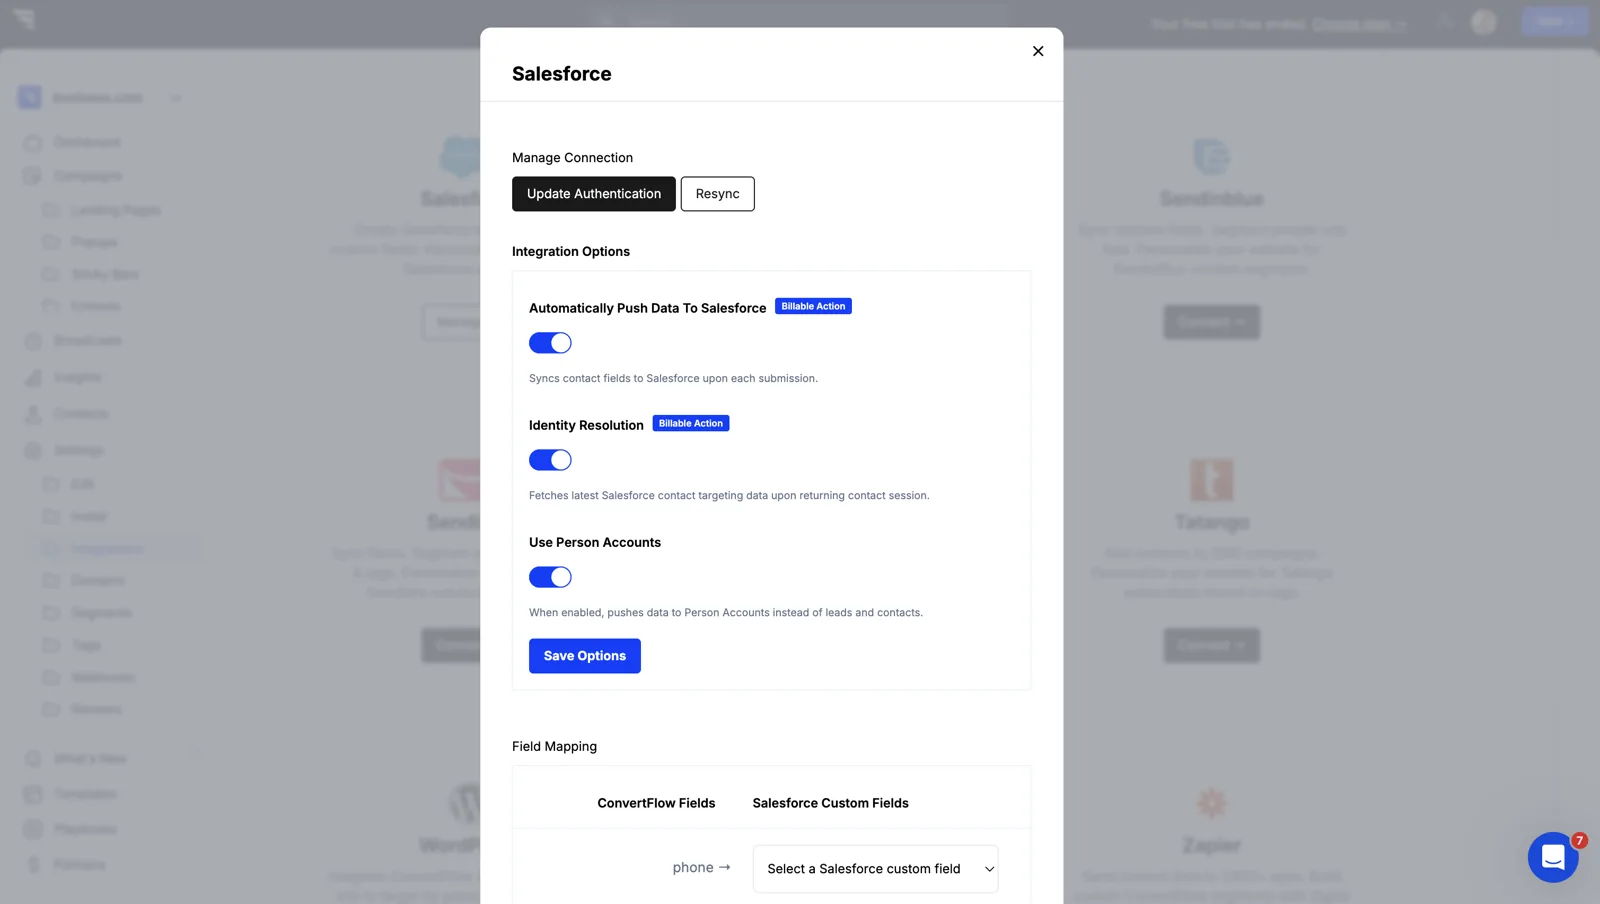
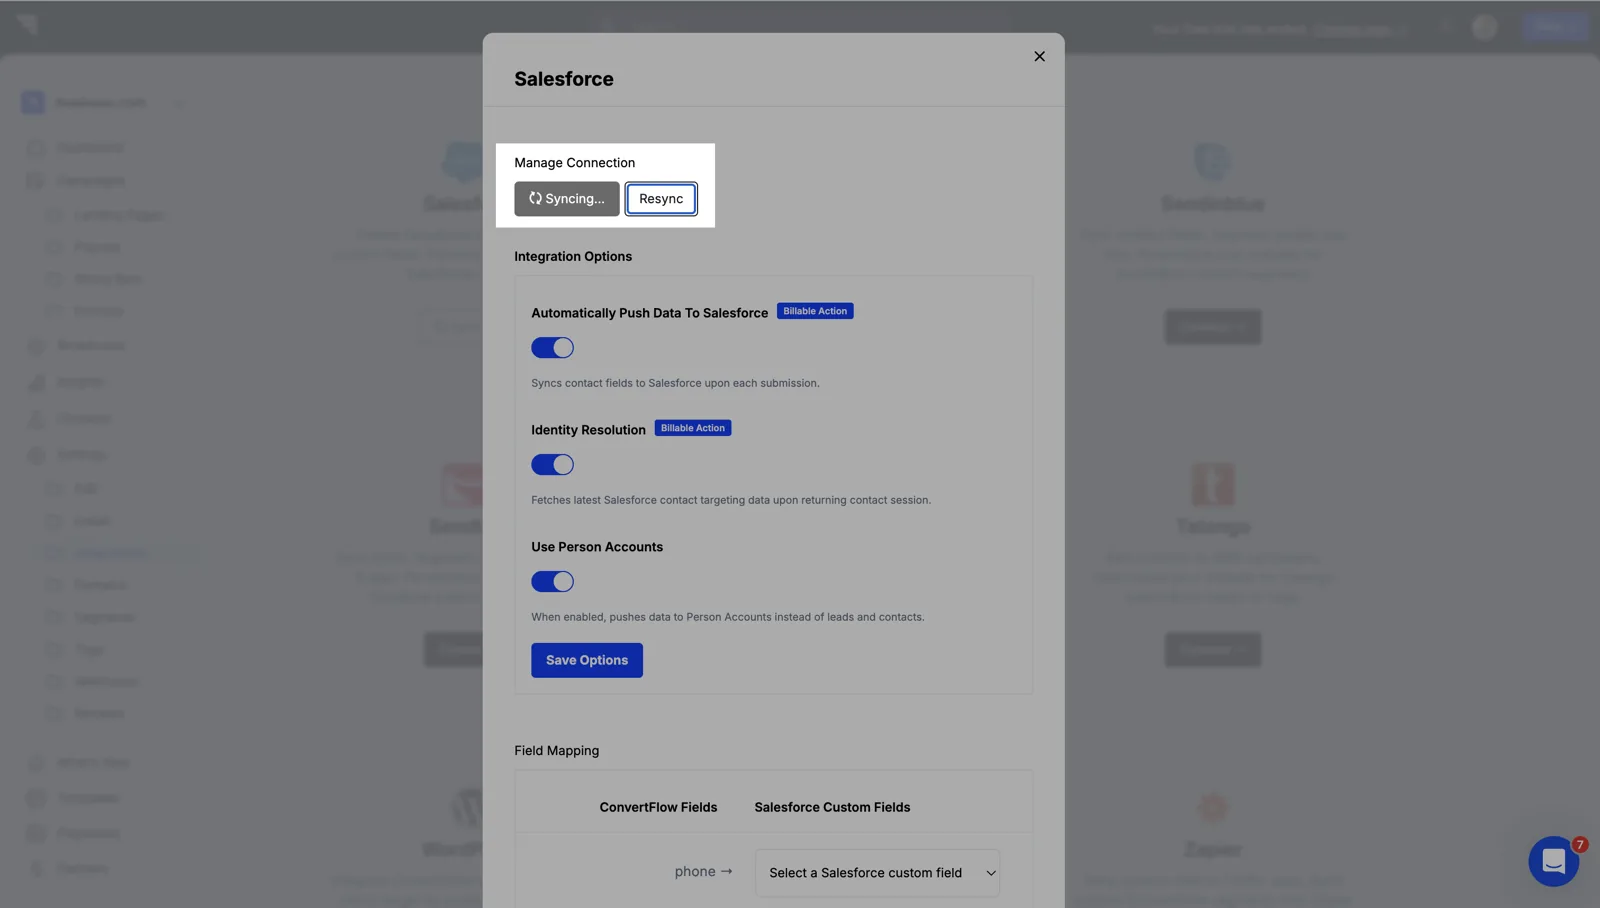
Resync is also what you click when an admin adds a custom field and it hasn't appeared yet.
Add a form element to a landing page, popup or embed, and toggle on the fields you want.
.png)
Styling happens in the Design tab — spacing, layout, fonts, button colour, field colour — rather than in a stylesheet.
.avif)
Add a custom field and pick the Salesforce field it writes to from a dropdown of fields that already exist.
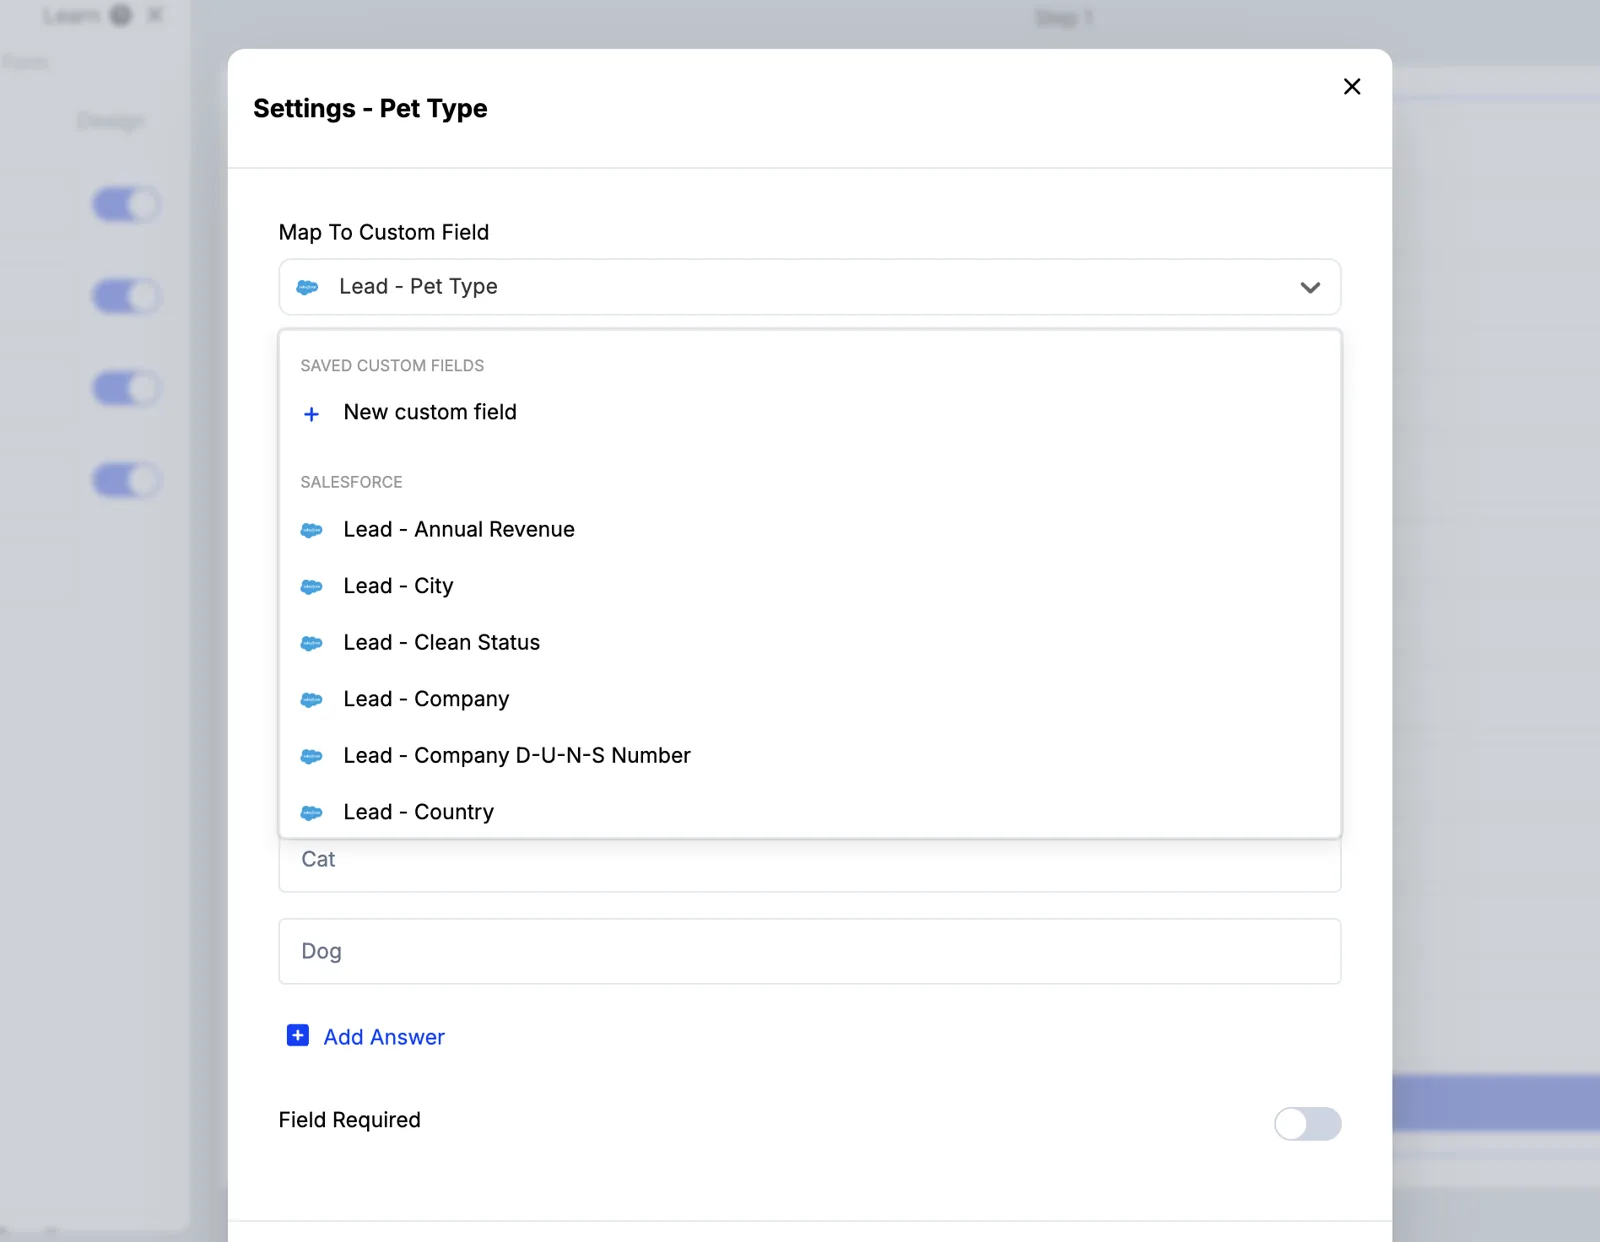
This removes a whole class of Web-to-Lead bug — hand-editing generated HTML and mistyping a field ID, which fails silently rather than erroring.
Preset contact fields are mapped from the Fields button on your Integrations page.
Turn on email verification so an address is checked with its provider before a record exists.

In a CRM this matters more than in an email tool. A junk Lead gets assigned to a rep, worked, chased, and counted in pipeline reporting until someone gives up on it.
Rather than stacking every field in one box, split the questions across steps — and map each answer to a Salesforce field.
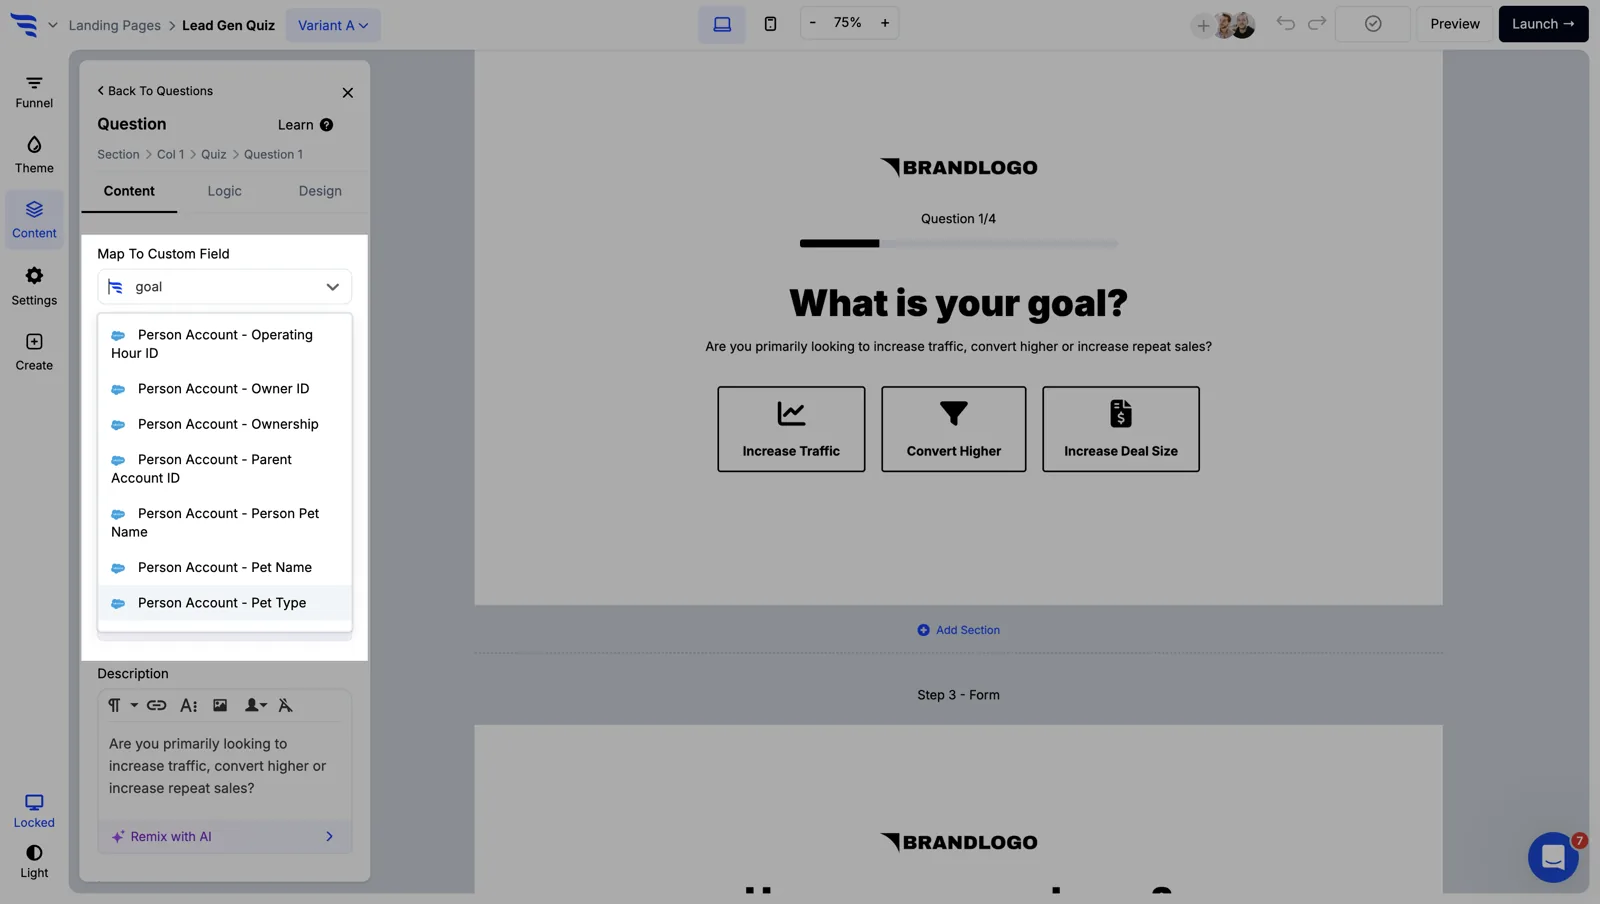
Dropdown and radio options can carry score values, so the form produces a qualification score rather than just a longer record.
Hidden fields capture the page, UTM campaign and referrer without asking the visitor anything — so the rep can see what the lead was reading when they decided to fill it in.
In the Actions tab, set what happens on submit, then add conditional actions.
.avif)
Web-to-Lead gives you one return URL for everybody. Here, a lead above your score threshold can go straight to a booking page while everyone else gets a thank-you and enters nurture — decided at submit rather than by a rep triaging three days later.
Test first — test submissions don't create Salesforce records, so you can check your logic without polluting the org.
Then publish: one snippet on WordPress, Webflow, Squarespace or any CMS, or one click on Shopify. No developer, no deploy.
.avif)
The funnel report shows per-question drop-off — something Web-to-Lead can't tell you, because a single-step HTML form only records the people who finished. Every qualifying question costs completions; this is how you find out which ones earn their place.
If you need one plain form writing to the Lead object, you have a developer who can style it, your volume sits comfortably under the daily cap, and nobody is asking for A/B tests — use Web-to-Lead. It's included, it's supported, and adding another tool would be overhead for no gain.
Move when the form needs to look like your brand without a ticket, ask questions conditionally, run across steps, score and route leads, or write to Person Accounts.
To see templates and the full feature set, visit the Salesforce form builder, or read the fuller walkthrough on building Salesforce forms.
Create a free ConvertFlow account and integrate
Salesforce
in minutes.
Build & A/B test lead capture funnels for Salesforce.
Connect For Free










.svg)