Sync contact fields. Segment people into lists & workflows. Personalize your website for HubSpot contact segments.
Connect For FreeHubSpot's native forms are perfectly good at what they do. You build one in the form editor, embed it, and submissions land on the contact record.
The friction shows up later — when marketing wants the form to match the page it sits on, when sales wants qualifying answers attached before the lead is routed, or when you want to ask three questions across two steps instead of six fields in one box.
This guide covers building a HubSpot form in ConvertFlow instead: same contact record, same properties, but designed visually and able to branch, score and route.
From your ConvertFlow website's Integrations area, click to connect with HubSpot.
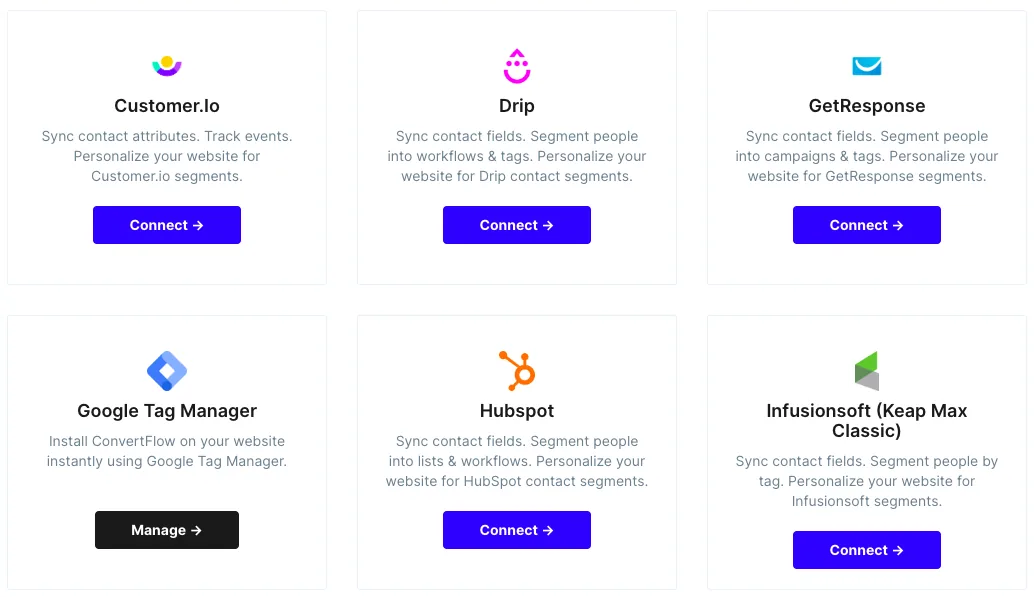
You'll be taken to HubSpot to grant the ConvertFlow app access to your account.
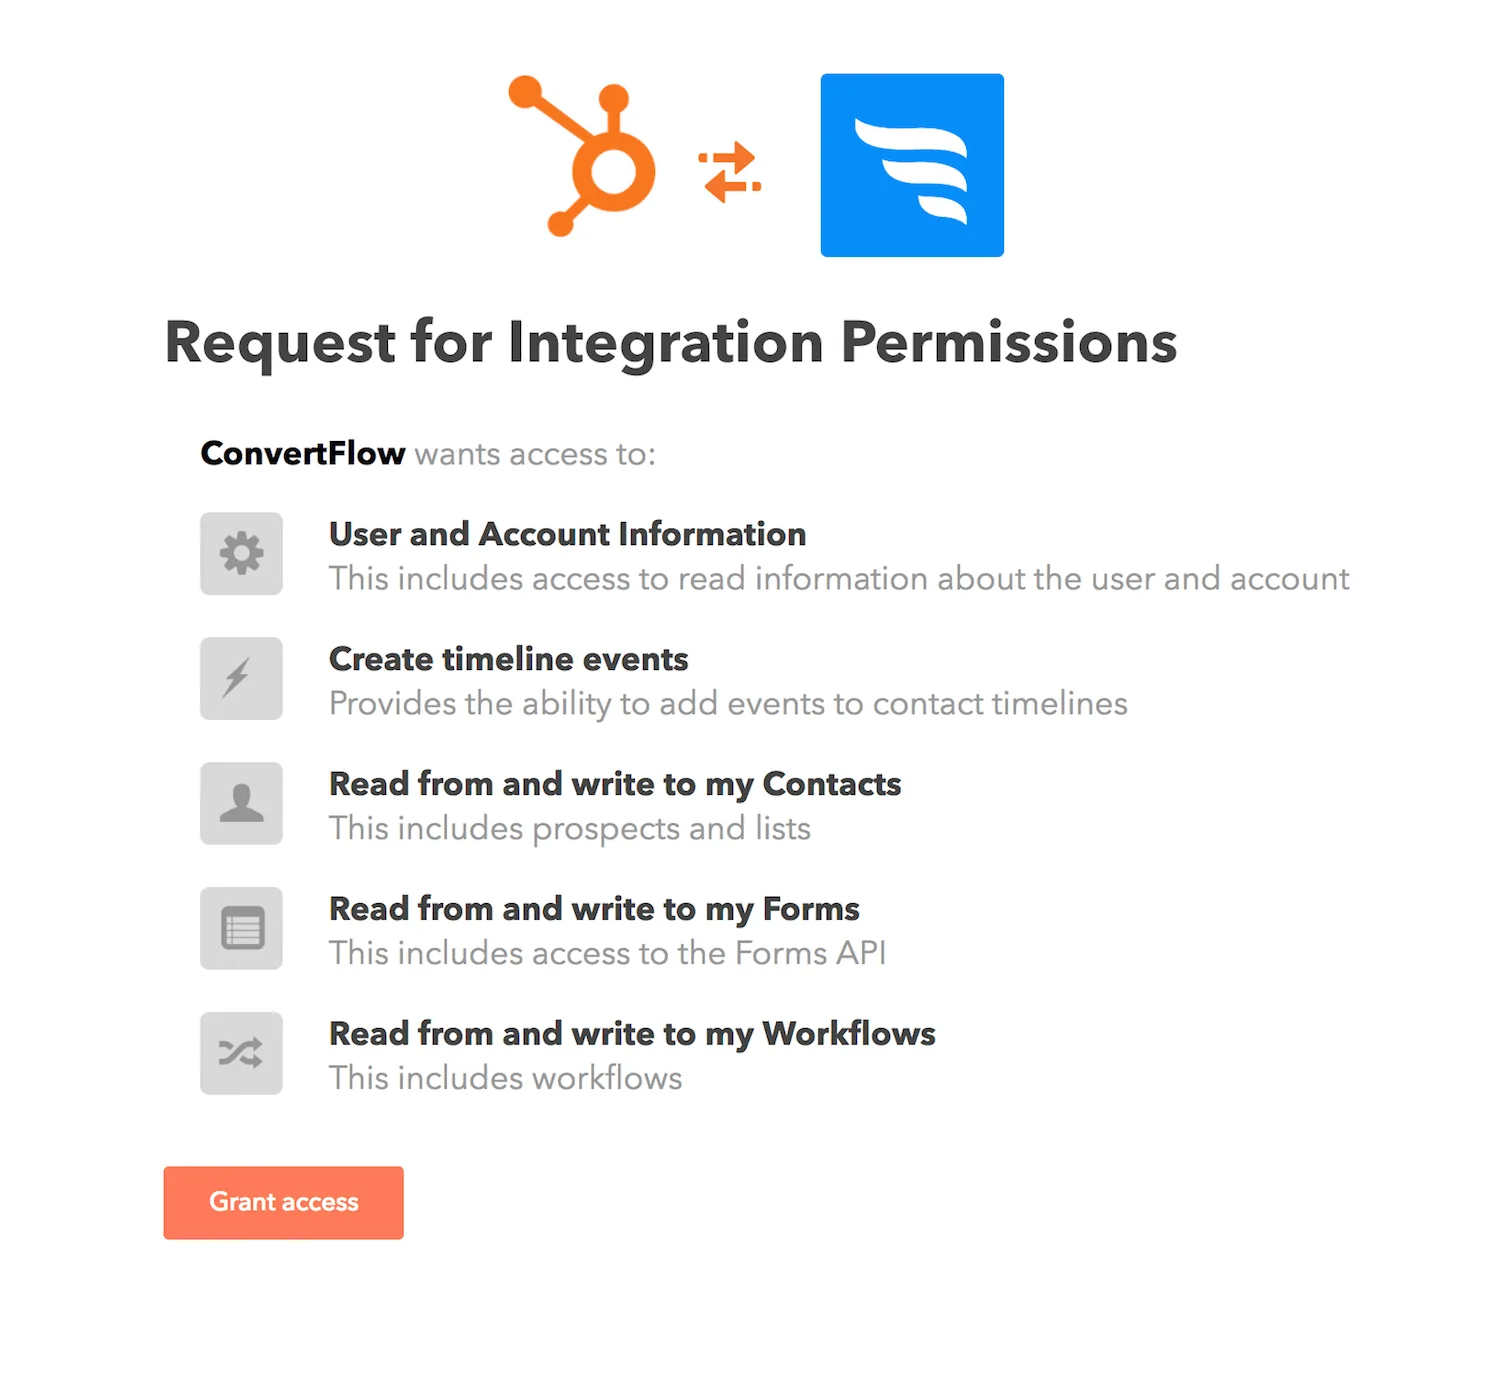
There's no API key to generate. Once approved, ConvertFlow pulls in your HubSpot lists, contact properties and workflows.
Create a campaign in ConvertFlow — a landing page, a popup, or an embed that sits inside an existing page — then add a form element.
.avif)
Toggle on the contact fields you want to collect.
.png)
Each one can be edited from the builder panel — placeholder, label, required state.
.avif)
Add a custom field and select the HubSpot contact property it should write to from the dropdown.
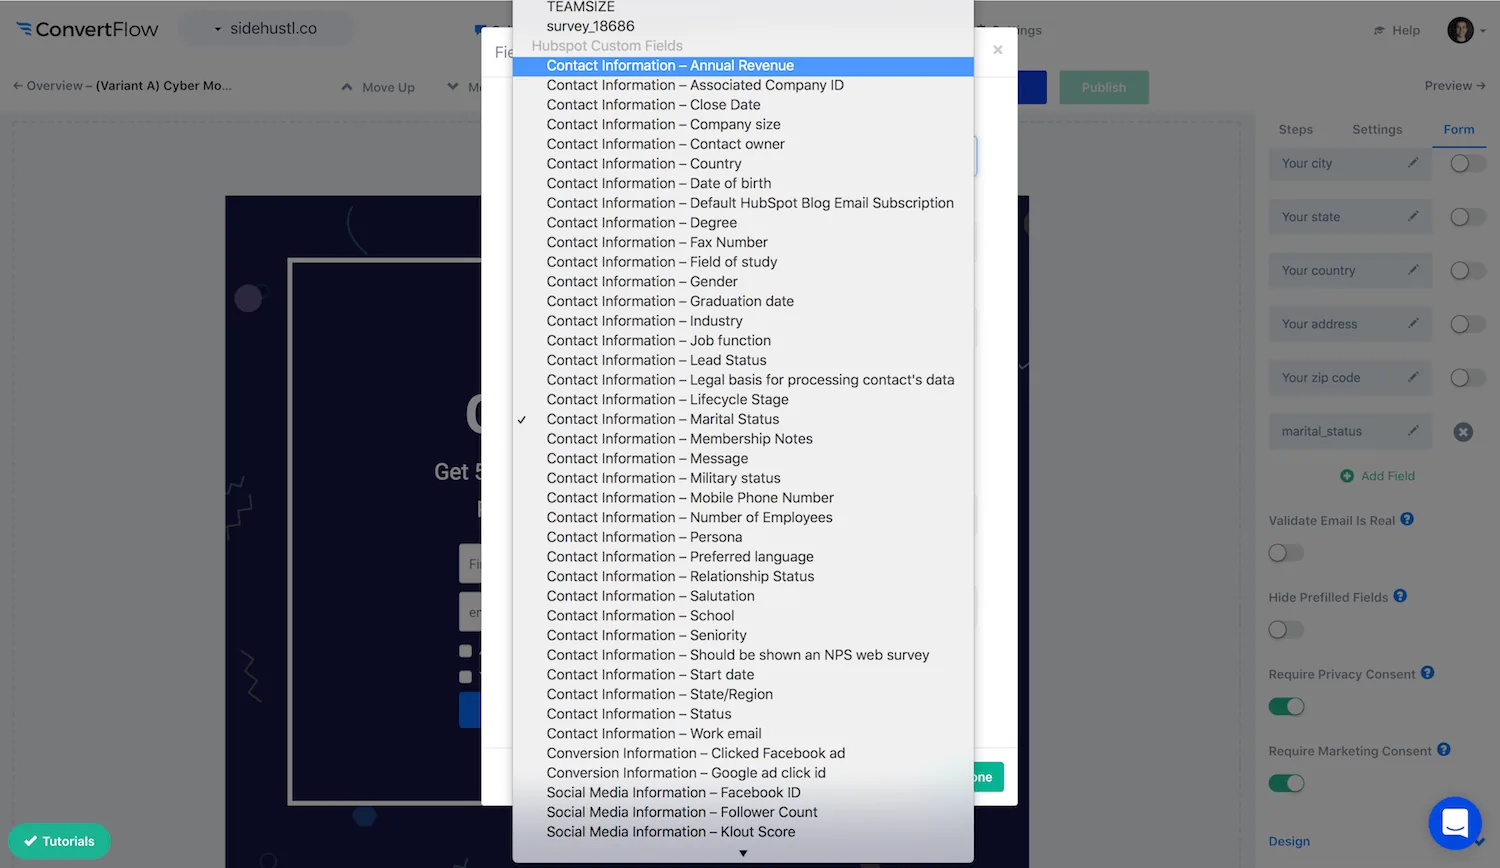
Because you select from properties that already exist, you can't accidentally create a near-duplicate property with a slightly different internal name — which is how HubSpot portals end up with three versions of the same field.
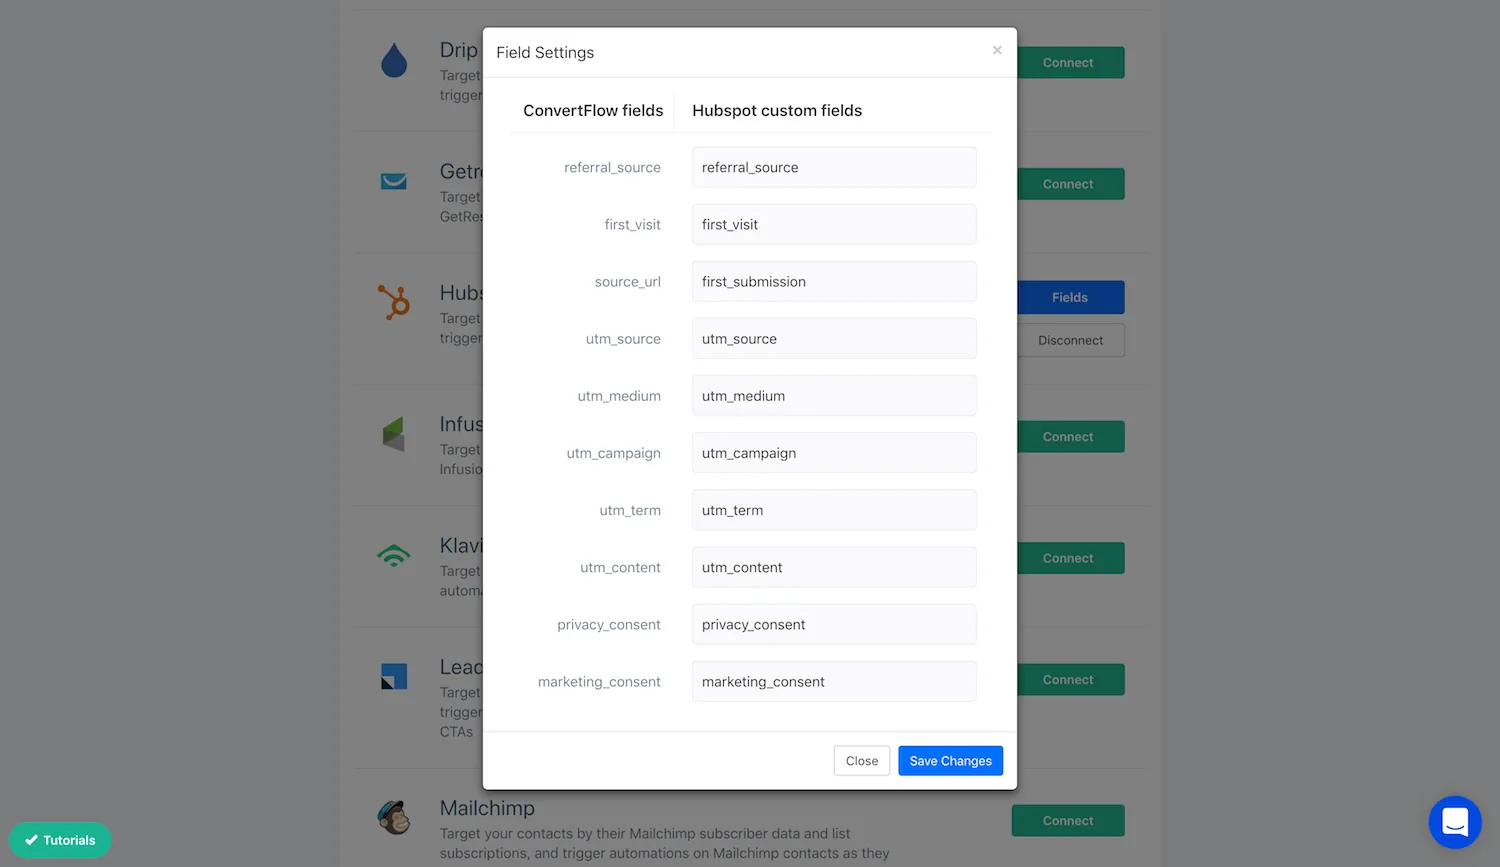
ConvertFlow's preset contact fields are mapped from the Fields button on your Integrations page.
ConvertFlow checks that an address exists with its provider before the contact is created.
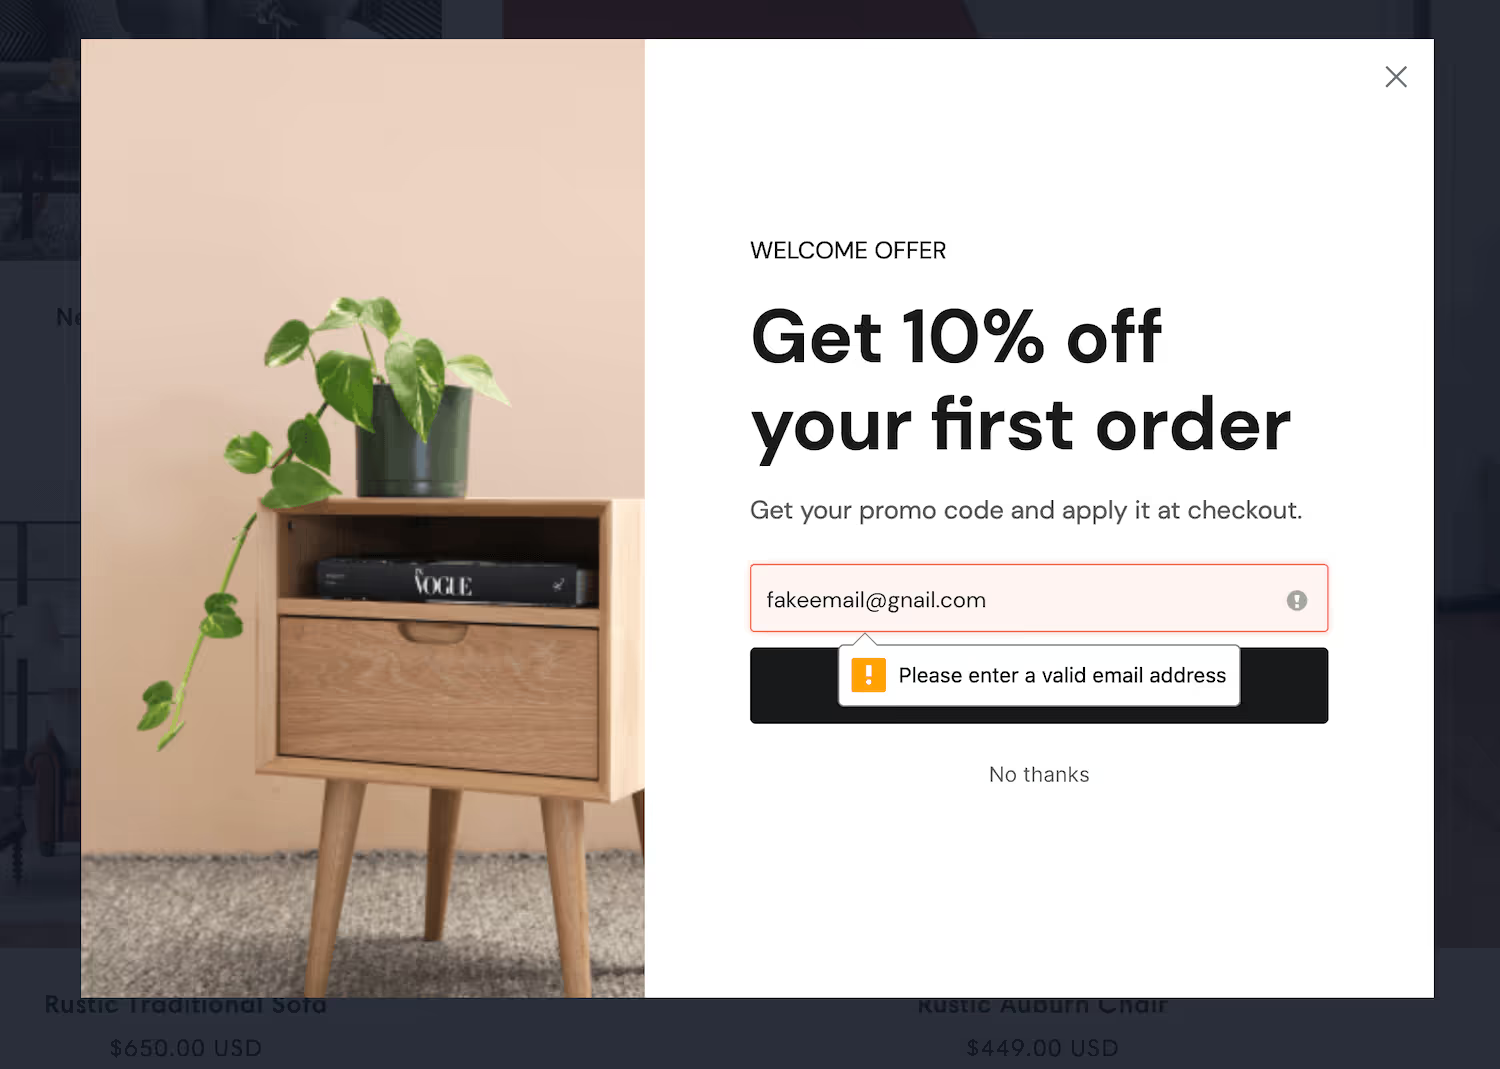
In a CRM this is worth more than in an email tool. A junk contact doesn't just sit there — it enters workflows, gets assigned, and inflates your contact count.
This is the reason to build here rather than in HubSpot's form editor.
Instead of one long field list, ask across steps: what they're trying to solve, team size, timeline. Field types include dropdown, radio, paragraph, hidden, and range sliders for headcount or budget.
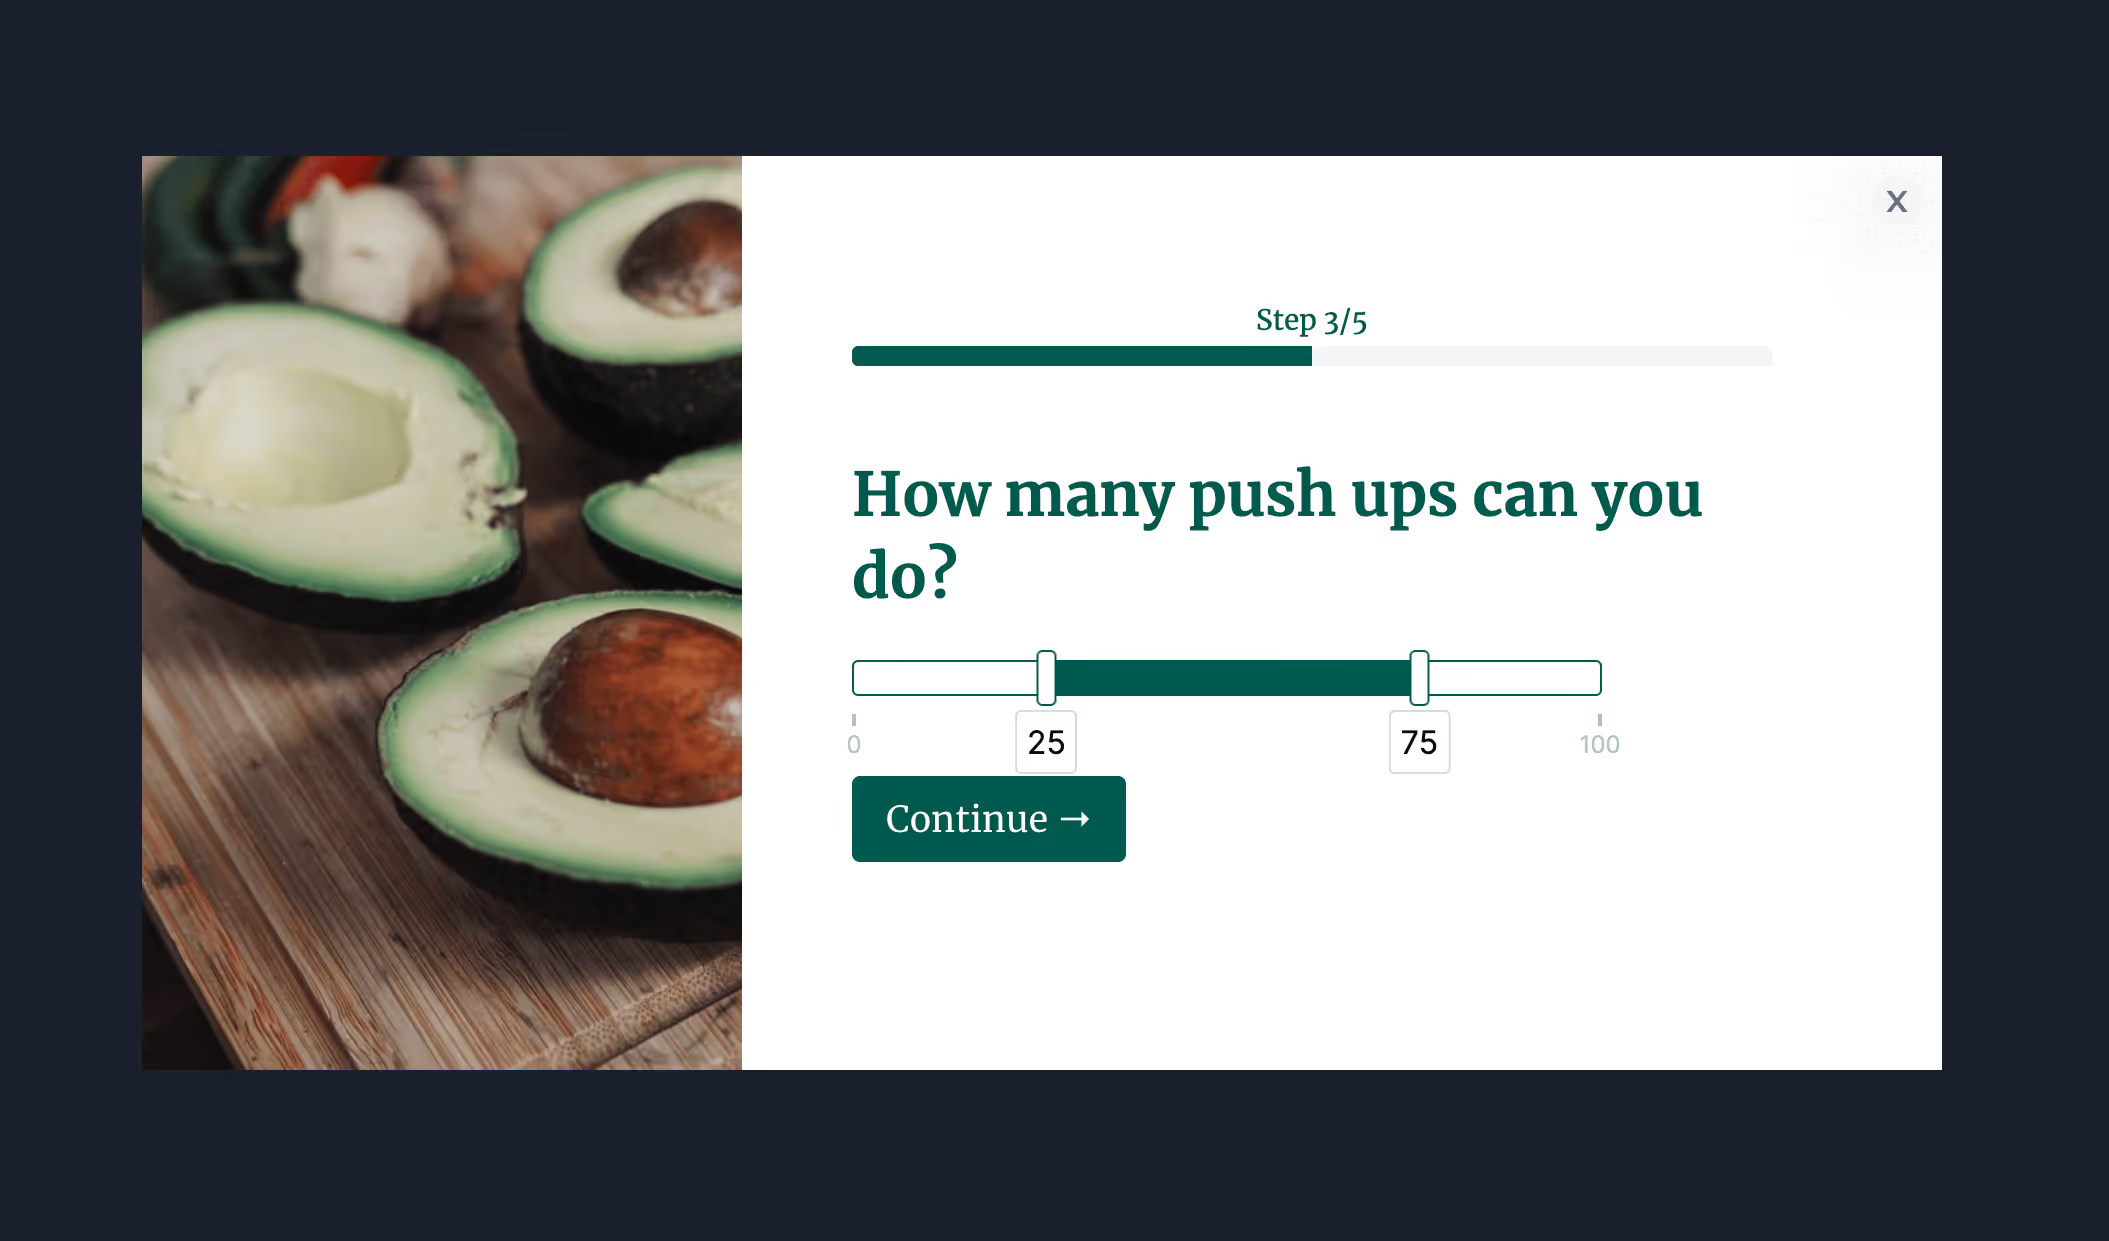
Each answer writes to a HubSpot property, and dropdown and radio options can carry score values — so the form produces a qualification score, not just a longer contact record.
Add hidden fields too, capturing the page, UTM campaign and referrer into properties without asking the visitor anything.
In the Design tab, control spacing, field layout, width, fonts, button colour and roundness, field colour and shadows.
.avif)
An embedded HubSpot form inherits only what you tell it to via CSS, which usually means a developer for anything beyond basic changes. Here it's a panel.
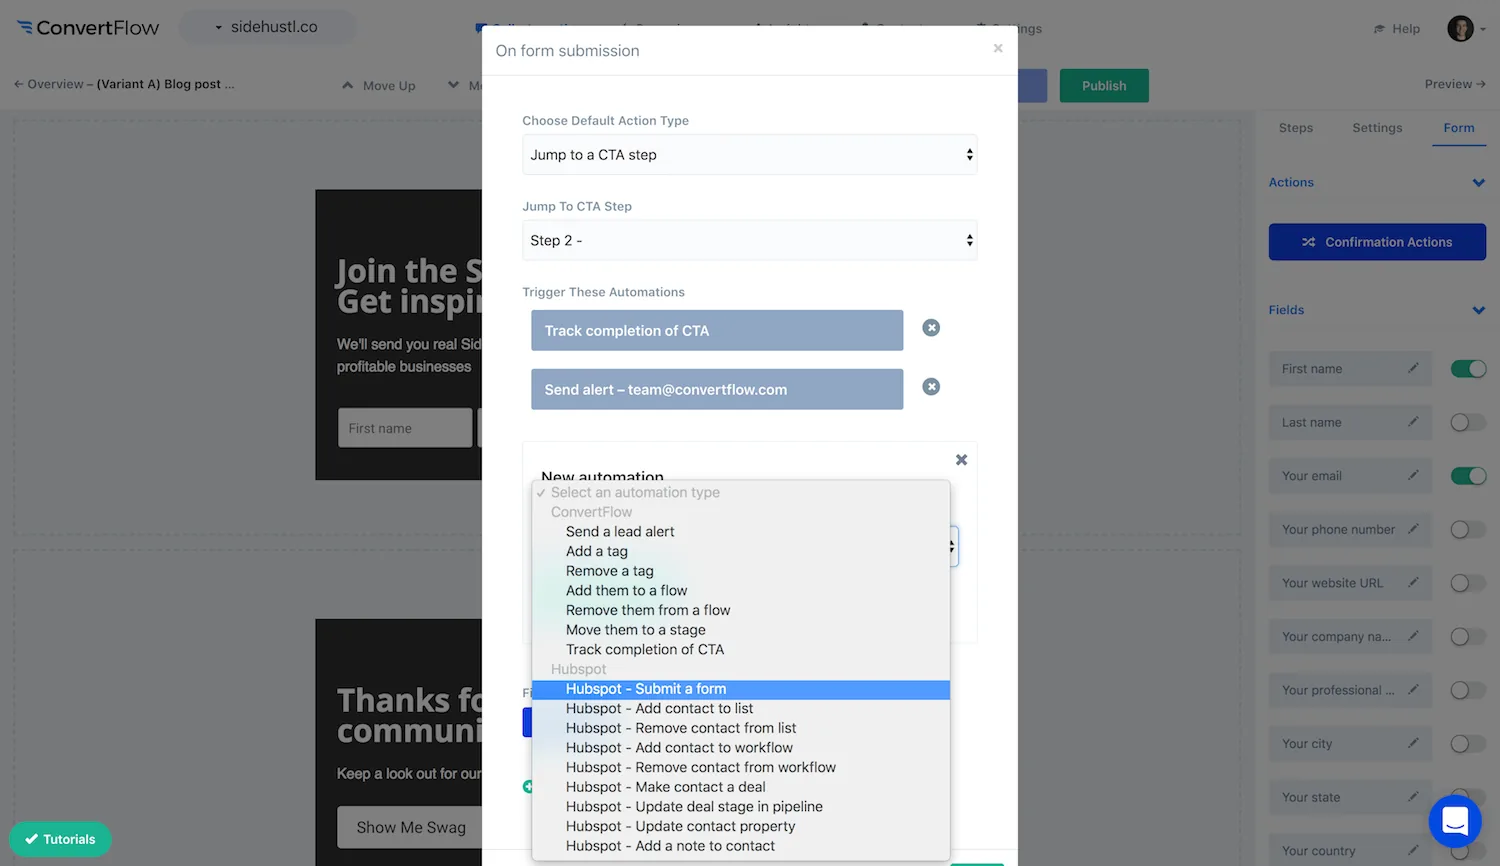
In the Actions tab, set what happens on submit — redirect, jump to another step, thank-you message, or open a popup — and add the automations that put the contact into a HubSpot list or workflow.
.avif)
Then add conditional actions so the answers decide the outcome.
.avif)
The usual shape: above your score threshold, redirect straight to a booking link and enroll in a sales workflow. Everyone else gets a thank-you and a nurture list. One form, two outcomes, decided at submit rather than by a rep triaging later.
Test first — test submissions don't count towards stats or fire automations, so you won't create junk contacts while checking logic.
Then publish: one click on Shopify, one snippet on WordPress, Webflow, Squarespace or any other CMS.
The funnel report shows how many saw, started and completed the form, plus which answers they chose.
.avif)
Watch per-question drop-off. Every qualifying question costs completions; this tells you which ones earn their place. If your team never references an answer when working the lead, cut the question.
If you need a plain contact form on a HubSpot-hosted page and you're happy with how it looks, use HubSpot's. It's fewer moving parts.
Build elsewhere when you want multi-step flows, conditional questions, scoring, answer-based routing, styling without CSS, and A/B testing with the results attributed per variant.
To see templates and the full feature set, visit the HubSpot form builder.
Create a free ConvertFlow account and integrate
HubSpot
in minutes.
Sync contact fields. Segment people into lists & workflows. Personalize your website for HubSpot contact segments.
Connect For Free










.svg)